


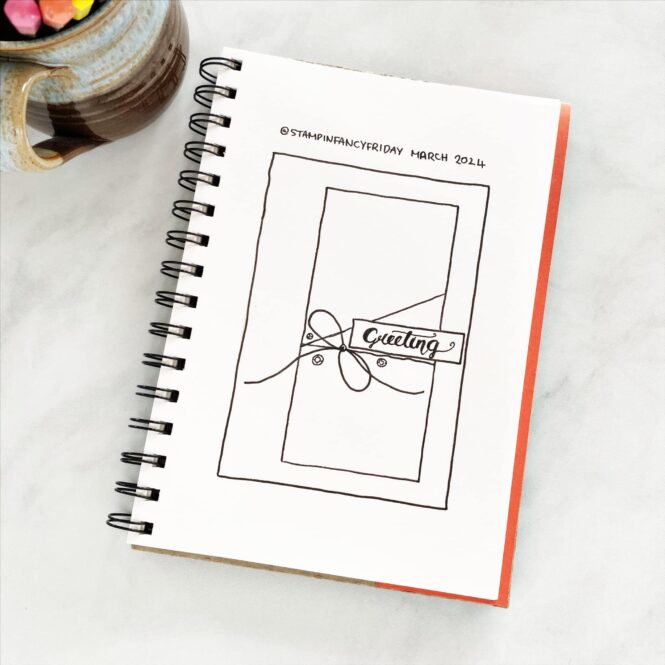
For this month’s Stampin’ Fancy Friday, we have a sketch challenge! Sketch challenges are great because a lot of the designing is already completed. All I need to do is pick the stamps, paper, and embellishments. For this project, that was easy because I was totally inspired by the new Online Exclusive — Simply Zinnia Bundle. If you’ve haven’t checked out the Online Exclusives, you should! They’re amazing!!! Stampin’ Up! just added a bunch of new products today that I know you’re going to love.
To see all the designers’ projects, keep an eye on the Stampin’ Fancy Friday Facebook and Instagram pages throughout the month. We’d also love to see any of your projects using our theme! Be sure to tag them with @stampinfancyfriday so we can find and admire them!
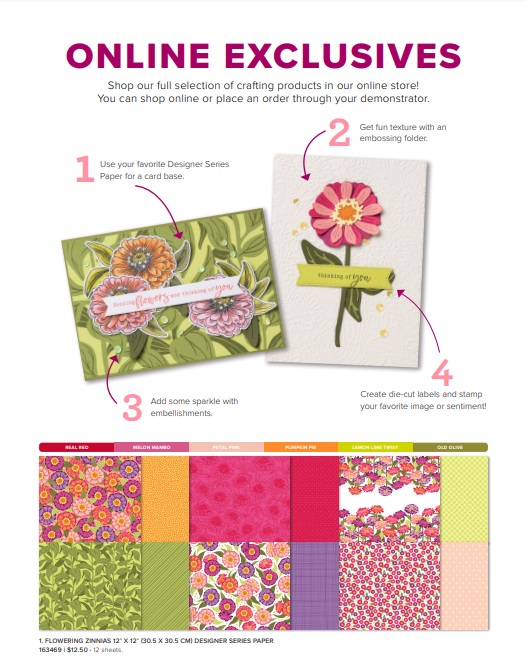
The Simply Zinnia Bundle is just one of many new Online Exclusives in my online store. Click the photo below to download the flyer. To see all the new products, go to my online store and either search for Online Exclusives or select Online Exclusives from the side bar.
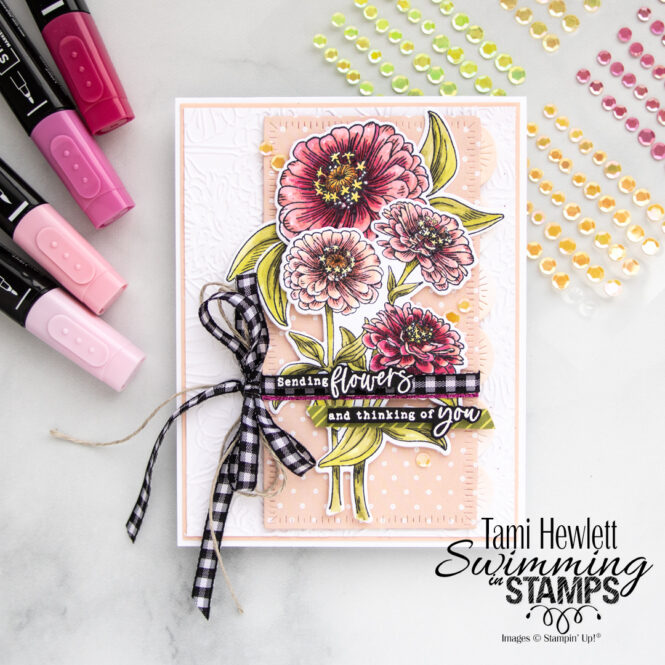
I was in the mood for some coloring, so I stamped all the floral images with Memento ink on Basic White Cardstock and colored them with Stampin’ Blends Markers. I love coloring with Stampin’ Blends and especially playing around with mixing colors. I used a combination of Melon Mambo, Flirty Flamingo, and Petal Pink blends for the petals and Pumpkin Pie and Lemon Lolly blends for the centers. Then, I used both Old Olive and Lemon Lime Twist blends for the leaves and stems. The coordinating dies cut out all the images!
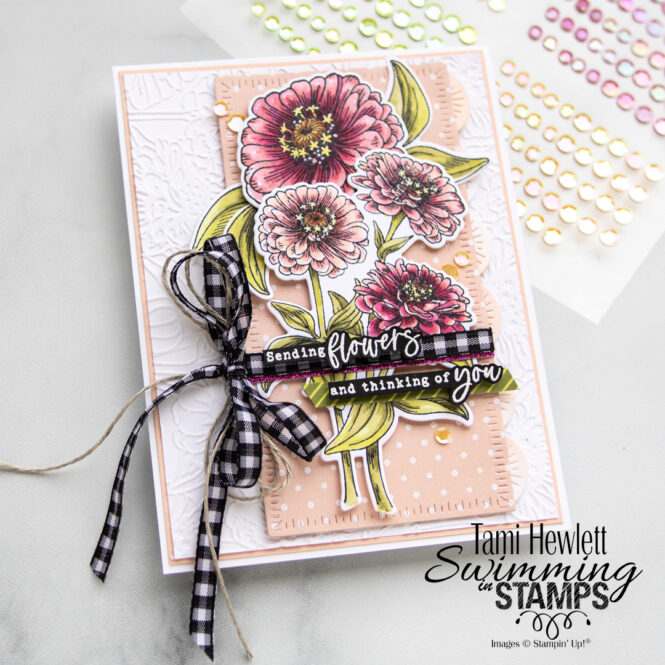
When I color with blends, I like to start with the darkest shade and work towards the lightest. Then, I often go back and reapply the darkest so it’s really vibrant. I like a little “white” space, so I’ll purposely leave small sections uncolored for highlights. If I make a mistake, I use a Color Lifter blend to push the color back in place.
My advice is to color is small sections and go over the previous coloring slightly to promote blending. For these images, I used the smaller nib end of the markers since the images required intricate coloring.
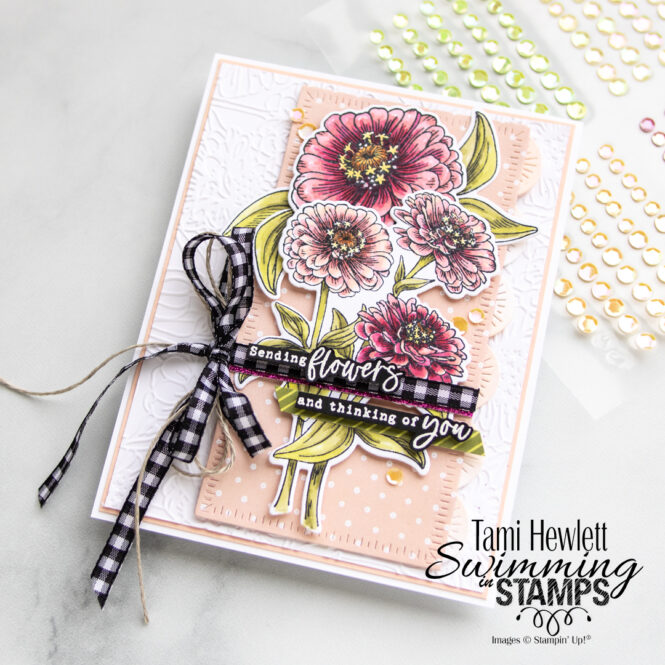
Behind the flowers, I used some Radiating Stitches Dies. The rectangle is cut from the coordinating Flowering Zinnias Designer Series Paper (DSP.) I elongated the shape by using a partial die-cutting technique. Then, I created the scalloped edge by first coloring Basic White Cardstock with Petal Pink blends and then using that paper to cut out numerous Radiating Stitches circles. I love the resulting variegated look.
In the far background, I used the Zinnia 3D Embossing Folder to dry emboss Basic White Cardstock.
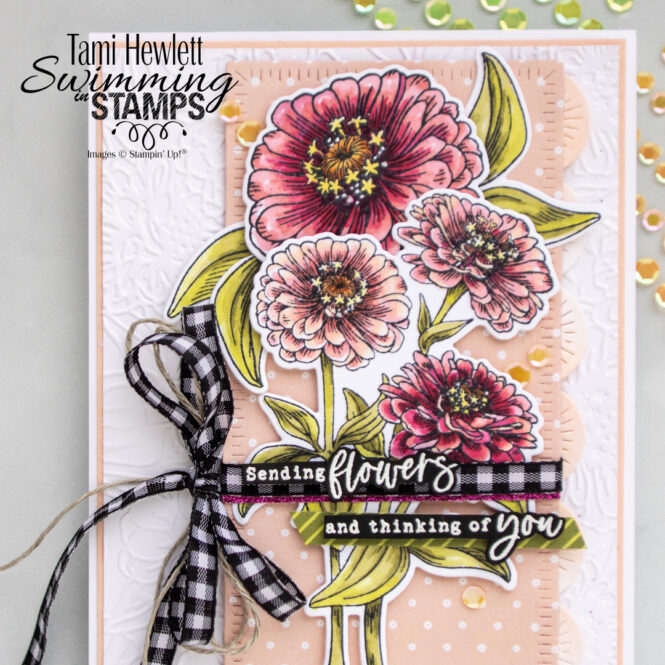
I love black and white accents with bright colors. It’s so dramatic! I layered the heat embossed sentiment over some Black & White Gingham Ribbon and some small strips of Berry Burst Glimmer Paper and flowering Zinnias DSP. I also used some of the coordinating Petal Pink Sequins in the background.
I hope I’ve inspired you to check out this great bundle!
Have a wonderful and creative day!

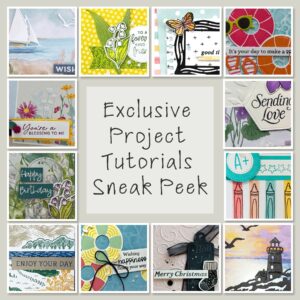
Purchase products from my online store to qualify to receive free exclusive project tutorials. This month’s PDF includes 12 creative tutorials designed by my demonstrator friends and I to inspire your paper crafting! The projects feature products from the May-August 2026 Catalog and current Online Exclusives. Enjoy!
")
 Designer Series Paper")
")


")


 Gingham Ribbon")


