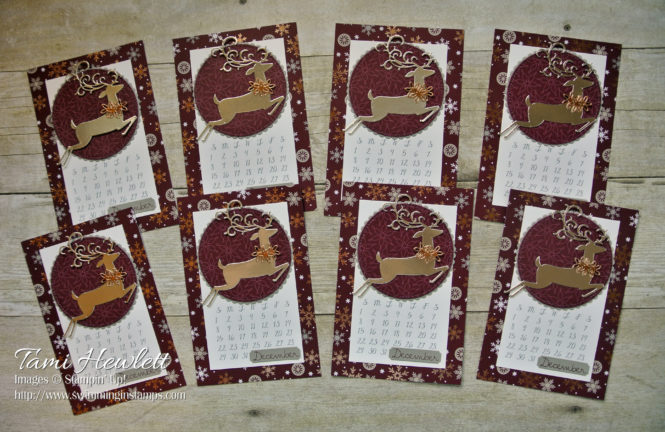
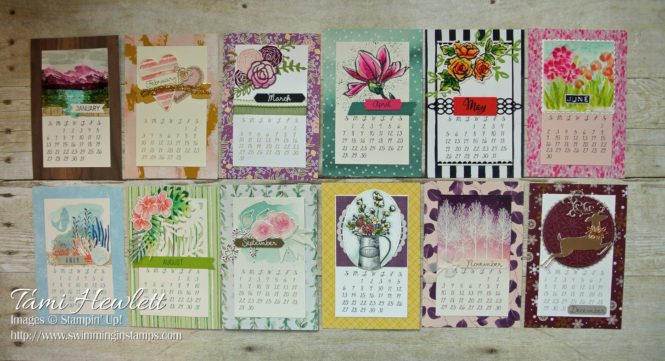
It’s time for the Big Finish … my last desktop calendar of 2019!!! I’m super proud of myself for getting them done early this year.
If you’re new, I’ve been posting these calendar pages all year … pretty much one a month, give or take a few months. They measure 4″ x 6″ and fit in a standard frame. That makes it super easy to cut out six calendars from a single sheet of 12″ x 12″ designer series paper.
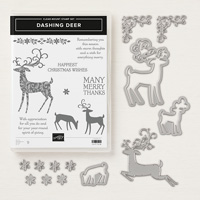
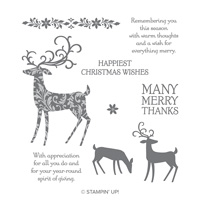
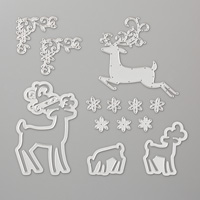
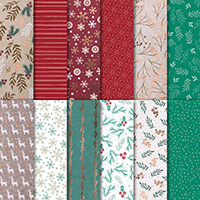
For the December page, I used the Detailed Deer Thinlits Dies and Joyous Noel Specialty Designer Series Paper. I realized as I was writing this up that I didn’t use the coordinating Dashing Deer stamp set, but it’s gorgeous and I plan on using it for Christmas cards this year. The stamps and dies can be found on page 9 of the Holiday Catalog. When you purchase them in a bundle, you’ll receive 10% off.
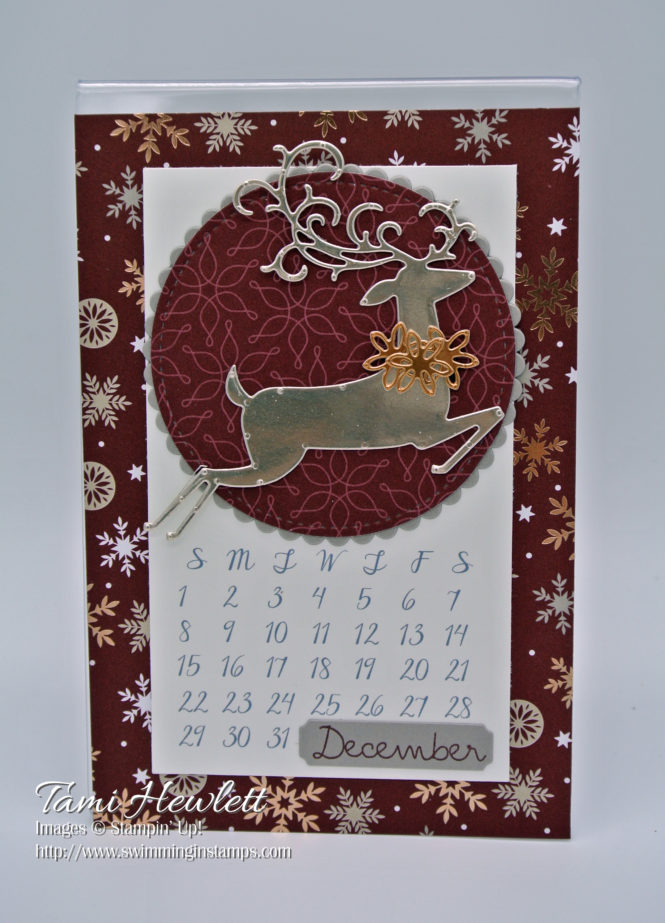
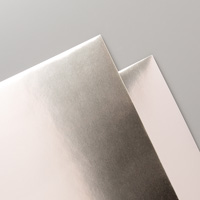
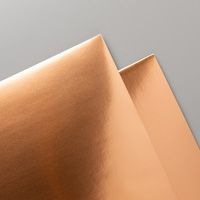
I love the intricate deer die cut in this set. It’s elegant and beautiful and a perfect centerpiece for my December calendar page. I cut it out of Champagne Foil, and then layered some detailed Copper Foil flowers around the deer’s neck. The Copper Foil ties the deer into the gorgeous background paper, which has Copper Foil accents. It’s really lovely in real life. Too bad the photos don’t do it justice.
I layered the deer over some circle die cuts. I cut the Joyous Noel center circle using the Stitched Shapes Framelits Dies. You might not be able to see the stitching in the photo, but it’s there. Then, I cut a slightly larger scalloped circle from Gray Granite Cardstock using the Layering Circles Framelits Dies.
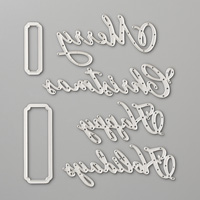
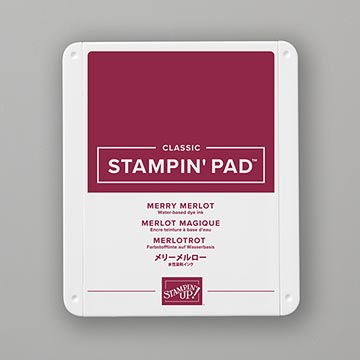
For this page, I moved the placement of the month so I could keep the main focus on the deer. I used the small tag die cut from Merry Christmas Thinlits Dies to cut it out. Again, I used the old retired Date It stamp set to stamp the month, but you could easily substitute a small alphabet stamp set.
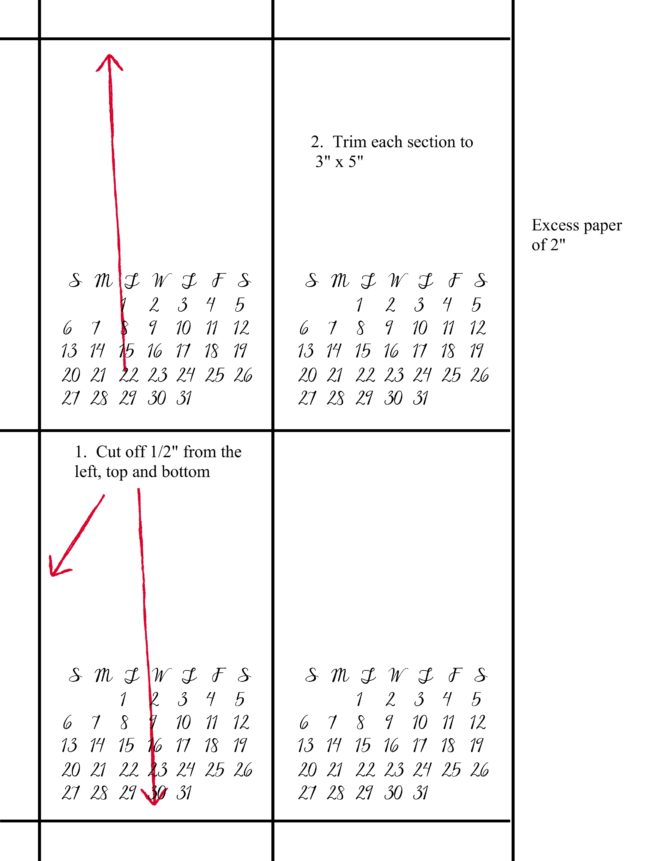
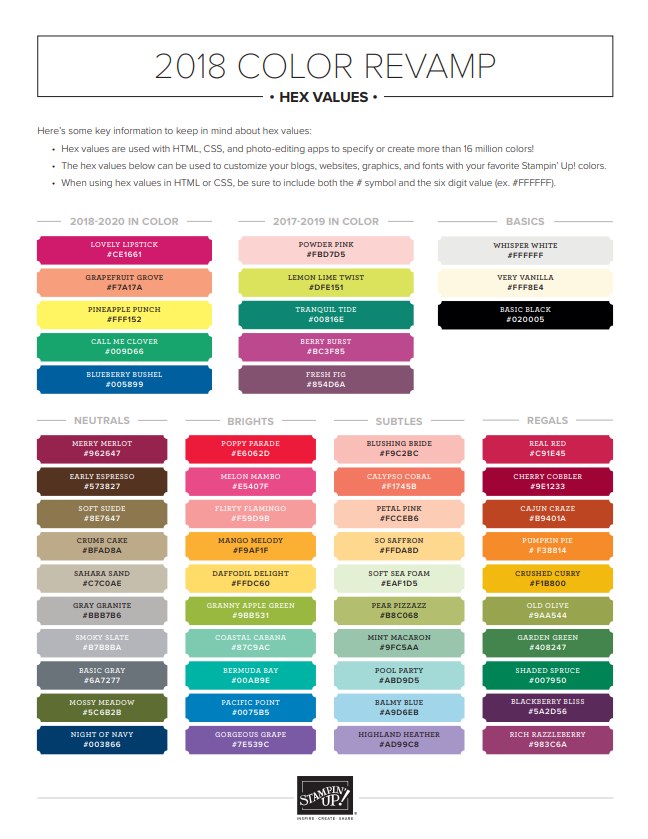
I created a printable calendar page on My Memories Suite. To download the calendar page JPEG, click HERE. Print the JPEG on 8-1/2″ x 11″ on Whisper White Cardstock with the smallest margins possible for your printer. The days and numbers are colored Basic Gray. (I used Stampin’ Up!’s Hex Codes to enter the RGB value. You can download that color sheet HERE.) Each sheet will make 4 calendar layers. Trim each one down to 3″ x 5″ as follows:
Supplies used on my calendar page:


Reminder: Only a few day left to cash in your Bonus Days coupons! For details, click HERE.