


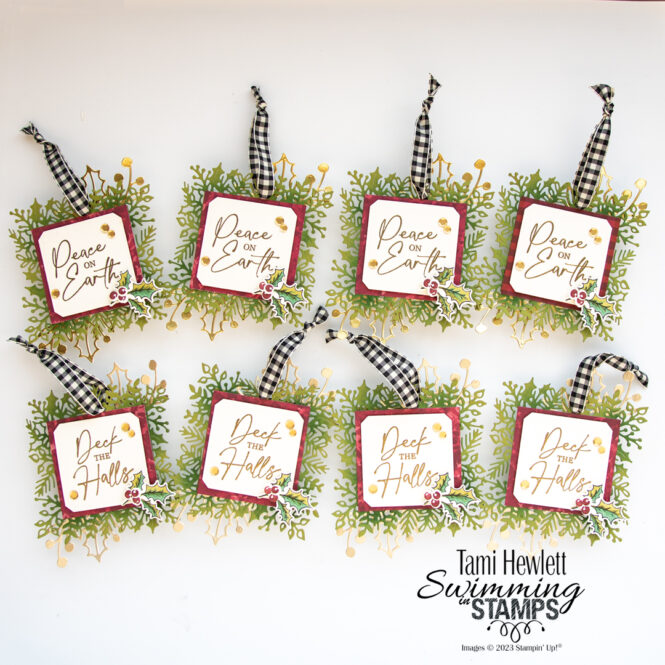
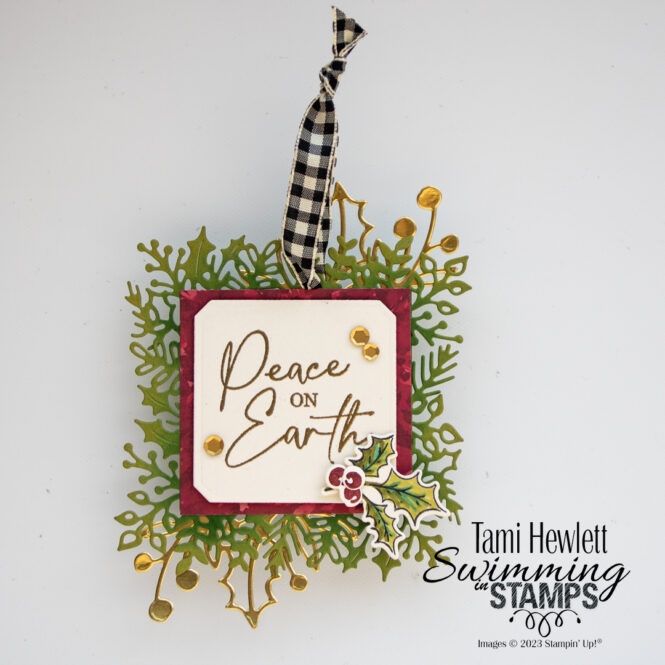
It’s starting to look a lot like Christmas! I’m having so much fun with the Joy of Christmas Suite Collection. I designed a whole class around the Joy of Noel Bundle. Then, as a thank you for signing up for the full class, I made these cute little tags to add to everyone’s supply packets.
Before I go any further, I want to thank Cindy Schuster, Stampin’ Up! Concept Artist, for her beautiful inspiration!
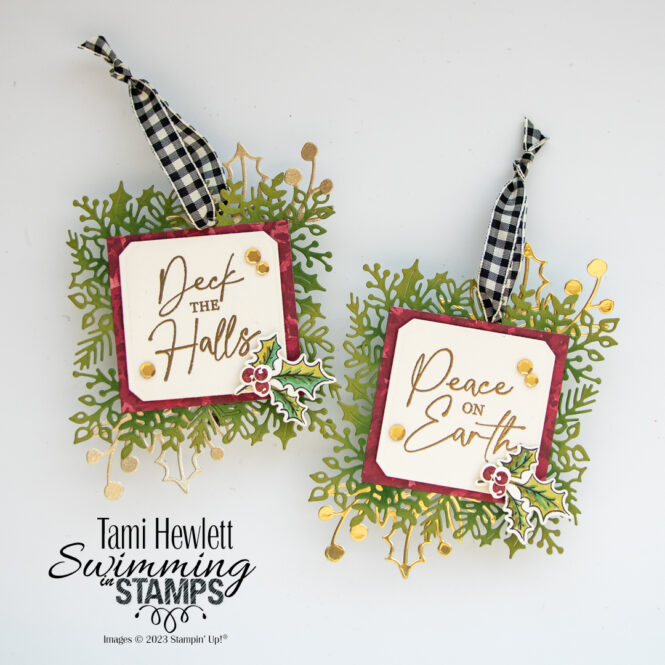
These tags were simple to make, so here’s a quick tutorial. (Use the Christmas Classics Bundle unless otherwise noted):
- Die-cut the large square detailed leaf label from Old Olive Cardstock and then use a Blending Brush to apply Shaded Spruce ink to the base of random leaves. Start from the center of the label and work outwards leaving the tips colored Old Olive.
- Cut Joy of Christmas DSP and a matching layer of Old Olive Cardstock measuring 2-1/2″ x 2-3/8″.
- Cut 9-1/2″ of Black & Very Vanilla Large Check Ribbon. Thread it through the top of the Old Olive detailed leaf label die-cut and tie a knot.
- Die-cut the large rectangle detailed label from Gold Foil (or similar gold brushed or glimmer paper from your stash.) Trim away excess portions of the label, leaving just the detailed leaves and a small portion to adhere behind the Old Olive detailed leaf die-cut. Use SEAL to adhere the gold die-cuts in place as shown.
- Stamp the sentiment with Versamark ink on Very Vanilla Cardstock and heat emboss in gold. Die-cut with the square label.
- Adhere the DSP square and sentiment labels to the Old Olive detailed leaf die-cut with SEAL.
- Use Memento ink to stamp the holly leaves and Cherry Cobbler ink to stamp the berries on Very Vanilla Cardstock. Color the leaves with Old Olive and Shaded Spruce Stampin’ Blends and then cut out both the holly leaves and berries with the coordinating dies.
- Adhere the holly with Mini Dimensionals and the berries with Mini Glue Dots.
- Add three Pastel Sequins in gold.
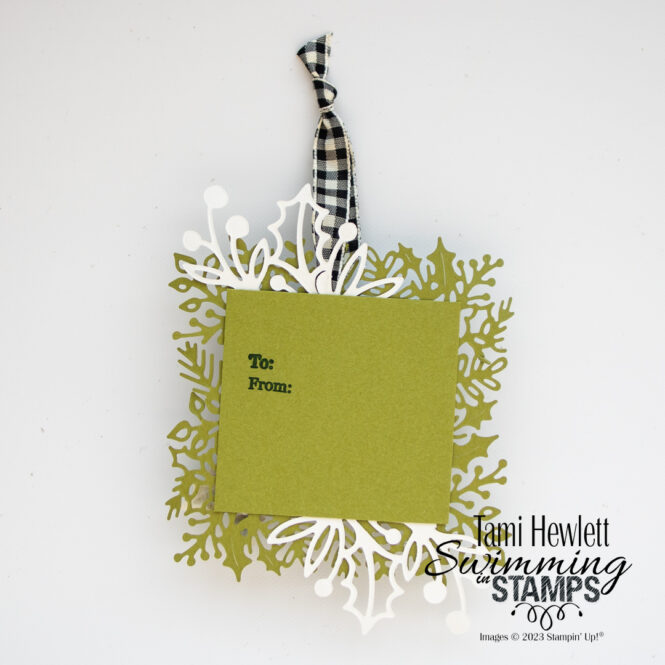
10. Flip the tag over. Stamp “to & from” using the Joy of Noel stamp set with Shaded Spruce ink on the Old Olive layer. Adhere the layer to the back of the tag with SEAL.
There is still time to sign up for the Joy of Noel Online Class (Option 2-which includes written instructions, invitation to the live class this Friday, December 1 at 5:00 PM PST, and a link to the class recording.) In fact, all my past classes are available to purchase. See the Class Calendar page of my blog for a list of classes, sneak peeks of the class projects, and all the details.
Have a wonderful and creative day!

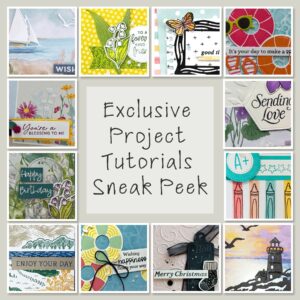
Purchase products from my online store to qualify to receive free exclusive project tutorials. This month’s PDF includes 12 creative tutorials designed by my demonstrator friends and I to inspire your paper crafting! The projects feature products from the May-August 2026 Catalog and current Online Exclusives. Enjoy!
")
")
 Designer Series Paper")


 Cardstock")


")


 Large Check Ribbon")


