


I felt so honored when Stampin’ Up! asked me to pre-record a presentation for its big 3-day OnStage Event in Vienna, Austria held earlier this month! My presentation featured the new Sweet Citrus Bundle, which is included in the upcoming January-June Mini Catalog going live on January 5, 2023. Over the next three days, I’ll be sharing all the projects I created for my presentation.
While I wasn’t able to travel all the way to Vienna, I did attend one of the local 1-day events in Anaheim, California! It was a blast seeing demonstrator friends, crafting, and previewing new products. But my favorite part was attending with my sweet mom!!!
While my presentation was not part of the consolidated 1-day events, it is available to view On Demand in the Recorded Content. If you’re a demonstrator, be sure to check it out!
At the end of the third post, I’ll include a link to a PDF with written tutorials for all my projects. So, I’m just going to hit the highlights in these posts.
The Sweet Citrus Bundle includes the Sweet Citrus Photopolymer Stamp Set (which includes two-step stamping) and the Sweet Citrus Hybrid Embossing Folder (which includes both a 3D embossing folder and coordinating die set.) The largest die fits inside the embossing folder giving you the option to both emboss and cut at the same time. Or, you can use the embossing folder alone like a regular embossing folder. While I can’t show a photo of the bundle yet, I can say that it includes stamps to create citrus fruit, with separate stamps for the rind and wedges. It also includes darling sentiments with a great font and coordinating leaves and flowers.
The first thing I did was play with ink colors to figure out color combinations and different fruits I could create! I ended up making oranges, lemons, limes, and grapefruits … sooo fun!!!
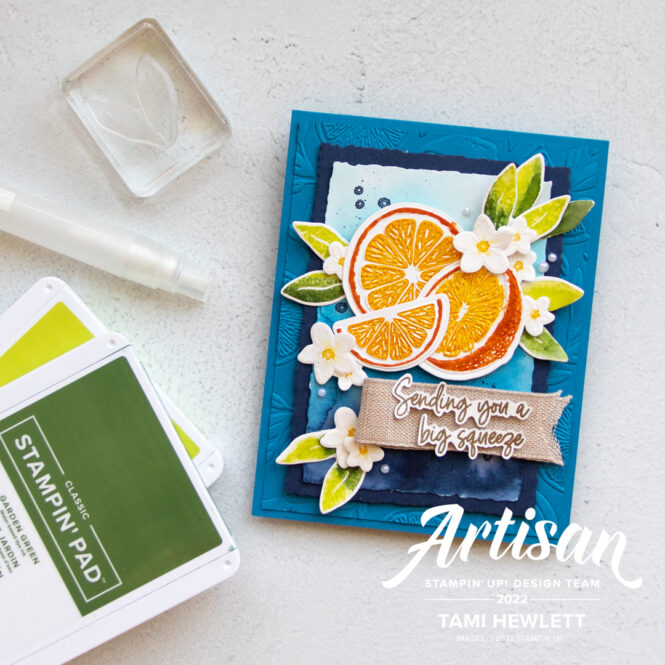
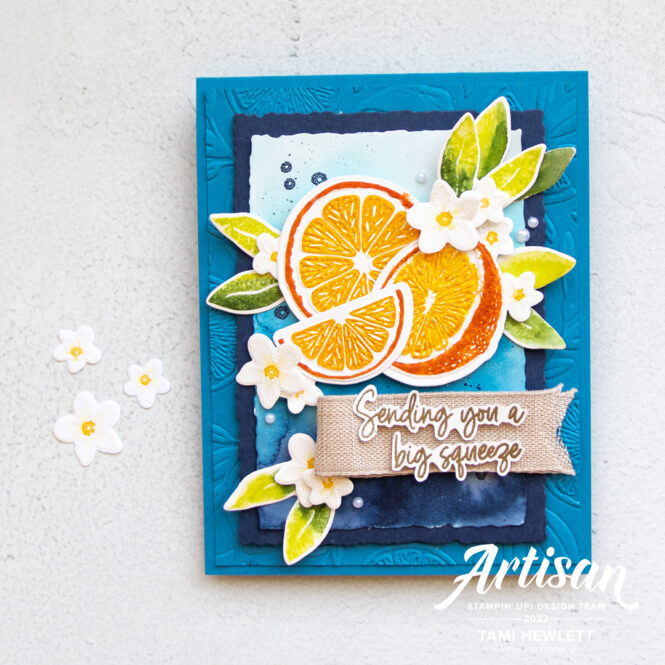
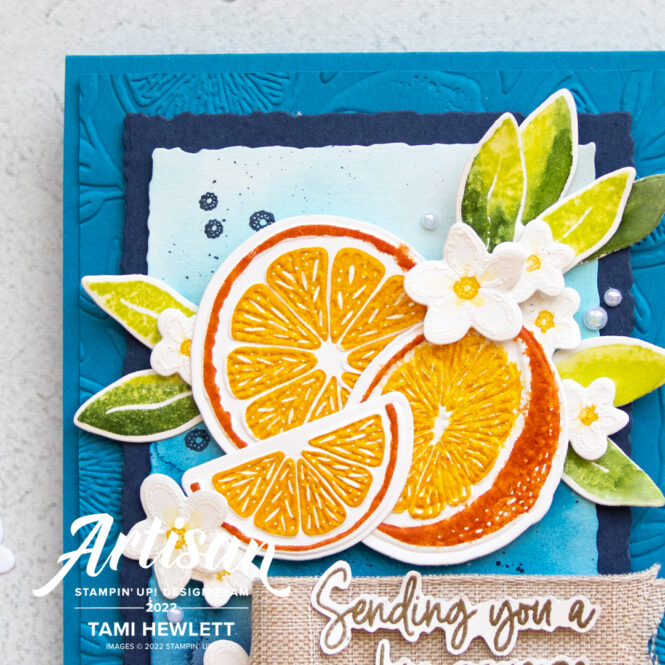
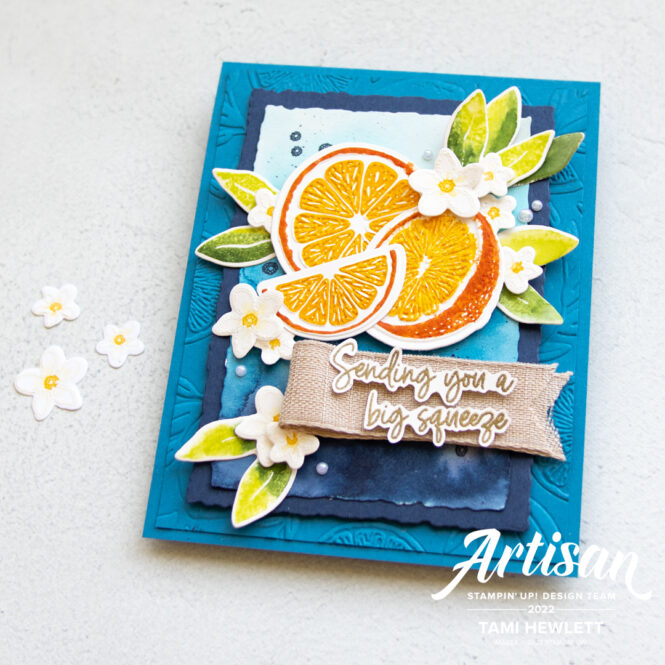
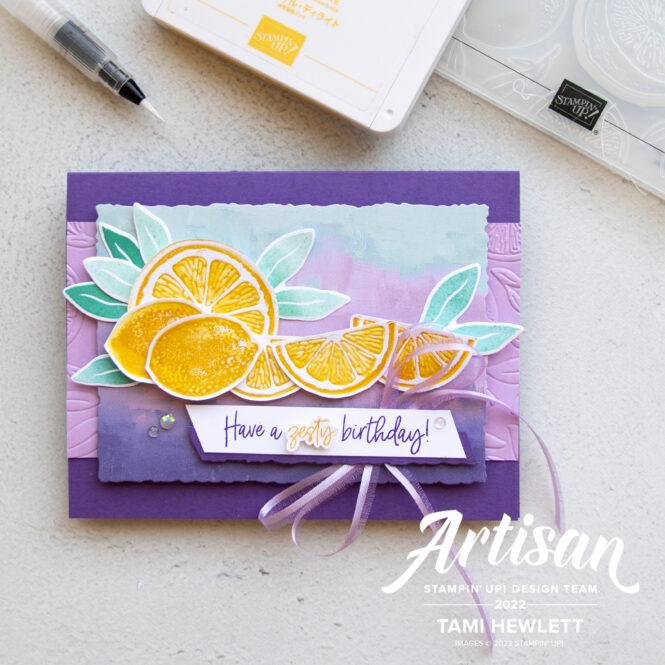
To create the fruit on this first card, I stamped with Pumpkin Pie and Mango Melody on Shimmery White Cardstock. Then I lightly spritzed the paper to cause the ink to slightly bleed. I love that soft watercolor look! To stamp the leaves, I inked up part of the leaves with Parakeet Party and the rest with Garden Green, and then spritzed the stamp before stamping on Shimmery White. The background is watercolored with Night of Navy, Pacific Point, and Tahitian Tide ink, and the flowers are embossed in white and lightly watercolored and stamped with Daffodil Delight ink.
Here are a few tips I discovered along the way: 1) To ensure proper alignment of the two fruit stamps, dies and embossing folder, it’s important to properly mount your stamps on the acrylic blocks. Set the stamp down on your work surface upside down and let it relax. Then, place the block over it. 2) When stamping the center, focus on aligning the top of the slice and then centering the rest. 3) When aligning the embossing folder, focus on aligning the inside wedges.
Another big tip I have is for the sentiment on this card. Cut a Foam Adhesive Sheet slightly smaller than the ribbon and place it underneath to give the ribbon support and keep it adhered.
Stamp With Your Embossing Folder
On my second sample, I used a super fun technique to stamp with the Sweet Citrus Embossing Folder. It’s super easy and ends up looking great! (I’m normally not good at this sort of technique, but even I could do this.)

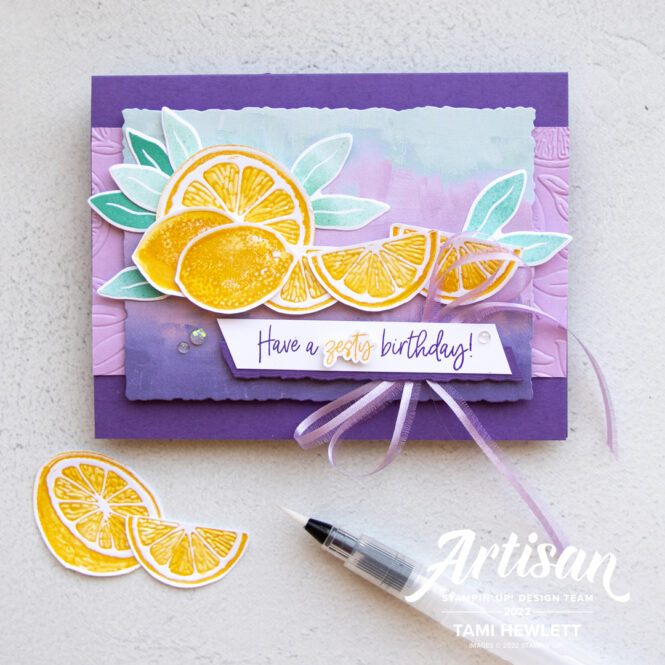
To create the lemons on this card, I inked up the Sweet Citrus Embossing Folder on the debossed side (without the Stampin’ Up! logo.) I opened my Daffodil Delight ink pad and used it to pat the embossing folder and ink up all the raised areas. Don’t worry if it’s not perfect. Then, flip the folder so the inked up side is away from you and place the die inside the folder. Then place a layer of Basic White Cardstock measuring 4-1/4″ x 5-1/2″ inside the folder, gently close the folder and run it through the Cut & Emboss Machine with plates 1 and 4.
When the paper comes out, it won’t look great … yet. Next, take a small Water Painter and watercolor the wedges and rind with Daffodil Delight ink. Just a little will do. All of a sudden, it will come to life and look fantastic! Super easy and super fun!!!
Also, keep the remainder of the embossed and cut layer! There are more pieces of fruit that you can easily cut out with Paper Snips.
In the background of this card, I used Hues of Happiness Designer Series Paper, a Gorgeous Grape card base, and a layer of Fresh Freesia Cardstock dry embossed with the Sweet Citrus 3D Embossing Folder. I also added leaves stamped and shaded with Sponge Daubers and Coastal Cabana and Bermuda Bay ink, a bow tied with Fresh Freesia Open Weave Ribbon, and some 2021-2023 In Color Opal Rounds.
I hope these cards have inspired you to play with the Sweet Citrus Bundle too! Stay tuned for more samples featuring this awesome bundle over the next two days.
Have a wonderful and creative day!

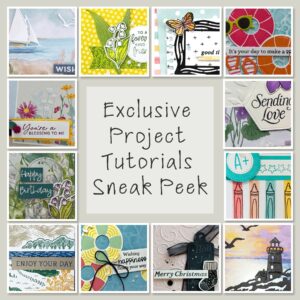
Purchase products from my online store to qualify to receive free exclusive project tutorials. This month’s PDF includes 12 creative tutorials designed by my demonstrator friends and I to inspire your paper crafting! The projects feature products from the May-August 2026 Catalog and current Online Exclusives. Enjoy!


 Ribbon")


")


 Designer Series Paper")


 Open Weave Ribbon")


Ack! That blue is stunning!! Beautiful cards!!
Thanks so much Stephanie!
Hi Tami
I love love the color combination you chose for yr cards
It makes the fruit stand out .
Thank you for sharing
Thanks so much Gerry!
Wow! Gorgeous!! The colour combination is just amazing!
Melodie, that means so much. Thank you!