


Happy Halloween everyone!!! Hope you have a fun, spooky day!
My little kiddies are all grown up and off on their own. But, I still have wonderful memories of many, many costumes and fun Halloweens. Plus, I like to let them know I’m thinking of them. So, I made care packages to mail off and surprise them. Bahahaaaa!
OK, so I need to start off by qualifying that I did not plan these projects or this post well at all. I ended up using a whole bunch of retired products that are no longer available. So, take the whole thing as inspiration versus something you could copy. First off, I don’t usually buy Halloween related products, because I really don’t end up using them very much. So, my options were limited. Second, I didn’t have a lot of time, so these were meant to be quick projects. For the most part, the kids will just tear into the candy, it’s more the thought that counts.
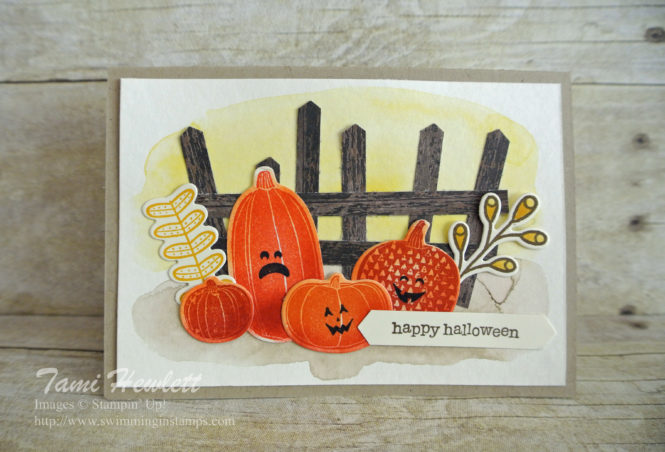
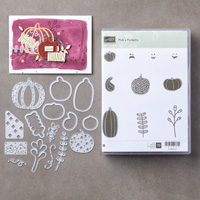
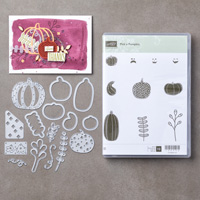
With all that in mind, I did buy the Pick A Pumpkin bundle this year, because it’s really versatile and I love all the cute swirls and vines and fun shapes that come with the Patterned Pumpkin Thinlits Dies. I stamped the pumpkins in various shades of orange on Very Vanilla cardstock and then used a Sponge Dauber to shade them. Afterwards, I stamped the faces with Basic Black Archival ink and cut them out with the matching thinlits.
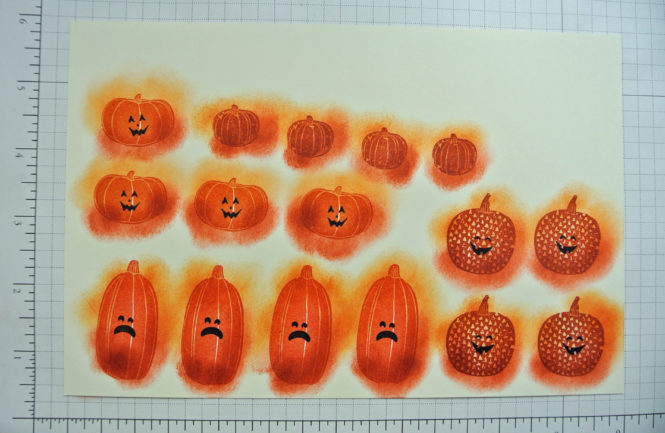
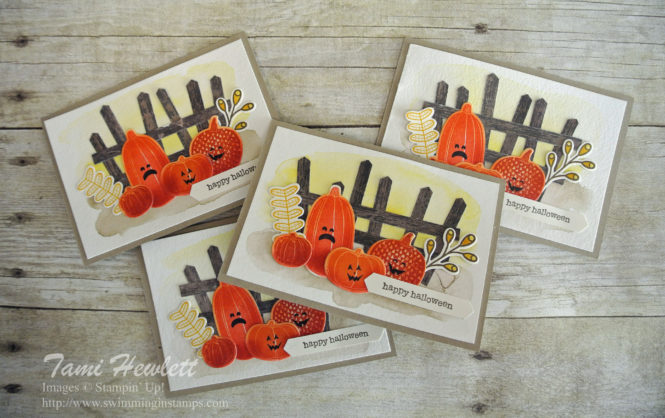
I made four sets, one for each kid and one for each significant others. You can see above how the shading adds dimension to the stamps.
For the cards themselves, I used Kraft Notecards & Envelopes. I realized too late that Stampin’ Up! now only offers those sets in Very Vanilla and Whisper White. But I wanted to point them out to you, because they’re great for making quick projects. The card bases are a little smaller than a standard card, and using them definitely saves time cutting and scoring.
I watercolored a wash in the background using Crushed Curry and Crumb Cake ink on watercolor paper. Then, to make the fence, I cut strips of Wood Textures Designer Series Paper 1/4″ wide and used the Classic Label Punch to cut the tops. (Feed the tops of the paper strips into the punch from the back to just punch the top part.)
The sentiment is from an oldie but goodie, Teeny Tiny Wishes.
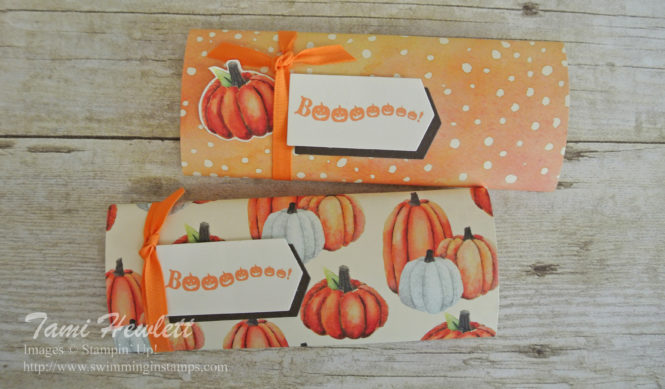
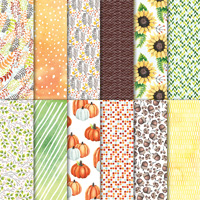
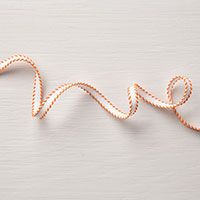
Next, I wanted to dress up a few treats to throw in the care packages and make them look more festive. I purchased Hersey’s chocolate bars, wrapped them in Autumn Harvest Designer Series Paper (DSP) and added a few embellishments. I simply cut out the pumpkin from the DSP. The ribbon is retired, but you can currently purchase Pumpkin Pie Stitched Edge Ribbon (listed below) as an alternative. I used Fast Fuse adhesive for these to make sure they stayed put.
For the sentiment, I used an old download from My Digital Studio printed on Very Vanilla cardstock, and then I cut them out with Gift Card Thinlits dies (which is also retired.) You could use any appropriate sentiment and label here.
I’m sure by now that you’ve noticed there are no chocolate bars in these!!! While making them, I realized they didn’t feel right, so I opened one up and realized it was totally gross inside!!! Boy, would that have been a real scare. My wonderful husband volunteered to run out to the store and buy new ones.
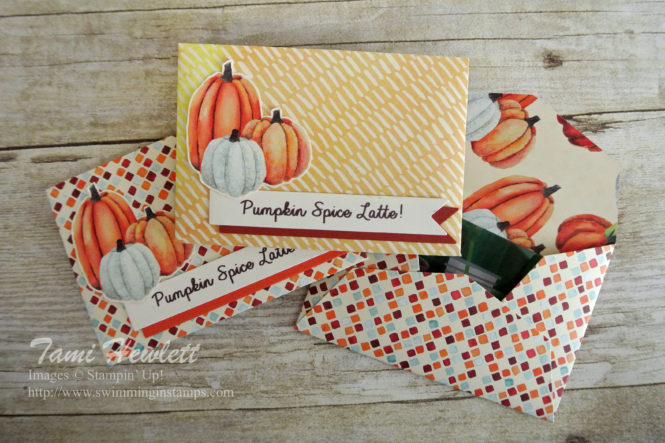
For the care packages themselves, I picked all sorts of “pumpkin” related treats that I found at Trader Joe’s, like pumpkin iced cookies, pumpkin breakfast tarts, and even gluten free pumpkin oatmeal and pumpkin pancake mix for my son! I also threw in some Starbucks gift cards and created my own sentiment on the computer by simply printing it out on cardstock.
To make the gift card holders, I again used the retired Gift Card Thinlits Dies and coordinating labels.
Supplies used on my projects:


I think they’ll all have a lot of fun opening these.
Have a spooky day!!!!!
