This weekend was super hot, so I ended up staying inside my nice, cool craft room. I was waiting for a big shipment that was scheduled for delivery on Monday, and included lots of new designer series paper and the new colors of Stampin’ Blends Markers. (I took advantage of the great Buy 3 Get 1 Free sale going on this month! See below for link to details.) So that put a lot of projects on hold.
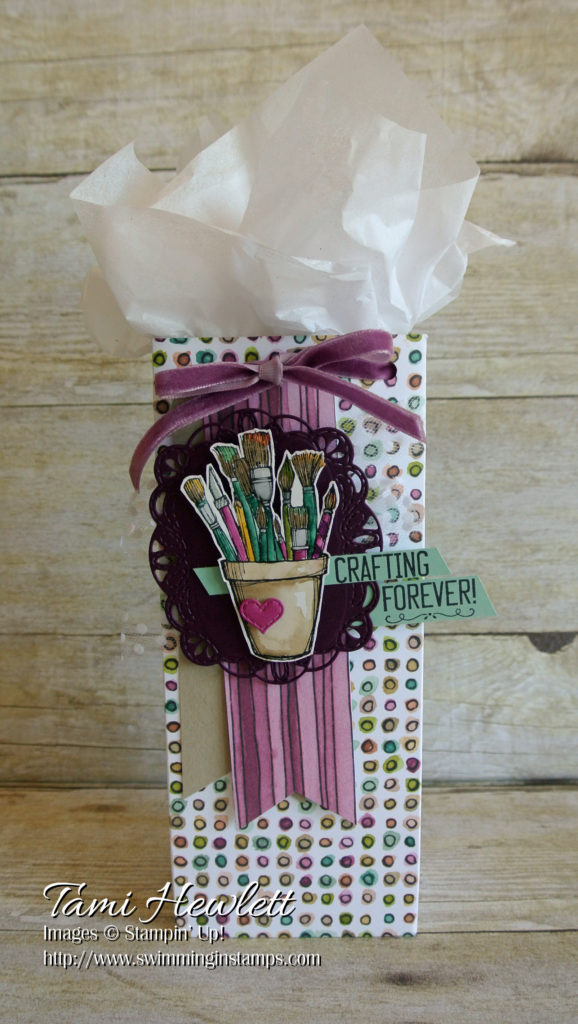
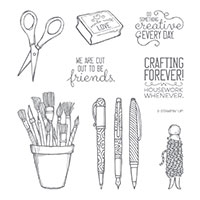
Instead, I decided to make some fun gifts with the supplies I had on hand. I’ve had the Crafting Forever stamp set for ages, and don’t ask me why, but I haven’t used it much! It’s so cute and has the greatest sentiments!!! It’s perfect for crafty friends.
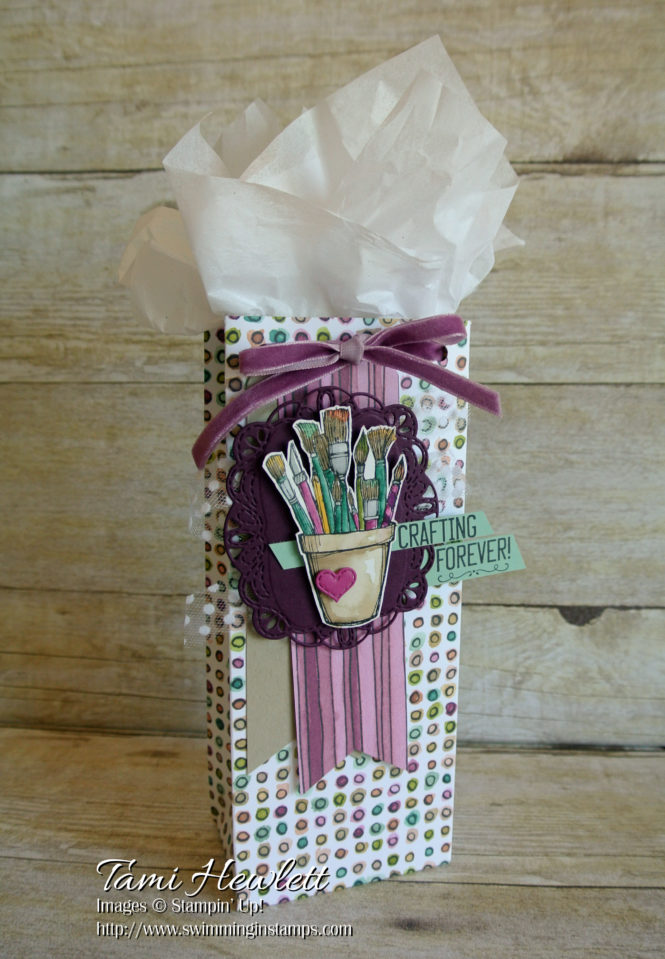
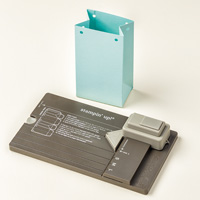
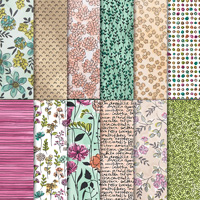
First, I created a tall gift bag with the Gift Bag Punch Board. The Gift Bag Punch Board makes bags in three sizes (S, M, or L based on the dimensions of the base of the bag.) You can make the height as tall as your paper will allow. For this bag, I made a medium sized bag, so I trimmed the Share What You Love Designer Series Paper down to 11″ (for a M size bag) by 9″ (2″ for the base and 7″ for the height.) Simply follow the directions to punch out and score the bag and adhere with Tear and Tape Adhesive to ensure it stays put.
I used the reverse punch on the same board to punch holes in the top of the bag for the ribbon.
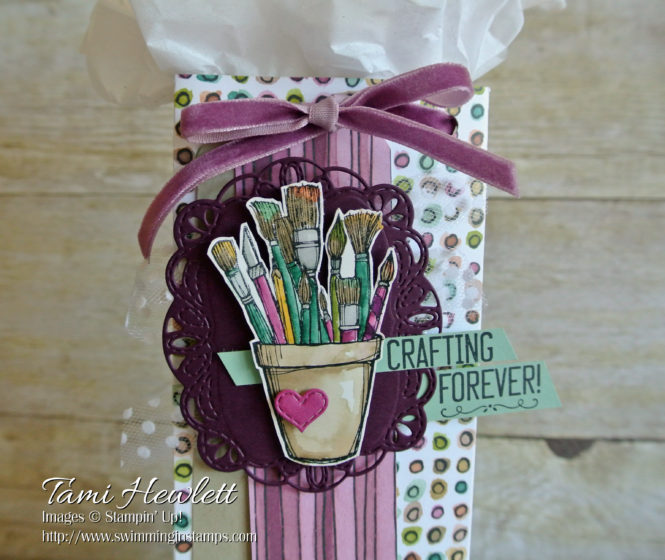
To create the tag, I started with a couple 1-1/2″ strips of Crumb Cake Cardstock and Share What You Love DSP and created banners with the Banner Triple Punch. To round the corners on the top of each banner, I used the reverse punch on the Envelope Punch Board.
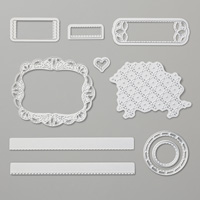
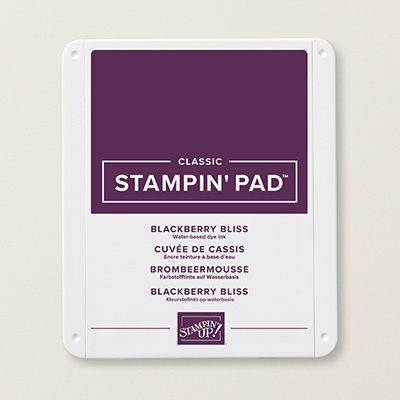
Next. I cut out the gorgeous label from the Stitched Labels Framelits Dies from Blackberry Bliss Cardstock. In addition, I used the Big Shot Embossing Mats to give the label added embossed dimension. If you haven’t tried these mats yet, you really need them! They are awesome!!!
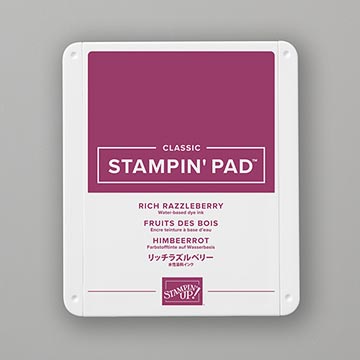
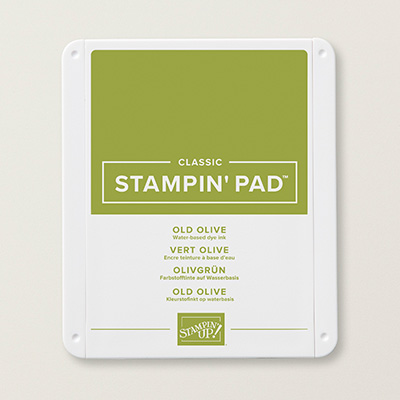
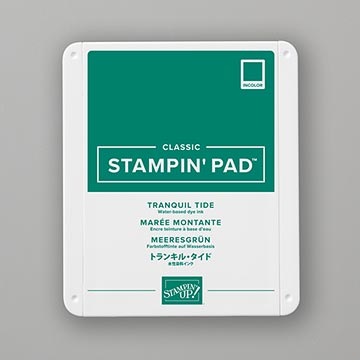
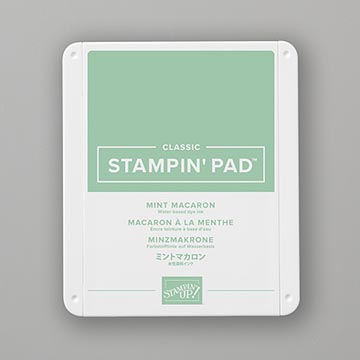
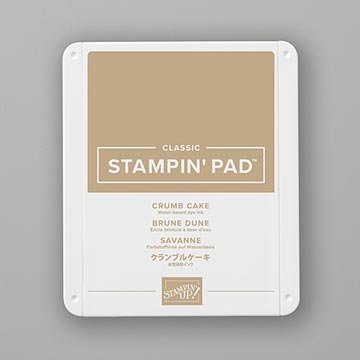
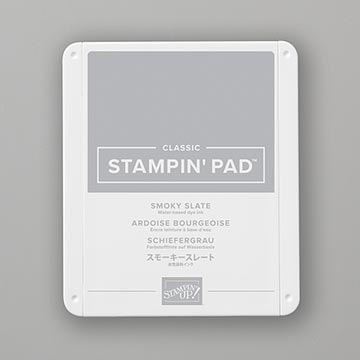
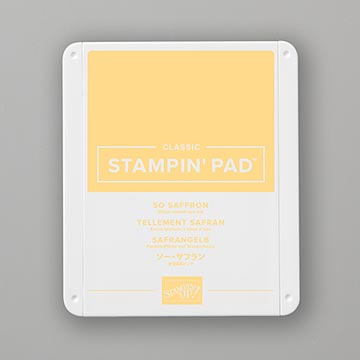
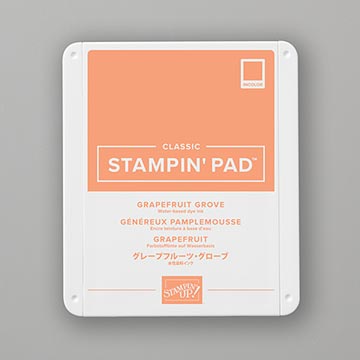
Next, I stamped the Crafting Forever image with StazOn ink on Shimmery White Cardstock so I could watercolor it. See below for all the ink colors I used. I squeezed my ink pads to pool ink in the lids and then used an Aqua Painter to watercolor. If you have trouble pooling ink in the new ink pads, trying flipping them upside down and pressing the bottom of the pad. You can also add a drop of ink refill in the lid, or press a small acrylic block directly into the pad to gather ink. All three of these methods work great for watercoloring.
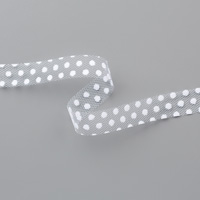
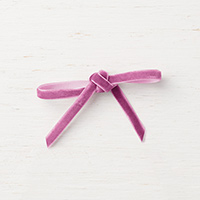
Finally, I added some of Stampin’ Up!’s gorgeous new ribbons. I used 1/4″ Rich Razzleberry Velvet Ribbon on the top of the bag and Whisper White 5/8″ Polka Dot Tulle Ribbon behind the label. I love how it adds such a delicate touch of artistry to my projects.
Supplies used on my gift:


Current Promotions:
Contact me for more details or refer to the July Newsletter.

Tami’s July Special:
Make a purchase of $75 or more from July 1 to 16 and earn a free Textured Impression Embossing Folder of your choice! To qualify, use hostess code XX4R3SGU when you check out. Also, please do not select No Contact. I will need to contact you to determine which Textured Impression Embossing Folder you choose. For orders over $150, you qualify to be your own hostess, so don’t use this hostess code. It is more advantageous to use the hostess benefits for yourself and select your own free items.
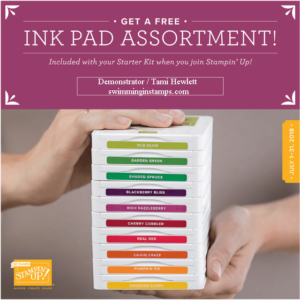
In addition, see my earlier post for information on the Buy 3, Get 1 Free designer series paper sale and how you can earn a free set of ink pads valued at $75!
Have a wonderful and creative day!