


Hello and welcome to my blog. I’m Tami Hewlett from California, USA, and today I’m sharing projects I designed for the April Artisan Design Team Showcase featuring the Artfully Composed Suite Collection. Be sure to check out the Stampin’ Up! Facebook page to see all the Artisans’ projects featuring this gorgeous collection.

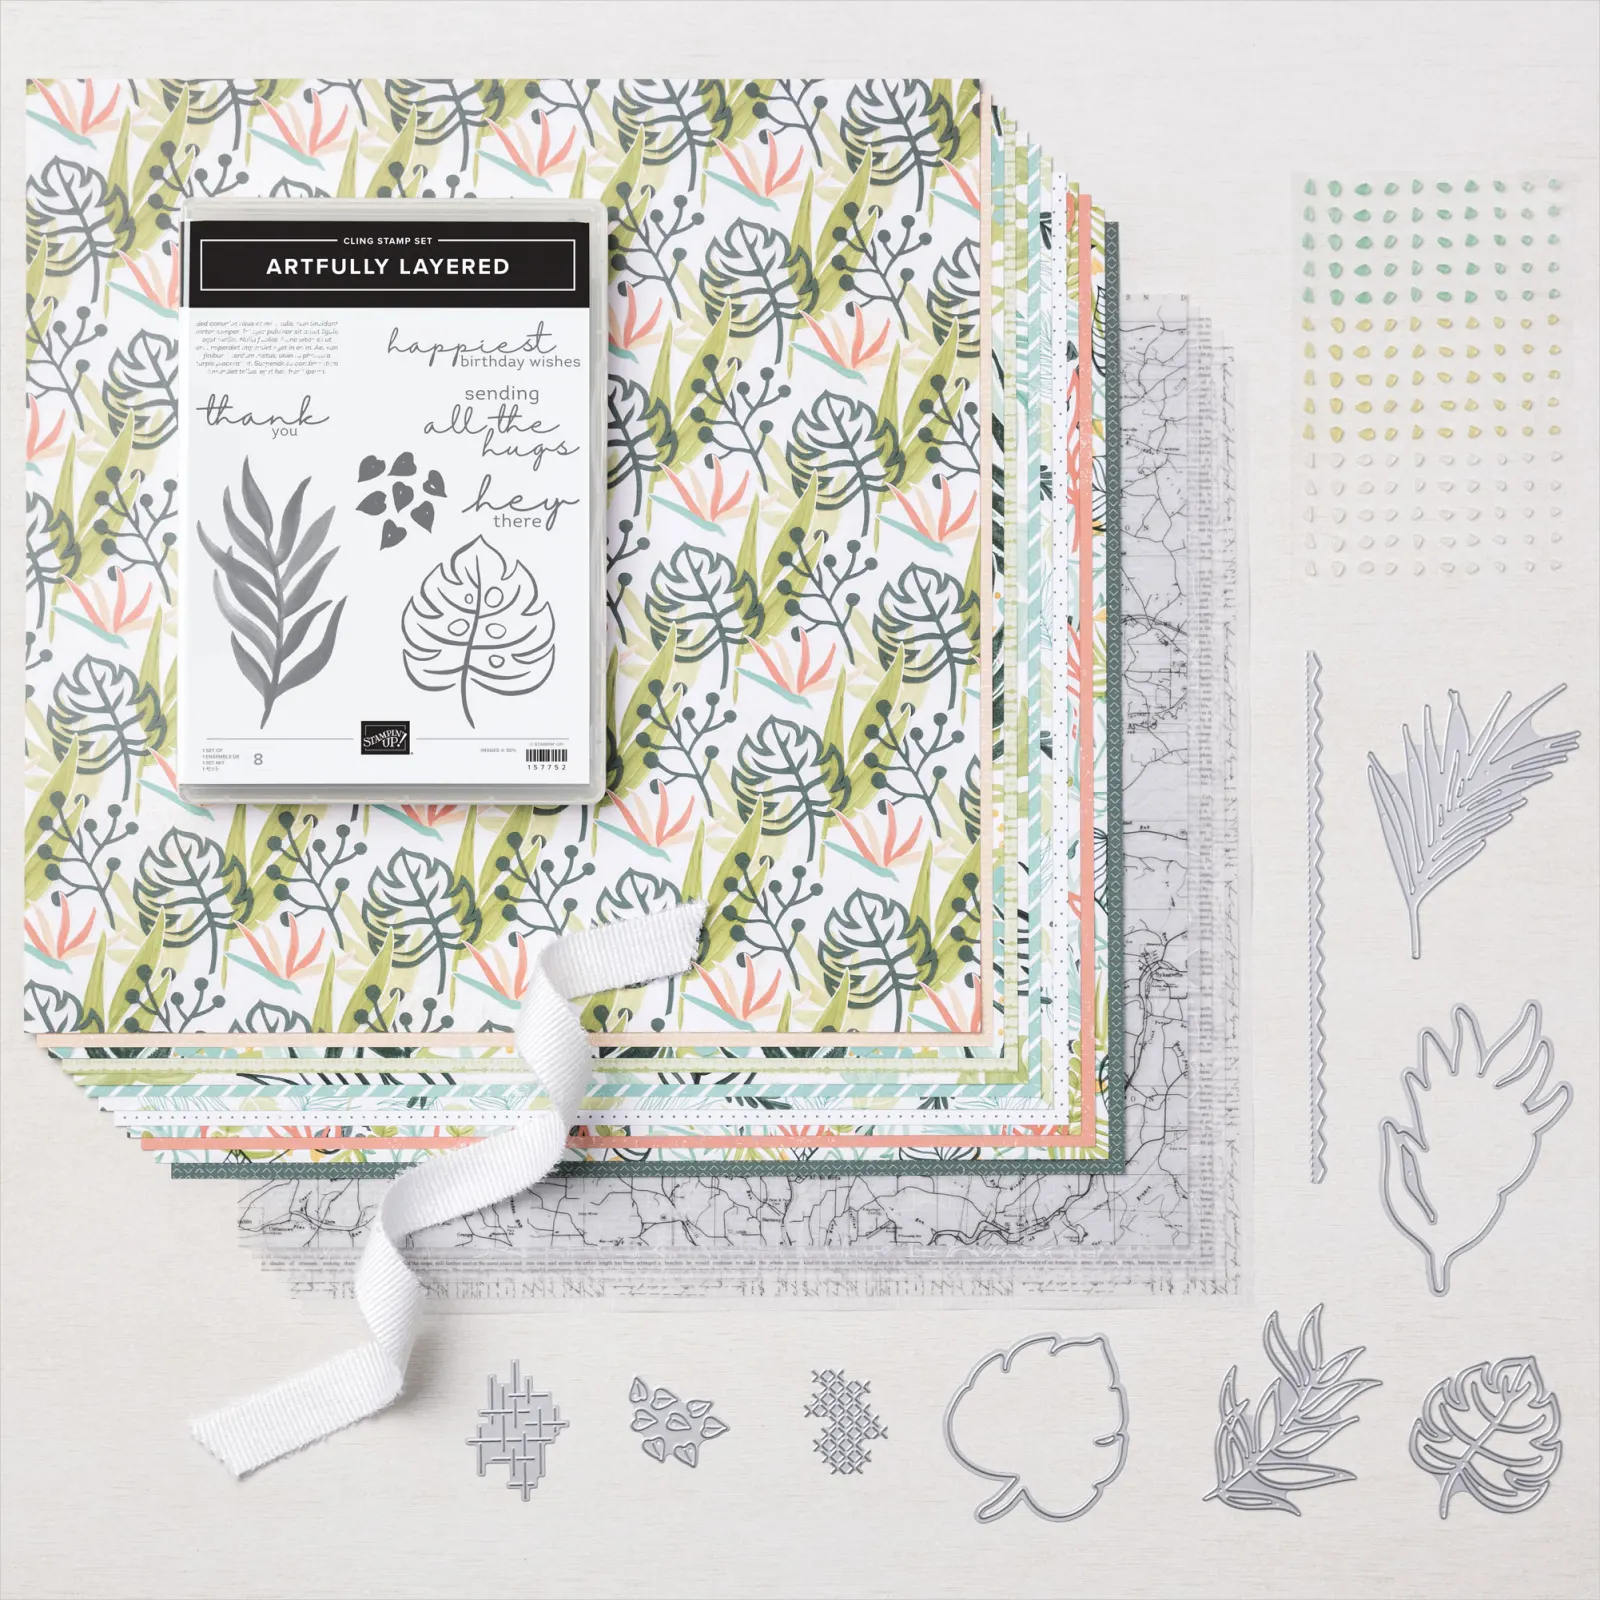
The Artfully Composed Suite Collection is located on pages 32-34 of the January-June Mini Catalog. It features beautiful, hand painted images including the Artfully Layered Cling Stamp Set, Tropical Layers Dies, Artfully Composed 12″ x 12″ Designer Series Paper, Vellum 12″ x 12″ Layering Designs, White 3/4″ Frayed Ribbon, and Faux Sea Glass Shapes. (See links under Supply List below to order the entire collection, stamp/die bundle for 10% off, or individual items.)
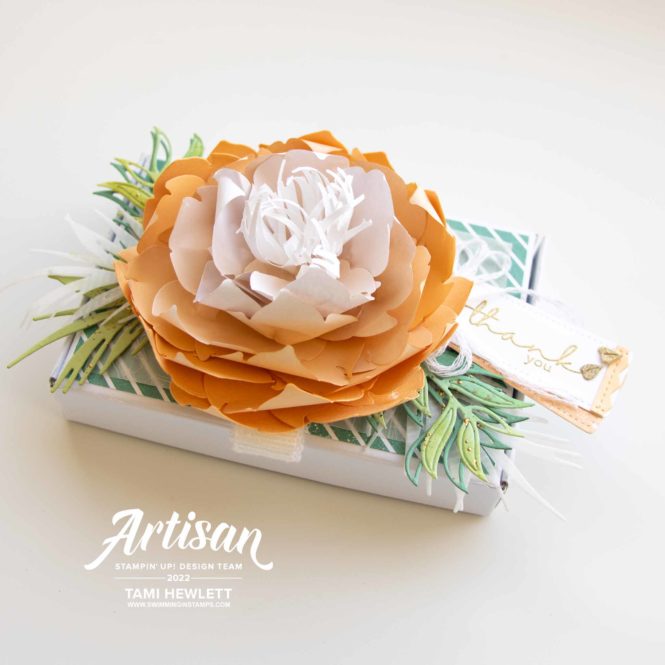
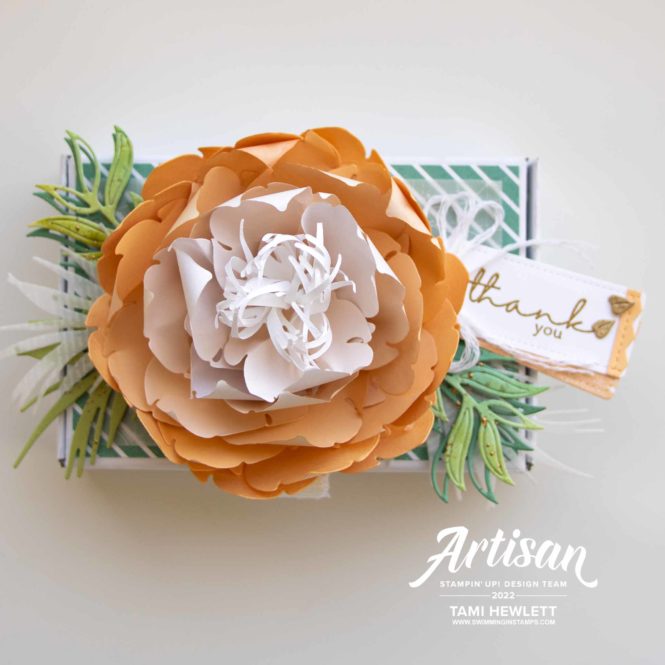
Floral Gift Box:
My first project is a gift box made from a Mini Paper Pumpkin Box. I realized that a couple of the Tropical Layers Dies might work to create a large 3D flower to decorate the box and I’m so pleased with the results!
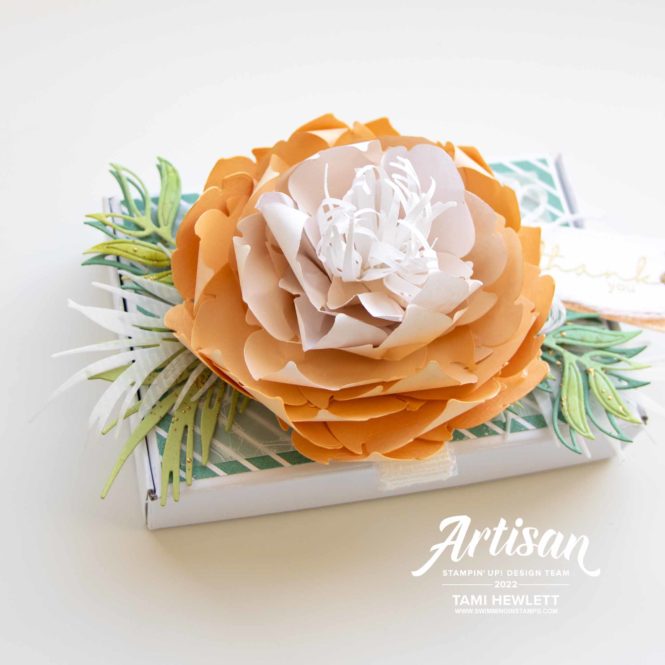
I used the large leaf die to cut “petals” from both Ombre Gift Bags and Pale Papaya Cardstock. The bags work great, because they’re made out of thin paper that’s perfect for shaping. I happened to have a bunch of Ombre Gift Bag scraps leftover from a recent online class project, so thank goodness I kept them! The fun thing about these bags is that I was able to get a big variety of tones from the ombre print!
I used five “petals” for each layer and had five Ombre Gift Bag layers with progressively darker tones. Then, on the bottom of the flower, I added two more layers of six petals each cut from Pale Papaya Cardstock.
For the petals cut from Ombre Gift Bags, I used a Blending Brush to add Pale Papaya ink to the back of the die-cuts, so when the petals curled up, you wouldn’t see the white backs. Then, I used a Bone Folder to curl and shape each petal individually. Toward the center, I pinched and pleated the bottom of the die-cuts to make them stand up straighter. To assemble the flower, I used a small Layering Circle die-cut as a base and used hot glue to adhere the petals layer by layer.
In the center, I cut 15 spiky die-cuts (see below for an example) from Basic White Cardstock that I trimmed down as shown. Then, I curled and rolled each one to form small stamens.
I have to be honest, I don’t feel like I’m a very neat crafter when it comes to hot glue. (I’m famous for burnt fingers and strings of glue going everywhere!) For this project, I happened to use a mini hot glue gun, which worked perfectly! It disbursed much smaller drops of glue that were easier to control. When I got to the center, I found it helped to dip the die-cut ends into the hot glue and then adhere three of them together at a time. Then, I dipped the bunch into the hot glue and carefully placed them in the center.
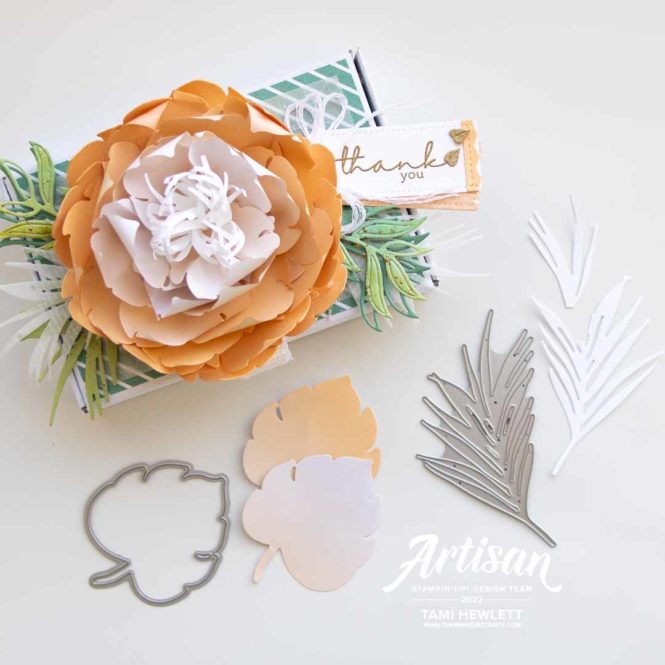
For the rest of the box, I watercolored a sheet of Fluid 100 Watercolor Paper with Just Jade and Pear Pizzazz ink and then used it to cut out some of the leaves. Then, I used tape to secure the backs of some of the cut-out pieces, so they would stay attached.
The rest of the leaves are cut from Just Jade, Pear Pizzazz, and Vellum Layering Designs. I also used Vellum Layering Designs and some Artfully Composed DSP for the top of the box.
To create my tag, I embossed the greeting in gold and then used a Tailor Made Tag to cut it out. The final touch was to add a few tiny leaf die-cuts from Gold Metallic Specialty Paper and tie a bow with frayed white baker’s twine. And, I almost forgot, there’s also a little pull created with a loop of White Frayed Ribbon.
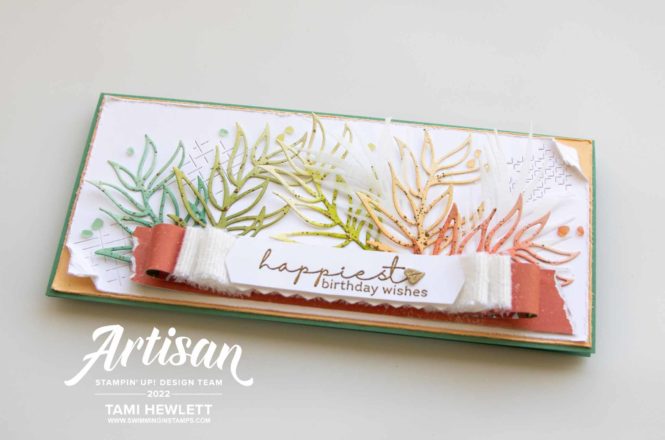
Happiest Birthday Slimline Card:
My next card is designed to fit into one of the Slimline Envelopes from the January-June Mini Catalog. The card measures 8-1/2″ x 3-3/4″ (cut from cardstock measuring 8-1/2″ x 7-//2″). This shape works great for larger-sized die-cuts, such as the Tropical Layers Dies.
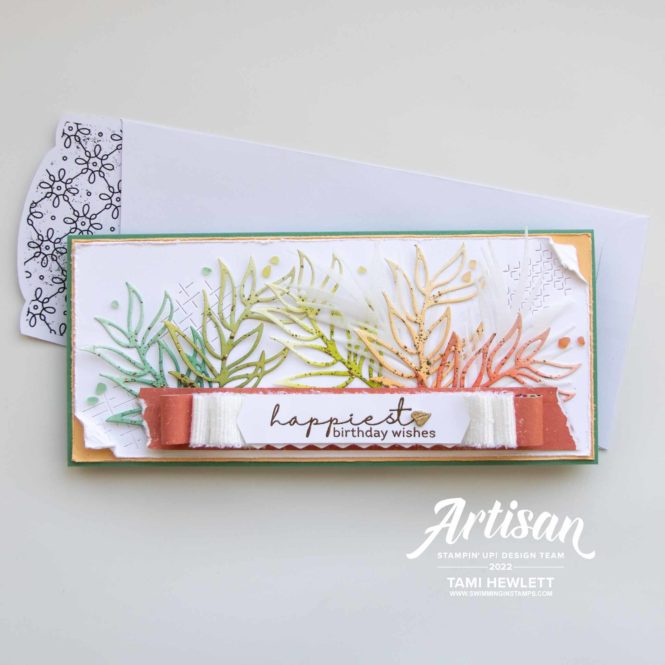
I cut five detail leaves from Fluid 100 Watercolor Paper and watercolored them with Just Jade, Old Olive, Granny Apple Green, Pale Papaya, and Calypso Coral ink in ombre patterns. Afterwards, I used a mixture of liquid glue and water to flick splatter over the dies and then added gold embossing powder and heat set. Then, I added a couple spiky leaf die-cuts from Vellum Layering Designs. I’m seriously obsessed with that vellum!!! The subtle white print is so elegant and lovely!
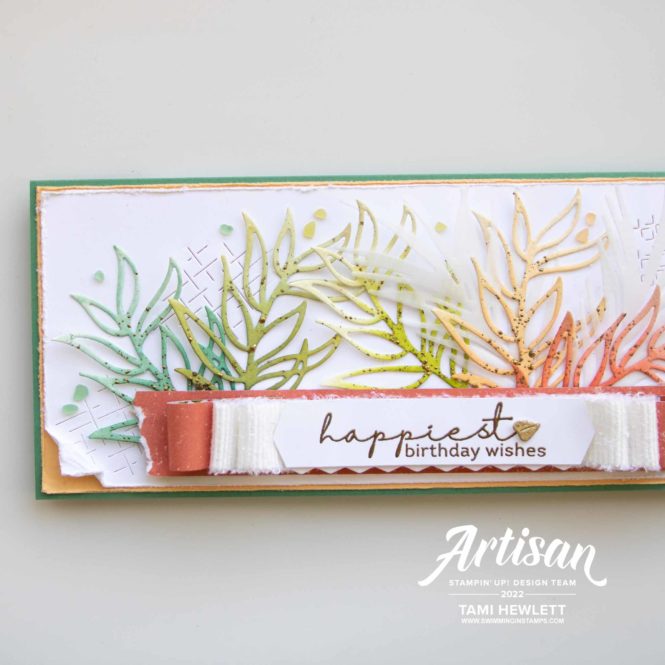
In the background, I added some of the cool embossing dies. There are two different ones included in the Tropical Layers Dies, so I added the larger one on the left side and the smaller one on the upper right side of the card for some unique texture. Afterwards, I roughed up the edges of the top two main layers with the blade of my Paper Snips and rolled and folded some of the corners.
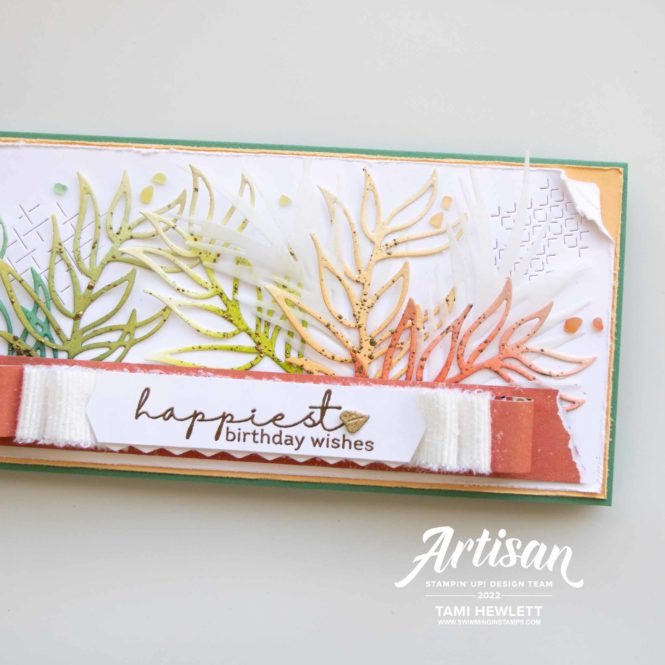
Don’t you just love the sentiments in this set? I think the script is so pretty! I embossed the greeting in gold on Basic White Cardstock and then used a Banners Pick a Punch to notch the ends. Then, I layered it over some folded designer series paper and White Frayed Ribbon.
The final touch on this card was to add some of the Faux Sea Glass Shapes. They come colored in Just Jade, Pear Pizzazz and White. But, it’s easy to add color to the white ones with Stampin’ Blends Markers as I did here.
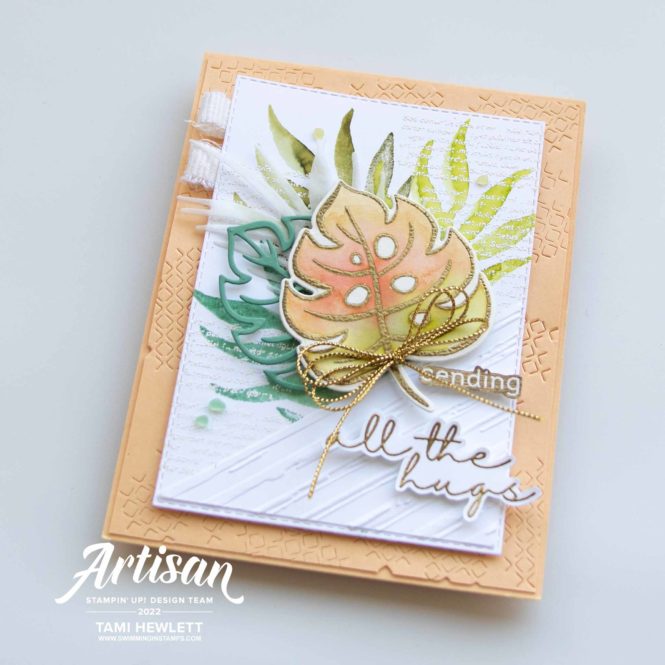
Sending All The Hugs Card:
My last card focuses more of the Artfully Layered Stamps. I just love the beautiful leaf designs and the cool typeset background stamp!
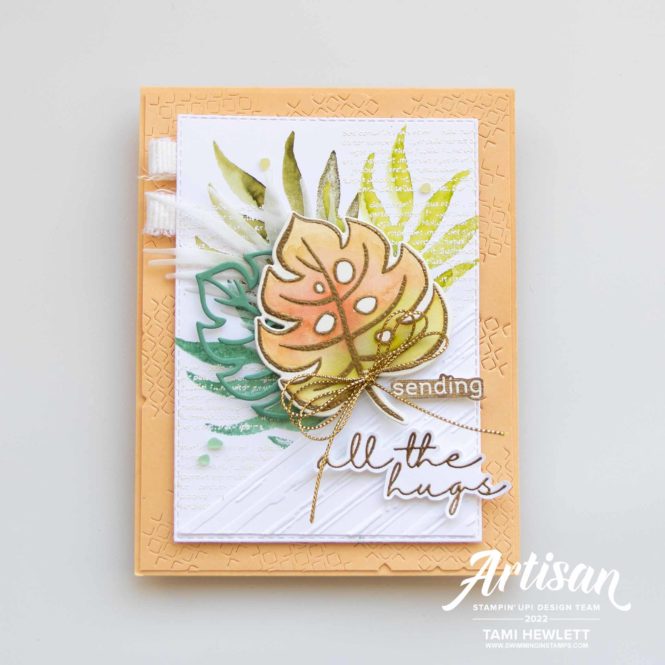
I stamped the large leaf three times in the background with Just Jade, Old Olive, and Granny Apple Green. To lighten the tone, I stamped off three times on scratch paper, and then prior to stamping, I lightly spritzed the stamp with a mist of water. I love this effect!!! I used Basic White Cardstock here, but you could also use this technique with Shimmery White Cardstock or watercolor paper.
After the paper was dry, I stamped the typeset background stamp numerous times with Versamark and embossed in white.
I also stamped the top leaf with Versamark and then embossed it in gold. This time, I used Fluid 100 Watercolor Paper and watercolored the inside of the leaf with Pale Papaya, Calypso Coral, and Pear Pizzazz ink.
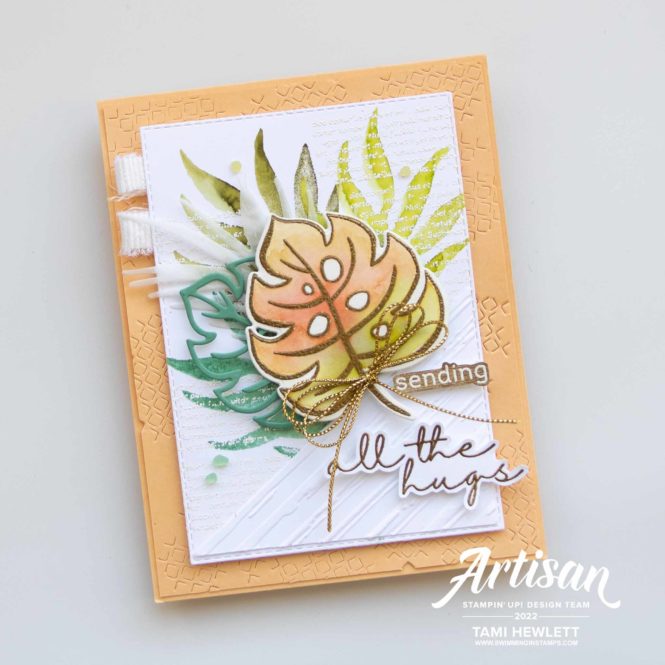
This card has lots of textured layers as well. I added a diagonal piece to the bottom corner that’s dry embossed with the Stripes 3D Embossing Folder. Additionally, I used the smaller embossing die-cut to decorate the Pale Papaya background layer.
Lastly, in the top left corner, I cut some White Frayed Ribbon in half vertically and used it to create two loops.
The more I used this collection, the more I love it! It’s definitely one of my favorites. Hope my projects have inspired you.
Have a wonderful day!

Purchase products from my online store to qualify to receive free exclusive project tutorials. This month’s PDF includes 12 creative tutorials designed by my demonstrator friends and I to inspire your paper crafting! The projects feature products from the May-August 2026 Catalog and current Online Exclusives. Enjoy!
")
")
")

 Designer Series Paper")
 Layering Designs")
 Frayed Ribbon")


 Metallic Specialty Paper")


")


Wow oh wow! I love your design on this suite. The flower is gorgeous! The cards so inspired. I’m so glad you share you’re creativity. If I’m in a slump, i just look at your blog.
Thanks so much!
Sue
Thank you so much Sue!!! 🥰🥰🥰
Wow Tami who would have ever looked at that leaf and turned it into a gorgeous 3D flower?! You are so freakin incredible!!! You continue to inspire me and wow me!!!
Awe, thanks so much! That means so much.
Nadine, thank you so.much!!!
You’ve overly inspired me again!