


Today is the last day of Sale-A-Bration! That means it’s the last day to earn free products with qualifying purchases of $50 or more. To see which Sale-A-Bration products are still available to earn, the best source is my online store. (Click on the Sale-A-Bration catagory under Home.) A little lower, you can also see the Coordination Product Release, which includes several die cut sets that coordinate with Sale-A-Bration stamps.
March 2021 Desktop Calendar:
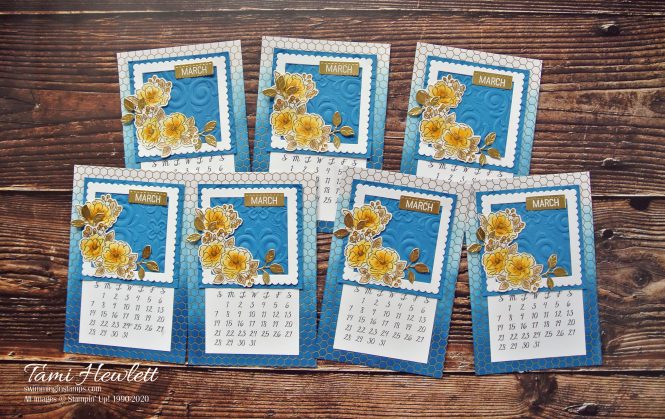
Today, I have both March and April 2021 Desktop Calendars to share with you. Both use Sale-A-Bration products, and most are still available to earn.
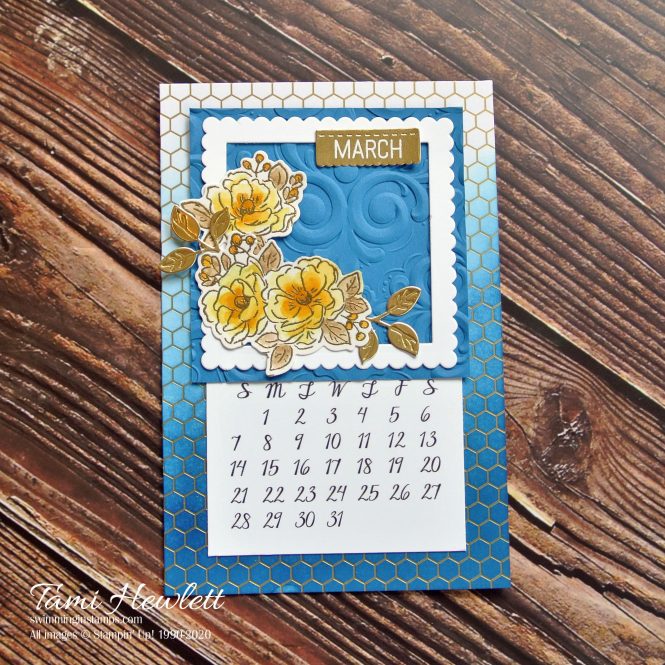
The March calendar features the Happy Birthday To You stamp set, Golden Honey Specialty Designer Series Paper, and coordinating Birthday Dies. (While the stamp set is still available to earn, the other two Sale-A-Bration products are sold out.)
I love picking stamp sets and layouts from my favorite cards to re-create in miniature versions for my calendars. This calendar is very similar to a Mother’s Day card I recently made featuring Best Dressed products.
Tutorial to complete the March calendar page:
- Cut Golden Honey Specialty Designer Paper to measure 4″ x 6″.
- Use a Sponge Dauber and small, gentle circles to sponge Pacific Point ink over the background paper creating an ombre design.
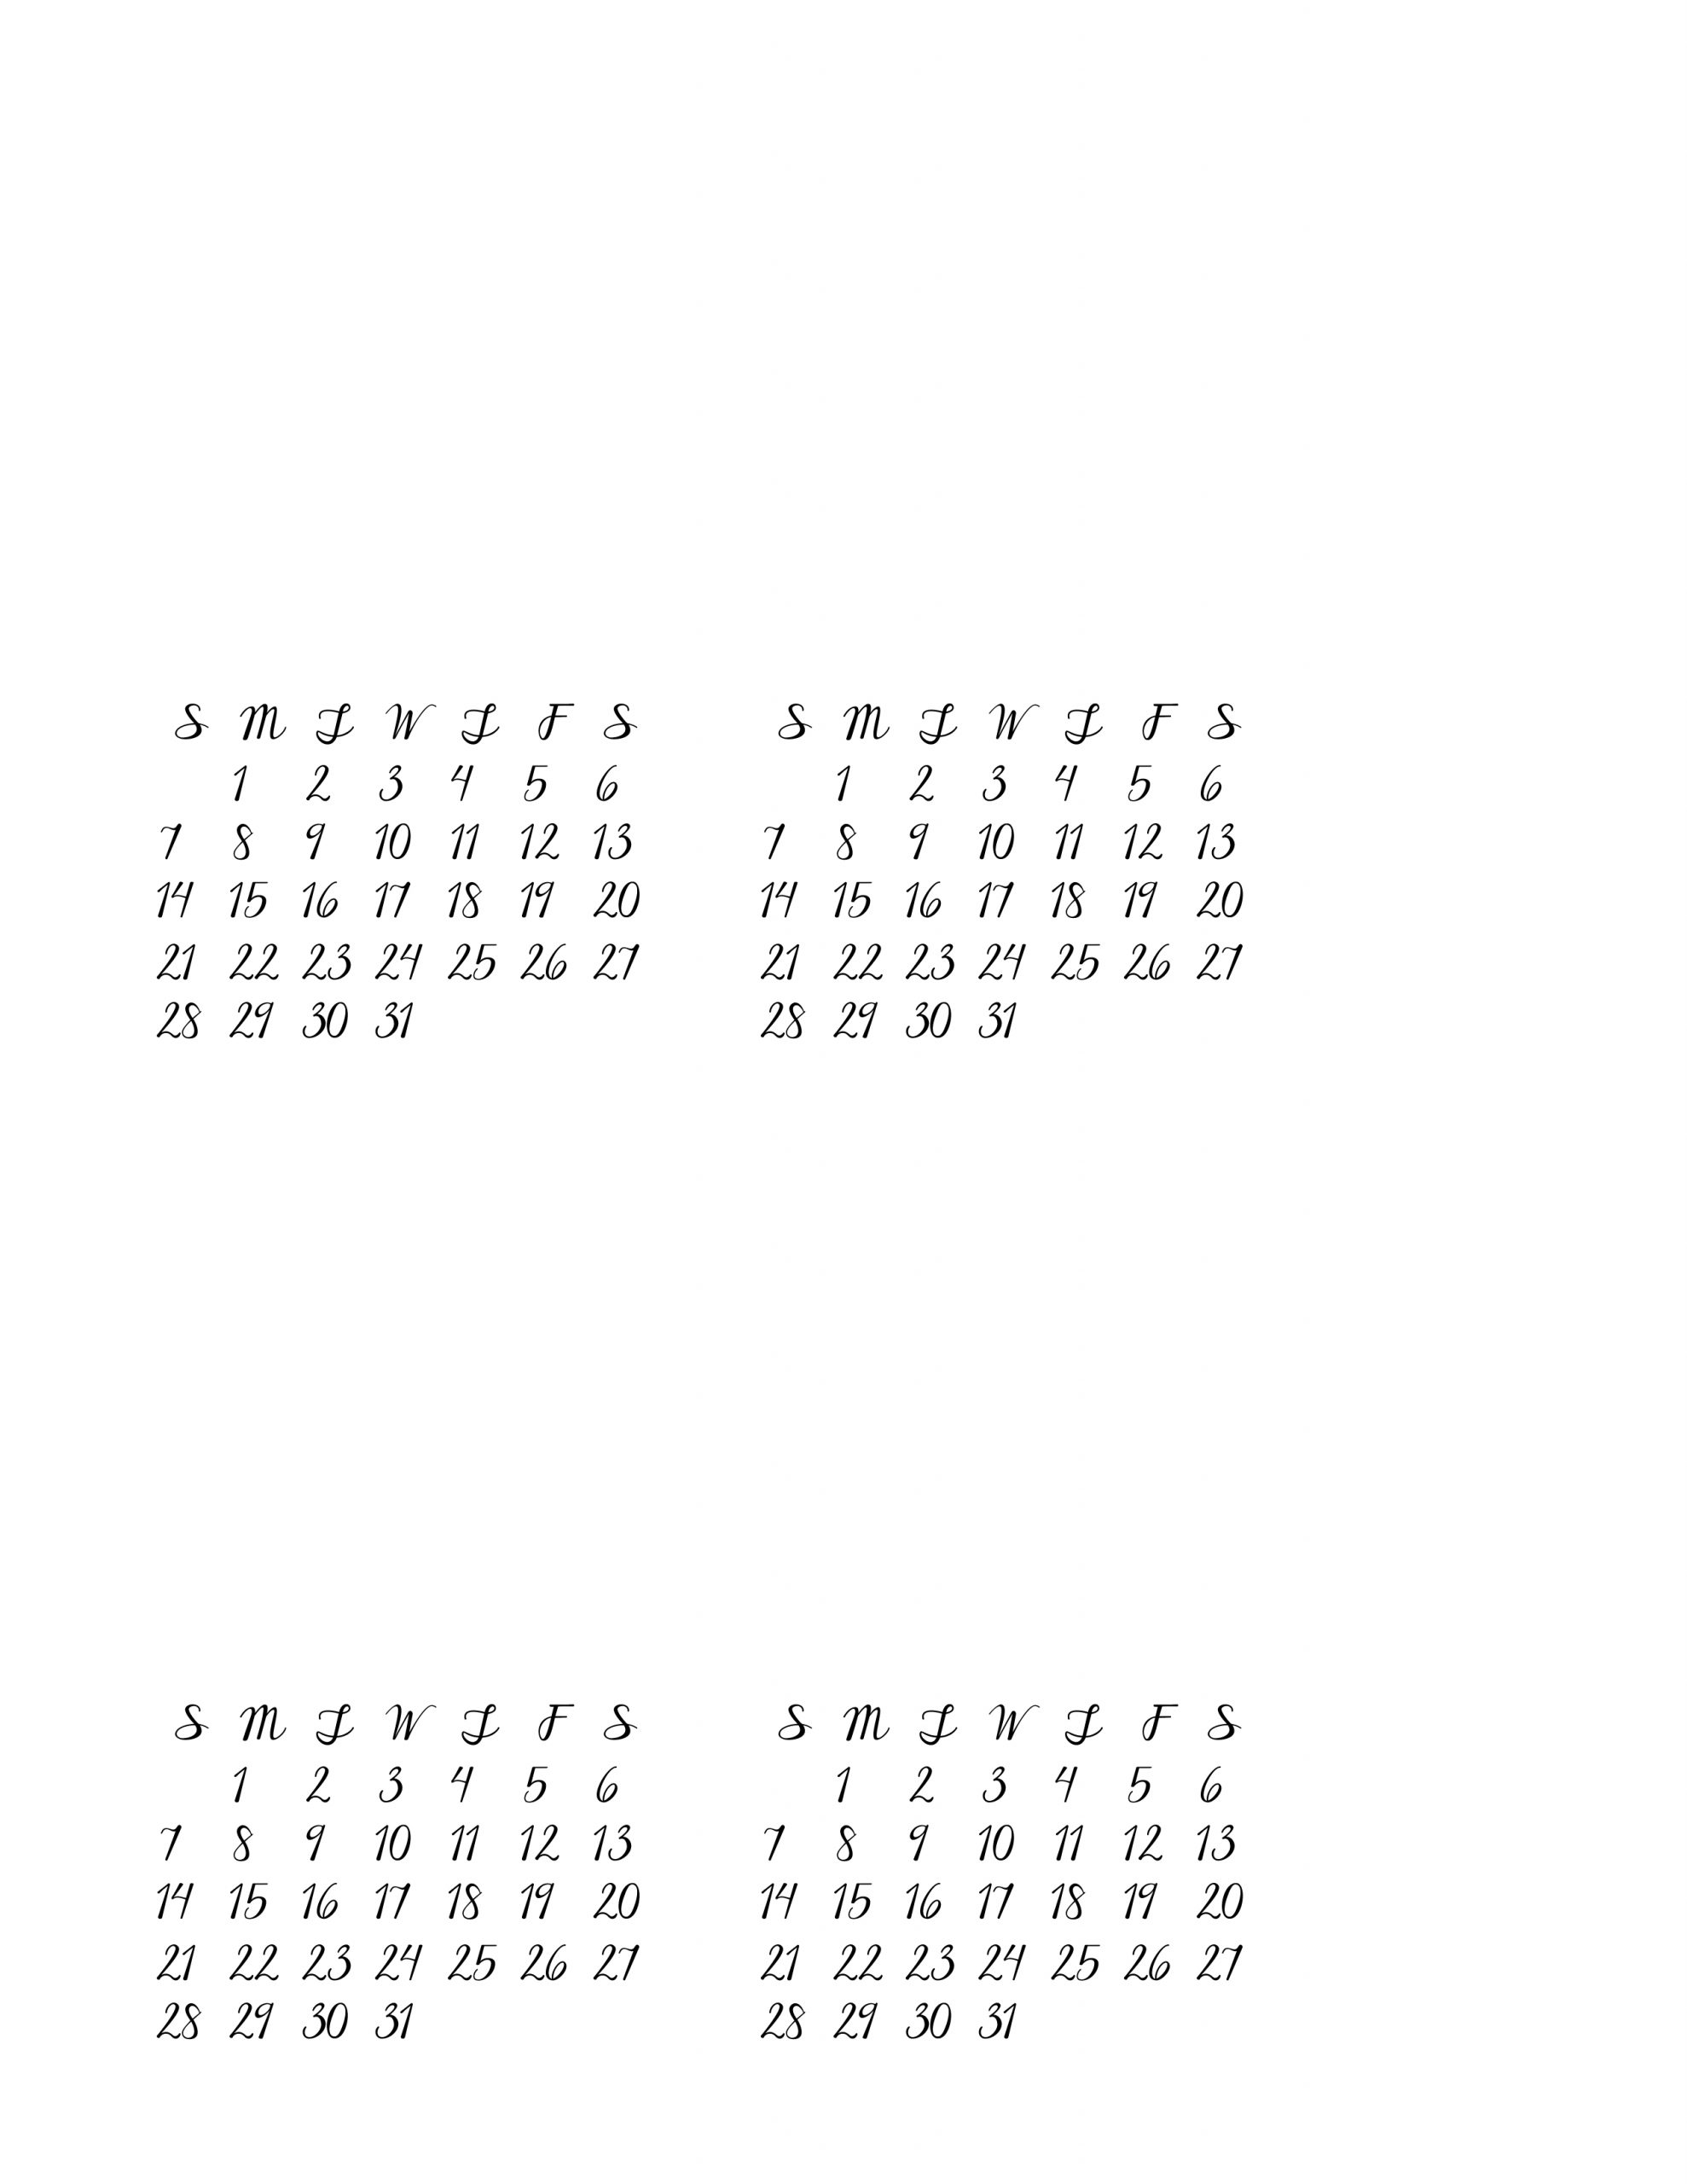
- Print calendar (see below for link to download) on Whisper White cardstock and cut to 3″ x 5″.
- Cut Pacific Point cardstock 3-1/4″ x 3-1/4″, spritz gently with water, and then run through a die cutting machine using the Parisian Flourish 3D Embossing Folder.
- Use Layering Squares Dies to cut a frame from Whisper White Cardstock.
- Stamp and emboss Happy Birthday To You cake in gold on Shimmery White Cardstock and used coordinating Birthday Dies to cut out the flowers. Use scissors to separate one flower from the other two.
- Use an Aqua Painter to watercolor the flowers with Daffodil Delight, Crushed Curry, and Crumb Cake ink. Start with a light wash and then add more saturated color to darken shadows.
- Use Birthday Dies to cut two leaves from Gold Foil.
- Emboss month in white on Gold Foil. (I used the retired Date It stamp set, but you could substitute any small alphabet or month stamp set.)
- Cut out month with Stitched Labels Dies.
- Adhere all pieces with Snail Adhesive as shown.
I had originally tried using the Rise & Shine stamp set for my March calendar. However, I decided the cups were too big and it just didn’t look right. One of the sets of calendars is for my husband’s office. He actually liked my original design (because it’s less feminine) so I kept one for him.
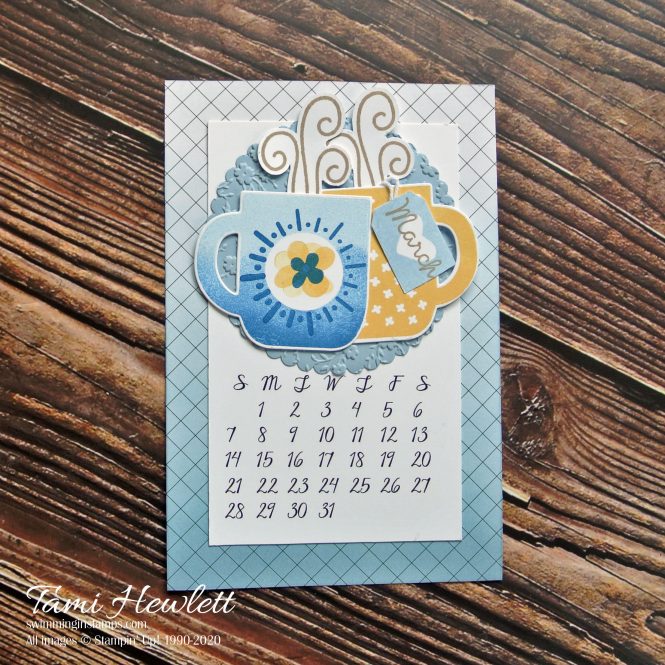
Colors for this version include Seaside Spray, Blueberry Bushel, So Saffron, and Crumb Cake. I also used the Layering Circles Dies and the Ornate Floral 3D Embossing Folder from the new Ornate Garden Suite.
April 2021 Desktop Calendar:
The April calendar features the Under My Umbrella and Label Me Bold stamp sets. Both of these are from the January to June Mini Catalog. In addition, I use some So Very Vellum Specialty Designer Series Paper ($50 Sale-A-Bration product) in the background.
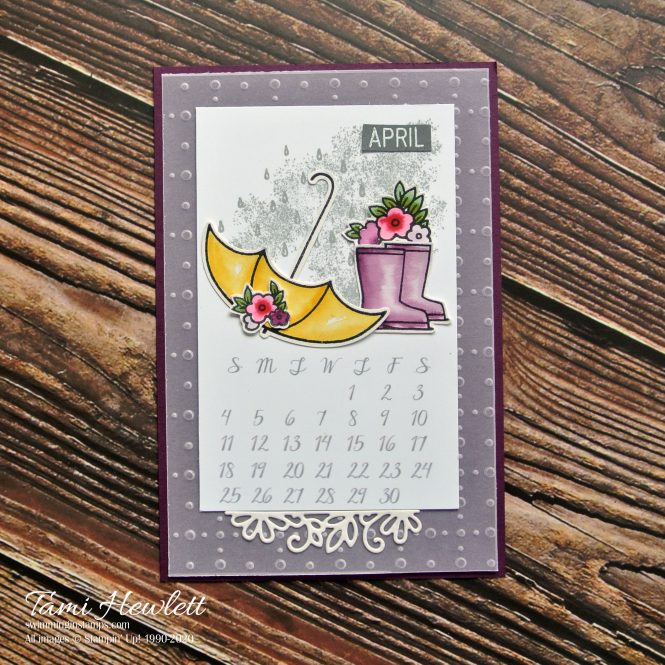
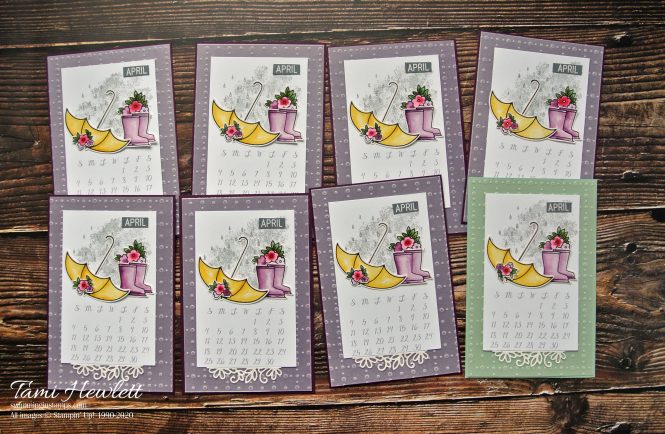
I have two different version of this calendar, because I ran out of the Purple Posy vellum and had to make one more with Mint Macaron.
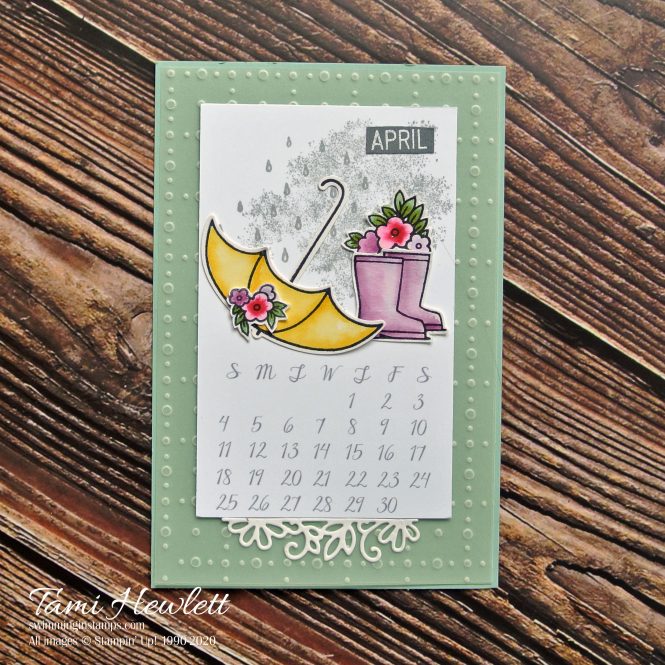
Again, this page is very similar to a favorite card of mine, but using different colors.
Tutorial to complete the March calendar page:
- Cut Blackberry Bliss (or Mint Macaron) Cardstock to measure 4″ x 6″ background.
- Layer So Very Vellum on top measuring 3-7/8″ x 5-7/8″. Adhere with Snail in the center where it won’t show.
- Print calendar (see below for link to download) on Whisper White cardstock and cut to 3″ x 5″.
- Stamp cloudy smudge stamp from Label Me Bold three times using Smokey Slate ink. (Stamp off once for a lighter tone and flip stamp for variety.)
- Stamp raindrops from Under My Umbrella three times using Smokey Slate ink.
- Use Stazon ink to stamp umbrella, boots, handle, and two different flowers on Shimmery White Cardstock.
- Watercolor umbrella with Daffodil Delight ink, boots with Purple Posy and Blackberry Bliss ink, flowers with Lovely Lipstick, Purple Posy, and Blackberry Bliss ink, and leaves with Mint Macaron and Old Olive ink. Start with a light wash and then add more saturated color while the paper is still slightly wet.
- Punch out umbrella and handle with Umbrella Builder Punch. Use scissors to cut out boots and flowers.
- Emboss month in white on Basic Gray Cardstock and trim by hand. (I used the retired Date It stamp set, but you could substitute any small alphabet or month stamp set.)
- Adhere all pieces with Snail Adhesive as shown.
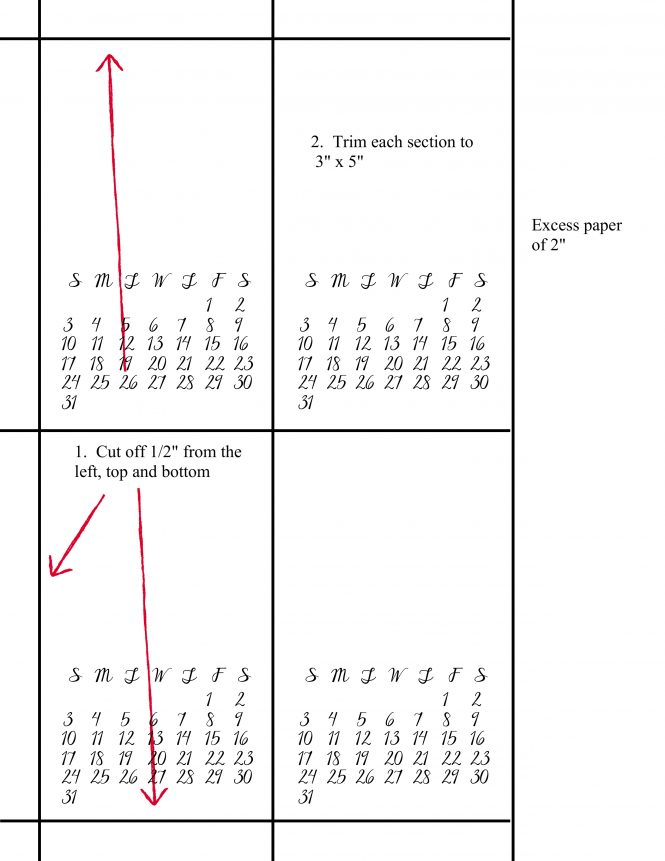
I created the calendar pages using My Memories Suite software. You can download a printable JPEG of the March calendar HERE and the April calendar HERE. (Update: For a PDF version, click HERE for March and HERE for April. I will go back and add PDF versions to my January and February calendars as well.) Print both calendars on Whisper White Cardstock with the smallest margins possible for your printer. The print is colored black on the March calendar and Basic Gray on the April calendar. I designed the pages to go all the way to the edges of a standard 8-1/2″ x 11″ sheet of cardstock. Trim as follows:
Stay tuned for more 2021 Desktop Calendar pages coming later this year!
Have a wonderful and creative day.

Use the current Host Code SRDEMAZD for purchases at my online store to qualify to receive free exclusive tutorials and a special thank you card from me. This month’s tutorials are diverse, creative, and amazing!!!

Products used for the March 2021 Desktop Calendar:
Product List")


Products used for the April 2021 Desktop Calendar:
Product List
")

")
")


Wow, just discovered your calendars. Love them. Any suggestions on how to print the calendar page? Nothing I do with my HP Envy works to print the calendar pages.
Hi Cyndie. Thanks so much. I’m so glad you like the calendars. I have an Epson and I just change the margins to no borders and pull the photo all the way to the edges. Do you want me to try to save the printout as a PDF and I can post a link to that? I’m at work today, but I could try tonight.
Cyndie, I updated the post to include PDF versions that should be easier to print. I will do the same for the January and February calendars too. (See that post.)