


Hello, and welcome to the August Stamping Sunday Blog Hop hosted by Sara Levin. This month, the theme is “All Tied Up,” which means different ways to tie ribbon on our projects.
The designers for this blog hop have two choices. We can either 1) design a card and a 3-D project, or 2) design three different versions of a card geared towards beginner, casual, and avid crafters to show the natural progression of stepping-up a card. This month, I chose to create a card and a 3-D project. In fact, I created two 3-D projects!
To continue through the Stamping Sunday Blog Hop, see the list of designers and their links below.
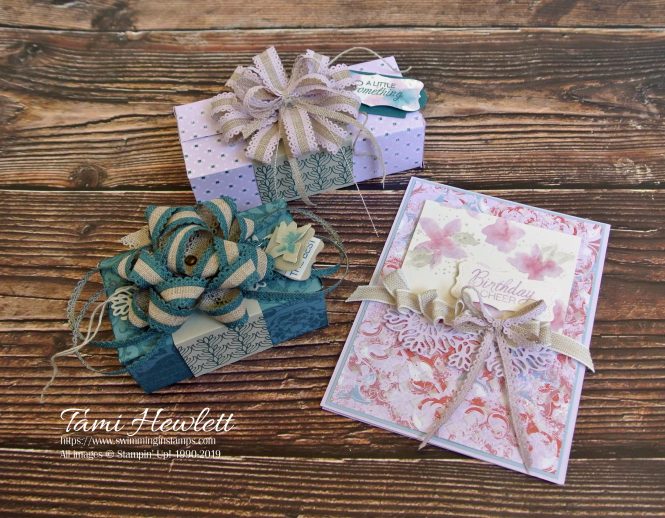
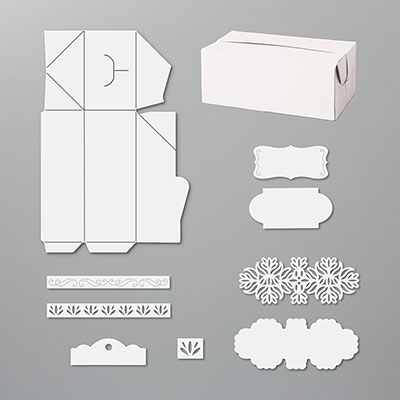
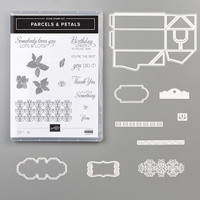
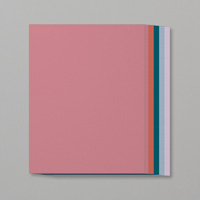
I used the Parcels & Petals bundle for my projects, which includes the Parcels & Petals stamps and coordinating Perfect Parcels Dies. Not only does this bundle include dies to create darling, little gift boxes, tags, and detailed embellishments, it also includes a gorgeous “watercolor style” stamp set with practical, versatile sentiments. I really love this bundle!
First up is my card:
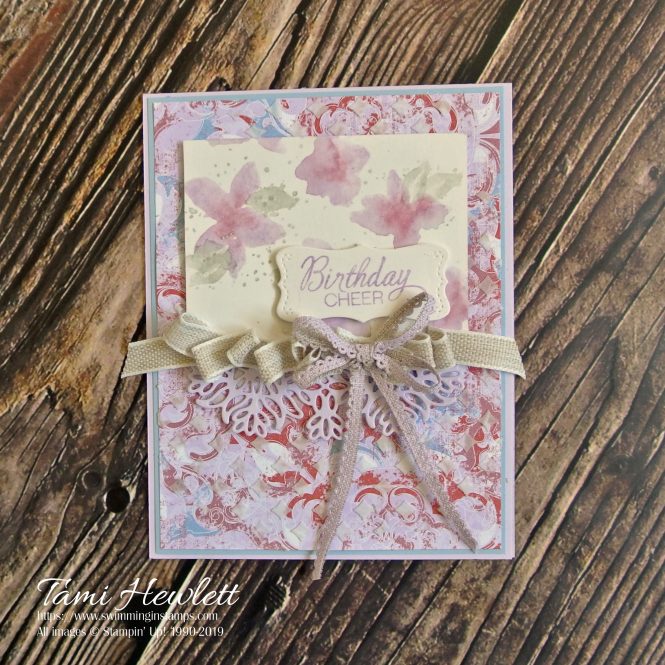
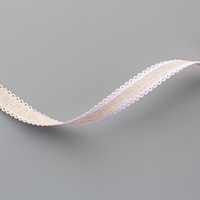
Since the theme of the blog hop is ribbon, I tried hard to show some different ways to use ribbon on each project. For my card, I created a fun ripple pattern with Magnolia Lane Ribbon. This is WAY easier then it looks! I simply added a strip of Tear & Tape Adhesive and then finger-folded the ribbon into place. While the Tear & Tape Adhesive is very strong, it’s forgiving enough to allow you to re-position and manipulate the ribbon in order to get it just right.
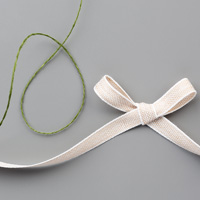
For the small bow on top, I trimmed off the scallop border of some Purple Posy 1/2″ Scalloped Linen Ribbon. Then, I wrapped it around my fingers twice and used another strip of the same ribbon to tie a knot. Afterwards, I trimmed the original ends close to the knot. This creates a fun double-bow, with only one set of tails.

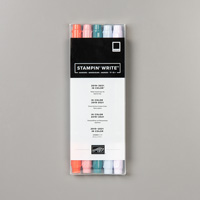
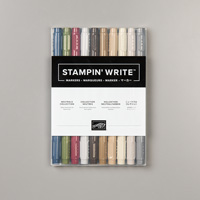
For the main panel, I used the brush end of my Stampin’ Write Markers (Purple Posy, Rococo Rose, and Sahara Sand) to color directly onto the red-rubber stamps. Then, I spritzed the stamp with a little water and stamped onto Shimmery White Cardstock. The water slighly blends the colors and enhances the watercolor-style of the stamps. LOVE this effect!!!
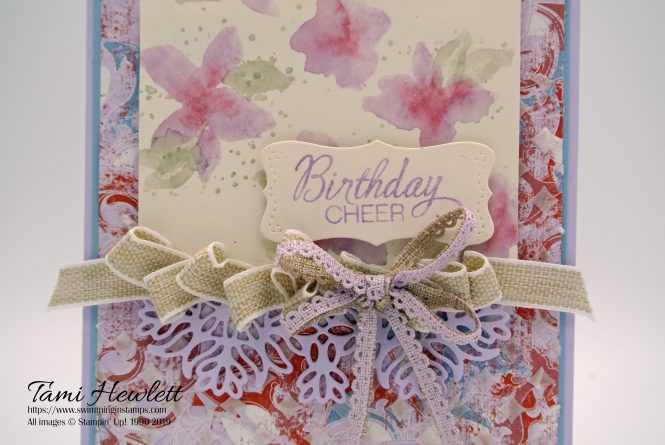
To stamp the sentiment, I used a Purple Posy Stampin’ Write Marker to color a portion of the stamp. After giving the stamp a huff, I stamped it on Shimmery White Cardstock.
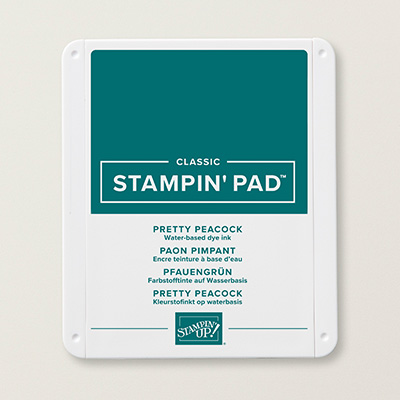
(On a side note, I have good news about Purple Posy ink pads! Stampin’ Up! has corrected the quality issues; and the manufacturer is now making the new pads. I will let you know when they are available to order!)
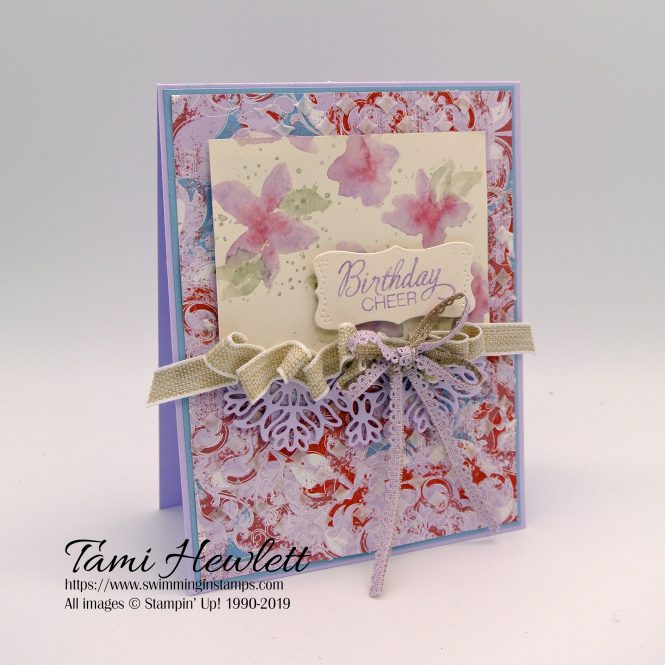
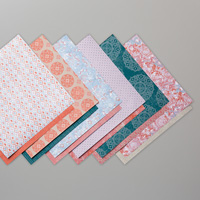
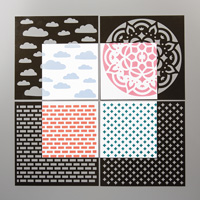
To finish off the card, I used a layer of Woven Textures Designer Series Paper and the beautiful detailed die from the Perfect Parcels Dies. I just love the soft look of this card!
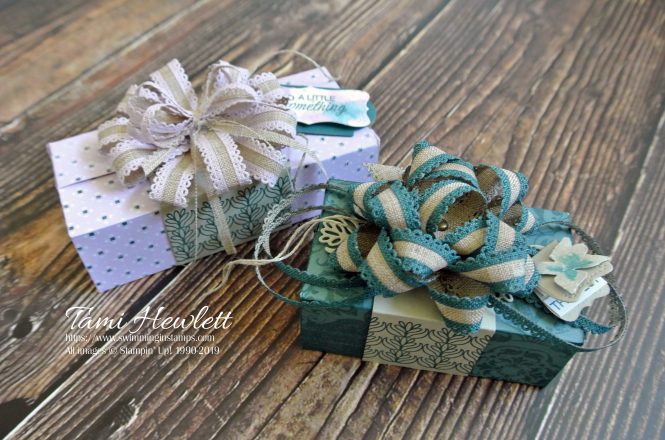
Next, onto my 3-D projects:
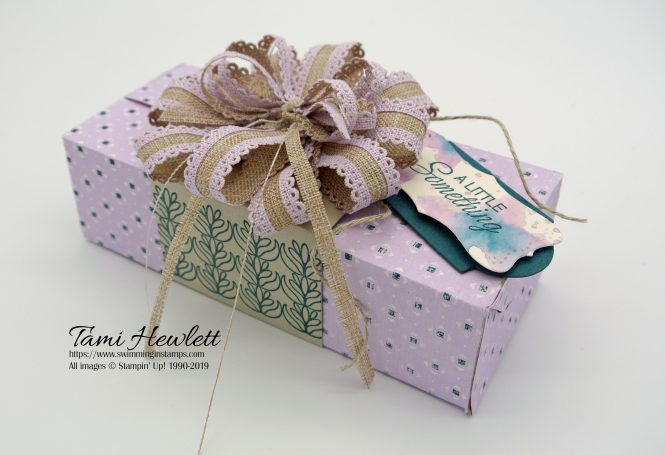
I created two gift boxes using the Perfect Parcels Dies and Woven Textures Designer Series Paper. If you look closely below, the Pretty Peacock box is the standard size of the box die cut, but the Purple Posy box is slightly longer. I’ll explain how I did that.
This was my first time using the Perfect Parcels Dies to create boxes, and I have to admit that there are a few tricks. I watched a video created by my demonstrator friend Beth Rush that was super helpful. She also does a great job explaining how to lengthen the boxes.
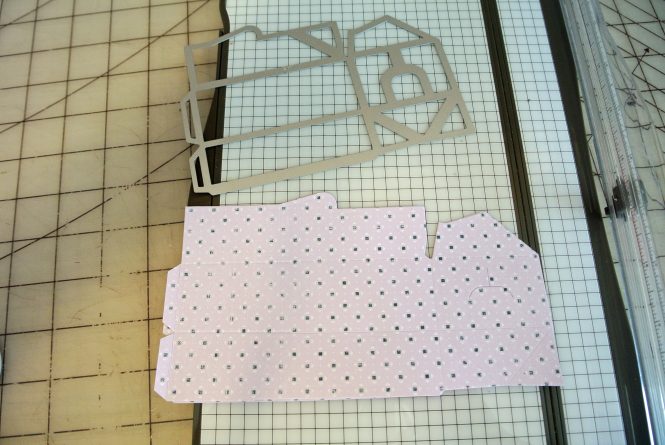
To create a longer sized box, it’s very important to cut two dies that are exactly the same. (Two die cuts are needed to create each box.) I lined up the die flush with the top and side edges of the designer series paper as shown below.
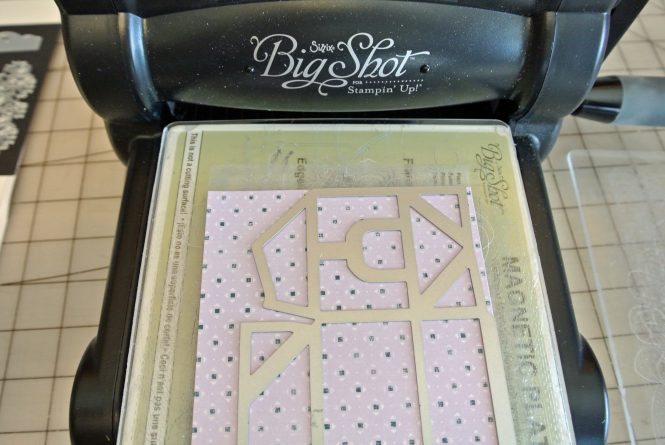
Then, I was careful to place the top plate so it did not cut the tabs on the end of the die.
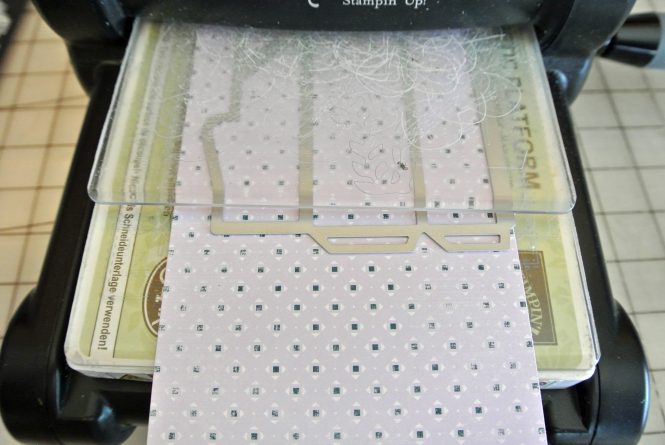
Just as in Beth’s video, I added an equal amount to each die using a paper trimmer (2-1/2″.) I also used my trimmer to continue the score and cutting lines on my die cuts through the added length. Afterwards, I cut new tabs by hand. Here are my two finished die cuts (stacked on top of each other.)
After assembling the boxes, I started thinking about some creative ways to tie ribbon. For the first box, I wanted to create a gift box bow. I remember when I was a little kid, my mom had a bow-making form with a pin in the middle and little posts to wrap the ribbon around in order to create perfectly formed bows. Unfortunately, I do not have that cool device! So I opted to use my Paper Piercer to hold the ribbon in place while a folded and positioned the loops. Afterwards, I carefully threaded a brad through the hole to hold the bow together. (Because this 1/2″ Scalloped Linen Ribbon is fairly thick, the brad didn’t quite reach all the way through, so I ended up using a little hot glue too.)
Next, I trimmed off some of the scallops from some 1/2″ Scalloped Linen Ribbon to create the loops I added to the sides of my box.
Before decorating the box, I created a belly band out of Sahara Sand Cardstock. That way, the recipient can simply side off the belly band in order to open the box. I finger-folded the band around the box, scored the folds, and then stamped the sides with Pretty Peacock ink. Then, I adhered the belly band together with Tear & Tape.
Next, I adhered the bow and loops to the belly band with hot glue.
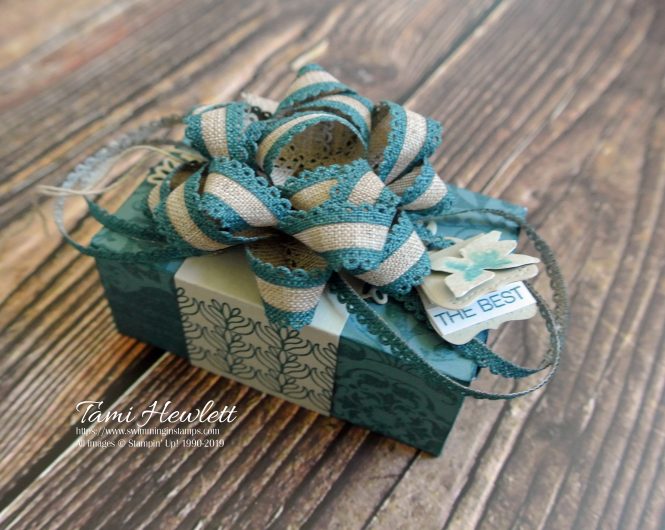
To create the tag, I folded one of the Perfect Parcel tag die cuts, added a watercolor flower to the top, and then cut up one of the sentiments for the inside message.
The tag is adhered with some Linen Thread.
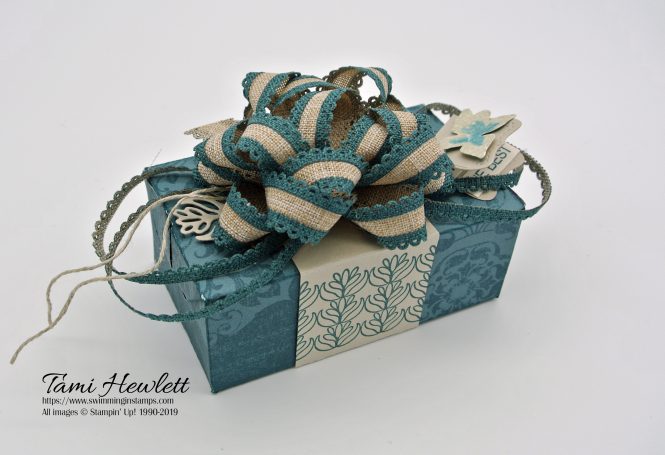
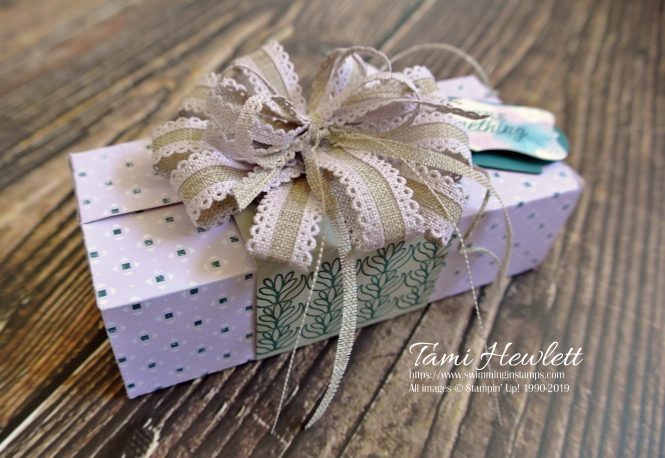
The next box is similar, but I created a different bow. This time, I simply folded loops and glued them together in a circular pattern with hot glue.
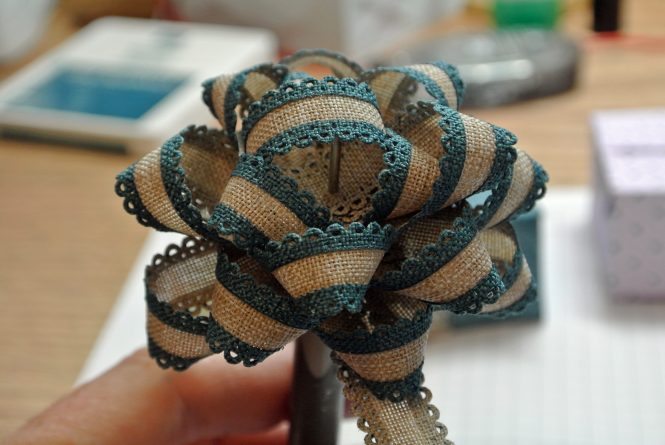
Then, I stuck another one of those fancy multiple loop bows on top. This time, I wapped the trimmed scallop ribbon around my fingers four times and used the remaining inside strip of linen ribbon to tie the knot. As you can see, the trimmed 1/2″ Scalloped Linen Ribbon frayed, but I like it!
For the tag, I used the same method described above to stamp the watercolor flowers on Shimmery White Cardstock, but this time, I used Purple Posy, Pretty Peacock, and Sahara Sand markers. After the paper dried, I stamped the sentiment and used a Perfect Parcels Die to cut out the tag.
I hope you enjoyed my projects, including all the fun ways to use ribbon. Be sure to continue through the Stamping Sunday Blog Hop for more inspiration!
Stamping Sunday Blog Hop Designers:
Have a wonderful and creative day!

Use the Host Code FDJQHMNT for all purchases at my online store during August to qualify to receive free exclusive tutorials and a special thank you card from me
Remember to redeem your Bonus Days coupons during the month of August! Add merchandise to your order at my online store, enter your coupon code in the coupon code box including the dash, and click Apply. (Repeat if you have multiple codes.)

Supplies used on my projects:


Wow Tami I love love love those bows. And the multicolored stamping on the card is stunning.
Thanks so much Tanya! 😍
Wow, wow, wow …. love those luxuriously decadently ribbon decorated boxes Tami! Stunning. But the card is just gorgeous. I have just started playing with this stamp set and I love those watercolour look flowers. Yours look like you have actually hand painted them. Gorgeous! 🙂 xxxx
Thank you Cheryll! I love that we picked the same stamp set and used two different methods to create beautiful multi-colored flowers. So fun!!!
Your bows are amazing! Who wouldn’t want to receive one of these gorgeous packages!!
Thanks so much Sara!
What fabulous projects – I can’t wait to get my hands on Purple Posy!
Thank you Susan! 💕
Oh wow, that ribbon was made for this type of Bow Tami and you’ve created it so beautifully too. I adore the Pretty Peacock Gift Box and Bow … WOW, It’s just stunning xx
Thank you so much Mikaela! 💕