


Last week was my Stamp Club. We get together once a month to craft using the latest Stampin’ Up! products. Not only do we love spending time together, it’s an opportunity for me to share tips, techniques, and Stampin’ Up! news. (We are looking for new members!!! If interested, please contact me for details.)
I always have a drawing for a door prize at these gatherings. It’s fun for the ladies, and it’s also a fun excuse for me to show ways to use Stampin’ Up! products to create beautiful gift wrapping.

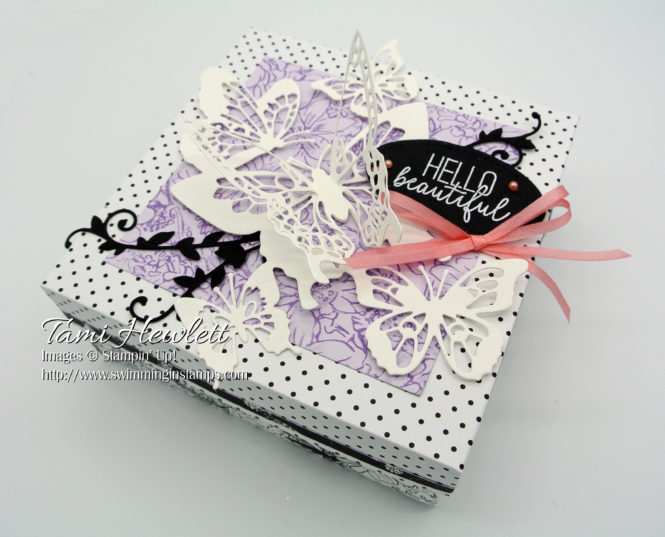
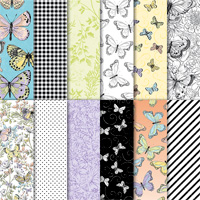
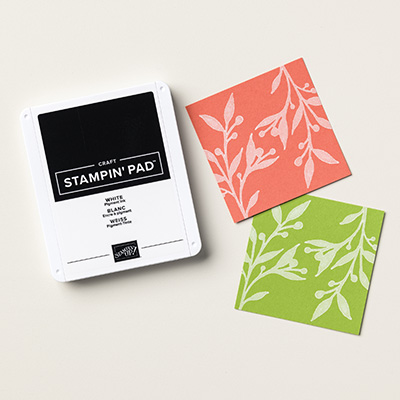
I created this box with the Botanical Butterfly Designer Series Paper. It is by far my FAVORITE Sale-A-Bration product so far! I absolutely love each side of every paper. I especially love the fact that one side of each sheet is black and white. Black and white designs go with just about everything!!!
You can earn this paper for FREE with a purchase of $50 during Sale-A-Bration, which continues through March 31, 2019.

The box measures 5″ x 5″ and has 2″ sides. To create the bottom, I cut a piece of the DSP measuring 9″ x 9″ and scored each side at 2″. Rather than slit the corners to assemble, I like to score the corner sections diagonally, pinch them together and fold to one side. (This makes a sturdier base.) Then, I used Tear & Tape Adhesive to secure each corner.
The box top has 1″ sides. Also, I like to cut the top 1/8″ bigger than the bottom so it easily fits over the base. Therefore, I cut a piece of DSP measuring 7-18″ x 7-1/8″ and scored each side at 1″. Then I slit one side of each corner and secured the tabs with Tear & Tape Adhesive.
Finally, I cut two strips of DSP measuring 1/4″ wide and pieced them together to decorate the sides of the box top.

Now the fun part, decorating the top!!!
- Cut Highlander Heather background layer from Botanical Butterfly DSP measuring 4″ x 4″ and adhere with Snail.
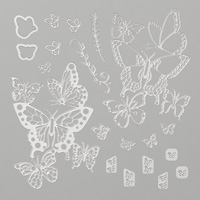
- Use Butterfly Beauty Thinlits Dies to cut the two large butterfly dies from Whisper White Cardstock. Adhere the bold one with glue dots. For the detailed die, use scissors to cut out two butterflies from the rest of the die cut (largest and small, upper right butterflies.) Fold and adhere centers with glue dots.
- Use Butterfly Beauty Thinlits Dies to cut out three leaf swirls from Basic Black Cardstock. Tuck under bold butterfly die and adhere with glue dots.
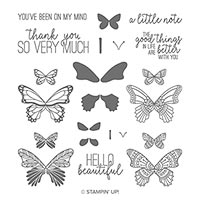
- Emboss sentiment from the Butterfly Gala stamp set in white on Basic Black Cardstock and cut out with oval Stitched Shapes Framelits Die. Adhere with dimensionals.
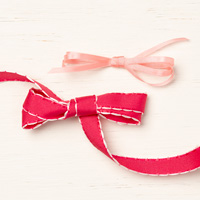
- Add Share What You Love Artisian Pearls and a double-bow tied with All My Love Ribbon.
Supplies used:


Are you loving Sale-A-Bration? Tomorrow is a big day! The second release products will be available to earn, along with the original Sale-A-Bration products. See/download the flyers on the Catalogs tab of my blog.
Have a wonderful and creative day!
