


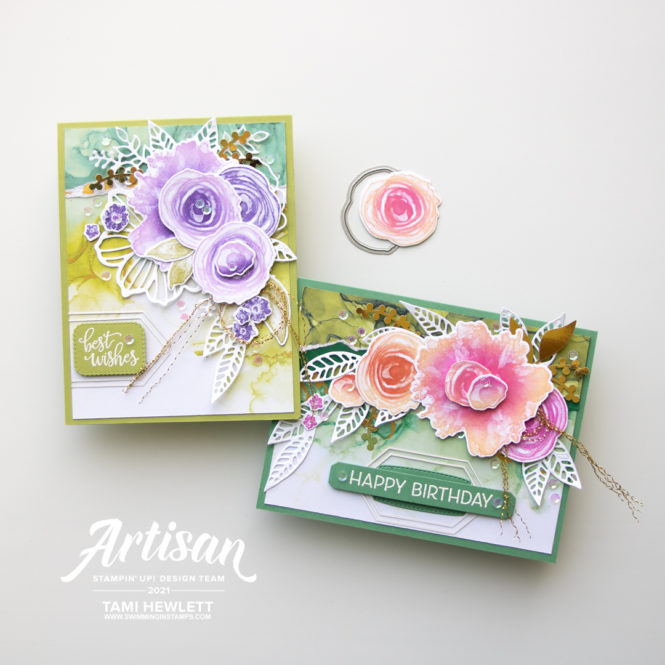
Hello! I’m Tami Hewlett from the United States and today, I’m sharing projects I designed for the Stampin’ Up! Facebook Page featuring the Artistically Inked Stamp Set. This stamp set and the entire coordinating Expressions in Ink Suite is my absolute favorite in the catalog!
It’s such an honor to be part of the 2021 Artisan Design Team, especially when I have the opportunity to contribute to the Stampin’ Up! Facebook Page. I really try to put my best effort into creating something special.
The Artistically Inked stamps are a unique style called DistINKtive stamps. They stamp with varying tones to produce a “photographic” quality.
TIP: For best results with this type of stamp, prepare your ink pad ahead of time by using a Bone Folder or the back of a plastic spoon to push the ink away from the center of the pad out toward the edges. This is especially necessary if you have a new and very juicy ink pad.
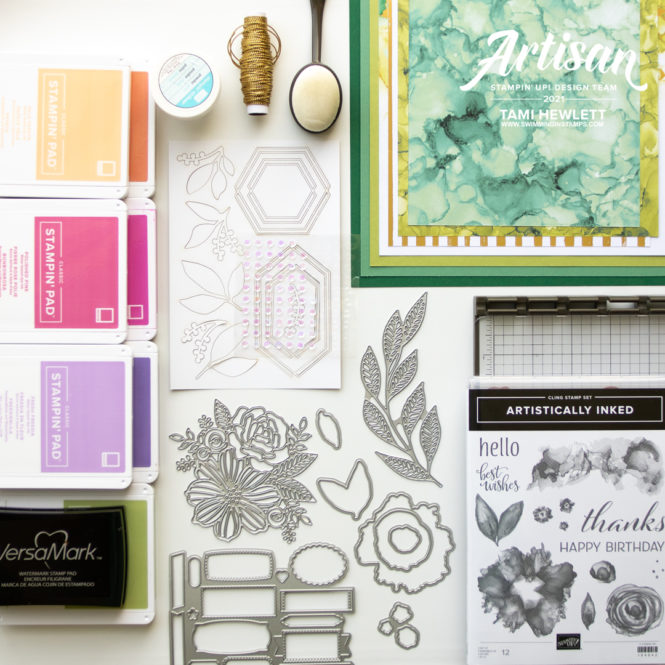
I really LOVE this style of stamps, because they’re easy to use and produce beautiful results. Simply ink them up and stamp, and the results make you feel like an artist! (Especially with this stamp set!) One issue that I’ve had in the past is trying to add multiple colors to the stamp, while still maintaining the qualify of the imagery. Typically, I would use a Sponge Dauber to add a second color of ink directly to the stamp. However, when I’ve tried this with DistINKtive stamps, it came out looking too dark and I lost all those cool variations in tone.
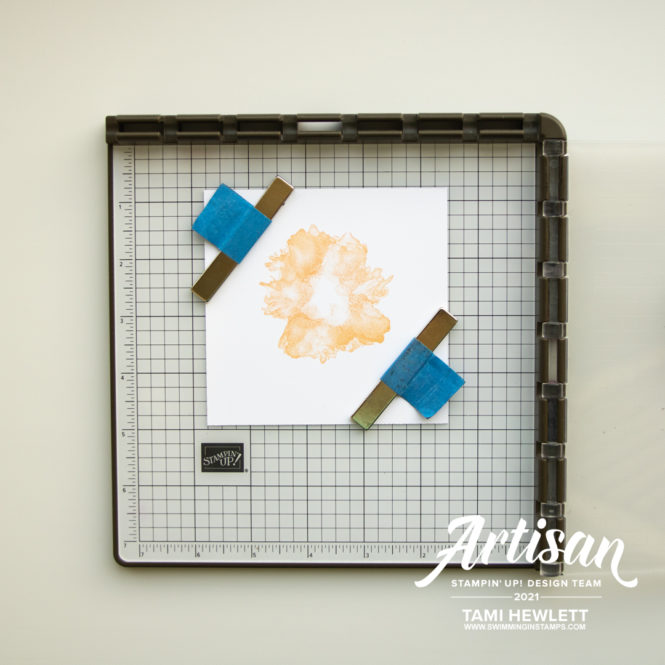
Then I saw a video, where Patty Bennett demonstrated a quick and easy way to use Blending Brushes to add a second color to the red rubber. (You can see her blog post HERE including the video.) That got me thinking, and I’m sure I’m not the first person to come up with this idea, but I decided to try using a combination of Blending Brushes and the Stamparatus to add a second ink color. (And you could even add more colors!)
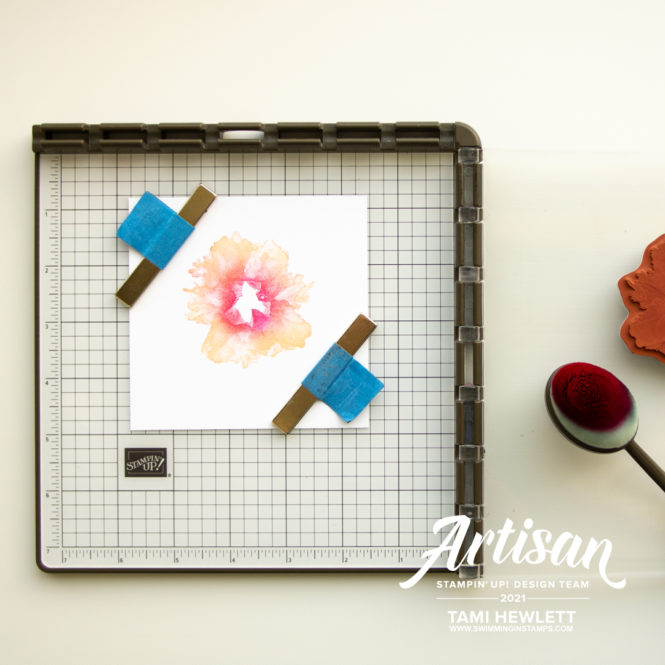
This is what I did. First, I stamped the image with Pale Papaya ink on Basic White Cardstock. It’s very light, but that’s OK.
Next, I used a Blending Brush to add Polished Pink ink directly to the center of the stamp. The Stamparatus allows me to stamp multiple times in the exact same place. On the photo below, I had added Polished Pink ink and re-stamped about three times. The other beauty of this technique is that you can see where you need to add more ink, such as the top right in the photo below.
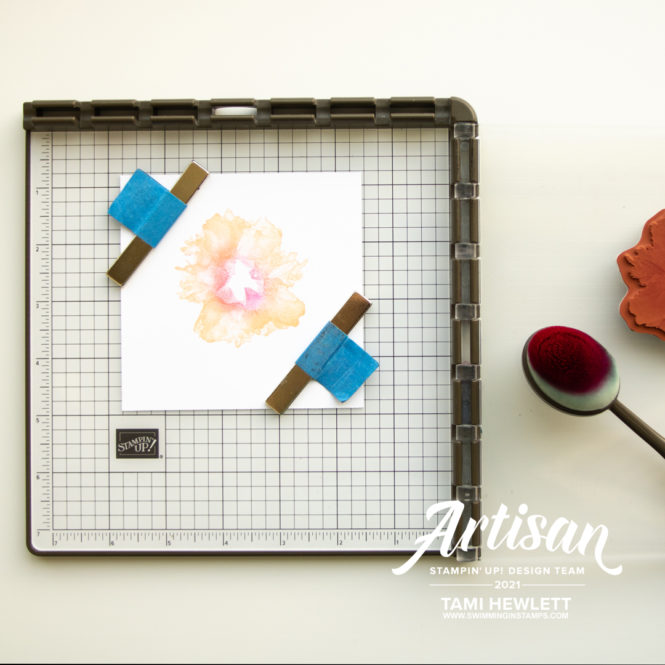
I continued adding more Polished Pink in the center (and blending outward a bit) and re-stamping until I got the image below. I was so pleased with the results!!! It’s soft and pretty, and the DistINKtive tones still show.
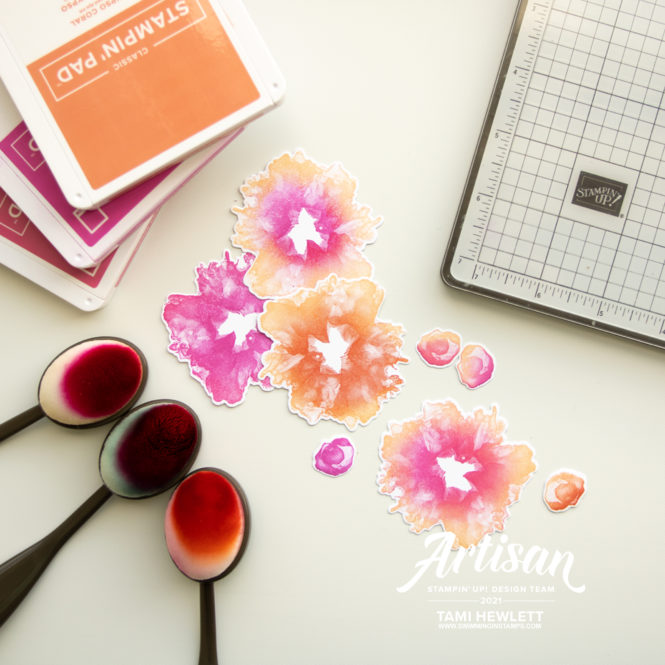
I was having so much fun that I tried all sorts of color combinations: Pale Papaya with Polished Pink in the middle, Pale Papaya with Magenta Madness in the middle, Pale Papaya with Calypso Coral in the middle, and Polished Pink with Magenta Madness in the middle. I used the same technique for the smaller flowers shown. Then, I cut them all out with the coordinating dies.
Now, let me show you what I did with them:)
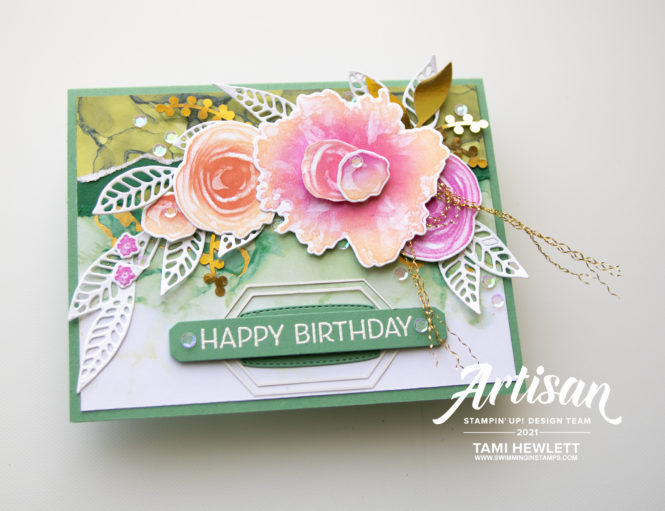
Happy Birthday Card:
I really adore the Expressions In Ink Specialty Designer Series Paper that coordinates with this stamp set. It may be my absolute favorite of all time. I actually found it a little hard to start cutting it up, because it’s so pretty. But, I HAD to! I used two different sheets on this card in the background, separated by a strip of Shaded Spruce Cardstock. I ripped the top two layers for a fun effect.
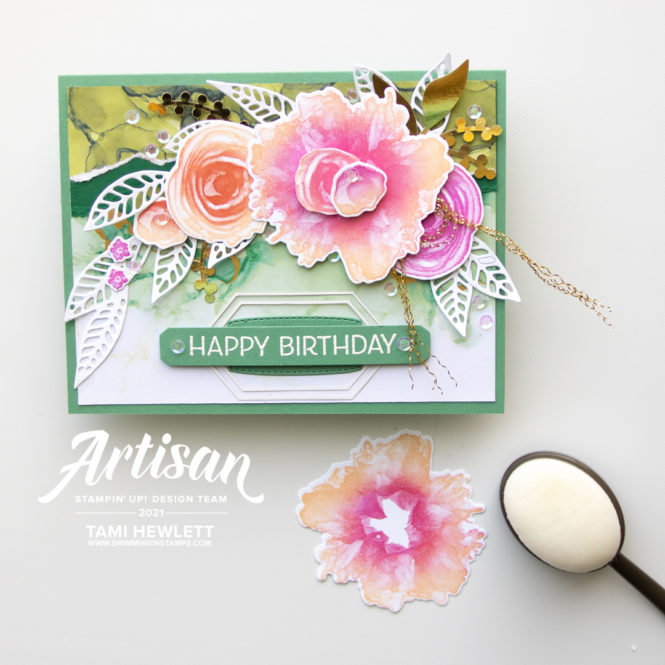
The coordinating Expression In Ink Ephemera Pack includes both sequins and laser cuts with gold on one side and white on the other. I added some of the gold leaves and then used the geometric shapes to go around the sentiments on both my cards.
Underneath the flowers, I used the Artistic Dies to cut the intricate leaves from Basic White Cardstock.
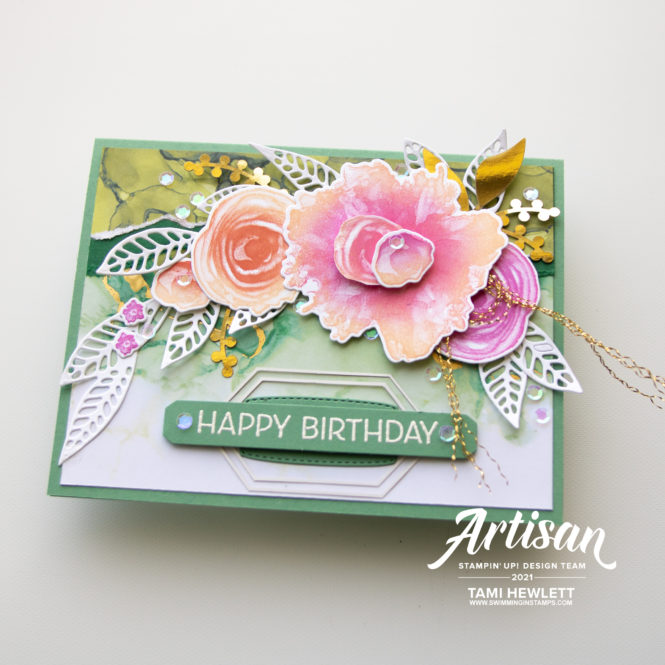
For a little more variety on the flowers, I stamped one of the medium-sized ones and then cut it down to add to the center of the top, large flower.

To cut out the sentiment and layer it, I used the Messages Die. The one die has multiple label shapes that work for just about any sentiment.
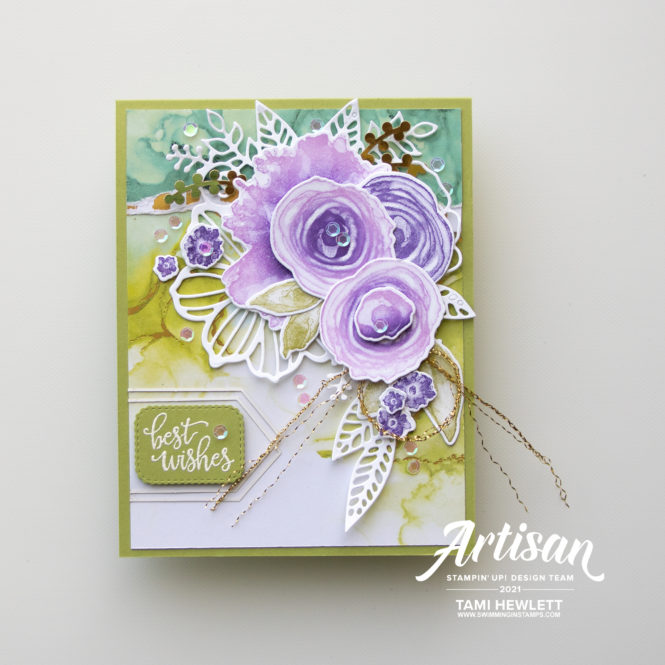
Best Wishes Card:
I made this next card for my niece’s bridal shower! She’s the sweetest girl and we’re so excited for her. This time, I changed the color combination of the flowers to Fresh Freesia and Gorgeous Grape. So pretty!!!
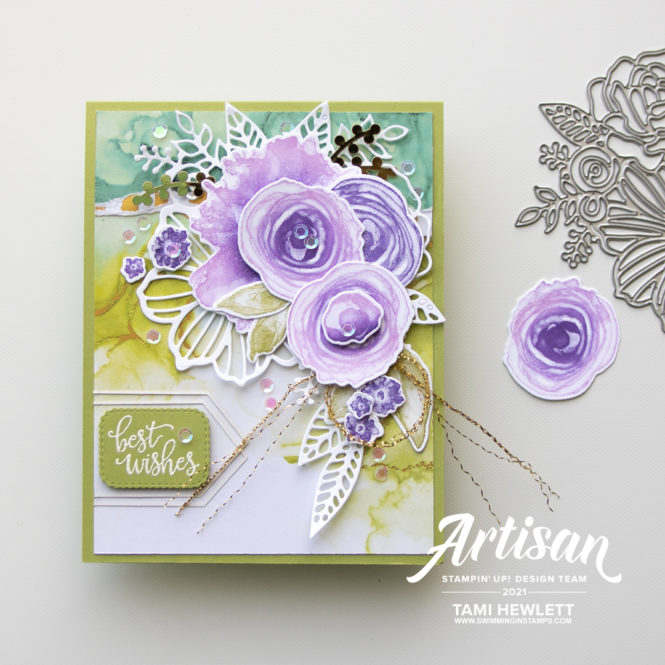
I used three different sheets of Expression In Ink Specialty Designer Series Paper in the background. One side of each of these sheets has gold foil printed on it!!!
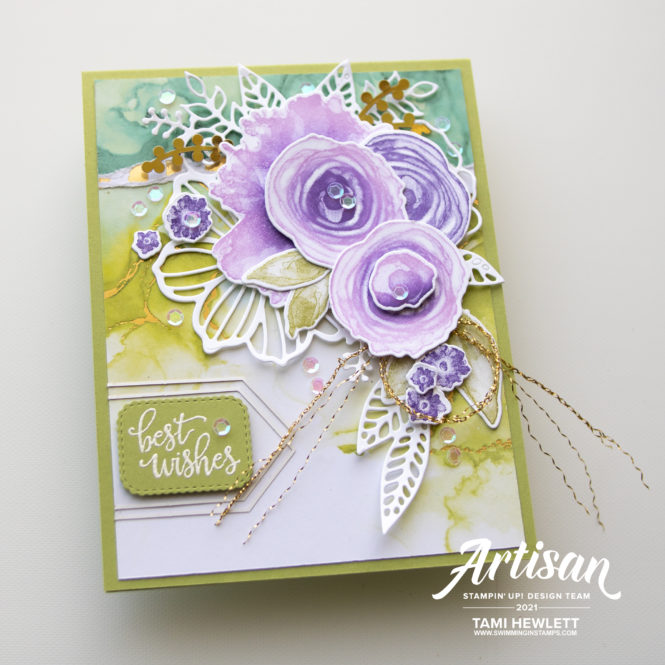
To emphasize the gold, I added some frayed Simply Elegant Trim to both cards. I pulled out a few strands, and ended up with these delicate, kinky pieces that I looped and tucked under the flowers.
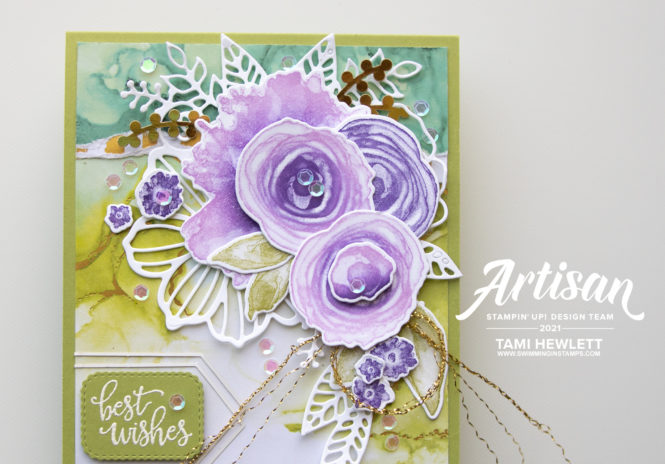
Similar to my first card, I selected a label from the Messages Die to cut out the sentiment. (That die is a MUST have!)
I hope these cards have inspired you.

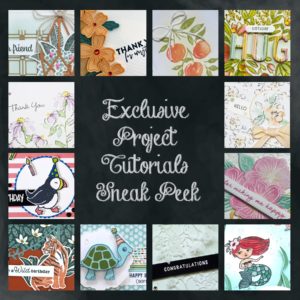
Use Host Code YAQEHSCR for purchases at my online store to qualify to receive free exclusive project tutorials and a special thank you card from me. This month’s PDF features 12 tutorials that are creative and fun! I just know you’re going to love them!!! (Please note that Host Codes are only valid for 30 days. You can always find the current Host Code on the right side bar of my blog.)


")

 Specialty Designer Series Paper")


Absolutely beautiful! Wonderful card for any occasion.
Thanks so much Diane!
What a innovative technique? I can’t wait to try it.
Thanks for the inspiration
These cards are so beautiful! Such great inspiration!!
Thanks so much Candyce!
It looks like the area around your greetings on both cards have dry embossed shapes around them. How did you do that?
Hi Kathy! Those are pieces from the Expression In Ink Ephemera Pack. I flipped them over to the white side and then carefully glued them around the greetings.
Stunning cards! I love this idea and will certainly give it a try.
Thank you so much!!!
Absolutely stunning! I’m going to give this technique a try ~ thank you for the detailed instructions!
Thank you so much Peggy!
SOOO Gorgeous!! I love what you did with the Stamparatus!!! Thank you for the shout out!! 🙂
Thanks so much Patty and for the inspiration!!! xxx
Thank you for sharing these tips. Your creations are stunning as usual. Happy 4th of July.
Thanks so much Mallory! Happy 4th to you as well!
Gorgeous cards and excellent tutorial! Thank you so much for sharing. I love all your creations.
Thank you Cami! That means so much! ❤