
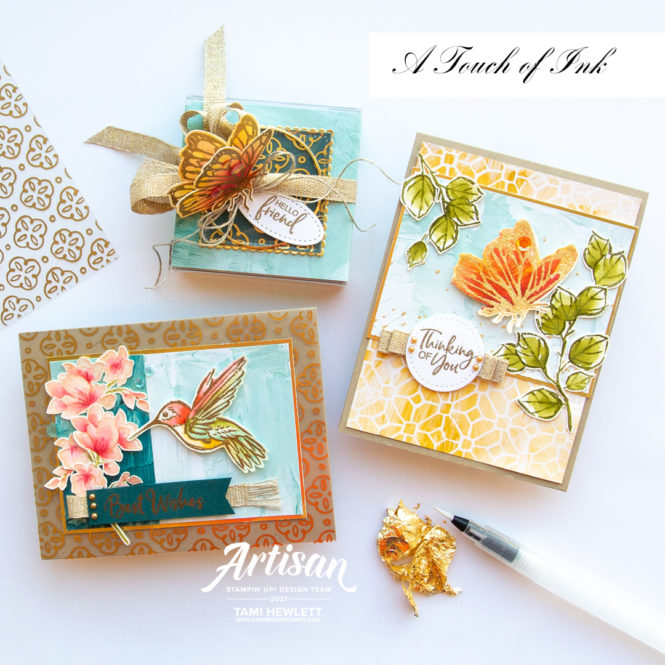
Hello and welcome to my blog! Today, I’m sharing my monthly projects for the Artisan Design Team Showcase featuring A Touch of Ink Photopolymer Stamps. This stamp set is a Sale-A-Bration product that you can earn for free with a qualifying purchase of $100 USD through the end of this month.
To see the entire February Artisan Design Team Showcase, see yesterday’s post on the Stampin’ Up! FaceBook page! The projects are AMAZING and so inspiring!!!
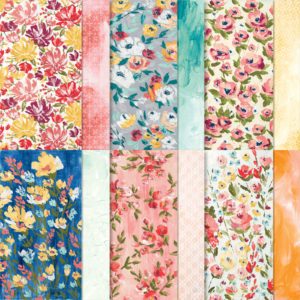
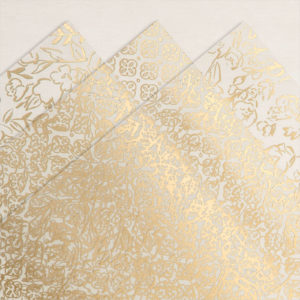
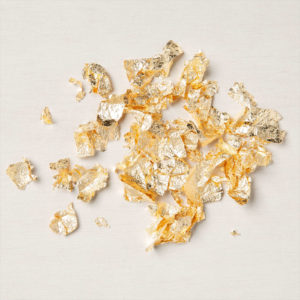
My projects also feature: Fine Art Floral Designer Series Paper, Golden Garden Designer Specialty Acetate, and Gilded Leafing Embellishment, which are available in the January-June Mini Catalog. All of products coordinated so beautifully!
Thinking of You:
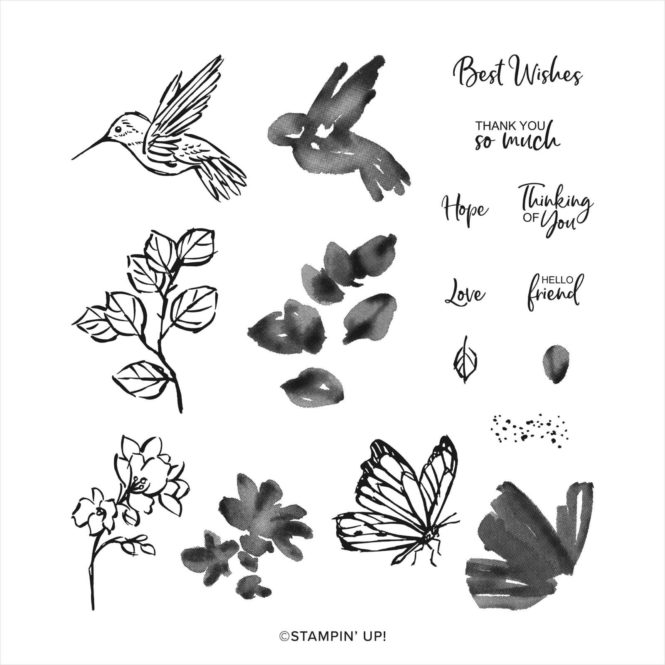
A Touch of Ink involves two-step stamping. That means the stamp set includes both detailed images and solid images to add color. You can use them individually or together.
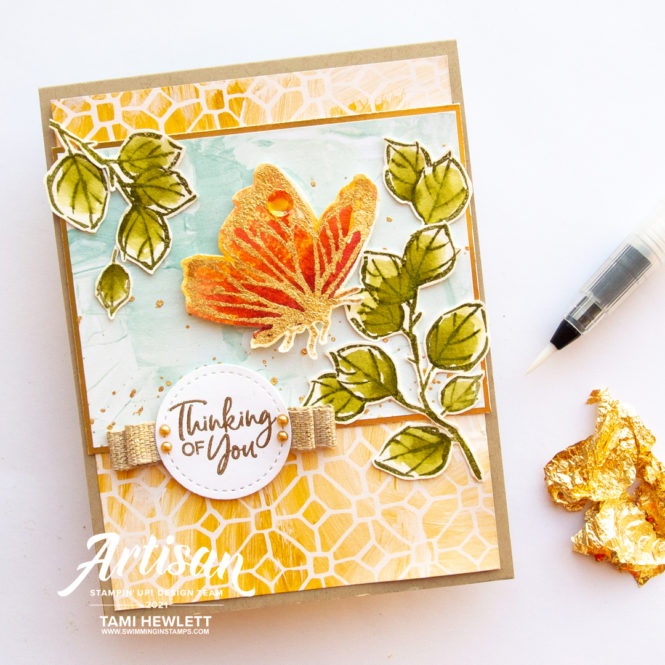
To stamp the butterfly, I inked up the solid stamp with So Saffron ink and then used a Sponge Dauber to add Poppy Parade ink to the center. Afterwards, I stamped the image on wet Fluid 100 Watercolor paper. (I had used a Stampin’ Spritzer to wet the paper.) The wet paper allows the ink to bleed. After the paper dried a little, then I used Sponge Daubers to add both Poppy Parade and Merry Merlot ink to the solid stamp, used a Water Painter to brush clear water over the stamp, and then stamped over the original image.
When the watercolor paper was dry, I stamped the detail butterfly over the original image with Versamark ink, covered it with Heat & Stick Powder, and heated it until just shiny. Then, I dipped it in Gilded Leafing and brushed off the excess. Lastly, I fussy cut the butterfly to add to my project.
For the leaves, I stamped the images with Old Olive ink on Fluid 100 Watercolor Paper and then used a Water Painter to paint the centers.

For the splatters in the background, I mixed some Multipurpose Liquid Glue with water and then splattered it over the Fine Art Floral DSP. Next, I used a heat tool to dry the glue until it was tacky and then dipped the whole layer in Gilded Leafing.
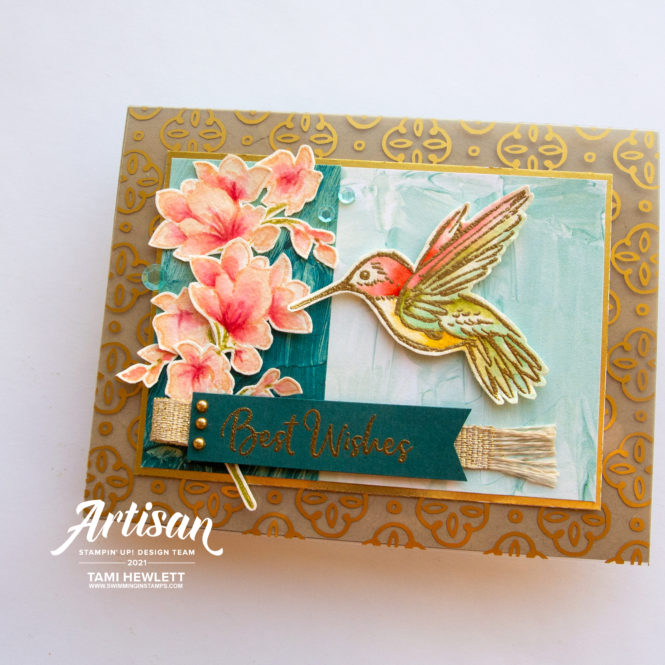
Best Wishes:
For my next card, I used a few different stamping and coloring techniques. I stamped and embossed the hummingbird in gold on Fluid 100 Watercolor Paper and then used Water Painters to watercolor the image.

For the flowers, I used a no-line stamping technique. I inked up the stamp with Petal Pink ink and then used an Old Olive Stampin’ Write Marker to add a second color to the stems before stamping on Fluid 100 Watercolor Paper. Next, I used Water Painters to watercolor the images with Petal Pink and Poppy Parade ink. Finally, I used Cherry Cobbler and Flirty Flamingo Watercolor Pencils to add detail to the centers.
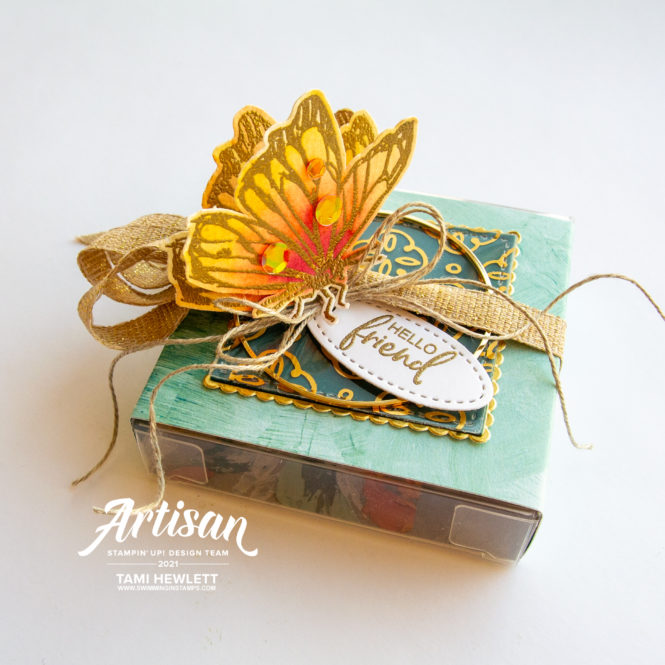
Hello Friend Box:
My last project is a 3-1/8″ x 3-1/8″ Acetate Card Box.
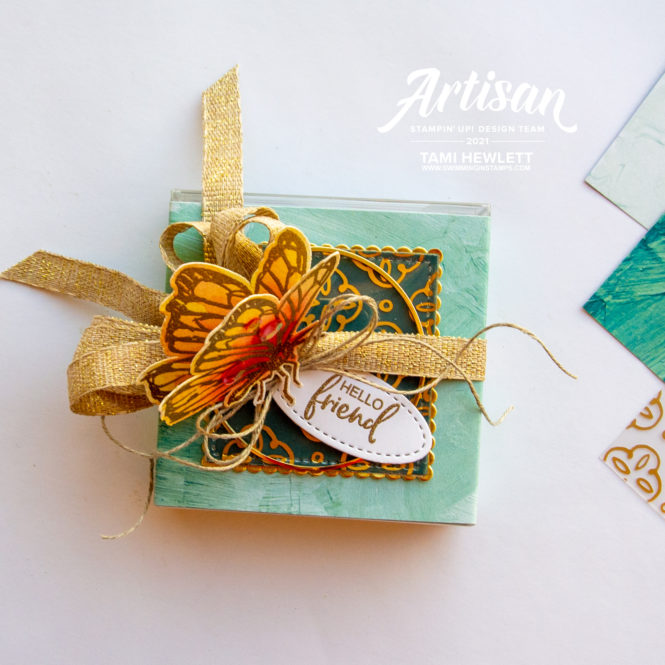
To create the 3D butterfly, I used a similar wet stamping technique as my first card. But this time, I embossed the detail butterfly in gold. After cutting out two duplicate images, I adhered them in the center to create a 3D effect.
Don’t you just love that Golden Garden Designer Specialty Acetate? It’s so elegant and looks beautiful layered over colored cardstock.
Hope these projects inspired you to use A Touch of Ink. It’s such a beautiful stamp set!
Have a wonderful and creative day!

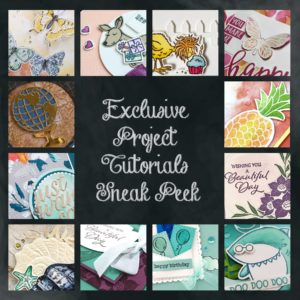
Use Host Code SXMEWC9Z for purchases at my online store to qualify to receive free exclusive project tutorials and a special thank you card from me. The latest PDF features 12 super creative tutorials that are sure to inspire you! (Please note that Host Codes are only valid for 30 days. You can always find the current Host Code on the right side bar of my blog.)
")
 Designer Series Paper")


")


 Fine Art Ribbon")


 Acetate Card Boxes")


Thank you for sharing. The color combos are stunning. Now to get to work with this set
Thanks so much Mallory! Have fun!
Very beautiful cards. Thank you so much for the instructions. I will try out some of your techniques but I’m sure it will take a lot of practice to achieve what you have. 😊
Thank you so much Denise!!! They are very forgiving techniques, so just go for it.