


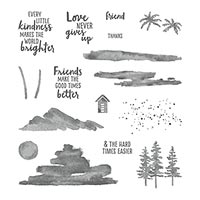
Today, I have one more card featuring the Waterfront stamp set. I just love this stamp set and can’t stop using it. There are SO MANY possibilities and I’ve seen such incredible inspiration on social media. Every time I set it aside, I see something else I’ve just got to try!!!
Up until now, I hadn’t used the pine tree stamps to create a mountain scene. I recently visited my mom in Mammoth Lakes, California, and was staring at those snow covered mountains thinking how beautiful they were. An idea popped in my head that I really wanted to try, so here it is.
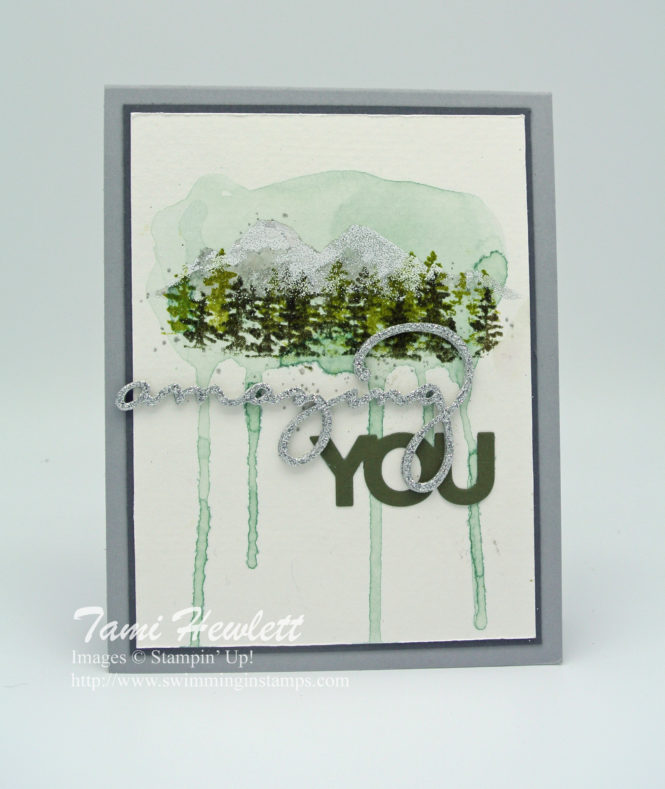
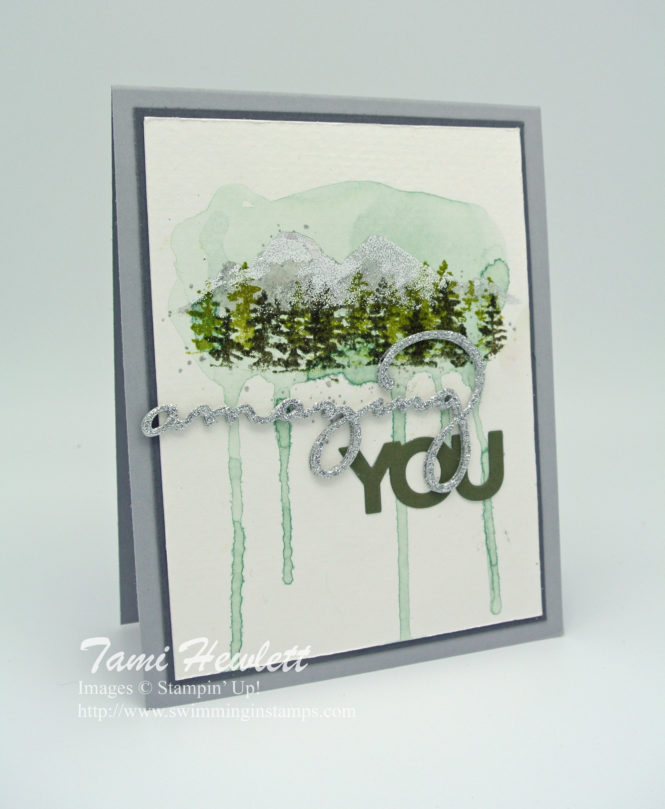
First off, I have to mention the drips. I was inspired by some recent cards Kim Jolley created. I love this look, so that’s where I started. I used Pool Party ink and my Aqua Painters to watercolor the background. I painted on watercolor paper with lots of water. In the past, I’ve found that if I just lift up my paper, sometimes I’m not happy where the drips go, so to control them I used a Paper Piercing tool to give them a little push in the right direction. Then, gravity did the rest.
After drying my paper, I rubbed it with an embossing buddy, because in the next step I used embossing powder. I only wanted the powder to stick to the mountains, not my background. The embossing buddy removes any static from the watercoloring.
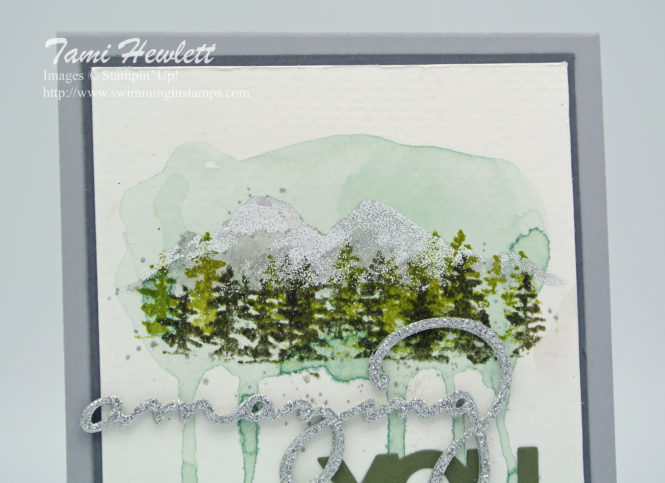
To create the snowy mountains, I stamped with Smoky Slate ink. Then very quickly I added some white embossing powder. However, before heat setting, I used a dry paintbrush to knock off some of the embossing powder on the bottom section of the mountains. It worked!
Afterwards, I stamped the trees with both Old Olive and Always Artichoke ink. I didn’t want tree trucks, so I only inked the stamp up to the base of the trees.
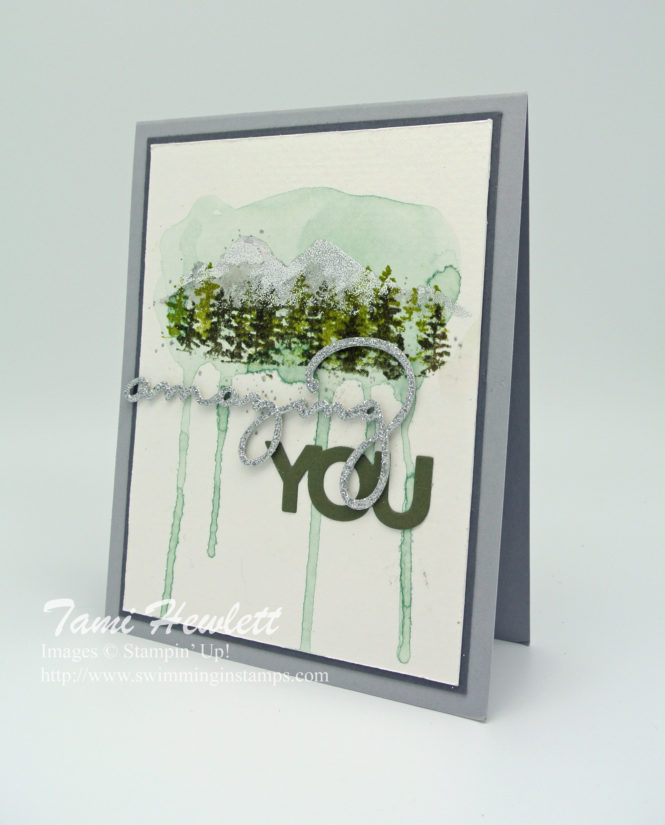
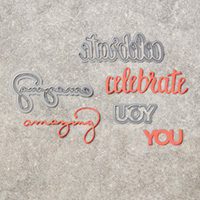
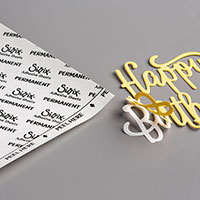
This card is for a good friend of ours. Whenever he visits my husband for business, he showers all of us with gifts. (You have to love that!) We all think he’s pretty freaking amazing with his extreme thoughtfulness. So, the Celebrate You Thinlits Dies seemed the perfect choice for this card. For some added dimension, I cut out the “amazing” die cut three times from Silver Glimmer Paper with Multi-Purpose Adhesive Sheets attached to the back. That way, I could easily glue all three dies on top of each other, and on the card, to create a 3-D greeting. (And, I know it’s glimmer paper for a guy, but it looked good, so I went with it.)
Supplies used on my card (click to purchase):


Have a wonderful day!!!
