


This weekend, I had just a few hours to stamp. Between my work, helping my husband with his work, visiting with my daughter who’s home from college, gardening, and cleaning the pool, the weekend was gone before I knew it!!!
Finally on Sunday night, I carved a little time out to play with two new products I was DYING to use: 1) My new Stamparatus positioning tool and 2) new Springtime Foils Specialty Designer Series Paper. Yes, after months of anticipation, I finally got my new Stamparatus!!!! I was so excited to try it out!
If you haven’t heard of the Stamparatus, it’s a new stamp positioning tool by Stampin’ Up! used for perfect placement. So far, it has only been available by reservation; however, it will be available to purchase in the new June 2018 Annual Catalog. Stampin’ Up! has released several technique videos on how to use this great new tool, which you can see below.
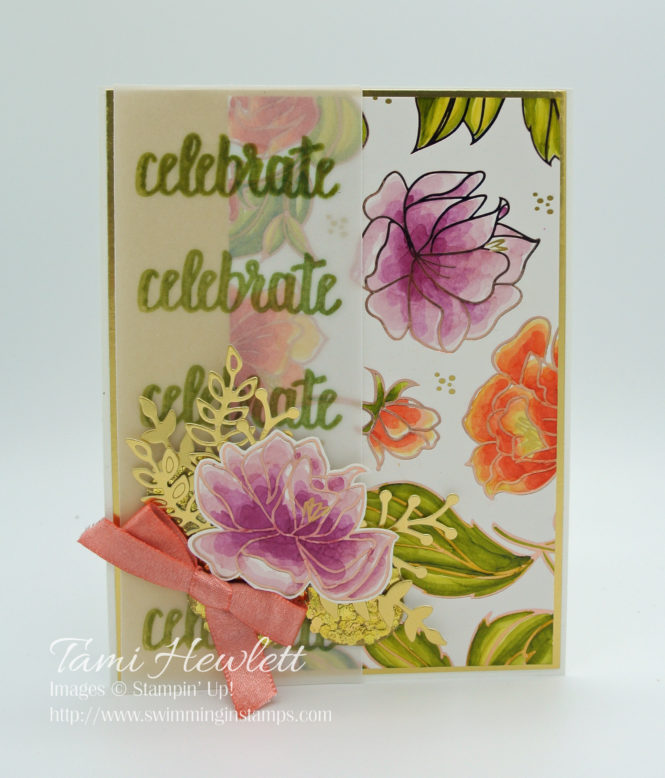
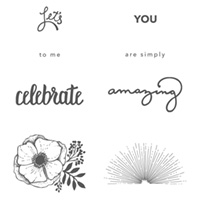
Since I was just learning how to use the Stamparatus, I kept things simple and tried the Hinge-Step Technique to align all the celebrate stamps (from the Sale-A-Bration stamp set Amazing You.) By using the Stamparatus, I was also able to stamp each celebrate stamp multiple times right on top of each other, so the ink was dark on the Vellum Paper!!! I really love this feature. I mean, how many times have you ruined a piece of cardstock because the image didn’t stamp right? Now, you can just stamp it again and fix it!!!
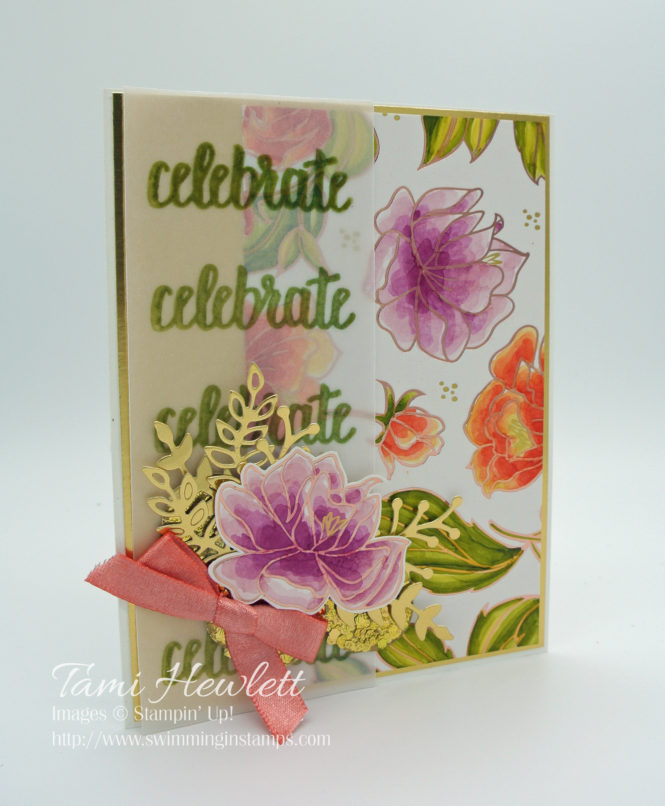
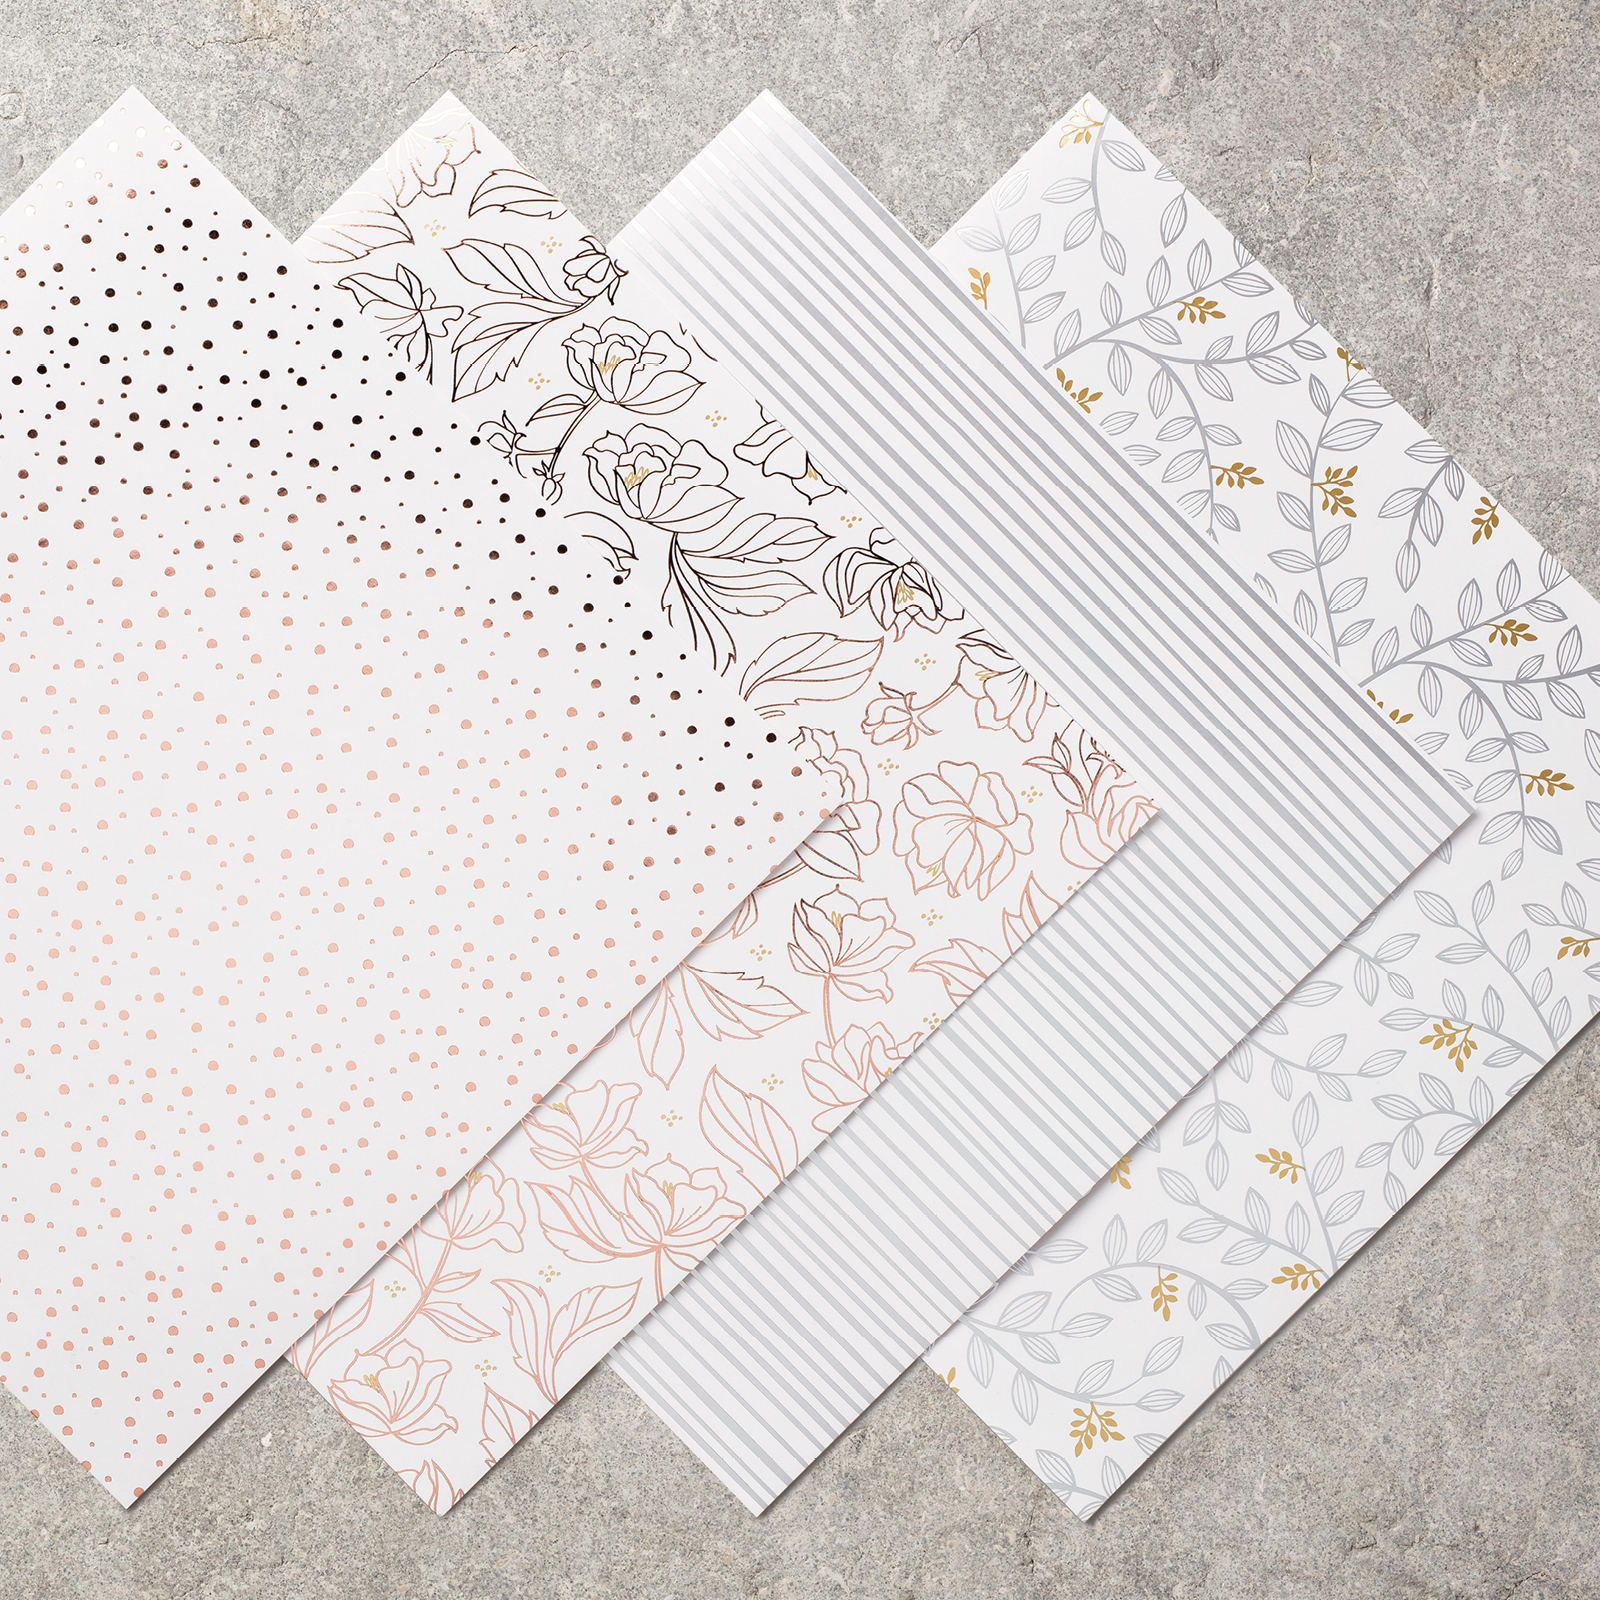
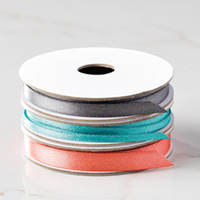
The end of Sale-A-Bration is looming ever closer on March 31, 2018. So, I used three different Sale-A-Bration products on this card. 1) The new Springtime Foils Specialty DSP, 2) Amazing You stamp set, and 3) Shimmer Ribbon. I received each one these items for free with a purchase of $50.
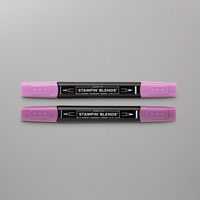
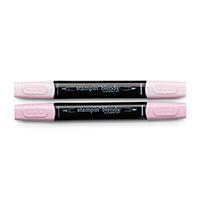
The Springtime Foils Specialty DSP has got to be one of my all time favorite Sale-A-Bration products. It is absolutely gorgeous, and as you can see here, very fun to color with Stampin’ Blends!!! After my hectic weekend, it was so relaxing to sit and color. I played music and just sat there and colored away. It was awesome!
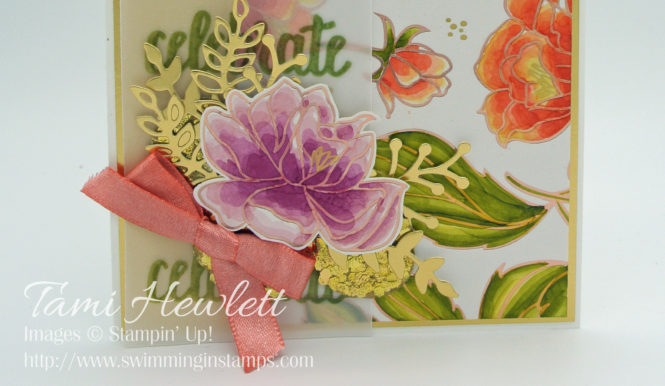
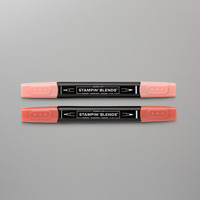
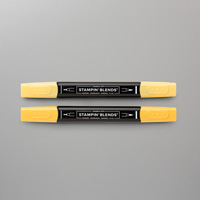
I used the following Stampin’ Blends markers: Light and dark Calypso Coral, Daffodil Delight, Pink Pirouette, and Old Olive. Then for contrast, I also used the Rich Razzleberry light marker. I played around with techniques, and decided I got best results with long sweeping strokes on the leaves and circular motions on the flowers. I like to start with the darker colors and gradually added lighter ones, each time going over the dark to re-activate the ink. I also colored in small sections, like one leaf or two flower petals at a time.
Tip: Don’t use the Color Lifter near the foil on this paper. It will change the appearance of the foil.
I cut out one of the flowers as a centerpiece with good old scissors.
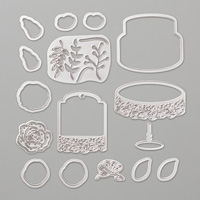
Finally, I cut out some Sweet Cake Framelits from Gold Foil for decoration behind my flower. I even cut three solid flower shapes, covered the entire top with Fast Fuse Adhesive, and adhered Gold Glitter Flakes to the top. Then, to really set the flakes in place, I added some gold embossing powder and heat set them.

Supplies used on my card:


Thanks! You helped me a lot! ;D