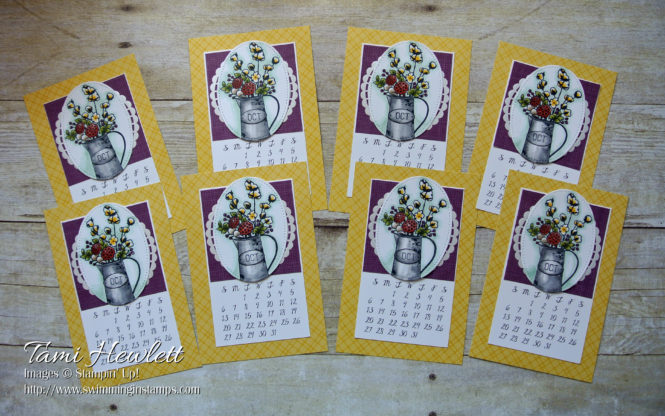
Ready for another 2019 desktop calendar? I’m on a roll with these things! In fact, I finished ALL of them last weekend! (Stay tuned for November and December.) I figured with all the commitments I have coming up, as well as the busy holiday season, I might as well get them done while I could.
If you’re not into making desktop calendars, you could always use these ideas as card fronts. They would translate pretty easily.
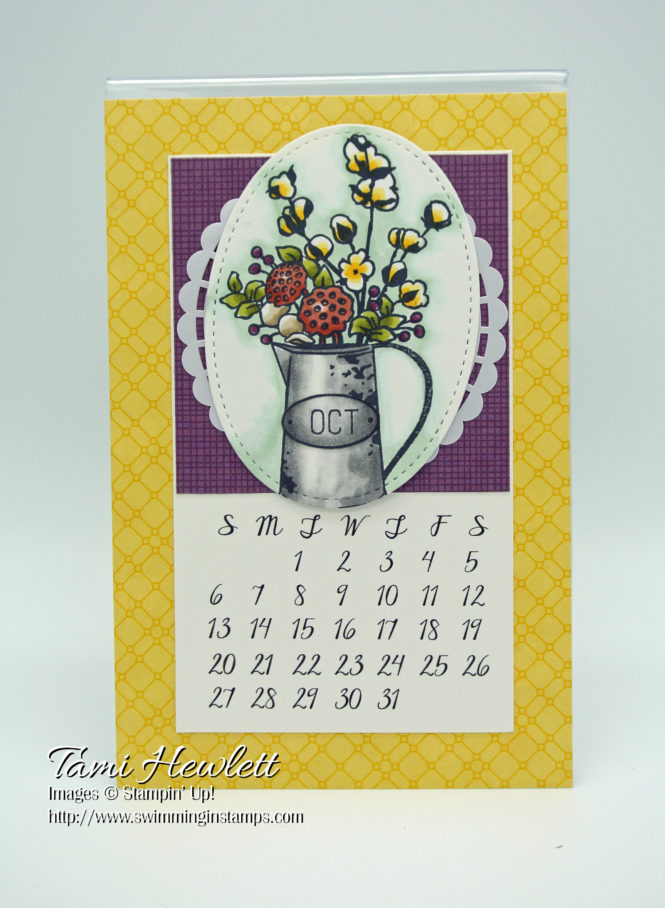
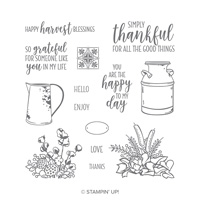
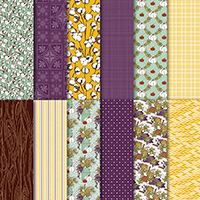
My calendars measure 4″ x 6″ and fit in a standard frame. For the October 2019 calendar, I used the new Country Home suite of products. I immediately fell in love with this suite when I saw it! The images, colors, and designer series paper are beautiful and perfect for the Fall season.
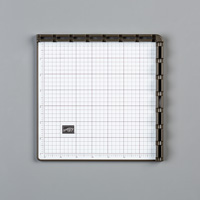
Since I made eight of these, I used my Stamparatus placement tool to ensure I stamped the flowers perfectly above the jug. I set up the jug on one side, and then flipped the plate over for the flowers. After that, I had an assembly line going, making it super easy to whip out all eight. As an added bonus, if I failed to ink up the stamp properly, I could easily re-stamp to fill in any gaps.
After stamping the images with Tuxedo Black Memento ink on Whisper White Cardstock, I cut them out with an oval Stitched Shape Framelits Die.
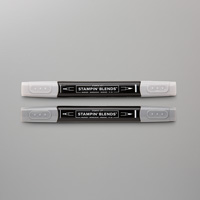
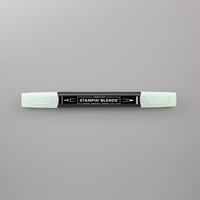
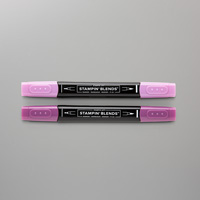
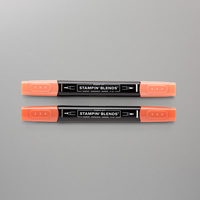
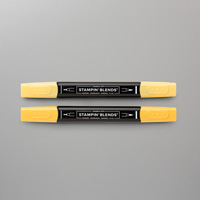
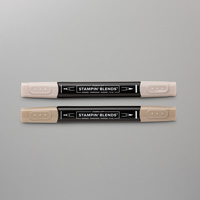
I colored all the images with Stampin’ Blends Markers. (See color list below.) Tips and tricks for using Stampin’ Blends: 1) Use Memento ink and Whisper White paper for best results. 2) I like starting with the dark marker first, then going over the same area with the light marker to blend. 3) Stampin’ Blends continue to spread as you add more ink to your paper, so be careful not to add too much ink when getting close to the edges. 4) Use a Color Lifter pen to add highlights and blend edges, such as the background. 5) Color in small sections for best results in blending. If the ink dries too much, it is more difficult to blend, and alcohol ink dries quickly.
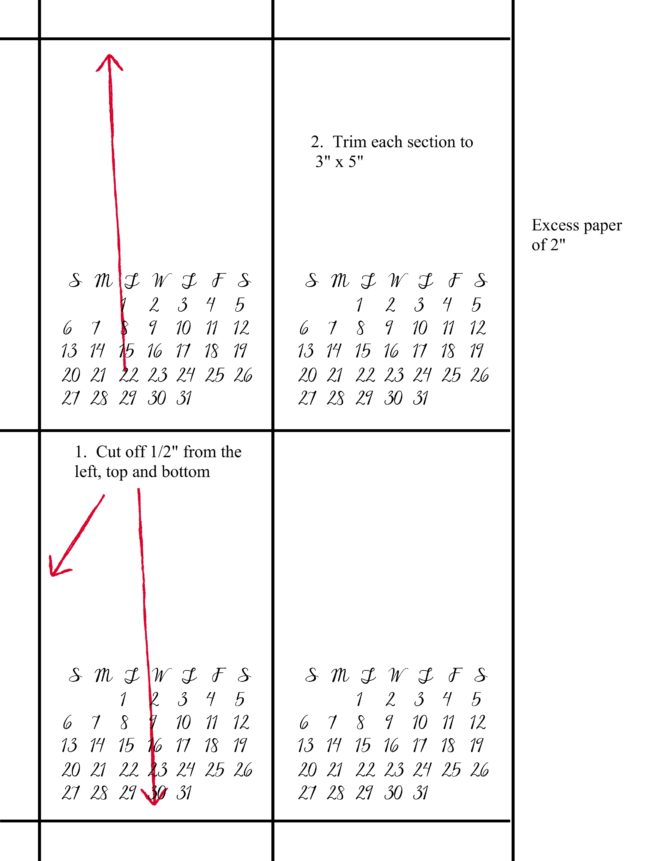
I created a printable calendar page on My Memories Suite. To download the calendar page JPEG, click HERE. Print the JPEG on 8-1/2″ x 11″ on Whisper White Cardstock with the smallest margins possible for your printer. The days and numbers are colored Basic Black. Each sheet will make 4 calendar layers. Trim each one down to 3″ x 5″ as follows:
Supplies used on my calendar page:


Reminder: It’s time to cash in your Bonus Days coupons! For details on cashing in your coupons, click HERE.