


The Bubble Over stamp set is so freaking cute! My daughter and her boyfriend love fancy sodas, so when I saw this set I knew I had to get it for them. (Both have birthdays coming up in the next few months, and Brenden is turning 21!!!) Stay tuned for those projects.
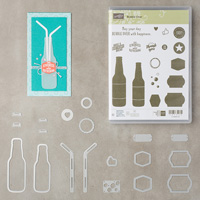
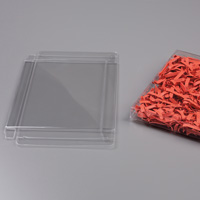
In the meantime, the stamps and matching Bottles & Bubbles Framelits Dies are perfect for all kinds of projects. My project today is a door prize for Stamp Club last Monday. I designed it around an acetate card box so I could slip the gift inside.
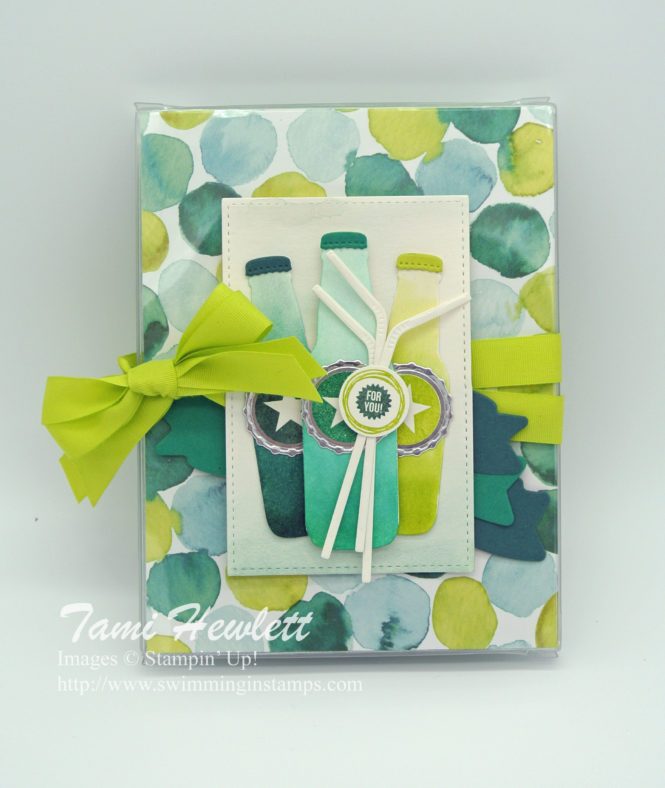
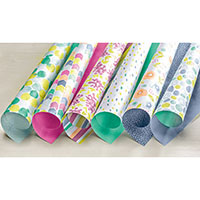
To start, I cut two pieces of Naturally Eclectic Designer Series Paper to fit inside the front and back of the box. I thought this paper would be perfect because it looks like bubbles! So of course, I had to make my soda bottles match the bubbles!!! I used the framelits to cut 3 bottles from Shimmery White Paper and watercolored them with Aqua Painters to look like fizzy pop! First, I brushed clear water over the entire bottle, then I added ink from the bottom up, blending to create an ombre look.
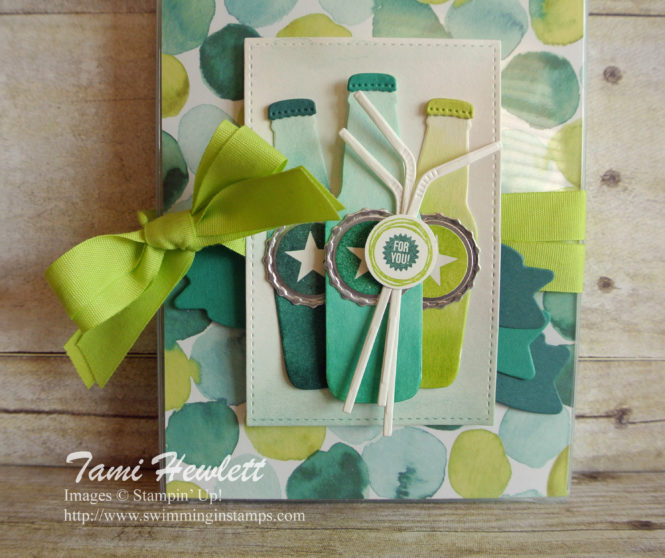
To finish the bottles, I cut matching caps from cardstock. What’s really awesome about the Bottles & Bubbles Framelits is that it includes four cap die cuts, so it’s super easy to cut multiple caps at a time!!! It also includes straws going in two different directions and tons of options for layering bottle labels.
One of the layering dies is the big circular bottle cap that I used on each bottle. I cut them out of Silver Foil so they looked metallic. So fun and cool looking!!! Then, I used various stamps from the same set to create the stars and sentiment. Punch them out with a 3/4″ Circle Punch and Voila!!!
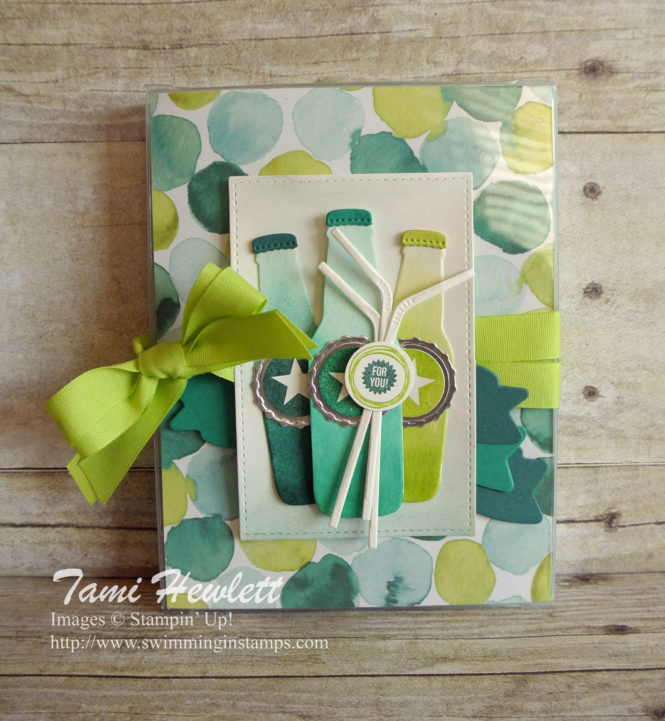
For the background layer, I used the Stitched Shapes Framelits Dies. This really is my all-time favorite and most used framelit set. I use it a lot, because it includes multiple sizes of circles, ovals, and squares … so that covers just about anything you’d ever need. Plus, the subtle stitching adds a beautiful detail to my projects. You’ll notice that I didn’t include RECTANGLES in the list above. I needed a rectangle for this project, so I used a technique I’ve shown before on my blog to use the largest square framelit to create a rectangle. To see those instructions, click HERE. After cutting the die from Shimmery White Paper, I watercolored it with a little Pool Party ink.
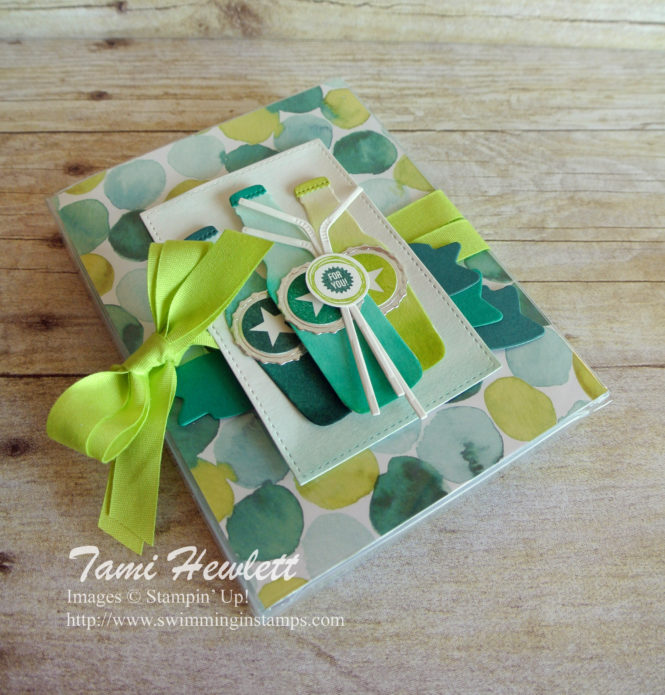
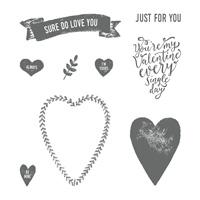
To cut the multiple banners next to the ribbon, I used the cute die cut from the Lots to Love Box Framelits Dies. That set can be used for WAY more than just Valentine’s Day projects!!! And then as a final touch, I wrapped the whole box with two pieces of Lemon Lime Twist 1/2″ Finely Woven Ribbon.
Supplies used on my project:


Thank you for your blog post.Really thank you! Awesome.
You’re welcome! Thanks for the feedback. I’m glad you enjoyed it:)