


Hello! I’m Tami Hewlett from California, USA, and today I’m sharing my September Artisan Design Team projects featuring the Boughs of Holly Suite. This is an absolutely GORGEOUS suite, definitely one of my favorites from the JD Mini Catalog! I literally love everything about it and was so excited when I received this assignment!
Be sure to check out the Stampin’ Up! Facebook page to see all the Artisans’ beautiful projects featuring this festive suite.
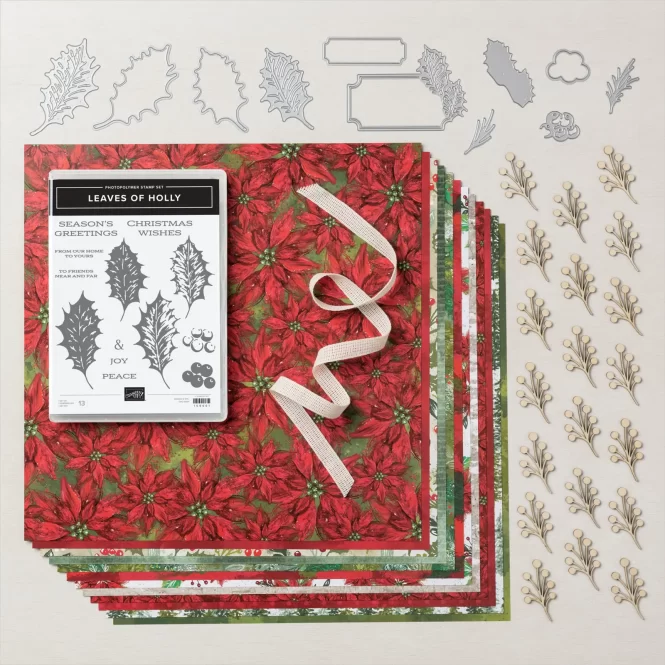
You can find the Boughs of Holly Suite Collection on pages 24-25 of the July-December Mini Catalog. It includes the Leaves of Holly Bundle (Leaves of Holly Photopolymer Stamp Set and Holly Berry Dies), Boughs of Holly 12″ x 12″ Designer Series Paper (DSP), Textural Elements, and Natural 1/2″ Woven Ribbon.
I think it’s super elegant and love the suite color combinaiton of Cherry Cobbler, Real Red, Poppy Parade, Mossy Meadow, Evening Evergreen, and Shaded Spruce.
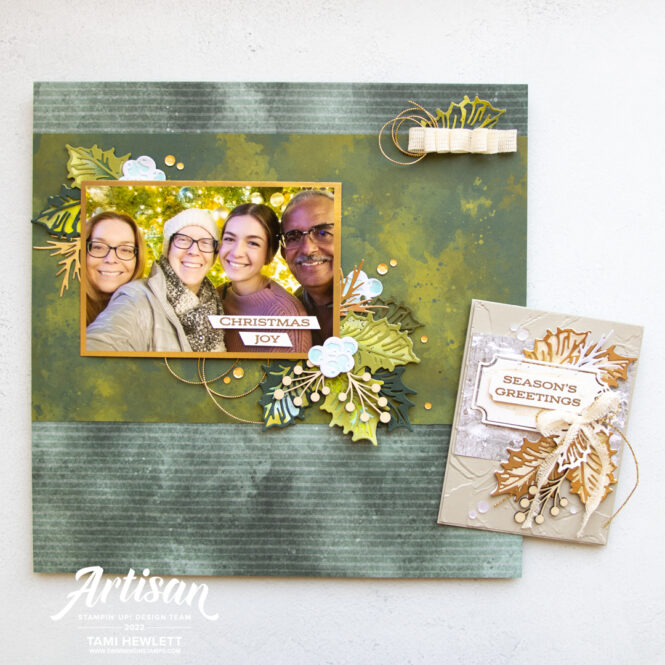
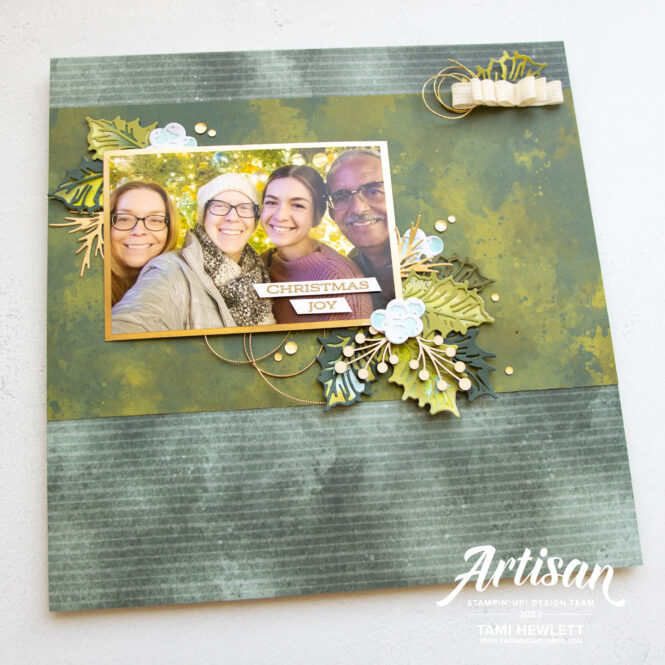
Christmas Joy Scrapbook Page:
Those beautiful designer series papers just spoke to me! I pulled out one of my favorite photos from last Christmas and decided to design a scrapbook page with two of my favorite prints. My sister Jill snapped this photo after a fun dinner in Southern California. It also includes my daughter Shannon and brother-in-law Emile. I love the bright tree lights in the background of the photo and the colors were a perfect match with the DSP!
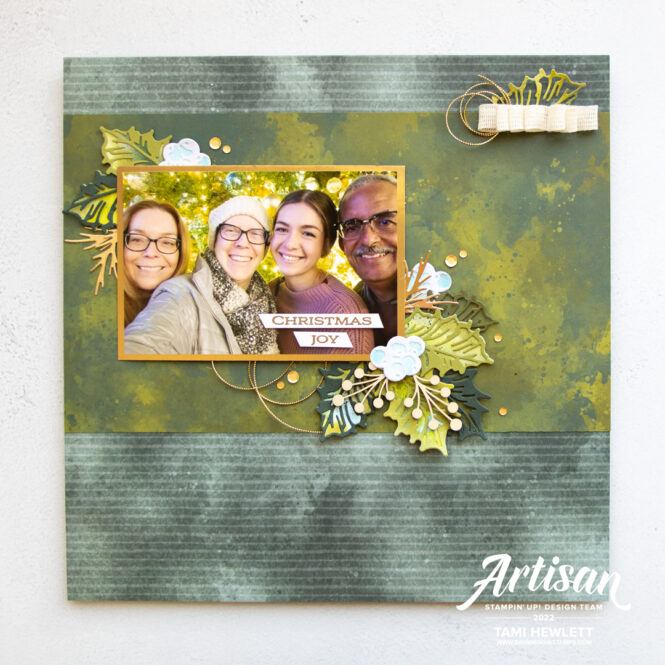
I stamped the leaves on Shimmery White Cardstock using one of my favorite watercolor stamping techniques. I inked up the thicker “solid” leaf stamp with a variety of ink colors using Sponge Daubers, including Old Olive, Mossy Meadow, Evening Evergreen, and even Tahitian Tide, and then gave the stamp a little spritz before stamping on the Shimmery White Cardstock. The water causes the ink colors to blend and gives the stamped image a watercolored look. Then after the paper dried, I added splatter with an Evening Evergreen Stampin’ Write Marker. For this project, I chose not to add the second, more detailed leaf stamp. Instead, I opted to layer the detailed die-cuts over the leaves. For the most part, I cut those out of plain cardstock, but on at least one, I cut it out of Shimmery White Cardstock that I had pre-painted with the same ink colors.
For the berries, I stamped them with Tahitian Tide ink on Shimmery White Cardstock and then gave the paper a little spritz so they also looked watercolred. I wanted to bring out the blue tones in the photo. Then, I cut the detailed, coordinating die-cuts from White Glimmer Paper. (I love glitz for Christmas!!!)
Next, I added some pretty little details, including some Textural Elements and Natural Woven Ribbon. The neutral colors are so elegant, but if you choose, you can color both with Stampin’ Blends Markers to coordinate with your project! To create the bow on the top, right corner, I used a strip of SEAL+ (Tear N Tape would also work) and then finger folded the loops. As I was going alond, I added mini glue dots for additional security.
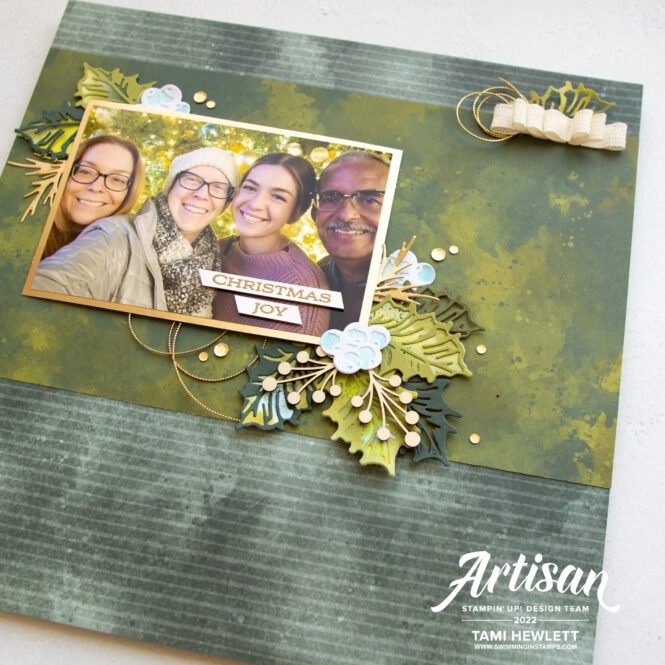
As I was finishing up, I stood back and took a good look, and it just seemed like it “needed something else.” That’s when I decided to add some gold Festive Sequins and Simply Elegant Trim to bring a little “flow” to the page. Laugh if you must, but I am NOTORIOUS for completing an entire project and then deciding I need to add a layer on the very bottom. (The Take Your Pick Tool palette is my friend to help to gently lift adhered sections so I can add things underneath!) 🙂
Season’s Greeting Card:
While I absolutely love the traditional colors of the Boughs of Holly Suite, I wanted to come up with something different to inspire you. So, I decided to use a color palette with all neutrals for an elegant look. I also really love the one sheet of DSP that looks like Aspen tree bark.
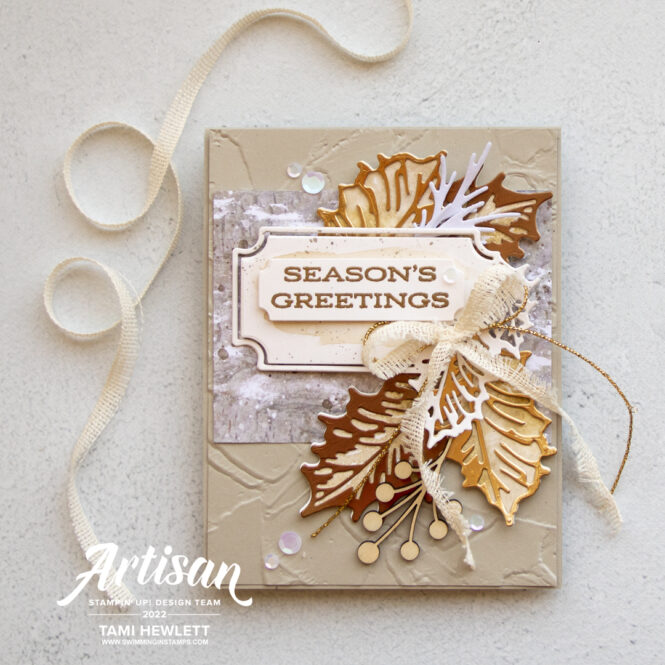
I stamped the leaves using the same watercolor stamping technique described above, but this time I switched up the colors and used Sahara Sand and Soft Suede. Then, I layered detailed leaf die-cuts from gold and copper Brushed Metallic Cardstock.
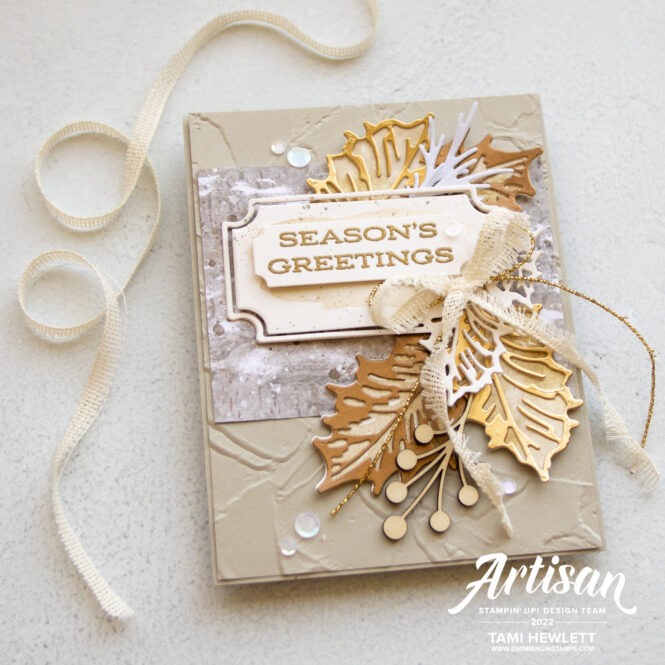
The Leaves of Holly label die-cut is a particular favorite of mine. I cut it from Shimmery White Cardstock and then gave it a subtle watercolor wash with Sahara Sand ink. Then, I added splatter with a Sahara Sand Stampin’ Write Marker. Afterwards, I cut out a second label and glued them together for added stability. I also used a Foam Adhesive Sheet to support the label underneath (versus Dimensionals) so it would lay nice and flat.
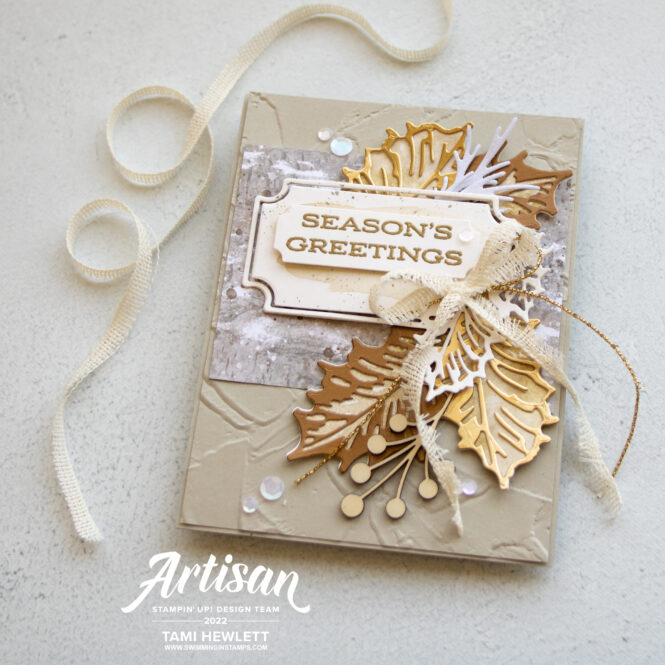
To finish my project, I added some more Festive Sequins (this time in white) and a bow of Natural Woven Ribbon (cut in half lengthwise) and gold Simply Elegant Trim (which I had thinned out by removing some of the strands.)
This is a really gorgeous suite and I can’t wait to use it for my Christmas cards this season.
Have a wonderful and creative day!

Purchase products from my online store to qualify to receive free exclusive project tutorials. This month’s PDF includes 12 creative tutorials designed by my demonstrator friends and I to inspire your paper crafting! The projects feature products from the May-August 2026 Catalog and current Online Exclusives. Enjoy!
")
")
")

 Designer Series Paper")

 Woven Ribbon")


 Glimmer Paper")

")


