


Hello! I have a special post today, because I’m a Guest Designer for 3-D Thursday. 3-D Thursday is a fantastic Facebook Page chalked full of inspirational 3-D projects. Be sure to check it out!
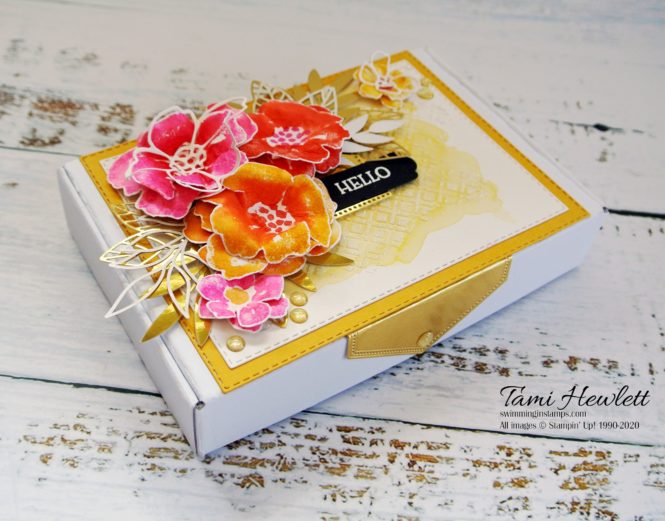
My project today focuses on the new Mini Paper Pumpkin Boxes found on page 152 of the Annual Catalog. They come in packets of 10 for only $7.50 (USD). I love how easy they are to assemble, and they’re a perfect size (5-7/8″ x 3-3/4″ x 1″) for small gifts. I decorated mine with paper flowers I created using the Blossoms In Bloom stamp set. I’ll go over a few of the major steps to create this box below, but to download the full details in a free step-by-step Project Sheet, click HERE.
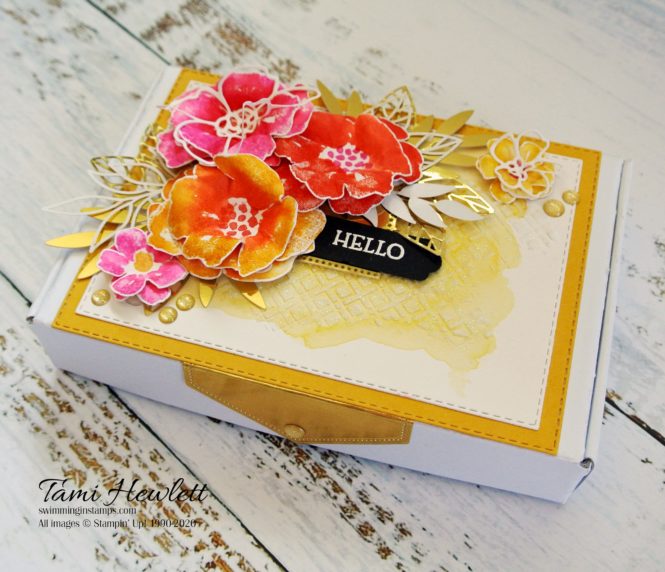
The Blossoms In Bloom stamp set (p. 51) has a watercolor style that works perfectly with a technique I call “watercolor stamping.” This is achieved by inking up the stamp and then lightly spritzing it with water prior to stamping on Shimmery White Cardstock.
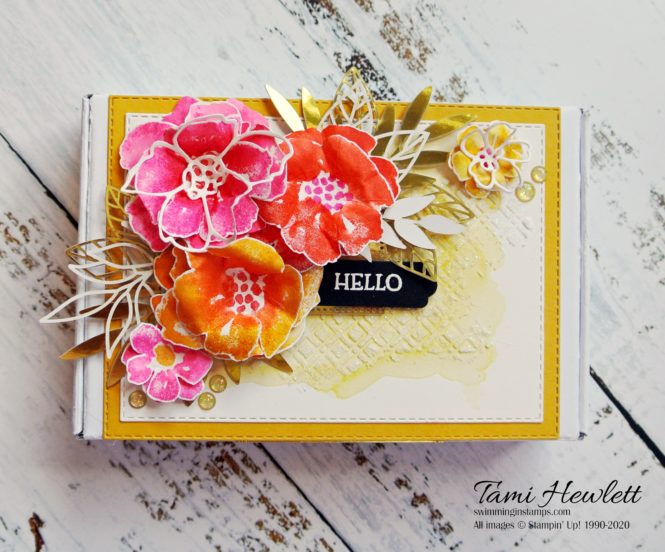
For the large flowers, I used the multiple floral image as follows: 1) Ink up the stamp with Bumblebee ink and then sponge Poppy Parade ink in the middle, prior to spritzing, 2) ink up the stamp with Magenta Madness ink and then sponge with Poppy Paraded ink in the middle, prior to spritzing, and 3) ink up the stamp with Poppy Parade ink, prior to spritzing. Because the image includes multiple flowers, I only had to stamp each color (combination) once. Then, I cut apart the flowers for layering. I stamped the small flowers with Magenta Madness and Bumblebee using the watercolor stamping technique as well.
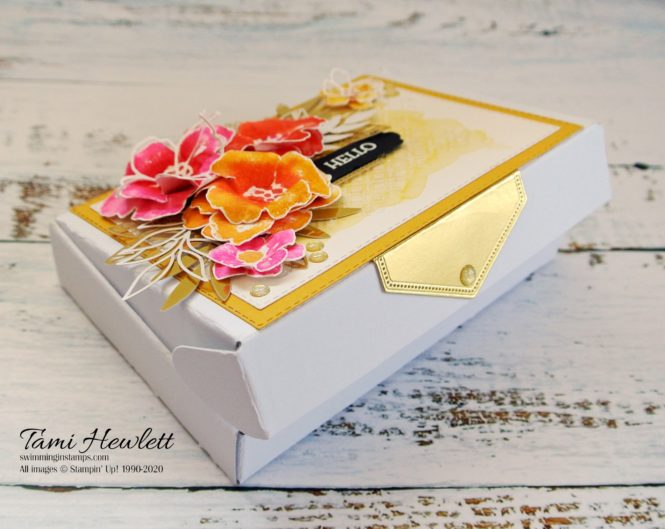
Afterwards, I used a Bone Folder to break down the fibers of the flowers and curl them into 3-D shapes. Then, I adhered them together with hot glue.
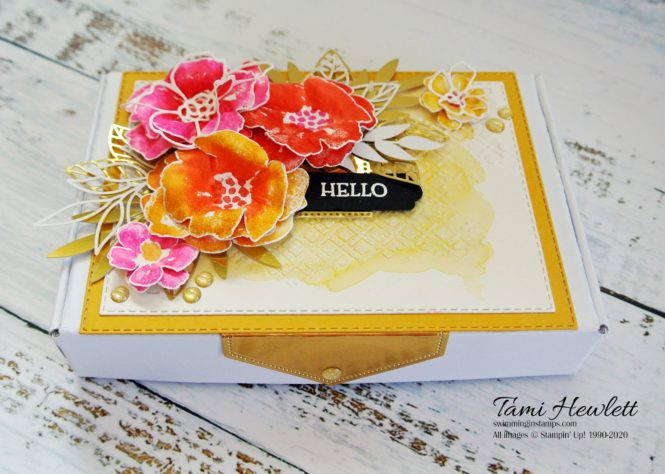
To add a little more detail to the flowers, I added some scrunched-up Many Layered Blossoms die-cuts from Shimmery White Cardstock. I also added some Forever Gold Laser-Cut leaves in gold and white.
For the background, I could have just painted a quick watercolor wash, but I decided to add a little more dimension by adding a layer of Shimmery White Embossing Paste. I used one of the Forever Gold Laser-Cuts as a mask.
The small sentiment label is a simple 1/2″ strip of Basic Black Cardstock that I punched with the new Lovey Labels Pick A Punch.
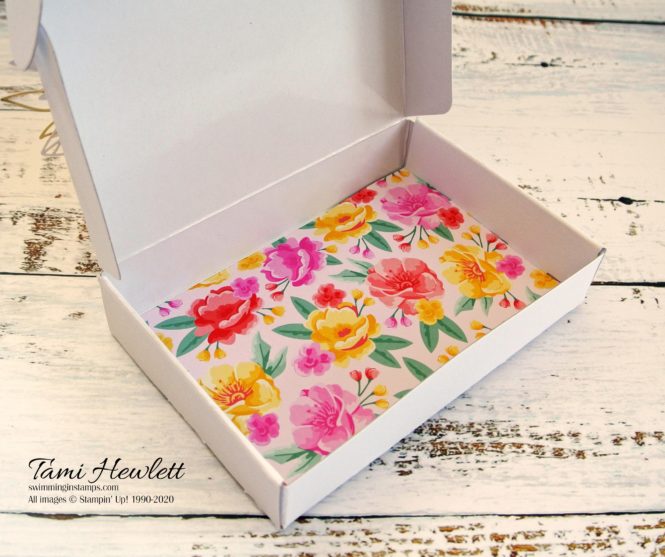
I’m keeping this box for a special occasion. For right now, I slipped some Flowers For Every Season 6″ x 6″ Designer Series Paper inside.
Hope I’ve inspired you! These are great little gift boxes.
Have a wonderful and creative day!

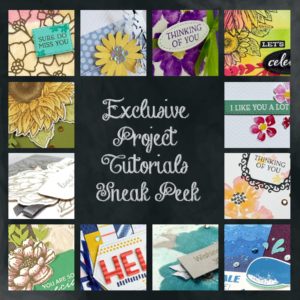
Use the June Host Code A7KKSXW3 for purchases at my online store to qualify to receive free exclusive tutorials and a special thank you card from me. This month’s PDF features products from the 2020-2021 Annual Catalog, as well as fun stamping techniques and new colors!

")

")


")


I just wanted to take a moment to thank you for sharing your beautiful design.
Thank you so much Deb!!!
STUNNING!! I have not seen a project as beautiful as this, in quite a long time. Thank you for your inspiration.
Thank you so much! That really means a lot to me!!!
Your flowers are AMAZING! I never thought to cut those flowers apart. So going to give this a try.
Awe thanks so much Cindee!!! 💕
Wow! Thanks for sharing
Thank you Lorraine!