


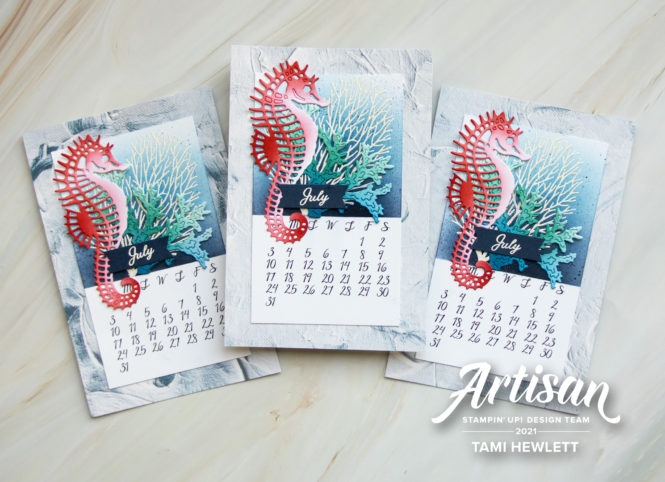
Hello! Today, I have two more 2022 desktop calendars to share. I’m slowly trying to catch up before Christmas. I usually make these 4″ x 6″ calendar pages throughout the year (a year in advance) so I have eight full sets to give out as gifts during the holidays. However, I fell behind this year because of my home renovation and extra Artisan commitments.
Since I was pressed for time, I ended up using my computer to print the calendar portion of these calendars. (See below to download the file.) Another option would be to stamp the calendars using the Days To Remember stamp set. For instructions on using that set, see my blog post for the April and May calendar pages.
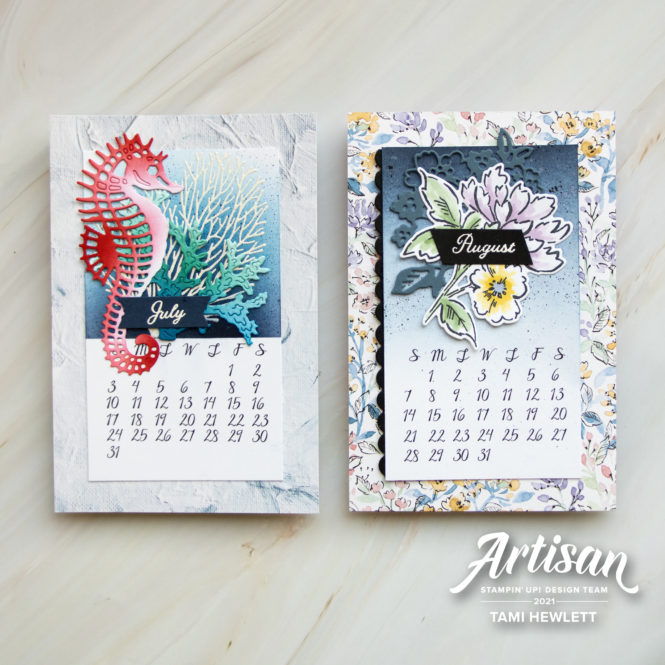
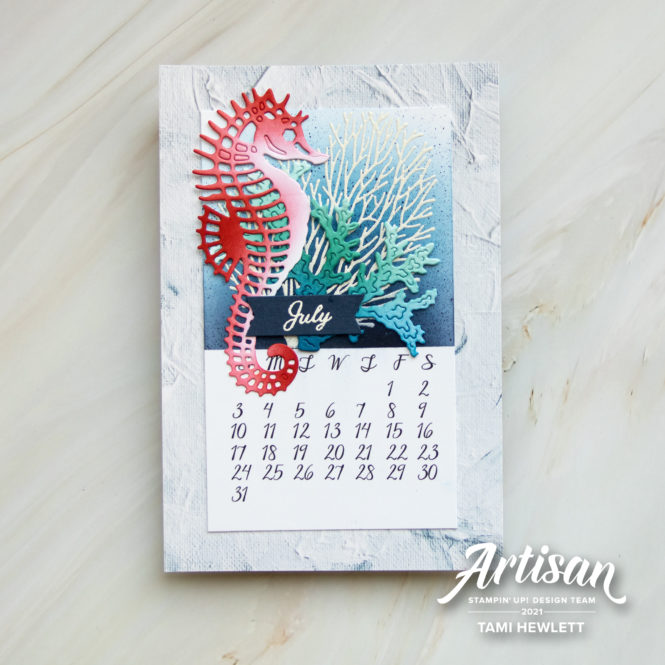
July 2022 — Seascape Bundle
July makes me think of the beach and vacations, so I thought the Seascape Bundle would be perfect! This is also one of my favorite bundles from the Annual Catalog. I paired it with In Good Taste Designer Series Paper for the background.
July Tutorial:
- Cut In Good Taste Designer Series Paper to measure 4″ x 6″.
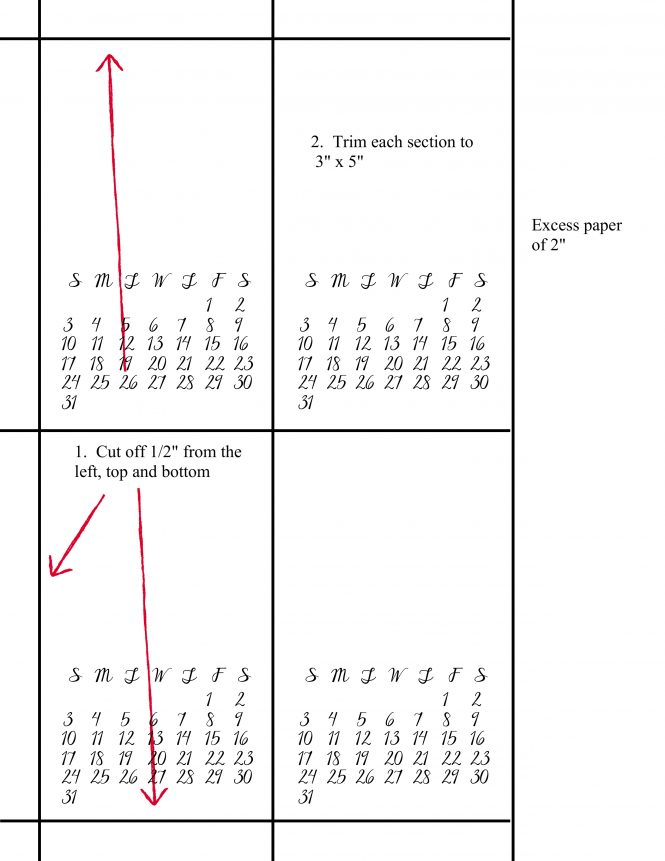
- Print calendars on Basic White Cardstock and trim each one to measure 3″ x 5″. Download file and see instructions below.
- Place scrap paper over the bottom portion of the calendar layer to mask out the bottom portion and secure with washi tape. Use Blending Brushes to add Night of Navy and Pacific Point ink to the upper section. Then, use a Night of Navy Stampin’ Write Marker to flick splatter over the blended background.
- Ensure the ink is dry. I also suggest using an anti static pad to rub over the top portion of the calendar layer. Then, while the bottom portion is still masked off, stamp the coral with White Craft ink and emboss in white. Remove the mask.
- Use the Sea Life Dies to cut out the seahorse and coral from Basic White Cardstock.
- Apply Poppy Parade ink to the seahorse and Bermuda Bay and Pacific Point ink to the coral with Blending Brushes. Adhere with Multipurpose Liquid Glue. Adhere calendar layer to background with Seal.
- Stamp and emboss the month in white using the Days to Remember stamps on Night of Navy Cardstock. Trim close and notch the ends to form a “V”. Adhere with Seal.
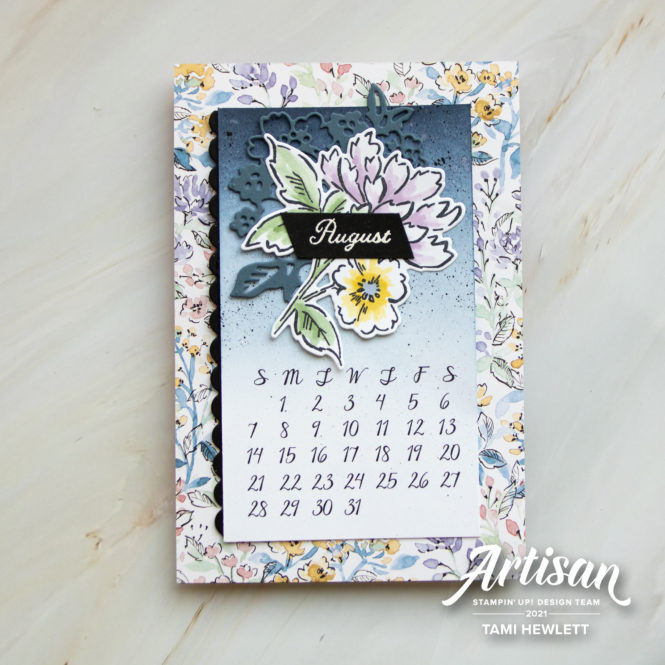
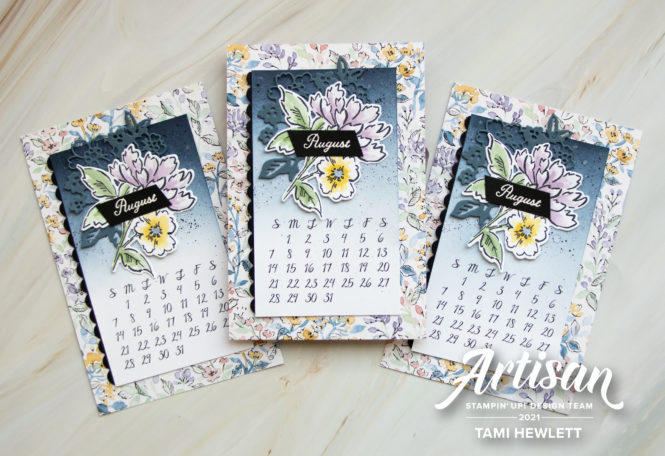
August 2022 – Hand Penned Petals Bundle
The August calendar page features another favorite, the Hand Penned Petals stamp set and Penned Flowers Dies. I love coloring these stamps, and the delicate dies are just gorgeous.
AugustTutorial:
- Cut Hand Penned Designer Series Paper to measure 4″ x 6″.
- Print calendars on Basic White Cardstock and trim each one to measure 3″ x 5″. Download file and see instructions below.
- Apply Misty Moonlight ink to the calendar layer with a Blending Brush starting at the top and blending downwards.
- Use a Basic Black Stampin’ Write Marker to flick splatter over the top portion of the calendar.
- Use the Penned Flowers Dies to cut the scallops from Basic Black Cardstock and the detailed flowers from Misty Moonlight Cardstock. Adhere the scallops behind the left side of the calendar layer and then adhere the entire layer to the background with Seal.
- Stamp the large flower with Memento ink on Basic White Cardstock.
- Use Water Painters to watercolor the flower with Highland Heather, Daffodil Delight, Mint Macaron, and Misty Moonlight ink. Tip: Basic White Cardstock is very porous, so try to paint with single, quick strokes of the brush. Squeeze your stamp pads to pool ink in the lids and then add water to get the right mixture. Use a paper towel to clean your brush and control the amount of ink on the brush.
- Cut out the watercolored flowers and layer over the Misty Moonlight detailed die-cut with Seal.
- Stamp and emboss the month in white using the Days to Remember stamps on Basic Black Cardstock. Trim close and cut the ends at an angle. Adhere with Seal.
I created the calendar pages using My Memories Suite software. You can download the entire PDF of the 2022 calendar HERE. That way, you can copy my designs and/or work ahead and create your own! All the print is colored black. I designed the pages to go all the way to the edges of a standard 8-1/2″ x 11″ sheet of cardstock. Trim as follows:
Stay tuned for the last four months! Have a wonderful and creative day:)

Purchase products from my online store to qualify to receive free exclusive project tutorials. This month’s PDF includes 12 creative tutorials designed by my demonstrator friends and I to inspire your paper crafting! The projects feature products from the May-August 2026 Catalog and current Online Exclusives. Enjoy!


")


")

")


 Designer Series Paper")


