


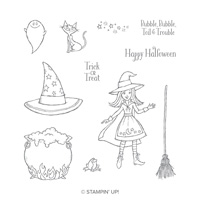
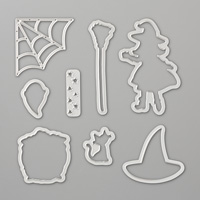
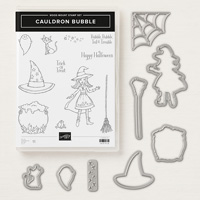
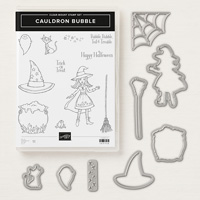
Happy Monday! Today, the What Will You Stamp? Challenge Blog is featuring the Cauldron Bubble stamp set! This set coordinates with the Toil & Trouble Suite of products found on pages 48 and 49 of the Holiday Catalog. This suite is perfect for Halloween festivities!!!
Be sure to click over to the What Will You Stamp? Challenge Blog to see all the designers’ projects using this cute stamp set.
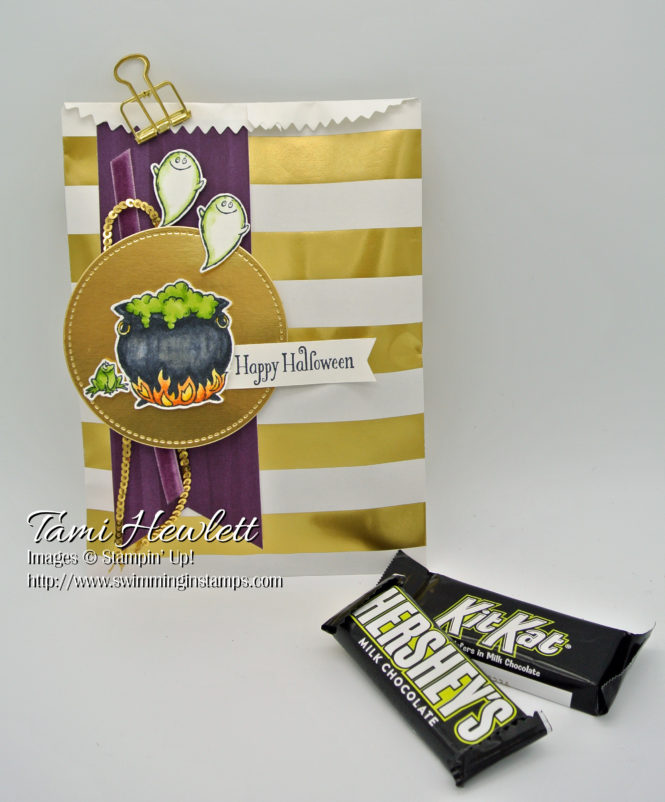
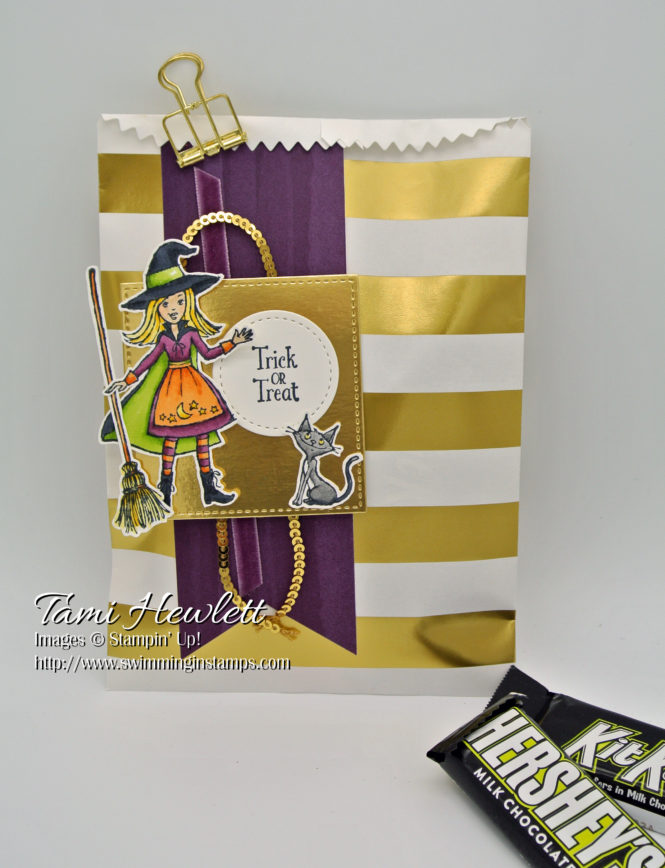
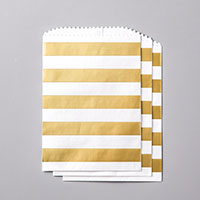
For my project, I decided to make treat bags. I don’t have young kids at home anymore, but they still love getting thoughtful gifts in the mail! And of course, everyone’s a kid at heart when it comes to Halloween, right?
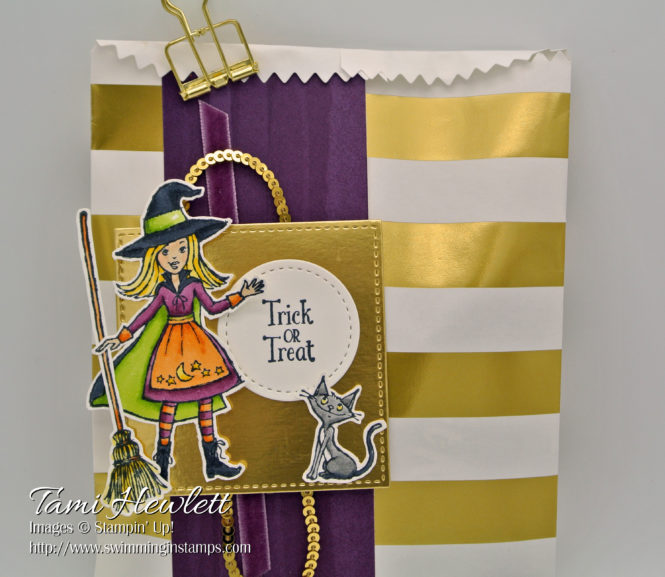
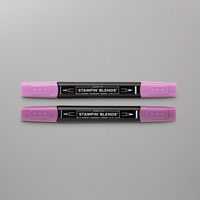
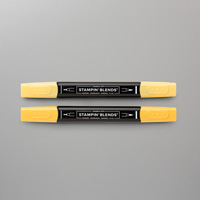
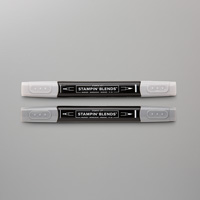
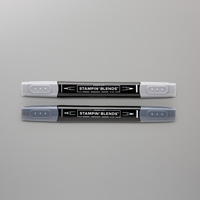
I stamped the images with Memento ink on Whisper White Cardstock and colored them with Stampin’ Blends Markers. (See supply list for colors.) I recently purchased the new Basic Black Stampin’ Blends Markers, which I used on the boots, hat, cape, and cauldron on my projects. I’m pointing this out, because the Basic Black markers are more opaque than some of the other blend colors. As a result, when I colored the kitty, I decided to use Smoky Slate instead so I could see more details of the stamped image.
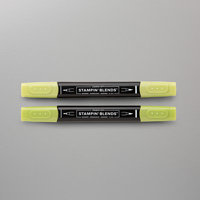
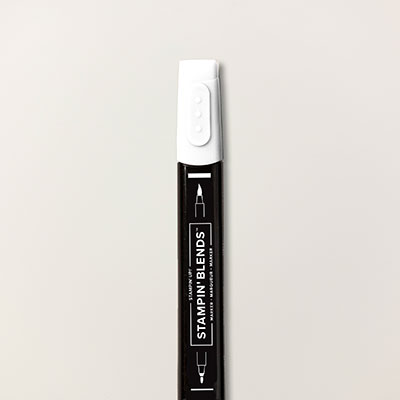
For the cauldron, which I did use Basic Black, I ended up using a Color Lifter marker to take away some of the color for highlights. I also used the Color Lifter to blend out the Granny Apple Green on the two ghosts. (Aren’t they cute???)
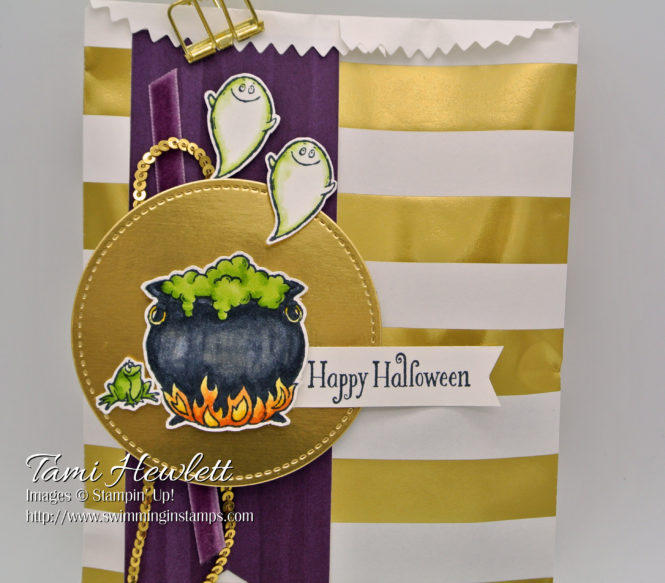
I really love coloring with Stampin’ Blends! When you buy the combo packs, which include both a light and dark marker of each color, you can add shading and variation of color. I like to start with the dark marker, coloring where the shadows will go. Then, I go over the same area with the light marker and blend out.
Tips: Color small areas at a time for better blending results. Keep your caps on when not coloring, as the alcohol-based markers will dry up quickly. Colors will continue to blend so be patient. Be careful coloring next to lines, especially with dark colors, as the markers will continue to blend out, even after you’ve finished. Use the Color Lifter to correct mistakes and add highlights. The Color Lifter is actually a “color pusher” and can be used to push the color back inside the lines. Finally, play with them!!! They are so fun, and there’s nothing better than trial and error to teach yourself how to become an expert!
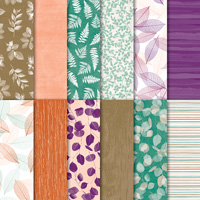
The rest of these bags are fairly simple. I created a banner from a Sheet of Nature’s Poem Designer Series Paper (2″ wide) so I could use the Banner Triple Punch to notch the end. Also, I cut shapes from Gold Foil Sheets using the Stitched Shapes Framelits Dies to draw in some of the gold from the bags.
Supplies used on my project:


Love these little treat bags! The neighborhood kids would love to receive these!
Thank you!!!
Love the gold Tami, it makes very elegant Halloween treat bags
Thank you Tracy!