
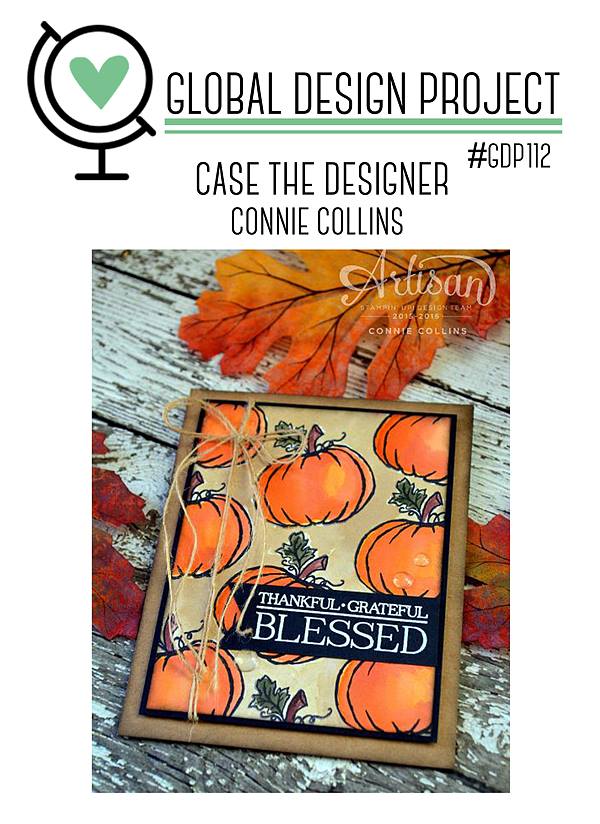
This week, the Global Design Project challenge is to CASE (copy and share everything) one of the designers, Connie Collins. Connie is one of my all-time favorite Artisan Designers. I’ve followed her blog for years. She is amazingly artistic … simply one-of-a-kind. Every single one of her projects is meticulously perfect and detailed. She’s just awe inspiring.
The card she designed includes beautiful watercoloring and Fall colors. See below for her card, and click on the photo to go to the GDP website and see all the designers’ CASEd cards.
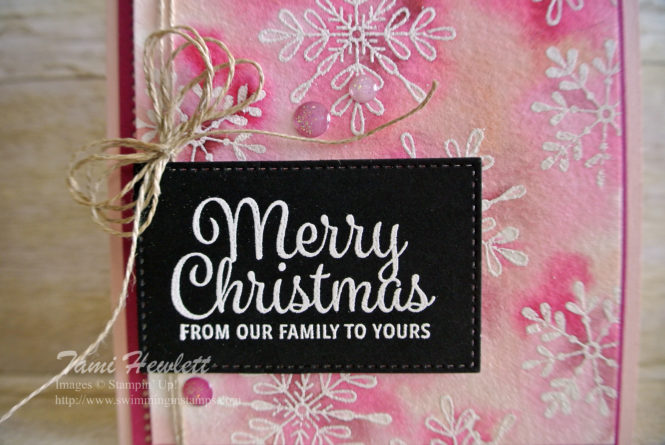
For my card, instead of stamping images Ito watercolor inside, I stamped solid images and watercolored the background. I used an emboss resist technique, where I stamped and embossed the snowflakes from Snowflake Sentiments in white on watercolor paper. Afterward, I watercolored the background. The embossing resists the color for a beautiful effect.
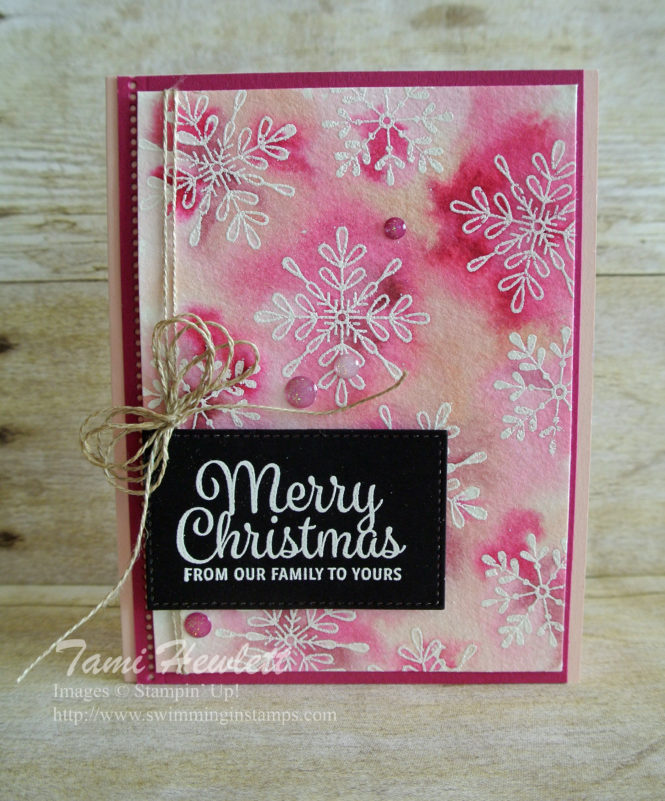
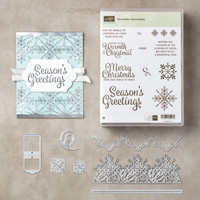
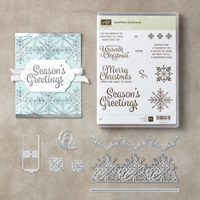
I love the Snowflake Sentiments stamp set and coordinating Swirly Snowflakes Thinlits Dies. The snowflakes are lacy and pretty (perfect for this technique) and I adore the beautiful font showcased in all the sentiments.
Additionally, the coordinating thinlints dies include this unique border dot die I used on the side of my card.
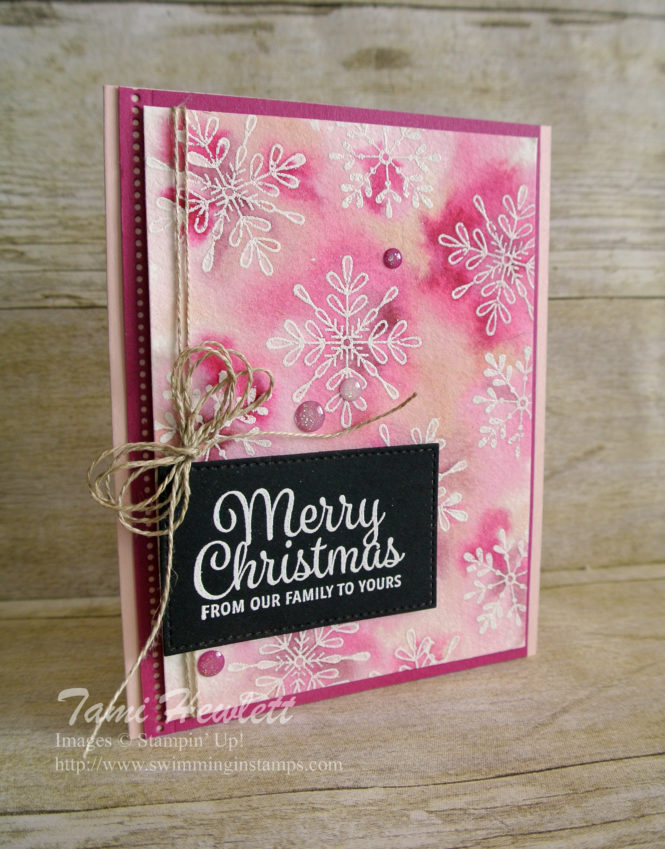
Connie’s card is fairly simple; it’s the details she adds that make it so beautiful. For example, the watercoloring and water droplets. I tried to think of small details I could add to my card. So, I stepped up my banner by using a square Stitched Shape Thinlits Die to create a rectangle banner.
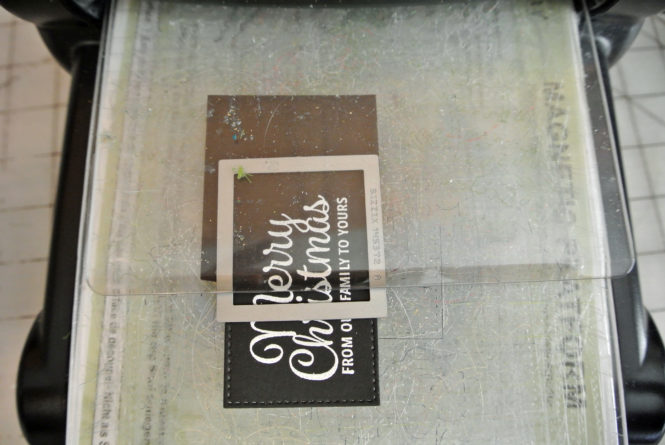
This technique is easier than you might think. I started by positioning the die over the left side of the banner. However, to ensure I didn’t cut my sentiment in half, I placed the glass so it only covered the three sides of the die I wanted to cut. Then, I moved the die to the other side of the sentiment (see photo below) and did the same thing. Notice that the glass only covers the sides I want to cut. When positioning the die the second time, I jiggled it so I could feel the sides and stitching line up with the original cut.
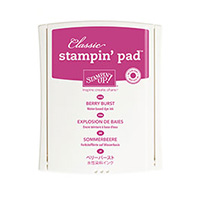
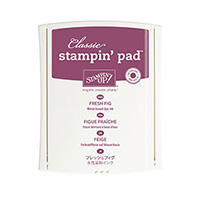
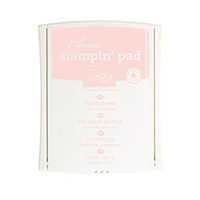
For the watercoloring, I used an Aqua Painter and the following ink colors: Berry Burst, Fresh Fig, and Powder Pink. I squeezed my pads to pool the ink in the lids. Then, I covered the entire piece of watercolor paper with clear water before adding the colors. This allows the colors to blend naturally and make lots of pretty designs. I also like to leave a little white space. Watercoloring is see-through, so don’t feel like you need to cover every speck of the paper.
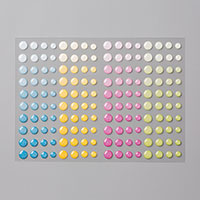
For some final touches, I added some Linen Thread and Glitter dots.
Supplies used on my card (available to purchase at my online store):


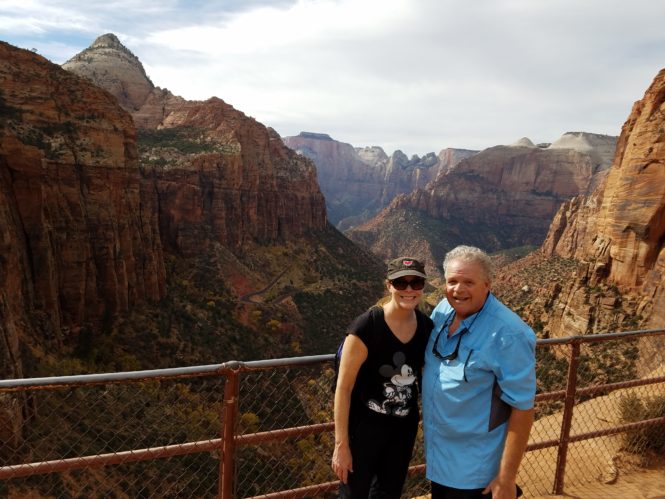
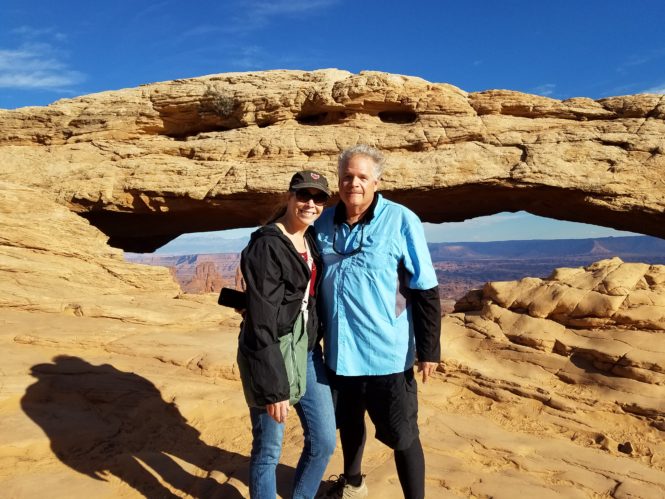
You may have noticed that I haven’t posted for a while. My husband and I just got back from an amazing vacation. To celebrate his 60th birthday, as well as our 27th anniversary, we spent almost two weeks visiting and hiking the National Parks of Utah (and then we threw in the north rim of the Grand Canyon as well!) We visited Great Basin, Zion, Bryce, Capitol Reef, Arches, Canyonlands, and Momument Valley. We saw incredible sights and hiked almost every day. Our record was over 20,000 steps in one day!
Here are a couple photos from Zion and Canyonlands.
At the end of the trip, we headed south to avoid the impending snow and ended up in Las Vegas for a couple days. (Yeah for me, because that meant I got to see Ka, one of the Cirque Du Soliel shows! It was AMAZING!!!)
Have a wonderful weekend!

