


My husband recently asked me to design some thank you cards for veterans. He has been working on an amazing service project for sometime, and he needed some cards to go along with it.
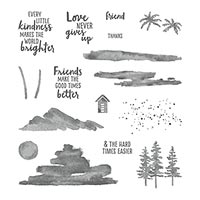
The only requirement for the card was that it include a flag, which will make more sense when I explain the project below. While Stampin’ Up! does not have a flag stamp, I remembered that I could create an abstract one using the Waterfront stamp set. I also used the Loyal and True stamp set, which was perfect for the situation.

The Texas Joe Project
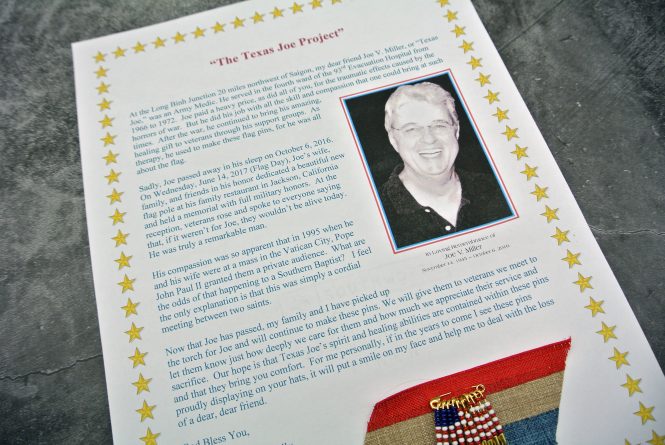
This service project started a few years ago when my husband’s dear friend Joe passed away. Joe was an army medic in Vietnam. His spirit, dedication, and sacrifice really touched my husband’s heart. After his military service, Joe continued to bring his amazing healing gifts to veterans through support groups, and as therapy, he would make flag pins out of safety pins and small beads.
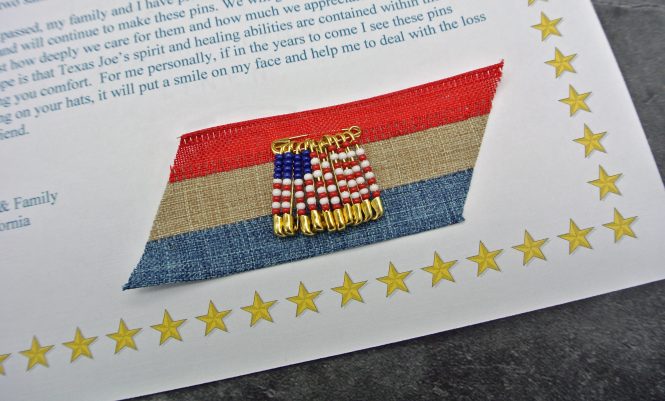
After Joe passed, my husband decided to pick up the torch and continue making the pins. The “Texas Joe Project” started out small, but grew quickly when it became apparent how much veterans appreciated receiving the pins and the thought behind it. Whenever my husband sees a veteran (identified by a hat, a T-shirt, license plate, etc.), he stops them, thanks them for their service and gives them a pin, along with a letter explaining the project. He stops people anywhere he runs into them — Wal- Mart, the grocery store, parking lots, even in the middle of the Bright Angel trail in the Grand Canyon during our vacation! He also seeks them out by visiting veterans halls and traveling exhibits. In fact, we both feel like there’s been some divine intervention regarding the sheer number of veterans that have crossed his path. For example, he ran across one gentleman downstairs from his office who was in his 90s, was a veteran of two wars, and the recipient of three Purple Hearts!!!
My husband does all this out of the goodness of his heart. He flat out refuses to take donations for materials. (However, he does have a few very dear, volunteer/friends who help him assemble parts.) It’s the reaction of the recipients that brings him absolute joy and reward.
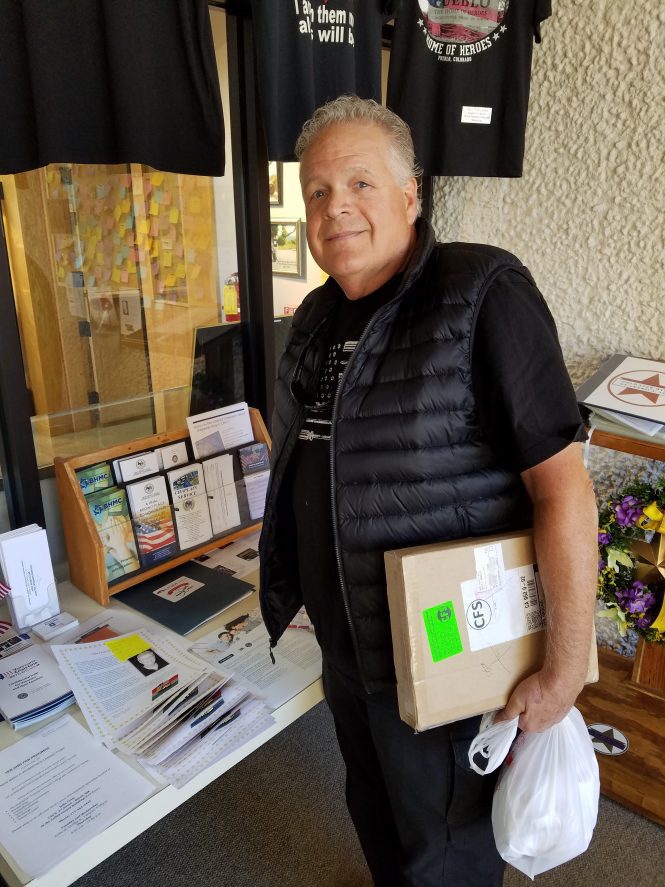
Here’s a photo of my husband at the Vietnam Veterans Memorial in Angel Fire, New Mexico last fall. We spent a day there during our southwest vacation assembling and attaching pins to letters, so he could leave a large pile for the grand opening of a new section of the cemetery that month.

My card is fairly simple, so I can make multiples. But, I think it’s perfect for the situation, and my husband agrees.
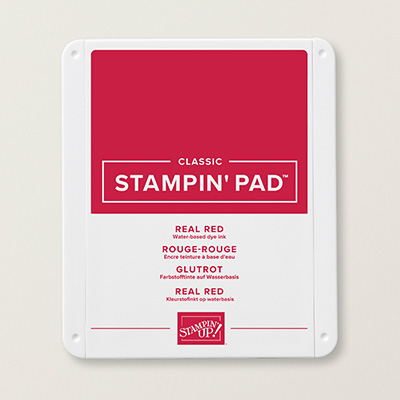
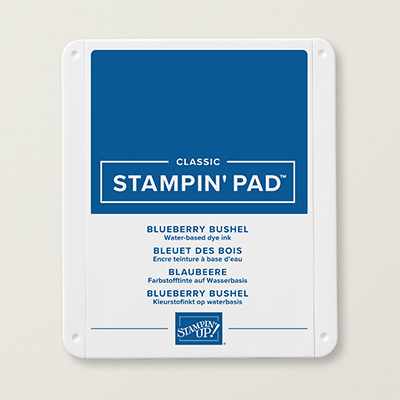
I created a flag using the Waterfront stamp set. I started with a piece of Watercolor Paper measuring 4″ x 2-1/2″ and stamped the stripes with Real Red ink. (I had to stamp twice on the bottom, longer stripes.) Then, I used the large triangle stamp to create a square for the stars with Blueberry Bushel ink, by stamping, flipping and stamping again. Afterwards, I used an Aqua Painter to go over the stamped images with clear water and blend the ink.
Finally, I needed to add stars, so I used a retired border punch to create lots of little stars out of Watercolor Paper. I even came up with a fairly efficient method to adhere them. I squeezed little dots of Liquid Adhesive, then used a Picker Tool in my right hand to pick up the small stars, place them on the flag, and then a Paper Piercer in my left hand to press down and secure them to the flag. It just took a little coordination:) (An alternative punch could be the current Twinkle Builder Punch.)
Finally, to make the flag look tattered, I used an old retire Distress Tool to rough up the edges.
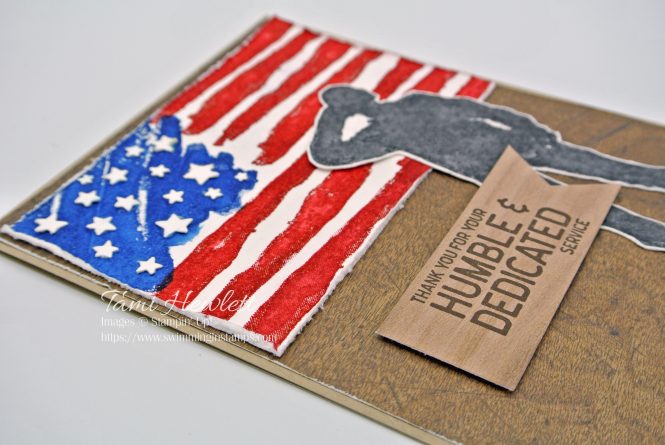
I stamped the soldier on Watercolor Paper as well, using either Early Espresso or Memento ink. Then, I used an Aqua Painter and a fairly dry brush to go over the stamped image with clear water and blend the ink. Afterwards, I cut it out with scissors. That was the only labor intensive part of this card, but it was a labor of love and respect.

For the background and banner, I used different sheets of Wood Textures Designer Series Paper.
I hope you enjoyed reading about this card and the story behind it. Have a wonderful and creative day!

Use this Host Code when you make purchases at my online store in April 2019:
- For stampers who make purchases of $50 or more, I will automatically add you to my email list to receive FREE monthly tutorials for the next year! Each monthly PDF includes at least 10 exclusive projects that you won’t find on any social media site.
- When you spend $75 or more, I will send you a FREE textured impression embossing folder (TIEF) of your choice! Please be sure to provide your email upon checkout so I can contact you to make your selection. All TIEFs will be ordered and mailed after the end of the month.
- For stampers who make purchases of $150 or more, do not use the Host Code. You can be your own host and earn FREE rewards of at least $15!
Supplies used on my project:


Tami,
Wow… What a wonderful project it is! Your husband’s story is so touching. Thank you so much for sharing.
Seongsook
Thank you so much Seongsook! 🇺🇸
This card and project are out of this world! Thank you both for everything you do for our veteran community!!
Thank you Jayme! I will be sure to pass that on to my husband. 🇺🇸🇺🇸🇺🇸😍