


Welcome to the Stamping Sunday Blog Hop! This month, the design team is focusing on our Holiday Favorites.
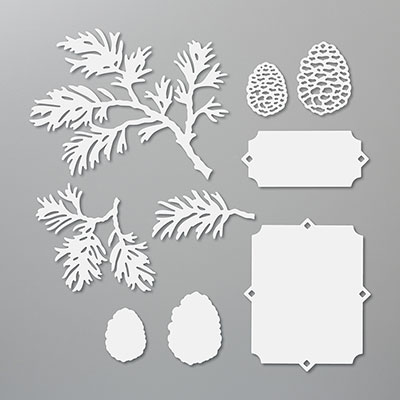
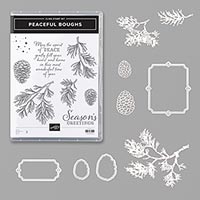
Favorites??? Oh my gosh, it’s so hard to choose … there are so many! However, when I look back at all my holiday projects, one suite really stands out … the Peaceful Boughs Cling Stamp Set and coordinating Beautiful Boughs Dies. I’ve used them a lot, and I love each and every project!
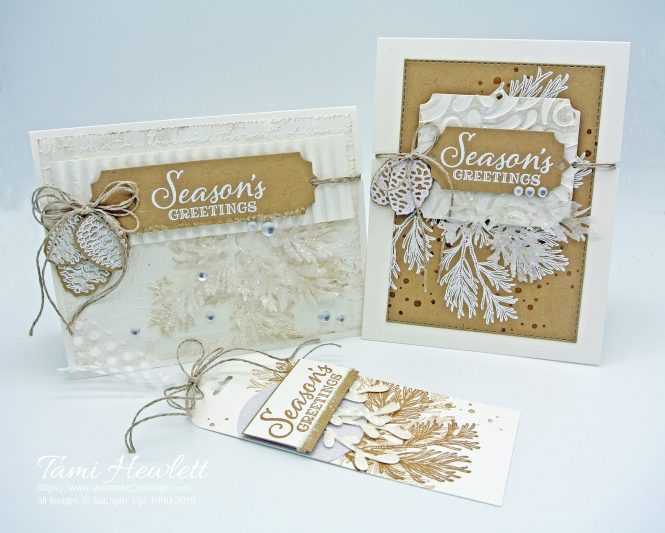
For this month’s projects, I took a different approach and focused on a classic color combination of white and Crumb Cake. Sometimes I get so wrapped up in colors that I forgot how beautiful neutrals can be.
Beginner Stamper:
For a beginner project, I designed a simple gift tag using stamps and punches.
I used a 2″ strip of Whisper White Cardstock punched with the Scalloped Tag Topper to create my tag. Next, I stamped the branches and dots with Crumb Cake ink, including some second generation stamping for a lighter tone.
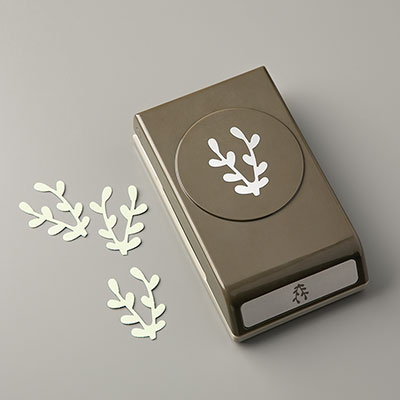
Then, I added a few layers including a 2″ Circle Punch from Sparkle Glimmer Paper and some Sprig Punches from Whisper White Cardstock. At the last minute, I just HAD to add some Shimmery Crystal Effects and Iced Stampin’ Glitter!!! Simply squeeze crystal effects on the areas you want to adhere the glitter. The crystal effects dries quickly and really holds the glitter in place. I’m in LOVE with this look on holiday projects.
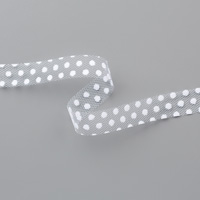
The top of my tag simply includes a strip of Whisper White 5/8″ Polka Dot Tulle Ribbon tied together with a couple strands of Linen Thread.
Casual Stamper:
For my casual card, I stepped up the difficulty level by adding some dry and heat embossing, as well as some die cutting.
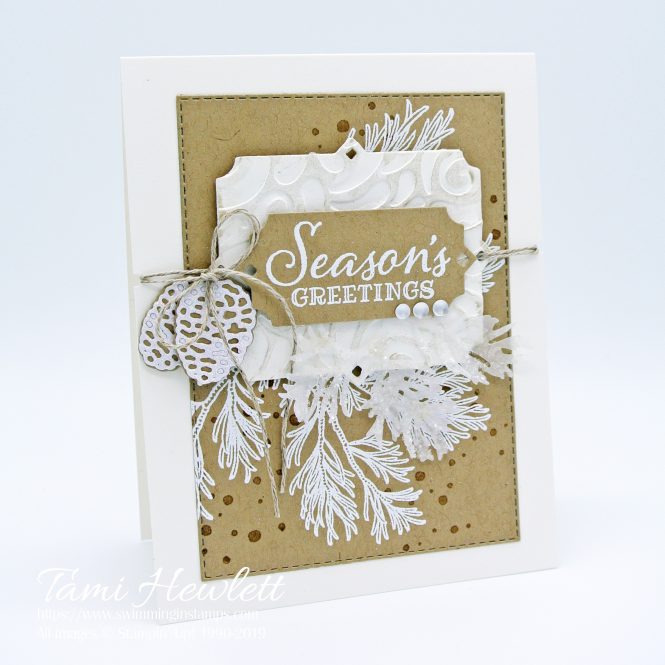
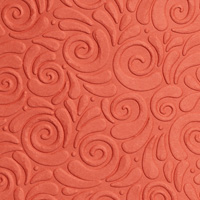
After embossing the greeting in white, I used the Beautiful Boughs Dies to cut two different sized tags from Crumb Cake and Whisper White Cardstock. Then, I embossed the larger tag with the Swirls & Curls Embossing Folder, and sponged some Champagne Shimmer Paint over the raised areas.
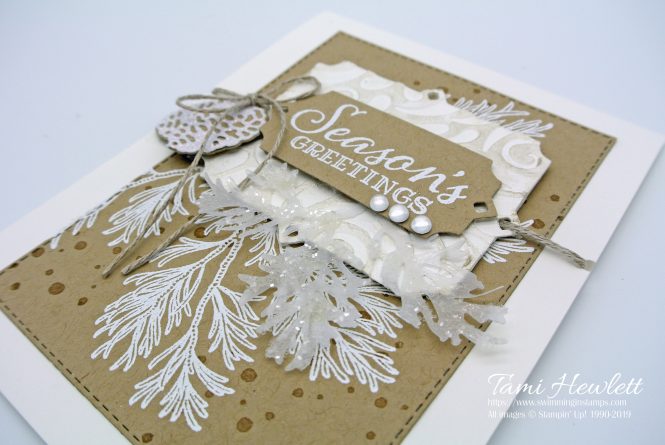
Next, I used those same dies to cut branches out of Vellum and pine cones out of Sparkle Glimmer Paper and Crumb Cake Cardstock. Of course, I HAD to cover the vellum leaves again with Shimmery Crystal Effects and Iced Stampin’ Glitter. Don’t you just love how pretty the glitter looks on that paper?
To create the background, I embossed the branches in white and then stamped the dots with Crumb Cake ink. Then, to tie everything together, I used a 1/8″ circle hand punch to notch the sides of my card base and hold the Linen Thread in place.
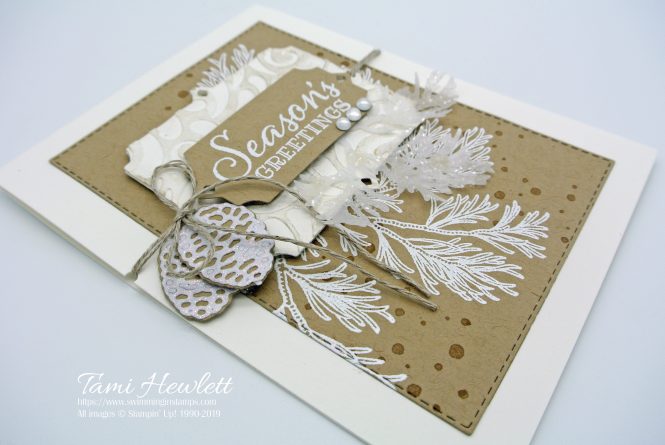
The final touch was a few Frosted Epoxy Droplets.
Avid Stamper:
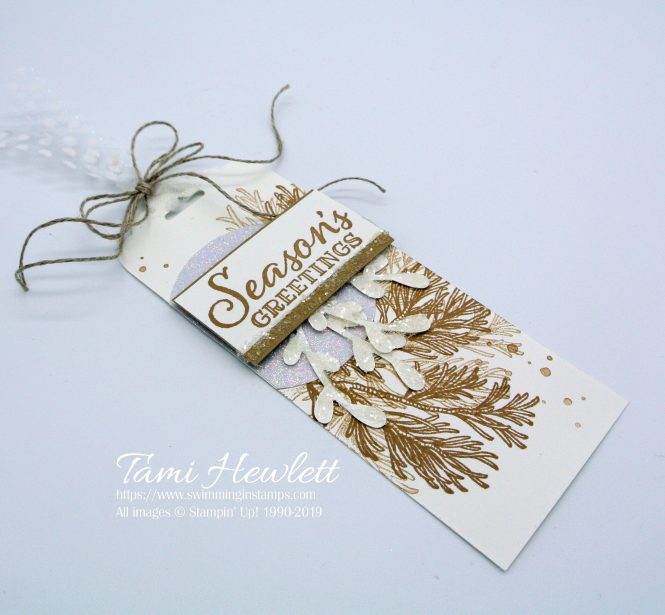
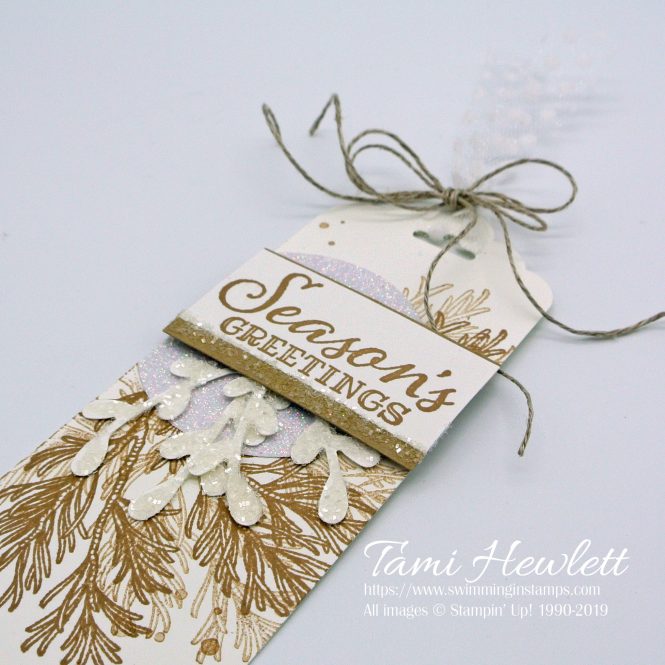
I stepped up my last card even more with additional layers, a die cutting technique, and a fancier bow.
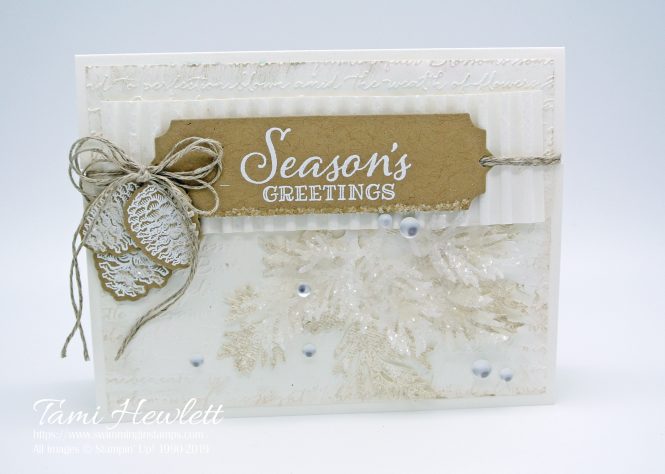
Since this was a landscape card, I wanted a longer tag. Therefore, I used a partial die cutting technique to lengthen the Beautiful Boughs Die small tag. I started by stamping and embossing the greeting in white on Crumb Cake Cardstock. Then, I positioned the die over the left side of the tag, being careful to position the top cutting plate so it ended just before the right side of the tag. By doing this, the die only cuts underneath the cutting plate, leaving the right side of the tag uncut. Next, I re-positioned the die over the right side of the tag and placed the cutting plate so it stopped before the left side of the tag. The net effect is a lengthened tag.
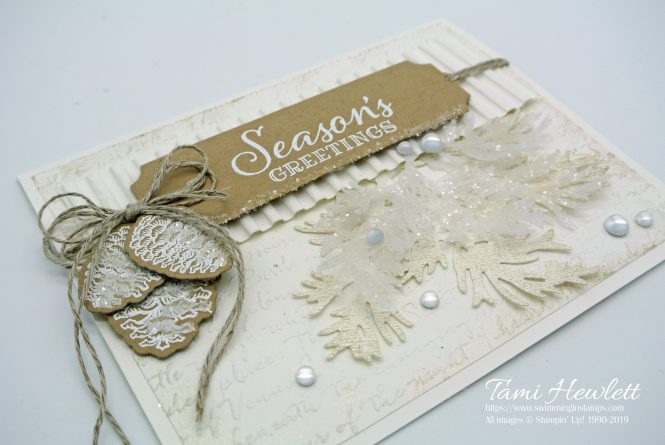
I used several dry embossing folders on this card. 1) I used the Scripty Embossing Folder on the background and then sponged the raised areas with Champagne Shimmer Paint. 2) I used the Subtle Embossing Folder on the branch die cuts and again sponged them with shimmer paint. 3) Then, behind the tag, I used the Corrugated Embossing Folder. Texture is the bomb!!!
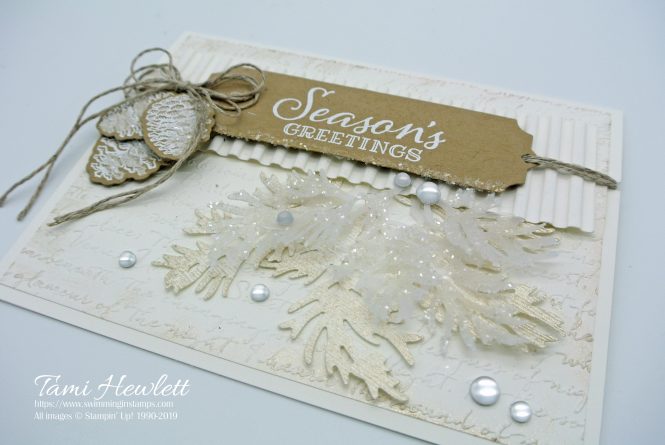
Of course, once again I was liberal with the Shimmery Crystal Effects and Iced Stampin’ Glitter:)
For the bow, I tied two strands of Linen Thread around the card. Then, I wrapped a longer piece around a couple of my fingers three times and tied the loops together with a knot from the strands that had gone around the card. Lastly, I trimmed the ends of the loops very close to the knot.
Hope you enjoyed my projects. Be sure to use the link below to continue on through the Stampin’ Sunday Blog Hop. I can’t wait to see all the amazing projects from this talented group!!!
Have a wonderful and creative day!

Stamping Sunday Blog Hop Designers:
Use Host Code 23CAQF2Z for all purchases at my online store during December to qualify to receive free exclusive tutorials and a special thank you card from me. This month’s tutorial is my favorite to date!!!
Check out my online store for great deals during the Year-End Closeout Sale from December 3 to January 2. There are discounts on retiring Stampin’ Up! products, including stamp sets and items from the Holiday Catalog. Shop early for the best selection!

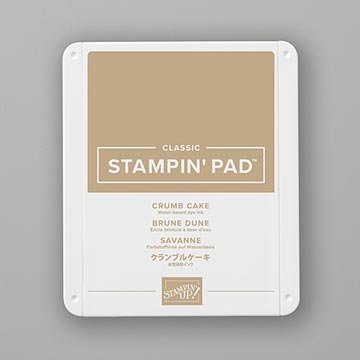
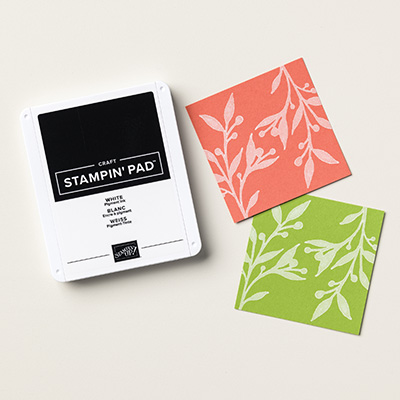
Supplies used on my projects:


Wow Tami … amazing and beautiful projects. You continue to amaze and inspire me! xxxx
That means so much from coming from you!!! xxx
Tami,
Your choice of textures and layering are stunning. Each project is so elegant in the monochromatic color palette. As is continue wrapping presents I will be casing the tag!
Thanks so much Michelle, and best wishes for the holidays!
These projects are simply stunning, Tami! Love the color palette and how lush they feel.
Thank you Sara! xxx ooo