


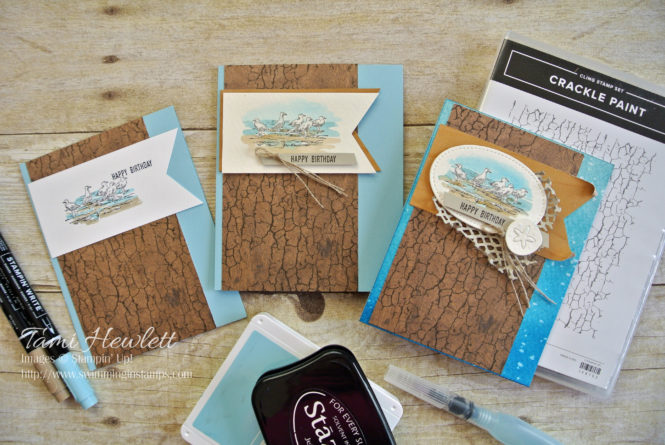
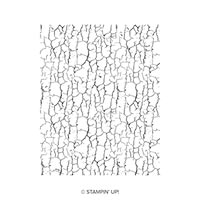
Welcome to the March Stamping Sunday Blog Hop! I’m Tami Hewlett, and I’m so glad you dropped by. This blog hop is really fun, because each month we take a product, such as the Crackle Paint background stamp, and show how to create three versions of the same card, one for beginner crafters, one for casual crafters, and one for avid crafters. That way, no matter what your skill level and experience, there’s something for everyone.
To continue on through the Stamping Sunday Blog Hop, see the participant links after my signature below.
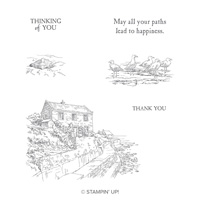
Since I’m from California and grew up near the beach, the first thing I thought of when I looked at the Crackle Paint background stamp was driftwood. So, I immediately thought of pairing this stamp set with Wood Textures Designer Series Paper and the By The Bay stamp set. (You can earn the By The Bay stamp set for free with a $50 purchase through March 31, 2019.)
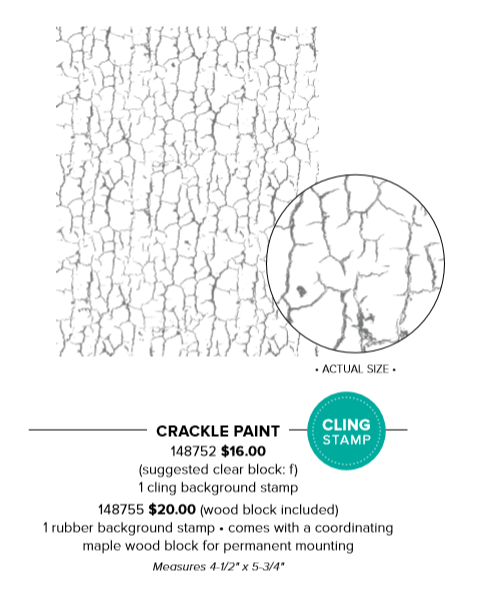
Here’s a closer look at the Crackle Paint background stamp set. It’s perfect for adding an aged look to any paper.
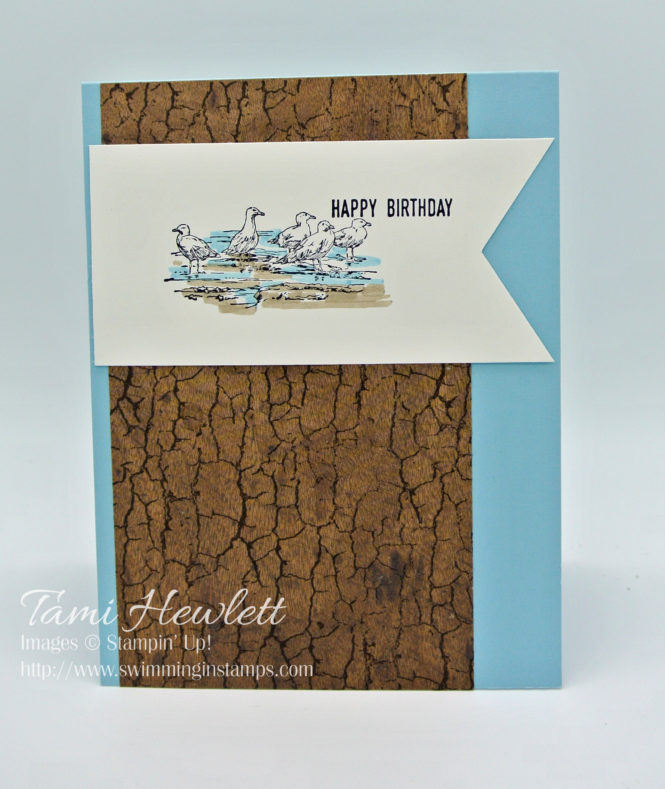
Beginner Crafter:
The Beginner Crafter has limited supplies and likes clean and simple projects. I have to admit that it’s a challenge for me to design beginner cards! But I do remember initially flipping through the vast Annual catalog and feeling totally overwhelmed with the amount of supplies. With that in mind, I limited my supplies to stamps, ink, paper, one punch, and a couple markers. To me, these are all great investments for a beginner crafters.
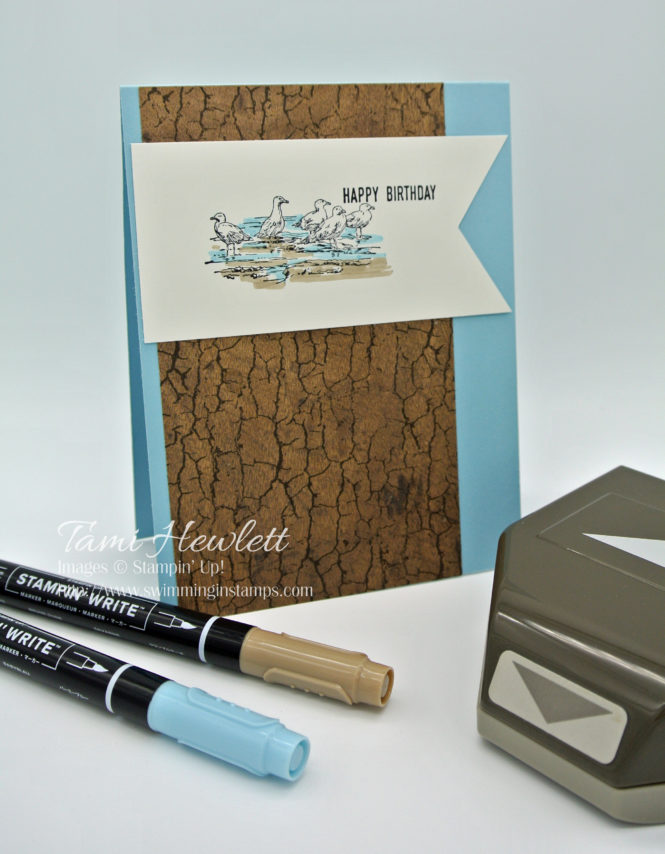
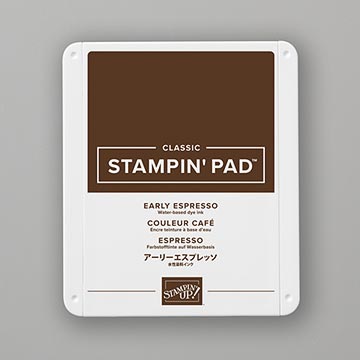
I started by stamping the Crackle Paint background on Wood Textures Designer Series Paper with Early Espresso ink. To stamp a big background stamp like this, I prefer setting the stamp on my work surface with the rubber side face-up. Then, I hold my stamp pad upside down in my hand and pat it all over the rubber. Afterwards, I lay the paper face down onto the background stamp, cover it with a layer of printer paper (to prevent getting ink all over my hands), and use my fingers to press the paper into the stamp. Afterwards, carefully lift up the paper. This technique produces beautiful results for background stamps!
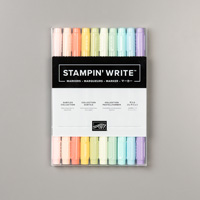
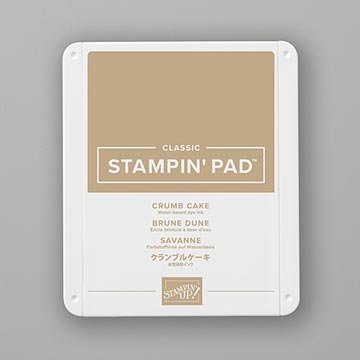
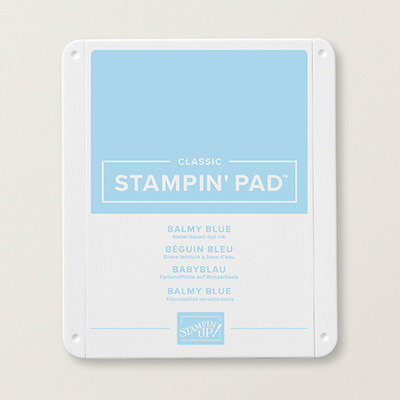
Afterwards, I stamped the By The Bay birds and Itty Bitty Greeting sentiment with Memento ink on Whisper White cardstock. The Whisper White cardstock measures 2″ wide, so it fits perfectly into the Banner Triple Punch to create a nice “V”. Finally, I used the brush end of my Balmy Blue and Crumb Cake Stampin’ Write Markers to color the image. Easy, peasy!
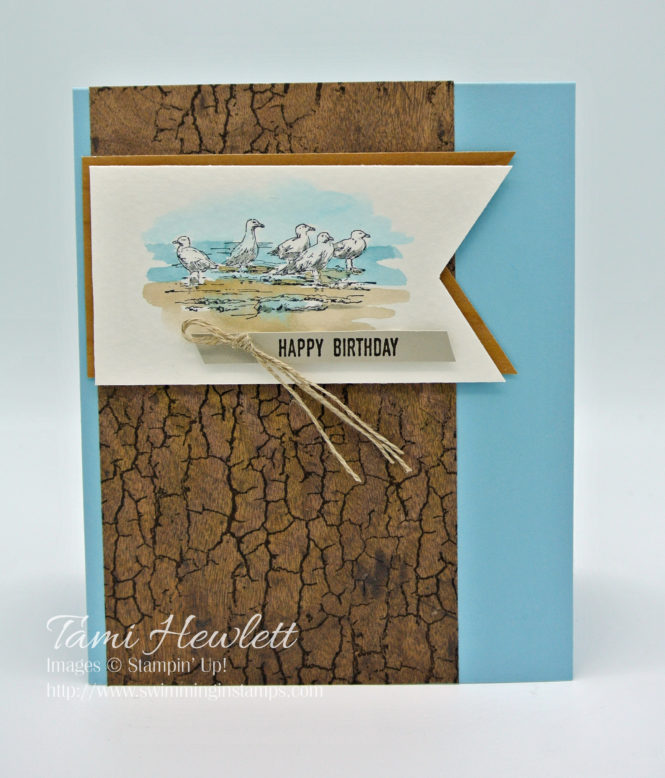
Casual Crafter:
The Casual Crafter is a little more invested in paper crafting and has a small inventory of supplies. Therefore, I stepped up my next card by adding some layers, dimension, and trim. I also added my favorite coloring technique, watercoloring.
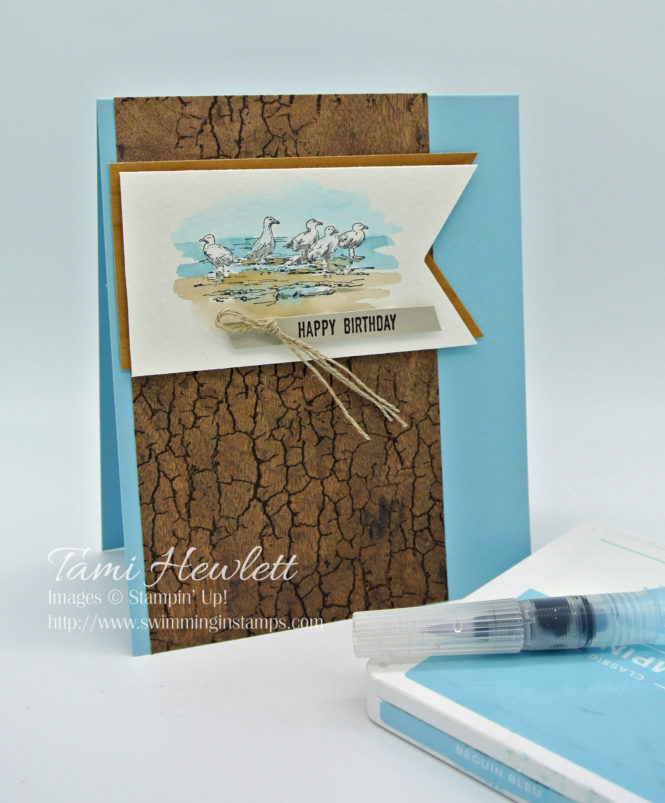
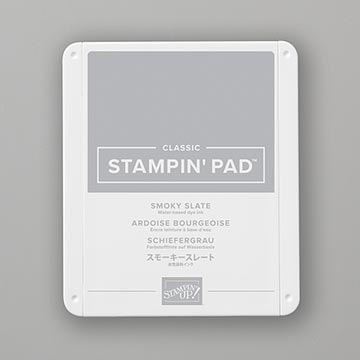
I created the “driftwood” background exactly the same on all three cards. But this time, I stamped the birds with Stazon ink on Shimmery White cardstock and watercolored the image with Balmy Blue, Smokey Slate, and Crumb Cake ink. To achieve this, I squeezed my ink pads to pool ink in the lids and then used an Aqua Painter to add a little water to the ink and paint the image. (You could also use Watercolor paper, but it’s a little easier to stamp on Shimmery White because it’s smoother. Both work great for watercoloring.)
On this second card, I also added a second layer of Wood Textures Designer Series Paper behind the main banner. Then, I stamped the same sentiment on Sahara Sand cardstock, trimmed it close, and popped it up with some dimensionals. Finally, I added a little Linen Thread knot, which I adhered with a Mini Glue Dot.
Avid Crafter:
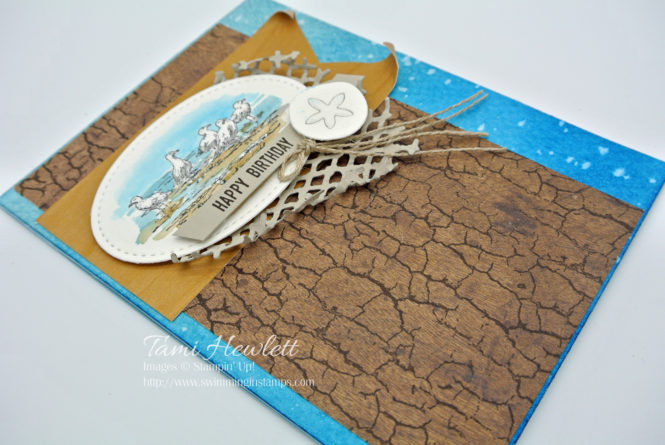
The Avid Crafter wants it all, including a Big Shot machine and die cuts, as well as fun techniques! So I stepped up my last card even more by adding a fun background technique and die cuts.
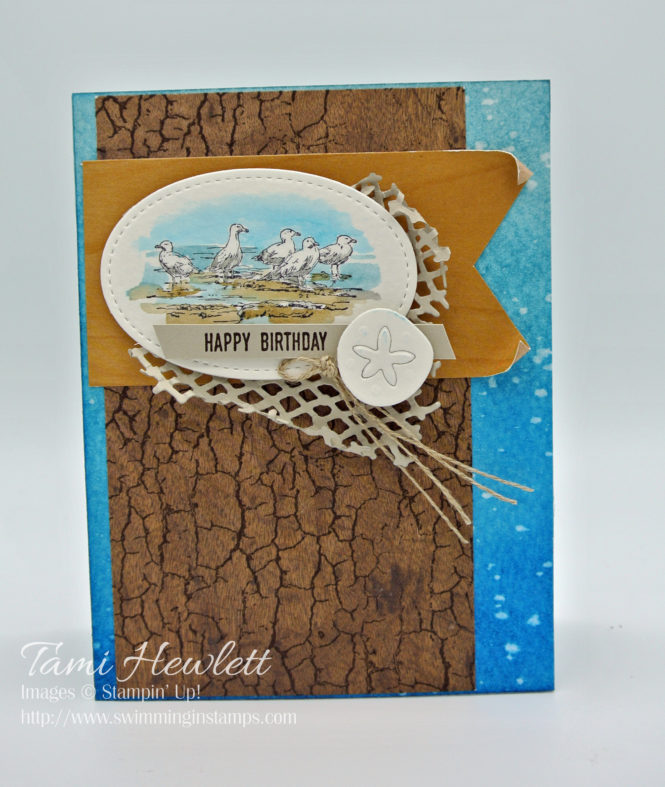
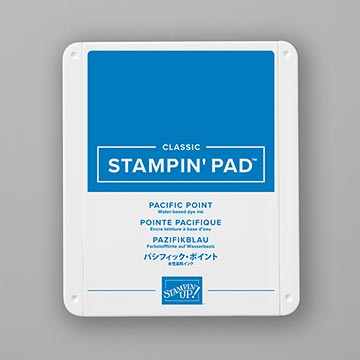
To create the background, I cut a layer of Watercolor Paper 5-1/2″ x 4-1/4″ to cover the entire front of the card. Then I used Sponge Daubers to color the paper with Pacific Point and Balmy Blue ink. Afterwards, I held my Aqua Painter over the Watercolor Paper and tapped the barrel to splatter clear water all over the paper. Next, I waited 30 seconds and then pressed a paper towel onto the paper to mop up the splatters. The water droplets remove some of the ink for a very cool effect!

On this version, I stamped and watercolored the image the same way as the second card, but this time, I cut it out with an oval Stitched Shape Framelits Die.
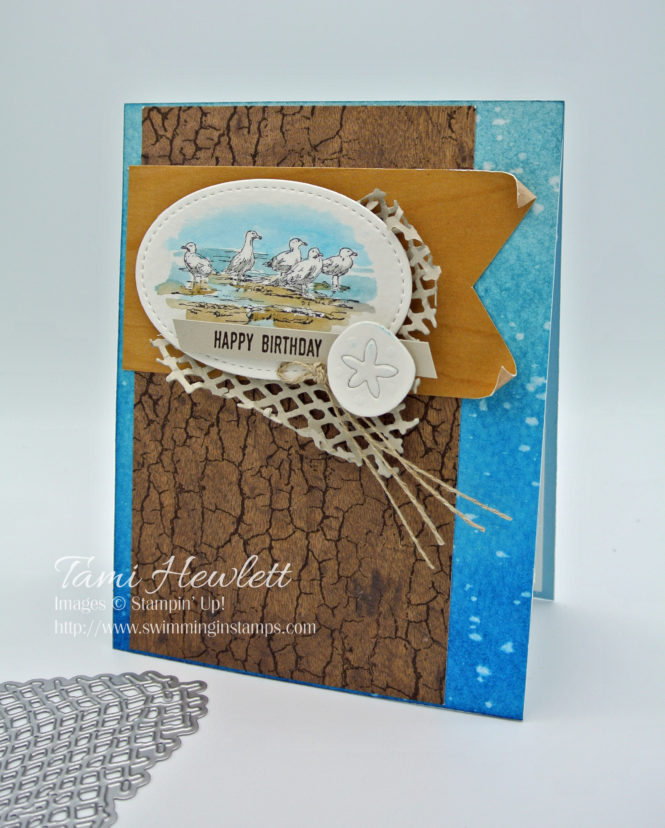
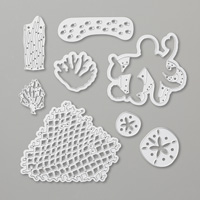
I also cut some additional decorative dies using the Under The Sea Framelits Dies, including a fun net from and sand dollar. Lastly, I rolled the net and the wood banner with my fingers to give them an aged look.
Hope you enjoyed the three version of my card. Please continue on through the Stamping Sunday Blog Hop for more great inspiration! (See the links below.)
Have a wonderful and creative day!!!

Stamping Sunday Blog Hop participants:
Supplies used for my beginner crafter card:


Additional supplies used for my casual crafter card (plus Stazon ink listed under avid! — opps!):


Additional supplies used for my avid crafter card:


I love all of these Tami! You have proved that beginner doesn’t have to be a one-layer card…thank goodness! I love the Crackle Paint background on the Wood Textures dsp. Of course, my fave is the Avid card; everything about it is fantastic!
Super gorgeous vards!!
Love it!
sorry..meant Cards offcourse!
Thank you Holly!
Wonderful cards Tami ;O)
Thank you Janneke!
Wonderful cards, dear Tami.. Looks like natural cork!! Great!
xx
Thank you Manuela!
Great cards, Tami! The Crackle Paint is perfect on the Wood Textures paper! And, what a great idea to add the net to your avid card.
Thank you Sara!