


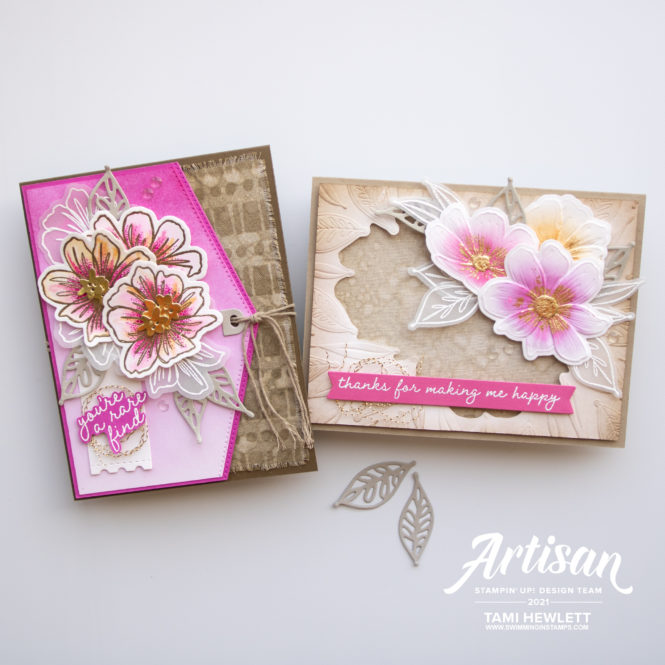
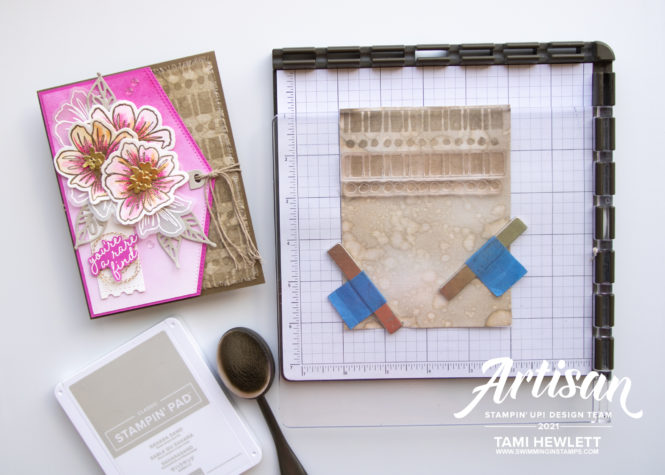
Hello! I’m Tami Hewlett from the United States and today, I’m sharing my June Artisan Design Team projects featuring the Art In Bloom Bundle. These projects were shared by Stampin’ Up! on its Corporate Facebook page yesterday in the Artisan Design Team Showcase. Click over to that sight for loads of inspiration!
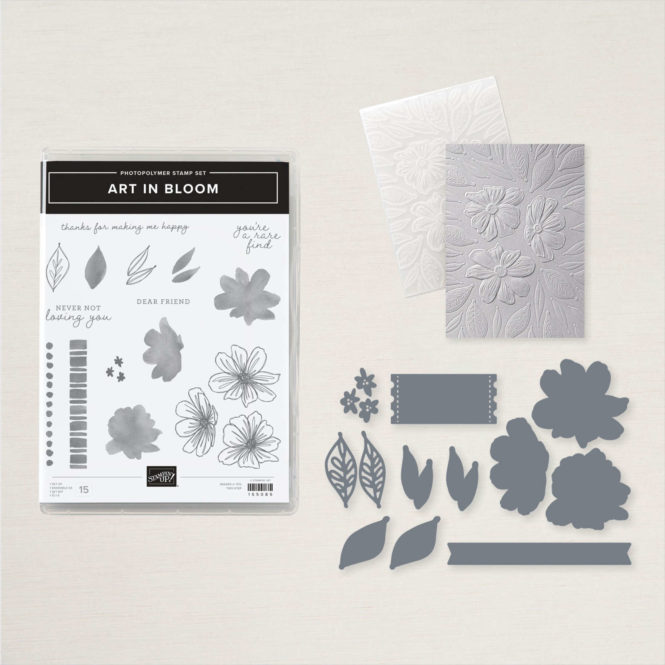
The Art In Bloom Bundle includes the Art In Bloom Photopolymer Stamp Set with gorgeous line imagery and coordinating watercolor style stamps to color the images, as well as beautiful sentiments. But the star of the show is the Bloom Hybrid Embossing Folder! This is a new type of product that includes both a 3D embossing folder and 9 dies. One of the dies fits into the embossing folder, so you can both cut AND emboss the three flowers at the same time! Or, you can choose to use the embossing folder and dies separately. This opens up all kinds of creative opportunities!!!
Sara Douglass, the Stampin’ Up! CEO, has a great video showing how to use this new type of embossing folder on her Instagram page @asarathing. If you are reading this blog post via email, you will need to click on the link. Otherwise, you can see the video below:
You’re A Rare Find Card:
For my first project, I just used the stamps and dies. Those big flowers are so pretty! They remind me of tropical flowers and visits to Hawaii.
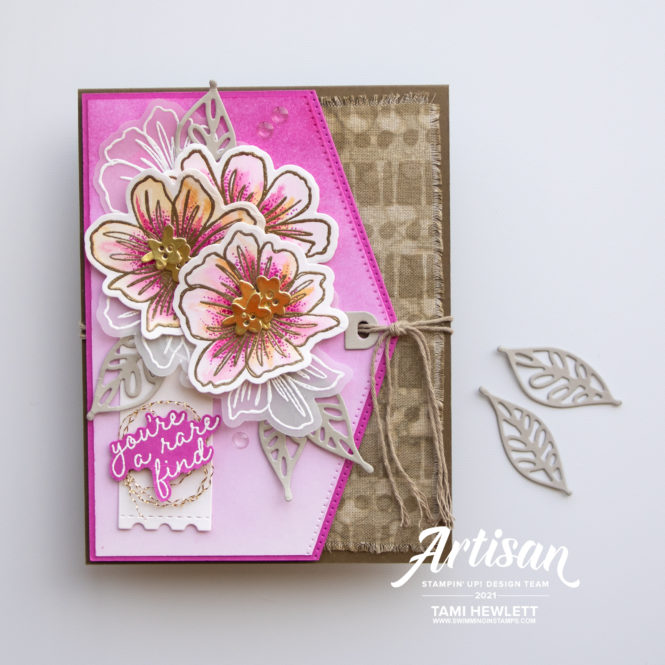
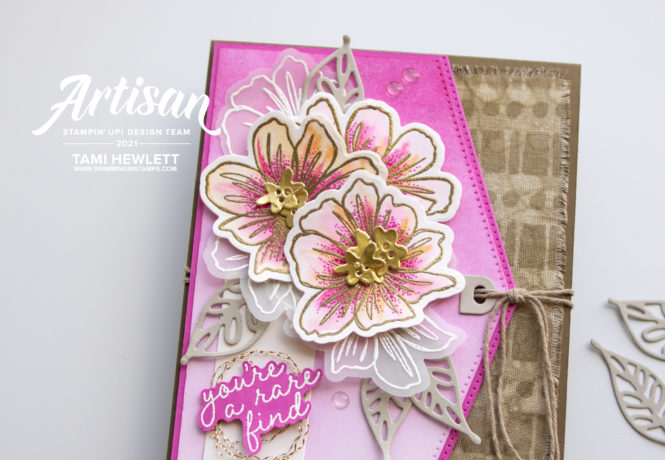
I stamped the flowers with Versamark and embossed them in gold on Shimmery White Cardstock and then watercolored them with Magenta Madness, Polished Pink and Pale Papaya ink. Afterward, I decided I wanted the centers to be a little darker, so I used a Magenta Madness Stampin’ Write Marker to add small dots.
The top background is a layer of Basic White Cardstock that I cut with a Basic Borders Die and then used a Blending Brush to add Magenta Madness ink for an ombre” look.
The bottom background is a super fun layer that I created with Linen Paper! Linen Paper is a new product that’s feels like fabric and comes with an adhesive backing. I love the texture, and it’s particularly fun because you can stamp and color it! I started by adding Sahara Sand ink with a Blending Brush. Then, I dipped my fingers in water and added splatters Now, I have to warn you that I ruined some sheets by adding too much water, so creep up on the splatters. Also, the paper curled quite a bit during this process. I just dried it with a heat tool and flattened it with my fingers.
Next, I placed the Linen Paper in my Stamparatus and used the two border stamps from Art In Bloom to stamp a pattern with Sahara Sand ink. The resulting fabric reminds me of Hawaiian tapa cloths. Because I used the Stamparatus, I was able to stamp multiple times in the same place to get good ink coverage. Then, I used the Hinge Technique to move the plate and stamp five more times with perfect alignment. Afterwards, I pulled some of the threads to create the fringe.
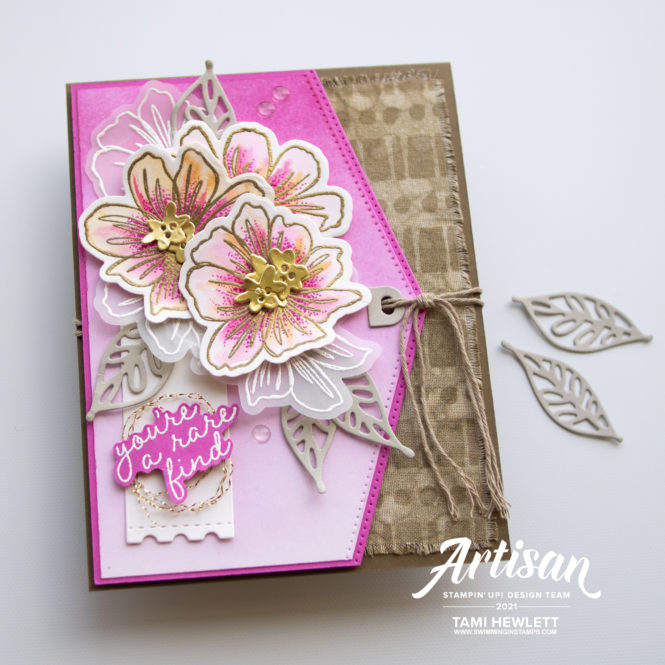
To finish my card, I added a few more layers, including a reinforcer cut with a Tailor Made Tag Die, tiny Gold Foil flowers, some frayed Simply Elegant Trim, and Clear Epoxy Essentials.
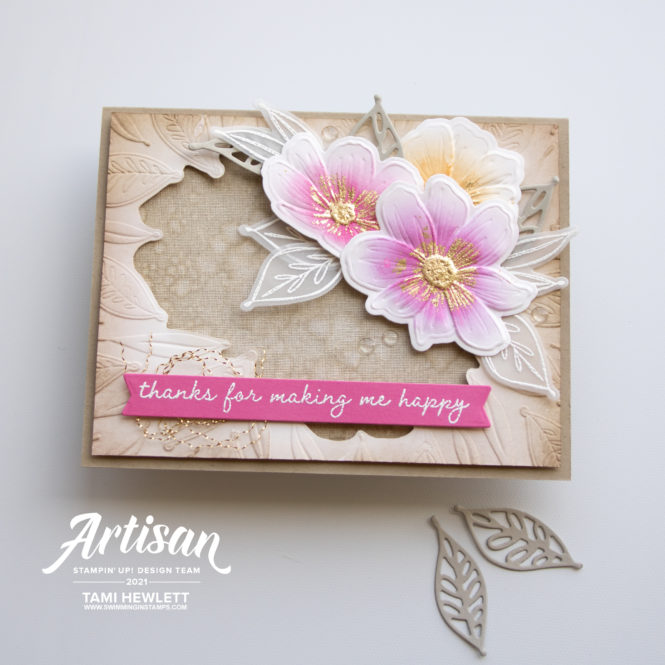
Thanks For Making Me Happy Card:
For my next project, I used the Bloom Hybrid Embossing Folder. I used the embossing folder and embedded die with a sheet of Shimmery White Cardstock to both emboss the background and flowers and cut out the flowers at the same time. One pass through the Cut & Emboss Machine, and voila!
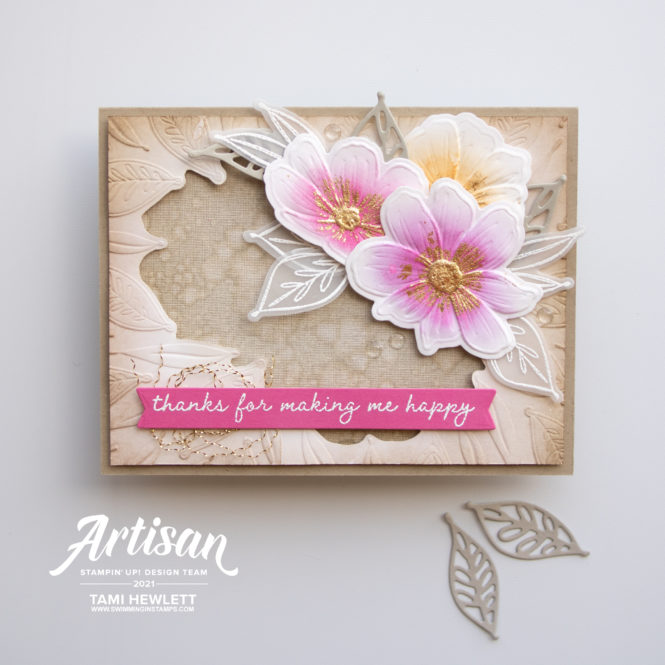
To create a larger opening in the middle of the background, I used scissors to cut around the embossed leaves. The embossing is really beautiful, so to emphasize it, I used Blending Brushes to add color and definition. I used Sahara Sand ink on the background and Magenta Madness, Polished Pink, and Pale Papaya ink on the center of the flowers.
Next, I added Gilded Leafing to the center of the flowers. I used a Sponge Dauber to lightly apply Versamark ink and then covered the flowers with Heat & Stick Powder. Prior to heating the powder, I used the paper piercing end of a Take Your Pick Tool to remove some of the powder from the recesses of the embossing. That way, when I added the Gilded Leafing, it only adhered to the top of the embossed areas.
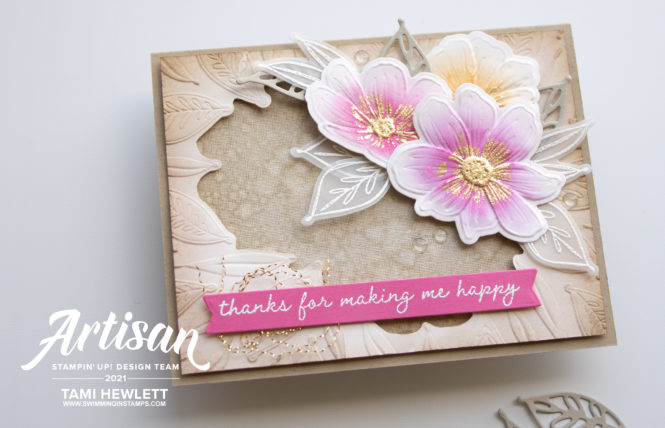
Behind the cut-out, I used Linen Paper again. This time, I prepared it the same way as the first card, but I didn’t stamp it.
I hope these projects have inspired you to try the Art In Bloom Bundle, including the Bloom Hybrid Embossing Folder. Have a wonderful and creative day!

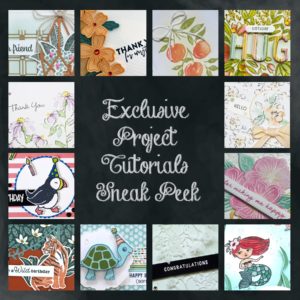
Use Host Code HUU6BCPT for purchases at my online store to qualify to receive free exclusive project tutorials and a special thank you card from me. This month’s PDF features 12 tutorials that are creative and fun! I just know you’re going to love them!!! (Please note that Host Codes are only valid for 30 days. You can always find the current Host Code on the right side bar of my blog.)


")


")


 Specialty Paper")


These cards are stunning Tami!