


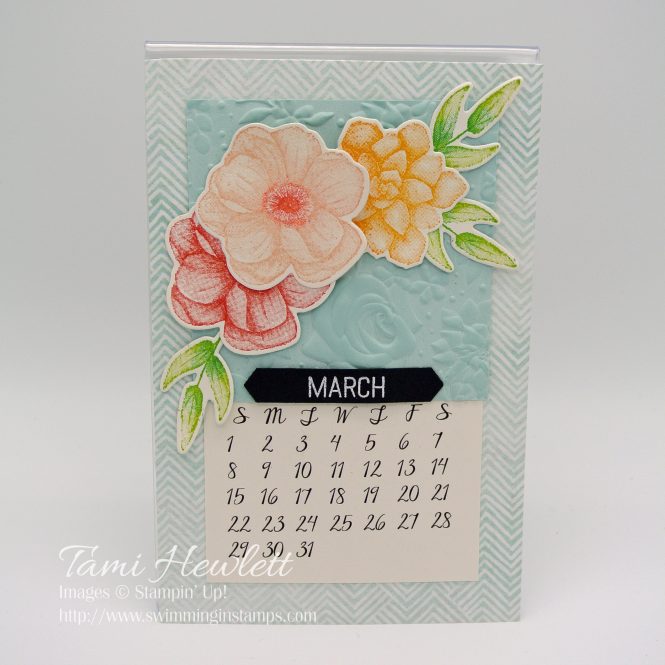
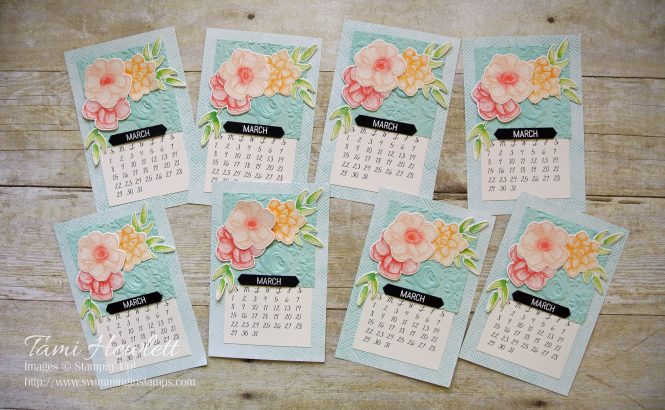
Ready for another 2020 desktop calendar page? I’m actually on time for March!!! Wahoo! Each year, I try to design a page each month for the following year, so that by December I have eight completed sets ready to give away as Christmas gifts.
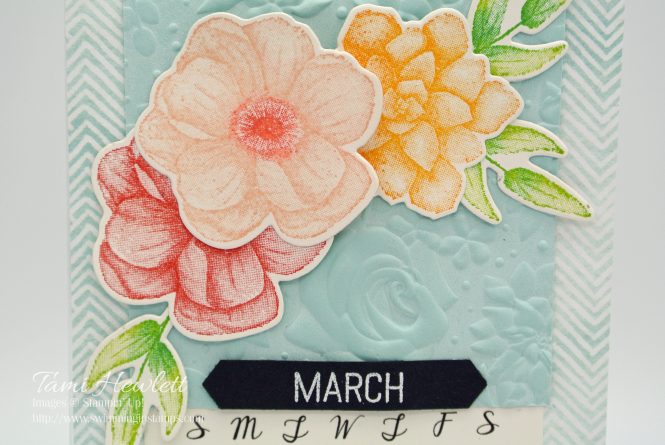
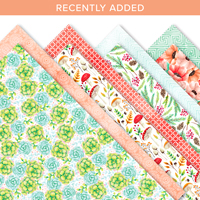
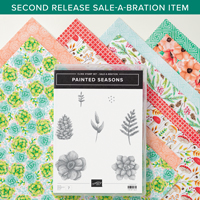
When Stampin’ Up! introduced the limited-time Painted Seasons products, I knew I wanted to use them for my calenders. The stamps are DistINKtive, which means they have natural shading to make them look super realistic.
Tip: When using DistINKtive stamps, use a plastic spoon to push excess ink away from the center of your ink pad. Then, ink up stamps in the center. You will definitely notice a difference!
All the Painted Seasons products used on my calendar page are available to earn for free or order before March 31, 2019! But don’t wait, because they are only available while supplies last.
- Painted Seasons Designer Series Paper — earn for free with a $50 purchase
- Painted Seasons Designer Series Paper and the coordinating Painted Seasons stamp — earn for free with a $100 purchase — (This is the only way to get this stamp set!)
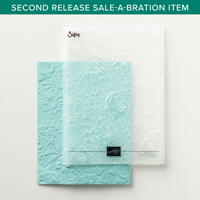
- Country Floral Dynamic Textured Impression Embossing Folder — earn for free with a $50 purchase
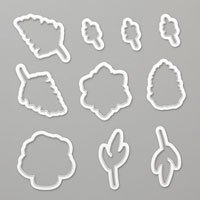
- Four Seasons Framelits Dies — purchase these limited-edition coordinating die cuts during March 2019 only
To create the calendars, follow these steps:
- Cut background paper to 4″ x 6″
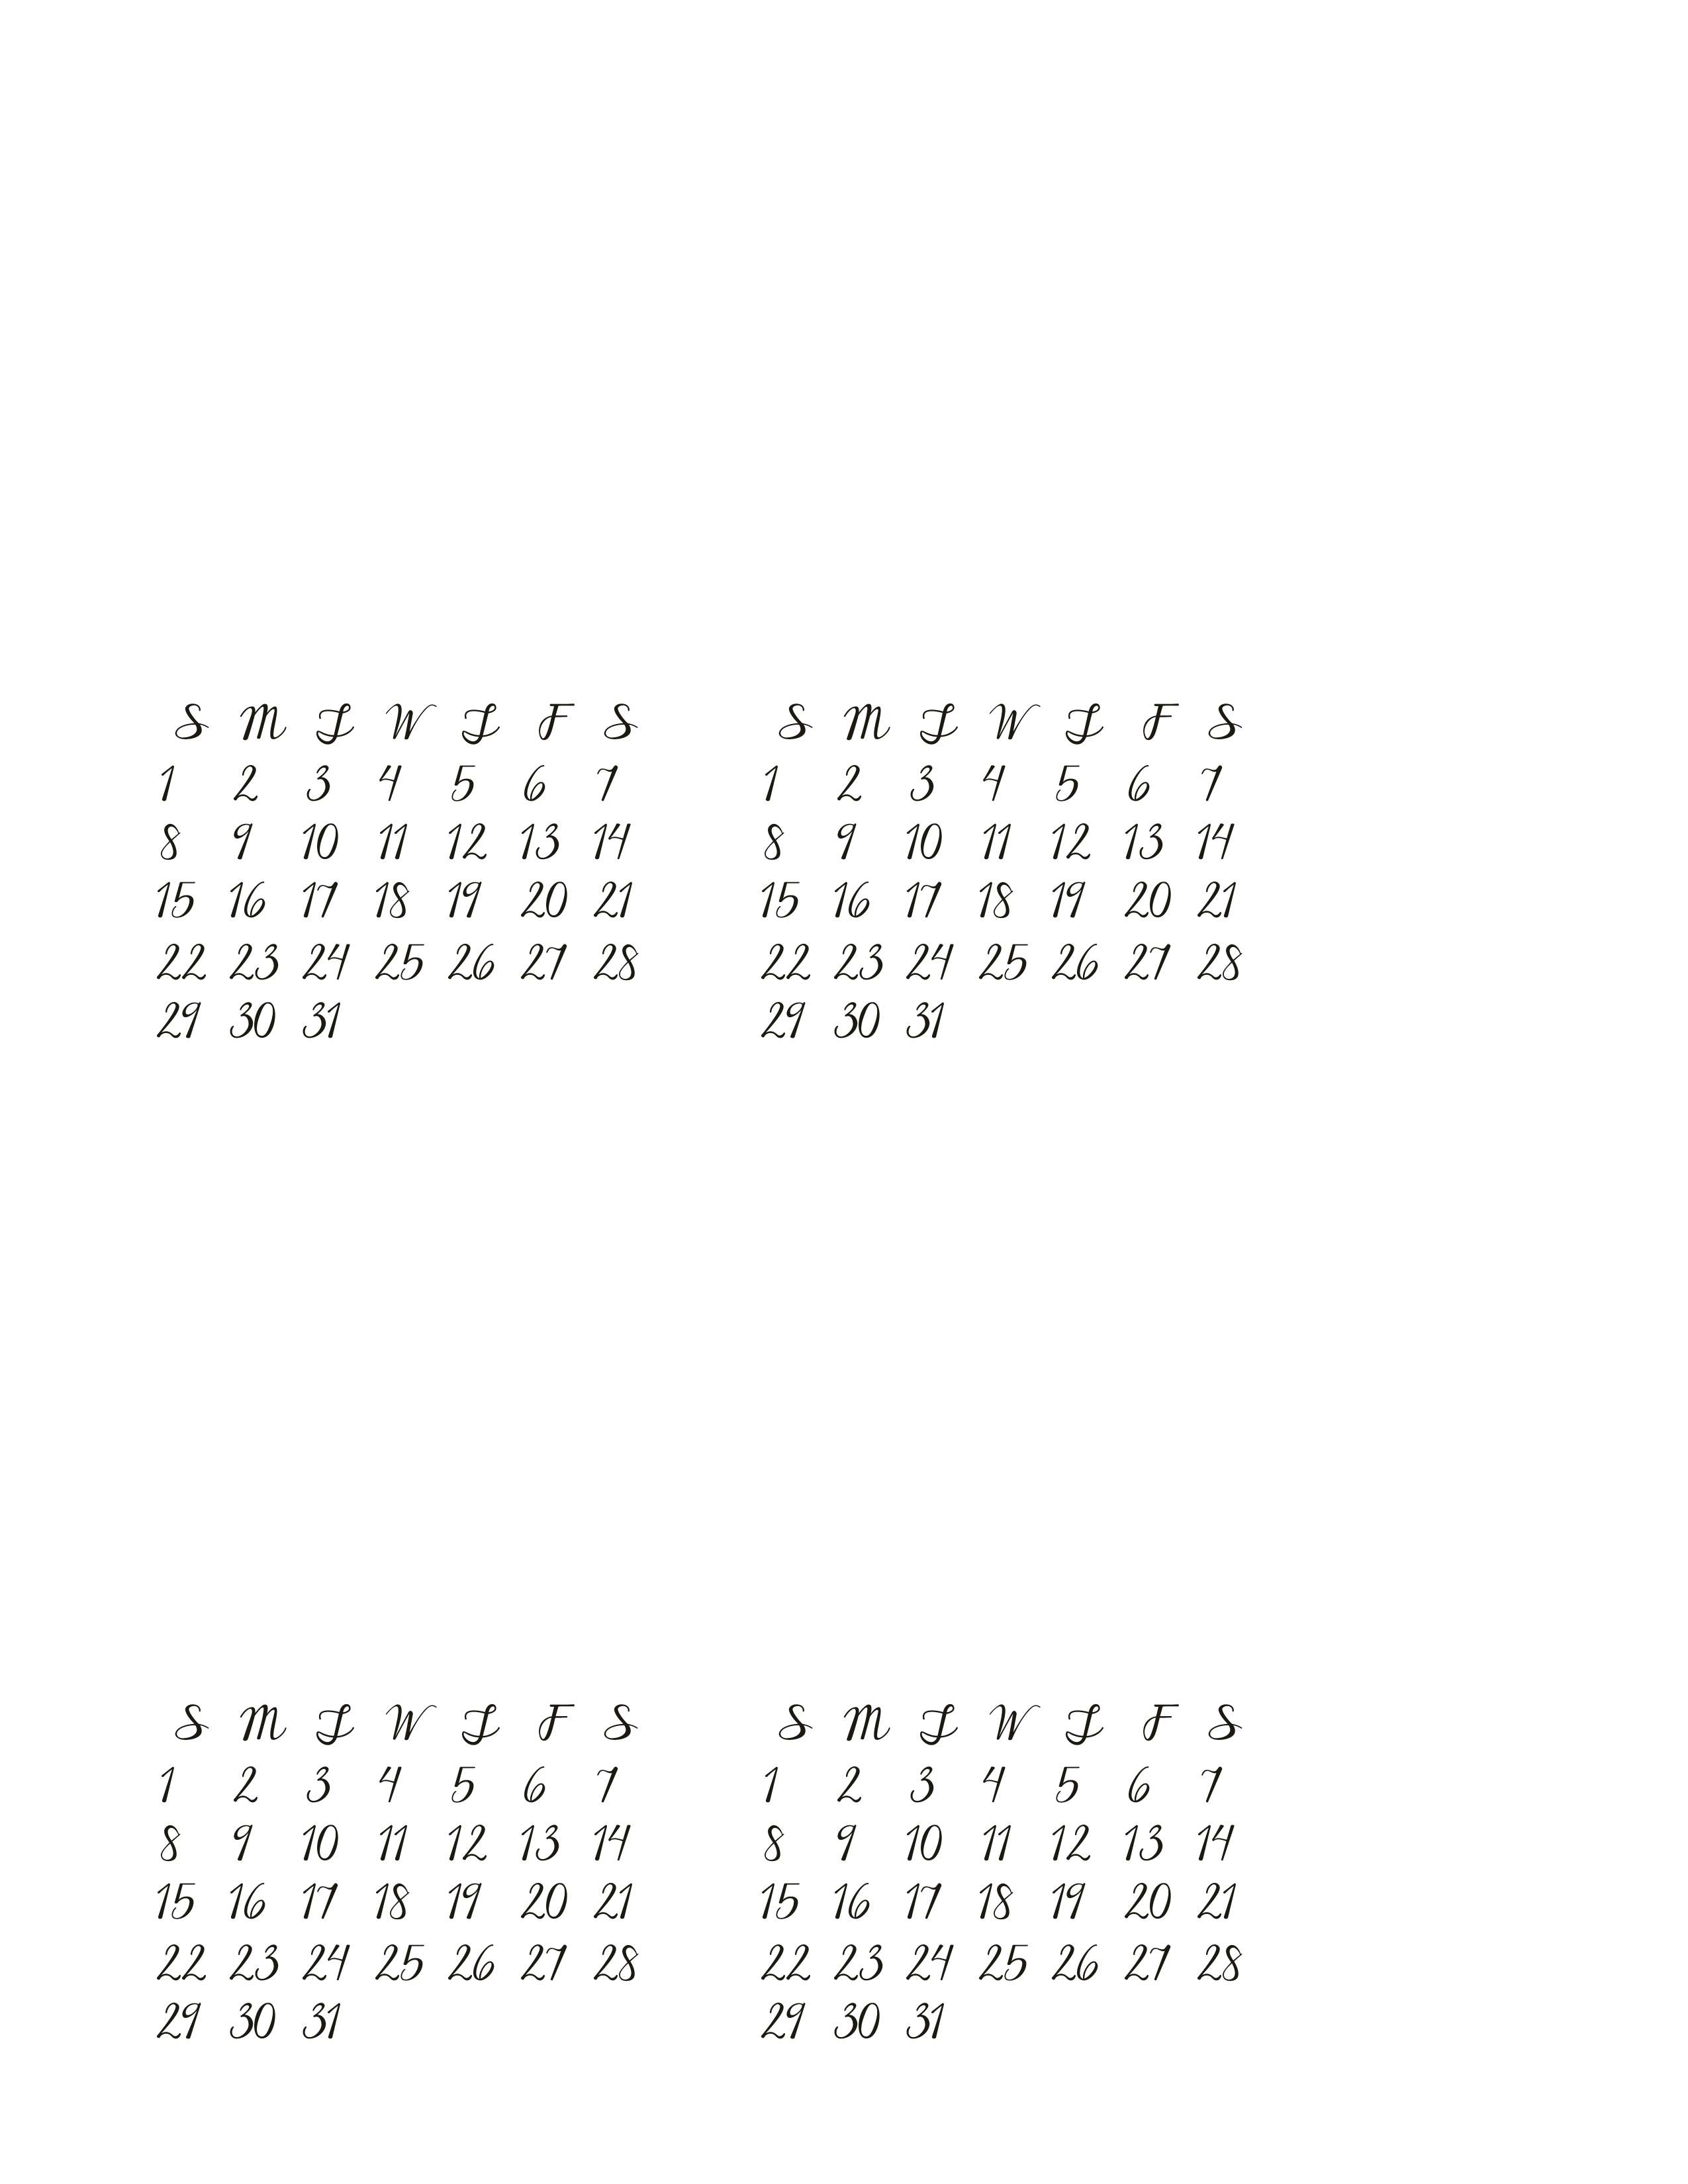
- Print calendars on Shimmery White Cardstock and trim each calendar layer to 3″ x 5″ (See link and instructions below.)
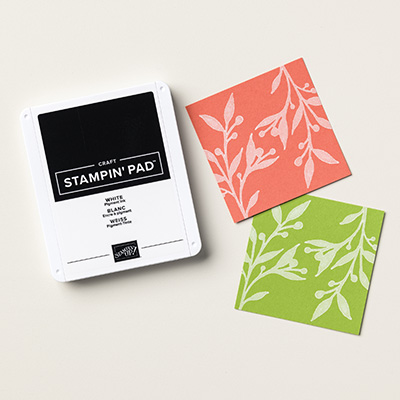
- Cut Pool Party Cardstock to 3-1/8″ x 3-1/8″. Use Whisper White Craft ink pad to generously ink up the Sizzix side of the Country Floral Dynamic Textured Impression Embossing Folder. Place Pool Party Cardstock inside and run through Big Shot. The white ink will very subtly color the background of the impression. Let dry.
- Use the Painted Seasons stamps to stamp the following images on Shimmery White Cardstock and cut out with the coordinating Four Seasons Framelits Dies: One large flower using Poppy Parade ink, one large flower inking up the stamp with Petal Pink ink and then using a Sponge Dauber to add Poppy Parade ink to the center before stamping, one medium flower using Mango Melody ink, and three leaves inking up the stamp with Lemon Lime Twist ink and then sponging Call Me Clover ink on the bottom portion prior to stamping.
- Use your choice of any small alphabet stamp set to emboss the Month in white on Basic Black Cardstock. I used the retired Date It stamp set.
- Punch out month using the Classic Label Punch.
- Use Snail adhesive to assemble as shown.
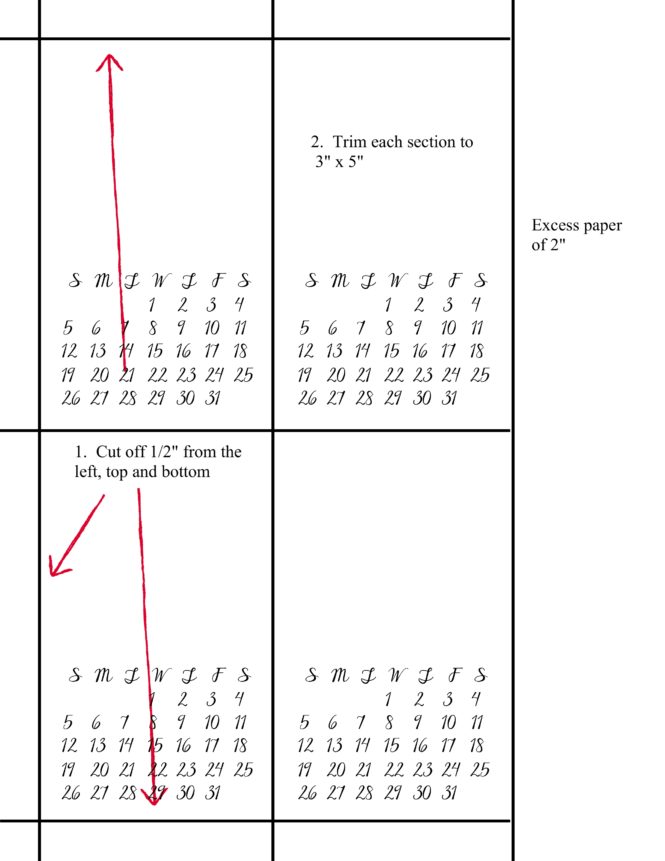
I created the calendar pages using My Memories Suite software. You can download a printable JPEG HERE. Print the March calendar on Shimmery White Cardstock with the smallest margins possible for your printer. I designed the pages to go all the way to the edges of a standard 8-1/2″ x 11″ sheet of cardstock. Trim as follows:
Keep following my blog this year to see all the 2020 desktop calendar pages and make them with me! I’ll be back next month with the April page.
Have a wonderful and creative week!


