Tonight is my Stamp Club!!! I’m so excited, because we haven’t met for a few months. (Work and my recent eye surgery caused a little hiatus.) But tonight, we’re back and it’s our new Annual Catalog kick-off! Whoo hoo!!!
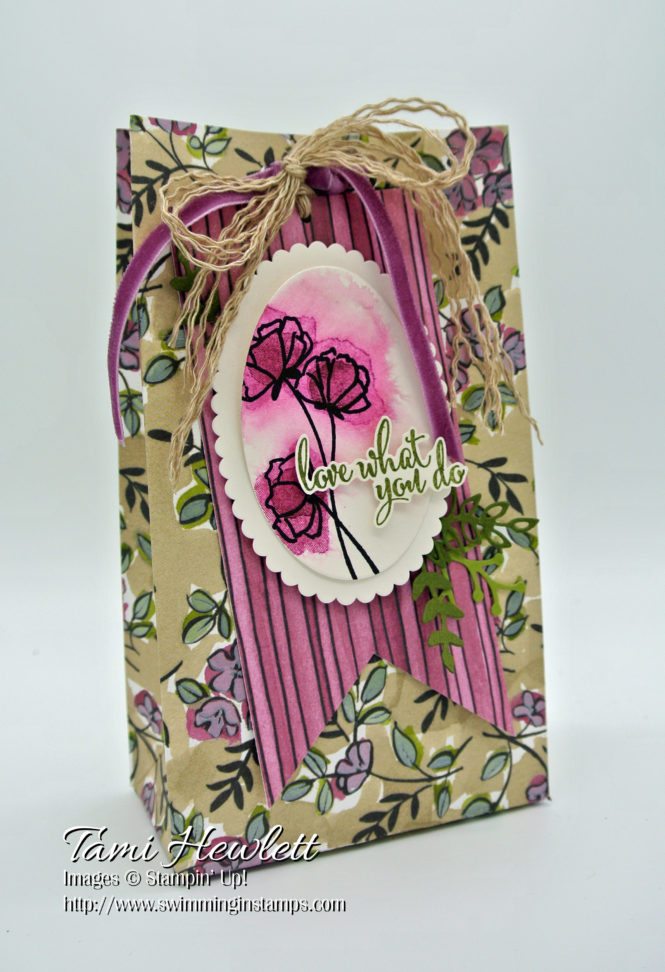
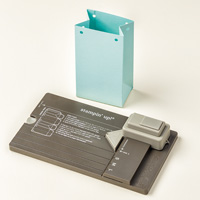
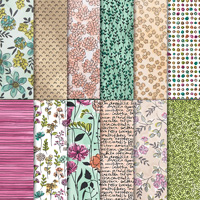
I made this little gift bag as a door prize, so I thought I’d share it. This was a quick little project I threw together this weekend. The only thing that took a little thought was making the gift bag itself. It’s been a little while since I made one with the Gift Bag Punch Board, so I had to remind myself how to do it! My fail safe method for dealing with situations like this is to use some scratch paper first so I don’t ruin my beautiful Share What You Love Specialty Designer Series Paper. Luckily, it all came back quickly.
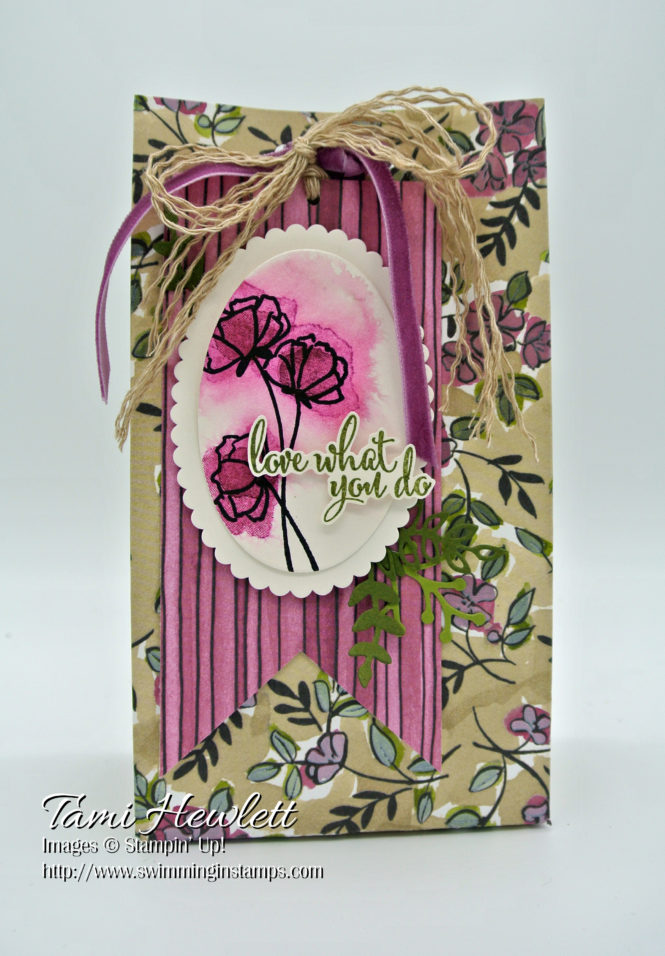
I made the Large size bag, which basically refers to the dimensions of the bottom of the bag. You can make the bag as tall as your paper will allow. Simply follow the instructions that come with the punch board.
To adhere the bag together, I used Tear and Tape adhesive. This adhesive is great for 3-D projects to ensure they stay put. It’s super strong.
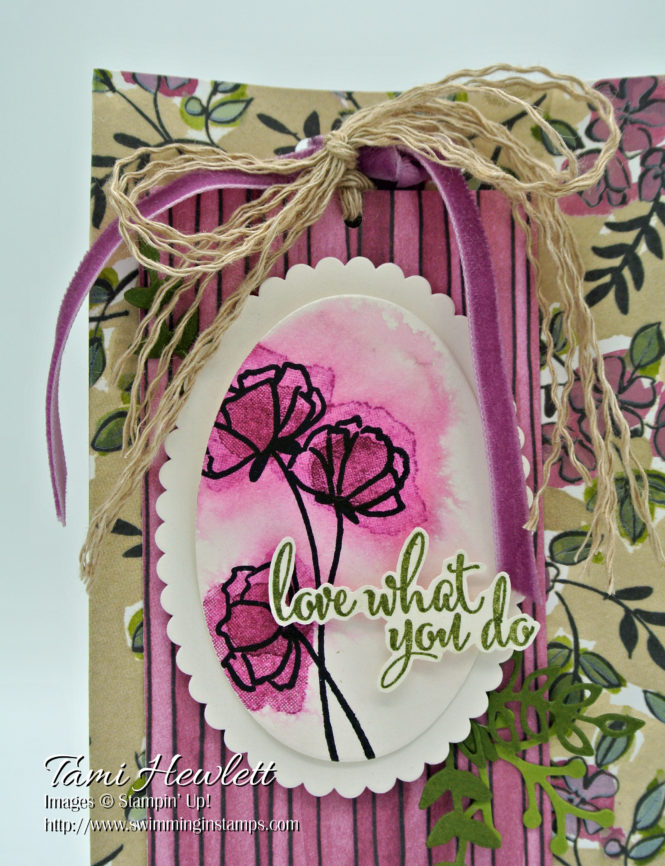
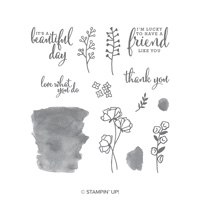
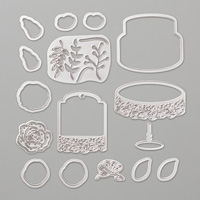
For the label, I cut ovals using the Layering Ovals Framelits Dies out of Shimmery White Cardstock. Then, I used Jet Black Stazon ink to stamp the outline of the flowers. After that, the fun began.
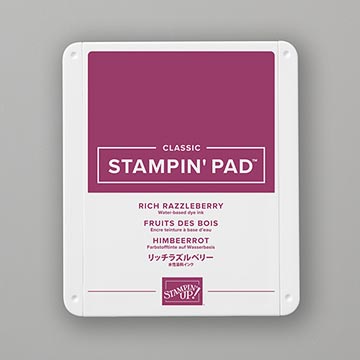
The Share What You Love stamp set has some real cool coloring stamps. I used the medium one to add some Rich Razzleberry ink (stamped off once) to each flower, and then gave them a good spritz with clear water. This causes the ink to bleed and run. While the paper was still damp, I stamped again (stamped off once) using the same stamp, and then one more time (full strength) with the smallest coloring stamp. This is one of my favorite techniques, and in fact it’s one we’re using tonight at my class. It’s almost impossible to make a mistake and turns out different every time.
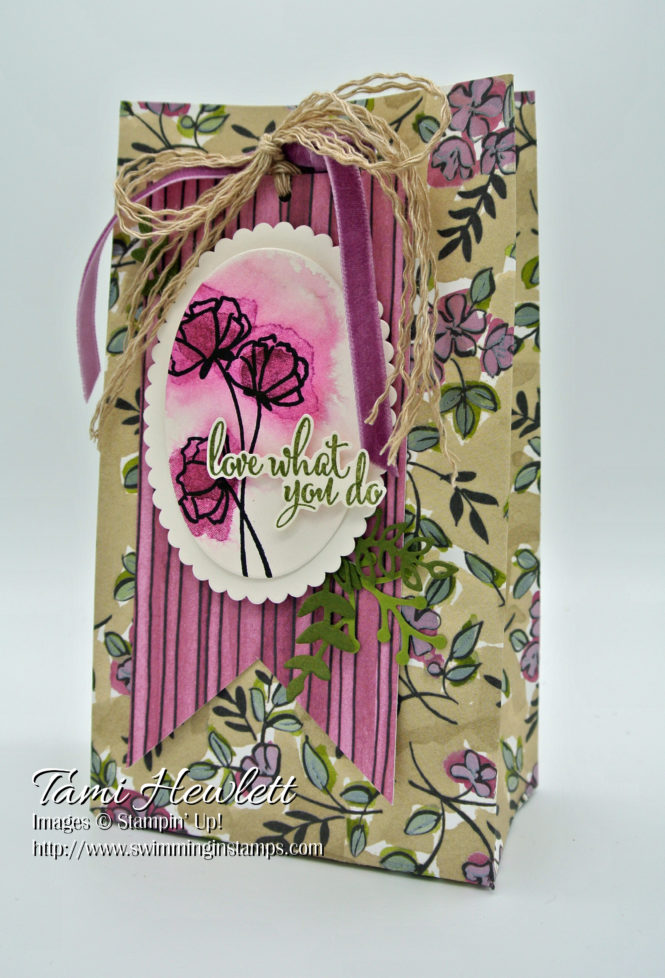
To finish off the tag, I layered some Sweet Cake die cuts underneath cut out of Mossy Meadow and Old Olive cardstock. Then, I stamped the sentiment with Mossy Meadow on Shimmery White Cardstock and cut it out.
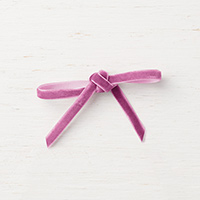
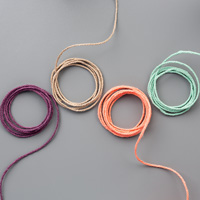
At the top of the bag, I unraveled some Nature’s Twine. (This makes it much more flexible and I love the wavy look of the unraveled twine.)
Supplies used on my gift box:


Have a wonderful day!