I have a confession … I haven’t scrapbooked in a really long time. When my kids were younger and I didn’t work full-time, I use to scrapbook every week. I LOVED it! But time got the best of me, and in the last few years, I’ve concentrated most of my precious free time on cards.
I really need to get back into it, because it’s so fun and rewarding. I had these great pictures of my daughter from Game Day during the Loyola Marymount University Family Weekend from earlier this year. They were literally calling to me to scrapbook!

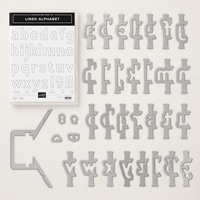
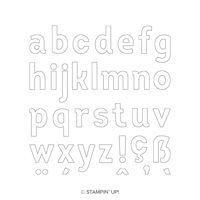
Another motivation to scrapbook these photos happened when I was glancing through the new Annual Catalog and saw the Lined Alphabet stamp set and coordinating Layering Alphabet Edgelits Dies. I thought they would be PERFET for scrapbooking, especially a couple cheer pages.
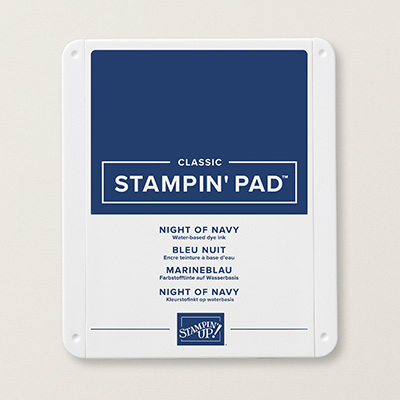
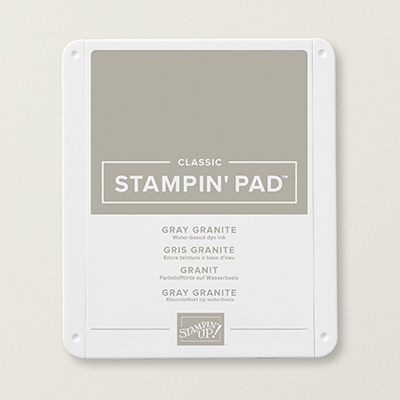
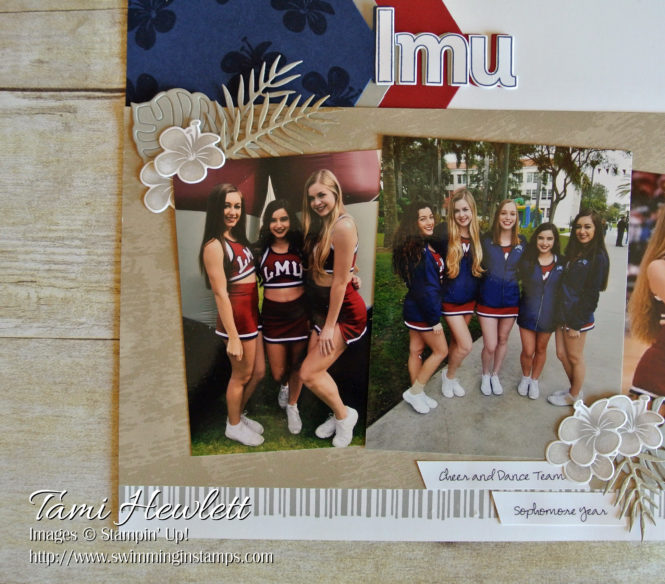
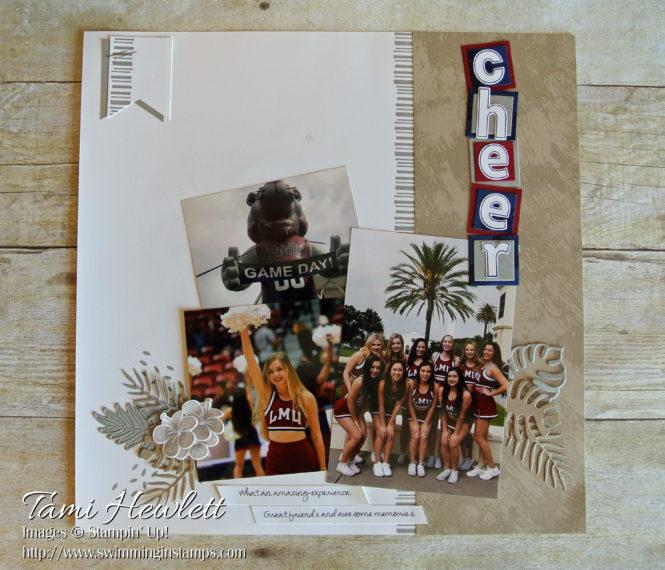
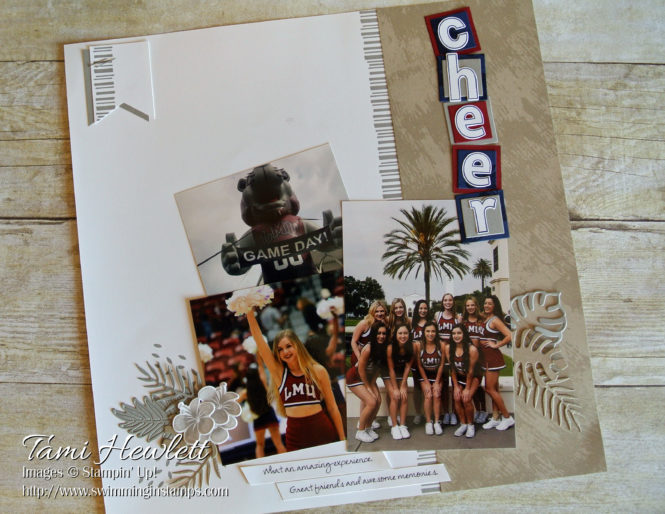
I designed a double-page spread, both with Lined Alphabet titles. The first one is pictured below, where I spelled out LMU using the edgelits as designed with the colored paper (Night of Navy, Gray Granite, and Cherry Cobbler.) Then, I stamped the Lined Letters with Night of Navy ink on Whisper White cardstock and used the edgelits to cut them out. The edgelits don’t cut out the letters entirely, because they are designed to cut the diagonal layering shapes. However, it’s super easy to use the stamped image as guidew to trim off the small sections that remain.

When I adhered my letters, I placed them slightly askew to show the colored cardstock behind.
When I scrapbook, I always start with the photos. I crop and place them on the 12″ x 12″ cardstock to design the layout. While I love squeezing as many photos on the page as possible, I’ve learned less is more. I nice line or grouping of no more than three is max to ensure the page isn’t too busy.
Next step is to pick colors. For these pages, I selected university colors for the titles that also coordinated with the photos.
I’ve learned to be careful with color placement. The photos should draw the eye, so I love using neutrals in the background that don’t detract. On these pages, I used Gray Granite and Crumb Cake for the background elements.
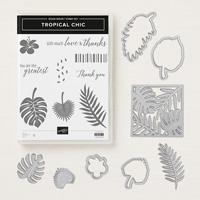
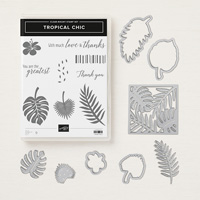
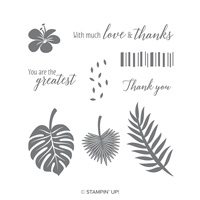
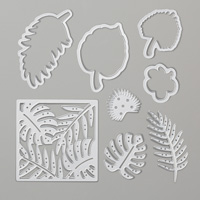
I used the Tropical Chic stamp set and coordinating Tropical Thinlits Dies for the background and embellishments. Since my daughter goes to college in Los Angeles close to the beach, I thought those were perfect. Plus, I love everything tropical!!! This bundle was my number one pick from the new catalog.
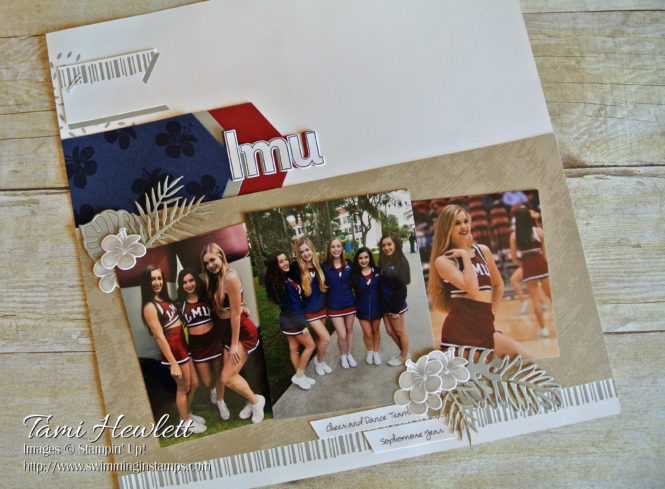
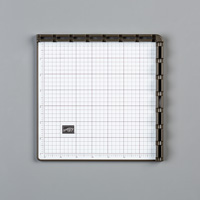
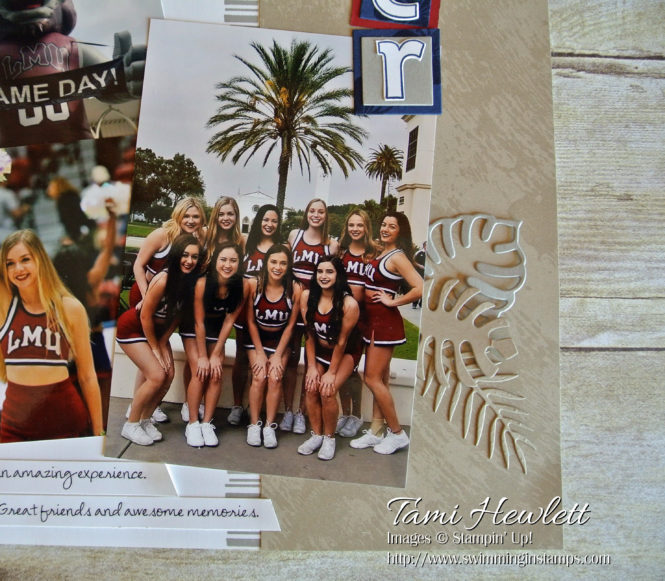
The Tropical Chic stamp set has a great border stamp for scrapbooking! I created a long line on both pages by using my Stamparatus for perfect placement.
Then, I used the same stamp to create little banner embellishments.
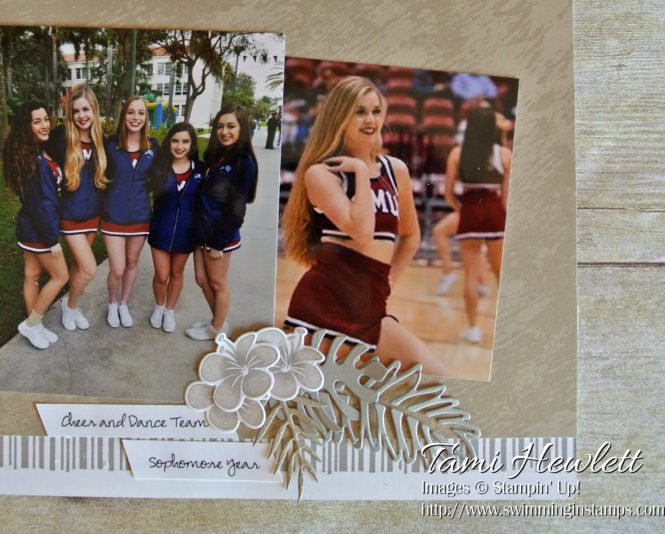
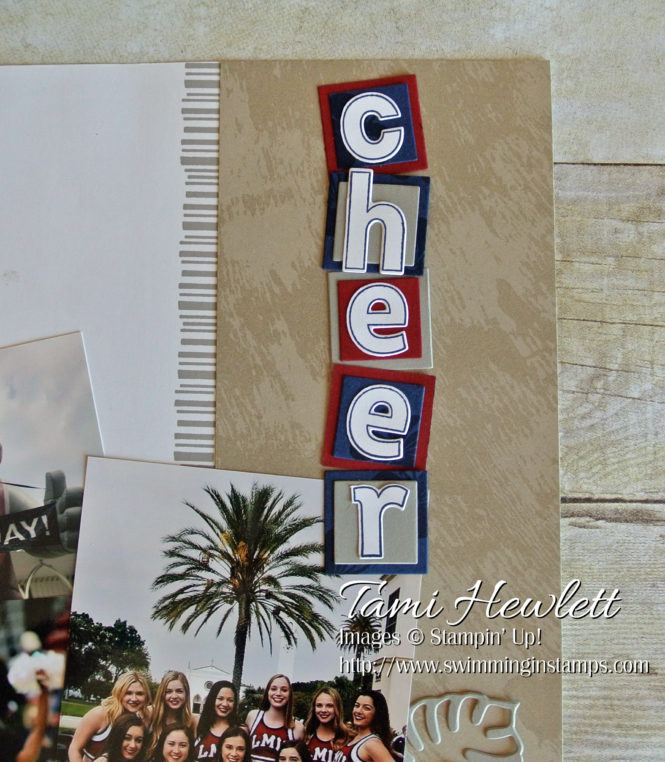
On a double-page spread, I like to keep certain elements the same, but change up the layout a little. So on the second page, I created a vertical title and used Layering Squares Framelits Dies in coordinating colors behind the Lined Alphabet Letters.
To create the tropical flowers, I inked up the stamp with Gray Granite and then stamped off once. Afterwards, I added some shading with a Sponge Dauber. After stamping on Whisper White cardstock, I used an Aqua Painter to give them a quick blend.
For these pages, I simply used Snail Adhesive to attach my dies and flowers. I love Snail because it’s easy to reposition elements in order to get them just right. After I was satisfied with the placement, I tacked down key areas with Mini Glue Dots to ensure they stayed put.
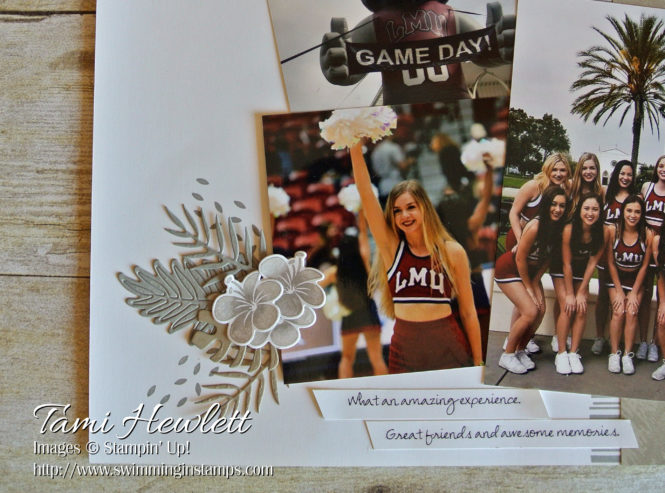
For the journaling, I simply typed lines in Word, printed them out on Whisper White cardstock and cut strips. It’s a simple, clean way to add journaling to pages.
Supplies used on my pages: