Happy July 4th!!! Hope you have an awesome day relaxing, hanging out with friends and family, and watching fireworks!!!
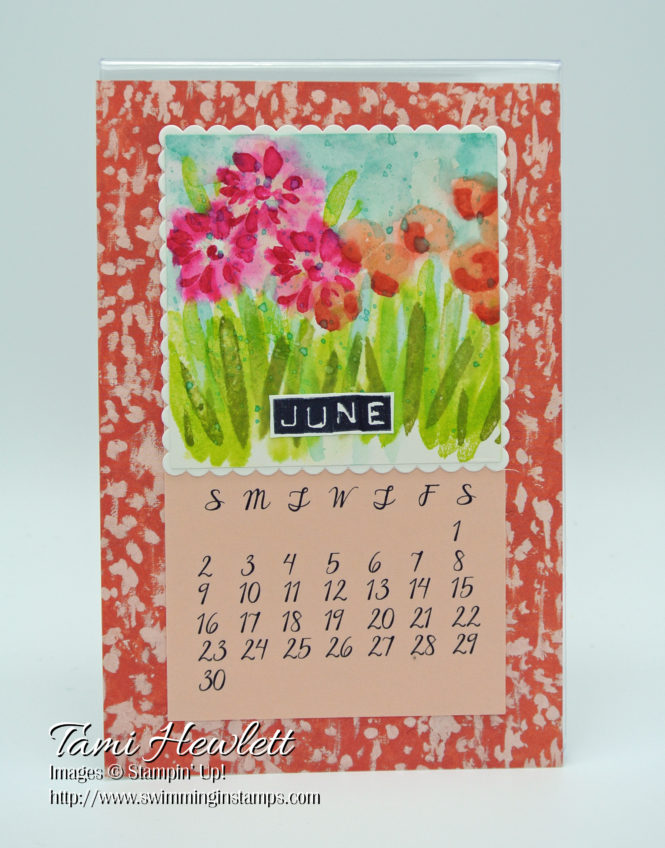
Today, I’m sharing the latest installment of my 2019 desktop calendars. I try to design one of these calendar pages each month for the following year. That way, by the end of the year, I have a bunch of sets to hand out as Christmas gifts. The calendars measure 4″ x 6″ and fit in a standard frame. (Technically, I did complete this in June, even though I’m sharing it in July.)
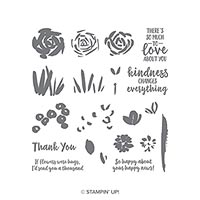
For the June calendar, I used one of my favorite new stamp sets (Abstract Impressions) and techniques (watercolor stamping.) I’m thrilled with how they turned out!!!
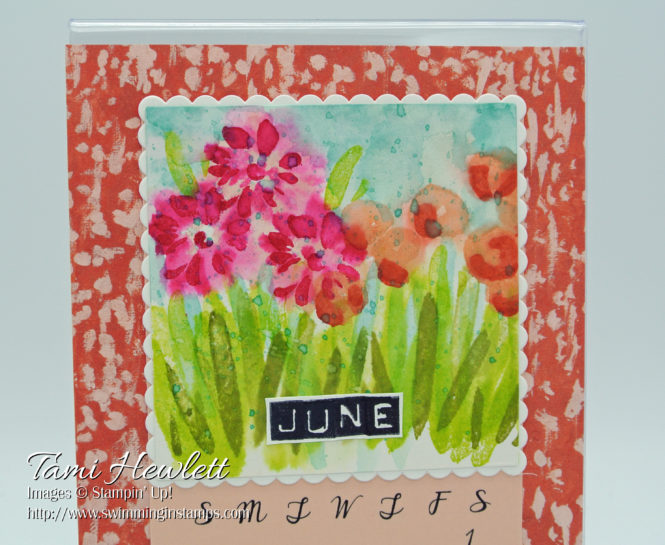
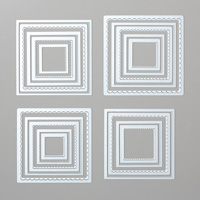
For the main focus, I cut Layering Squares Dies. The center is cut from Shimmery White Cardstock, so I could watercolor it, and the scallop is Whisper White Cardstock.
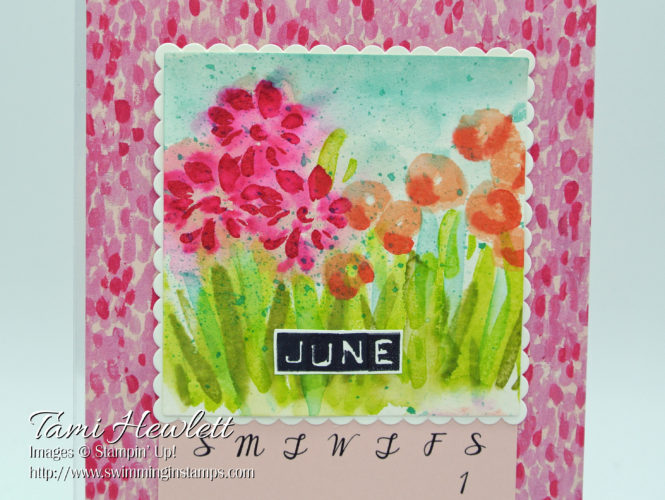
I started by spritzing the Shimmery White Cardstock (both front and back to avoid curling) with clear water and mopping it up slightly with a paper towel. There is a fine line between wet enough to allow bleeding, but not so wet that you completely lose the shape of the stamped image. Play with it! You really can’t go wrong. If it’s not wet enough, spritz more water. If it’s too wet, just stamp again right on top of what you already stamped. This technique is designed to be messy and haphazard. It’s actually way easier than it looks.
I like to lay out all my ink colors with the stamps right on top of them so I can work quickly. Also, I used one stamp per color so I didn’t have to worry about cleaning stamps. (I made eight of these.)
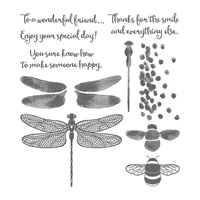
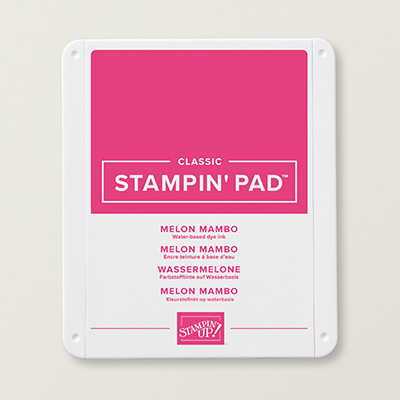
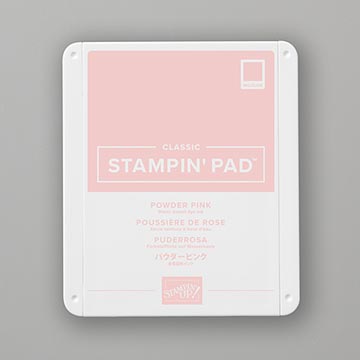
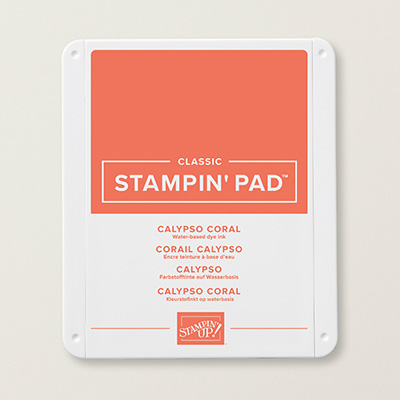
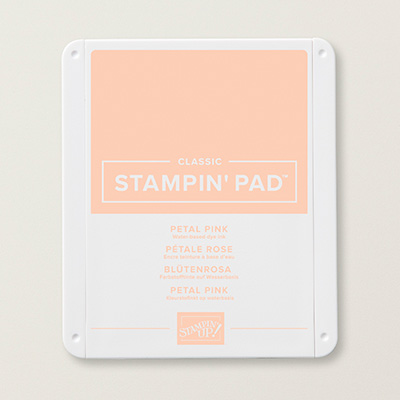
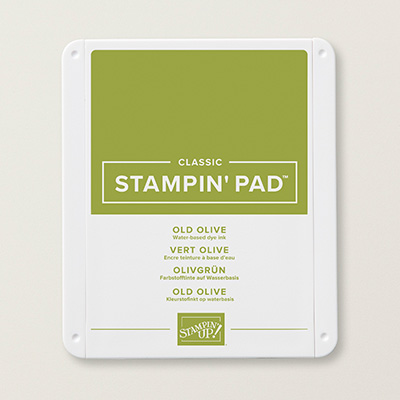
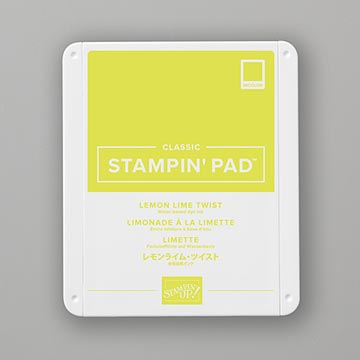
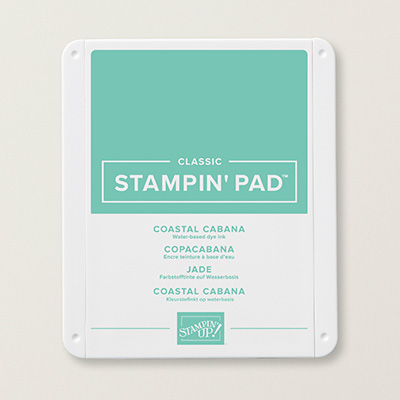
I started with the stems, stamping the bold image with Lemon Lime Twist, and then the more detailed image with Old Olive. Then, I stamped the flowers. I used Powder Pink for the bold flower image on the left, with Melon Mambo on top for the more detailed image. Next, I used Petal Pink ink for the bold flowers on the right, with Calypso Coral highlights on top. Lastly, I used a dotted stamp from the Dragonfly Dreams stamp set to add Coastal Cabana ink to the sky.
As the images dried, I used my Aqua Painter to add more Coastal Cabana ink to blend the sky and fill in small areas behind the flowers. I also added a few more small detailed leaves above the flowers. When I saw that the flowers had bled too much, I simply stamped again on top of the blurry images.
When I was finished, I used my Aqua Painter to add splatters of Coastal Cabana ink over the entire stamped square. To do this, squeeze your ink pad to pool ink in the lid, dip the Aqua Painter in the concentrated color with just a little water. Then, use the cap of the Aqua Painter to flick the brush towards your paper. Practice first on scratch paper to get the hang of it. You can also use Stampin’ Write Markers for a similar effect.
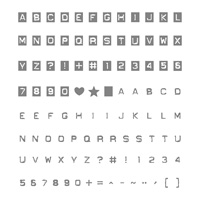
I stamped JUNE with the Labeler Alphabet stamp set using Tuxedo Black Memento ink on Whisper White Cardstock. Then, I trimmed it close with scissors.
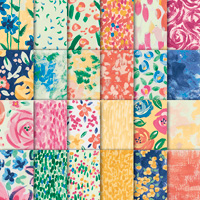
The background is Garden Impressions Designer Series Paper trimmed down to 4″ x 6″. Since there are only four sheets of each design, I selected two different designs with similar styles and color combinations.
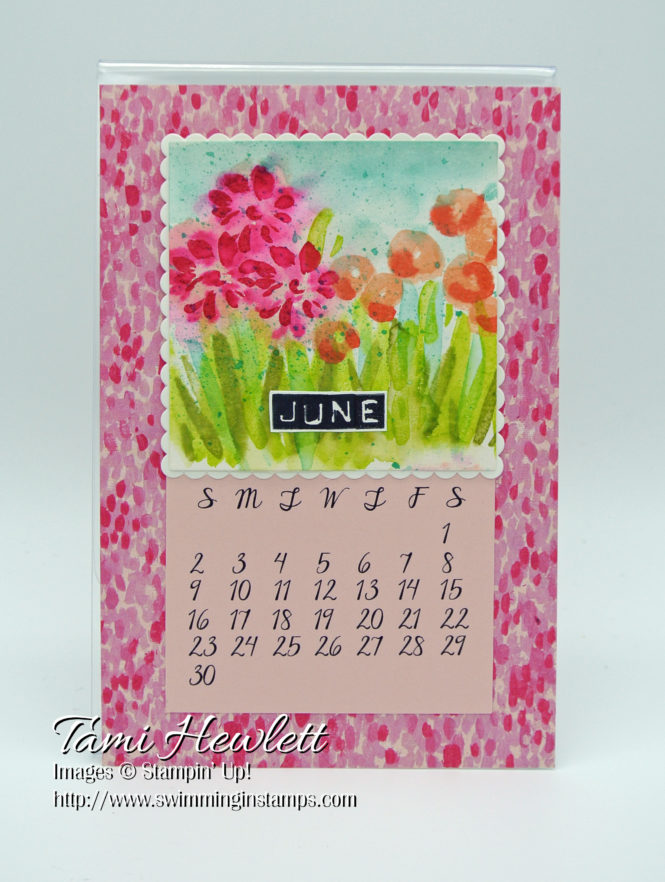
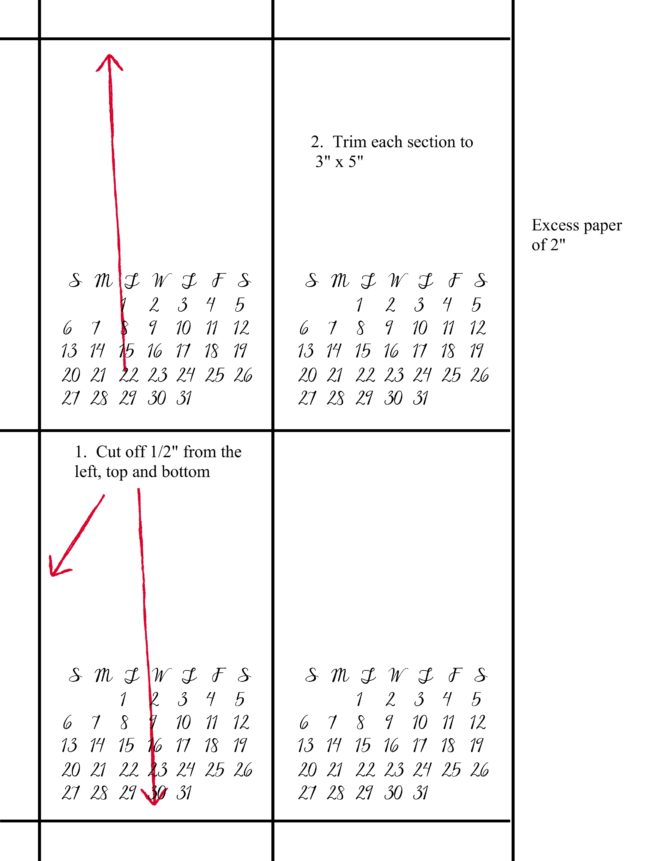
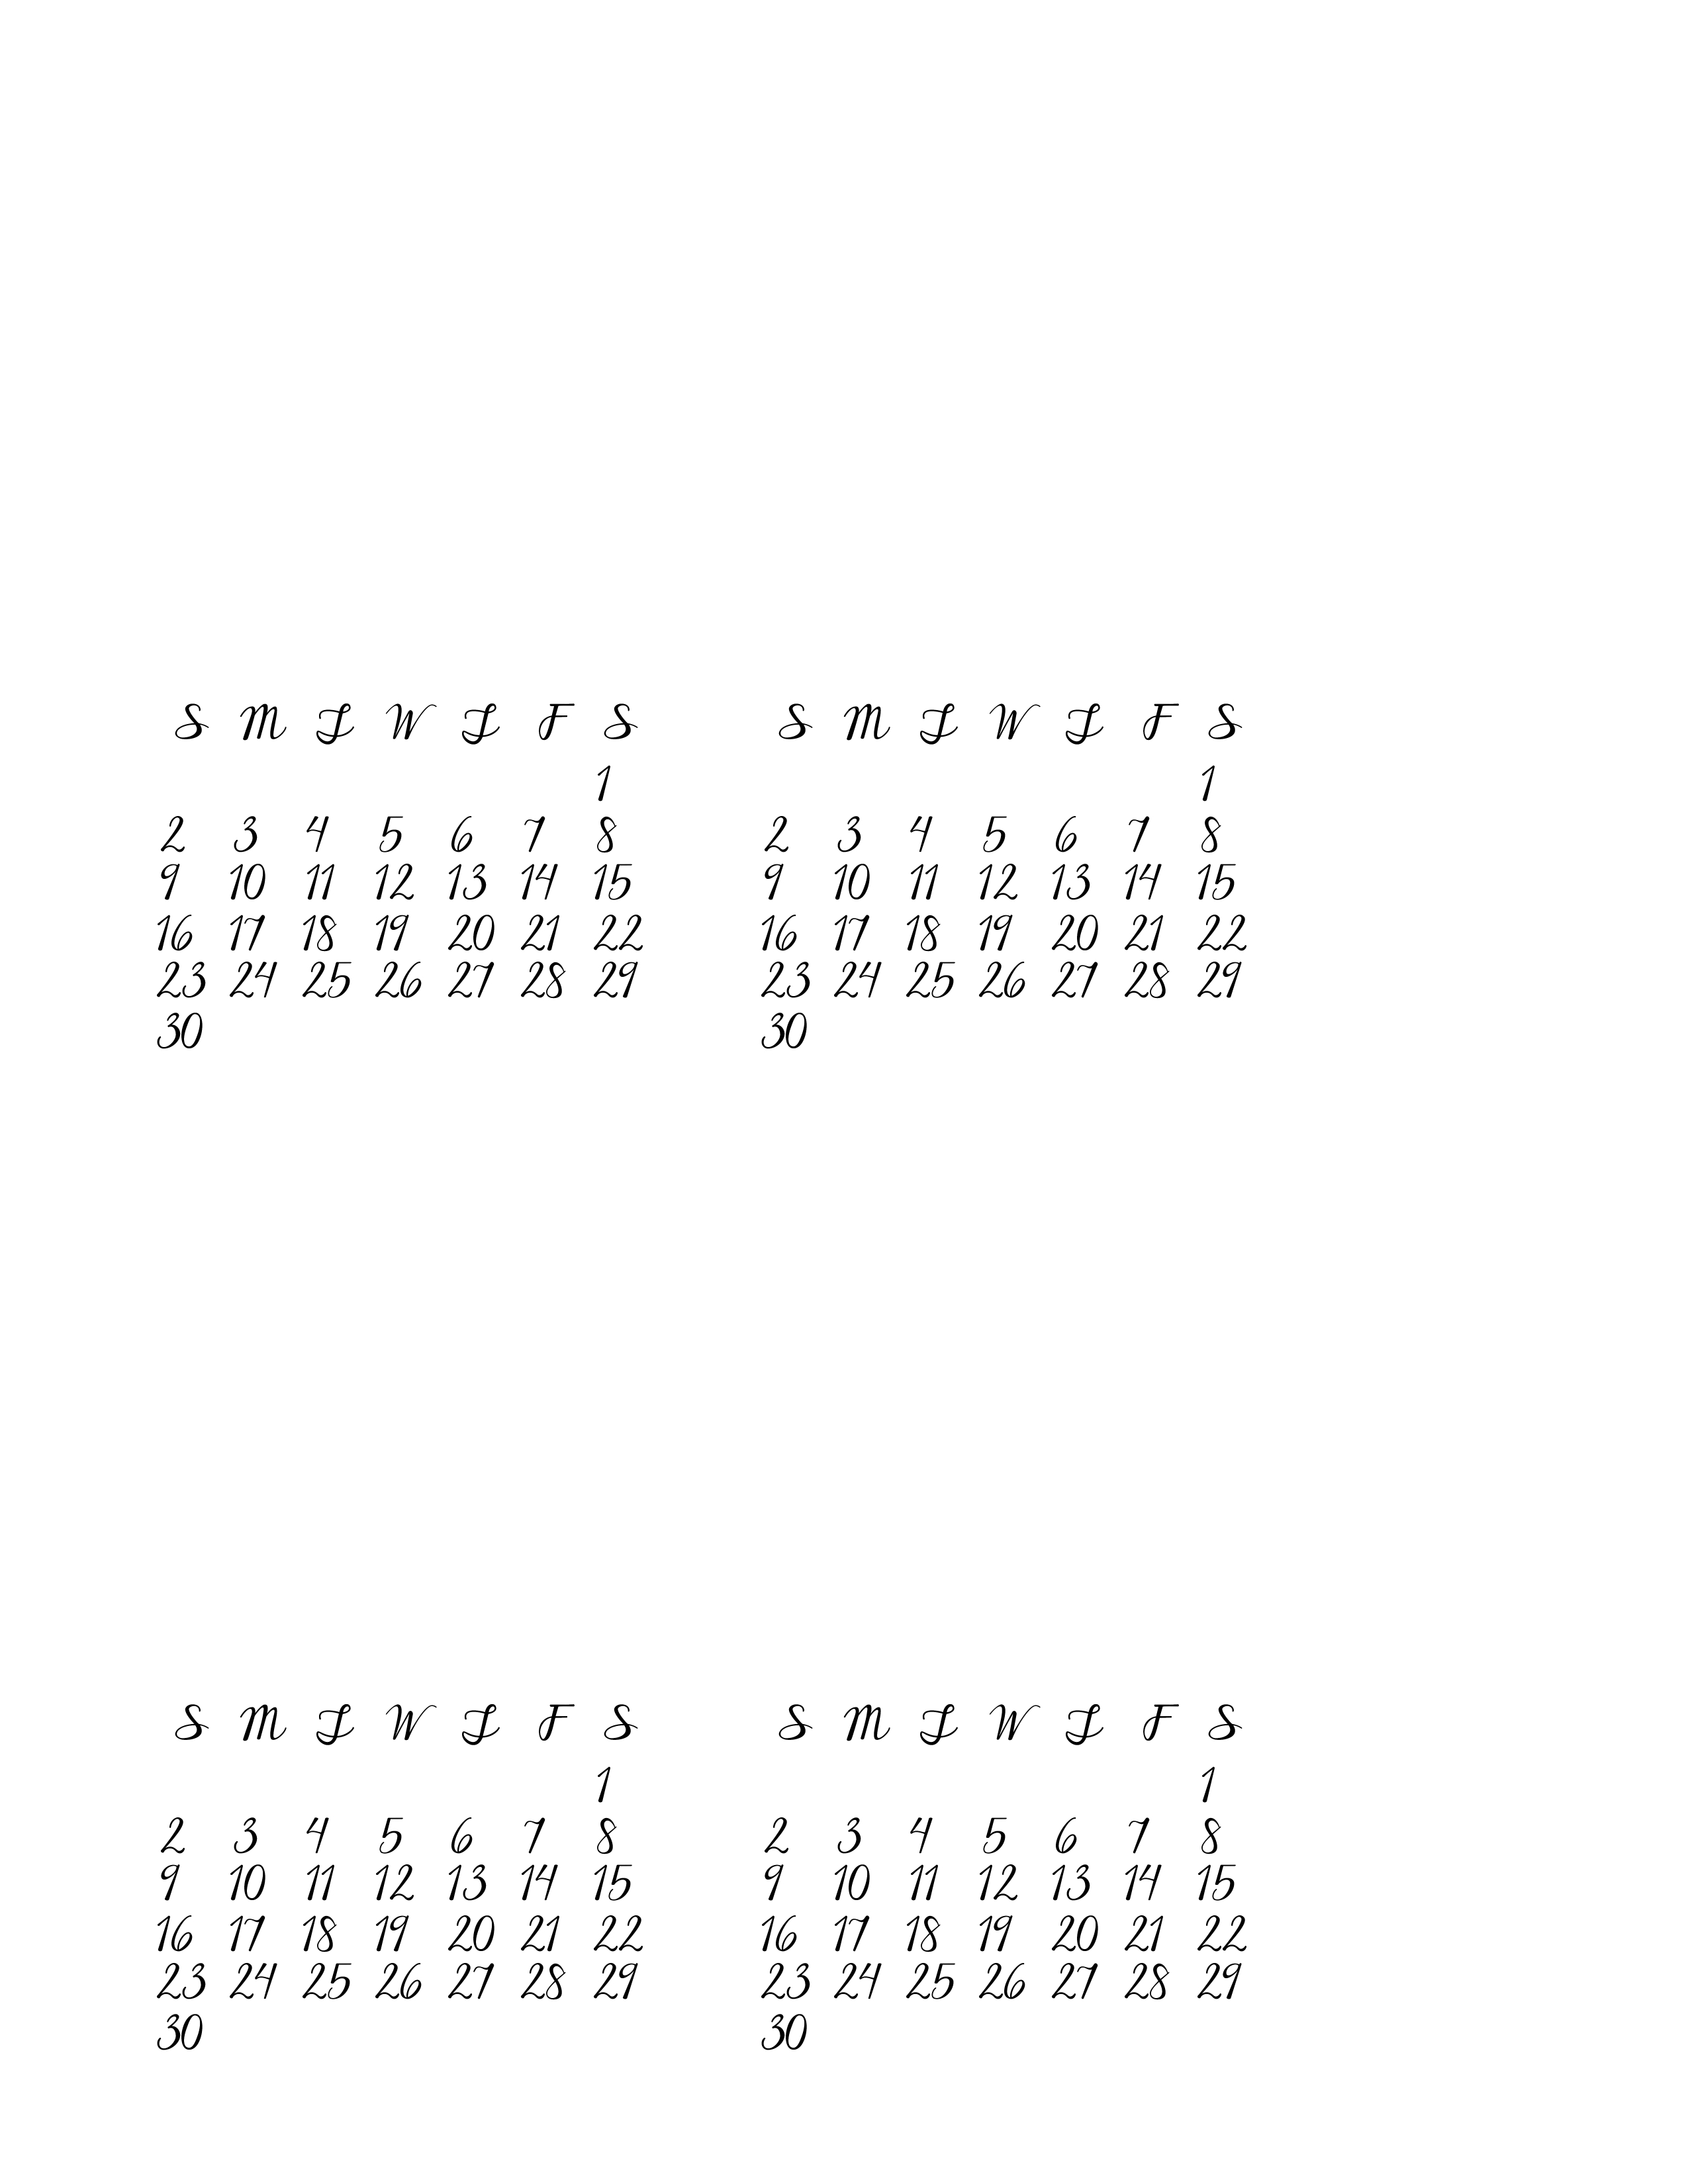
I created a printable calendar page on My Memories Suite. To download the calendar page JPEG, click HERE. Print the JPEG on 8-1/2″ x 11″ either Powder Pink and/or Petal Pink Cardstock (to match the background paper you select) with the smallest margins possible for your printer. The days and numbers are colored black, so no need to use a color setting. Each sheet will make 4 calendar layers. Trim each one down to 3″ x 5″ as follows:
Supplies used on my calendar page:


Current Promotions:
Contact me for more details or refer to the July Newsletter.

Tami’s July Special:
Make a purchase of $75 or more from July 1 to 16 and earn a free Textured Impression Embossing Folder of your choice! To qualify, use hostess code XX4R3SGU when you check out. Also, please do not select No Contact. I will need to contact you to determine which Textured Impression Embossing Folder you choose. For orders over $150, you qualify to be your own hostess, so don’t use this hostess code. It is more advantageous to use the hostess benefits for yourself and select your own free items.
In addition, see my earlier post for information on the Buy 3, Get 1 Free designer series paper sale and how you can earn a free set of ink pads valued at $75!
Have a great day!