


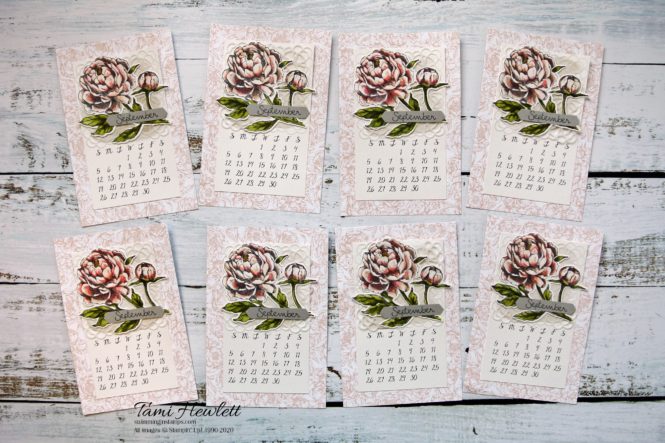
I have two more 2021 Desktop Calendar pages to share today! I try to design these throughout the year so by the time Christmas comes around, I have eight sets to give away as gifts. They measure 4″ x 6″ and fit individually in a standard frame. I package them in an over-sized, decorated envelope.
The September calendar features the Prized Peony stamp set and the October calendar features a darling new stamp set from the August-December Mini Catalog called Flight of Fancy.

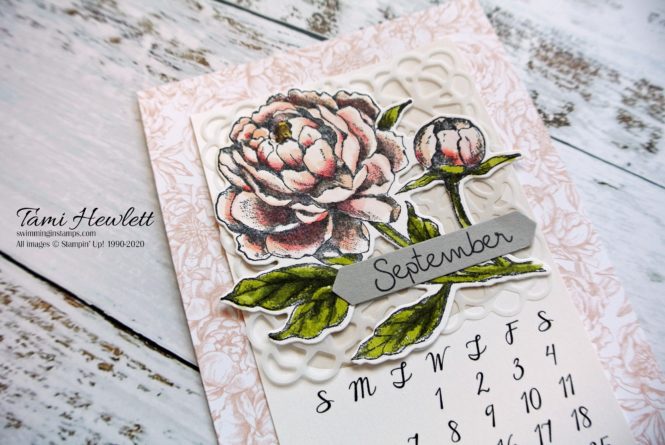
September 2021 Calendar Page:
September is my birthday month, so I chose one of my favorite stamp sets. I absolutely love the ultra feminine look of this calendar page! It’s totally my style of soft flowers and lace.
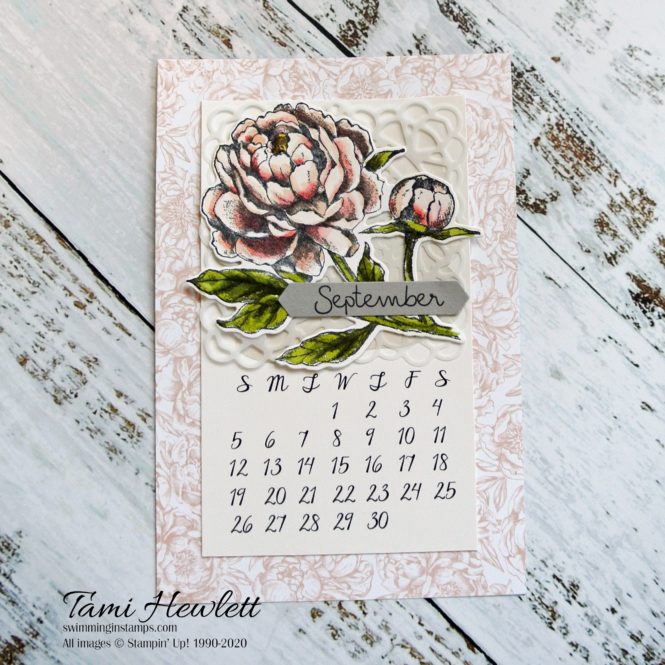
The Peony Garden Suite on pages 82 to 84 of the Annual Catalog includes the gorgeous coordinating products used on this calendar page, including the Peony Garden Designer Series Paper, Square Vellum Doilies, and Prized Peony Bundle including the Prized Peony Clear Mount Stamps and Peony Dies. (Purchase in a bundle for 10% off.)
September Tutorial:
- Trim Peony Garden Designer Series Paper to 4″ x 6″.
- Print calendars on Shimmery White Cardstock and trim to 3″ x 5″. (See download and cutting instructions below.) Each sheet makes four calendar pages.
- Stamp the large peony with Stazon ink on a separate scrap of Shimmery White Cardstock and cut it out with the coordinating die.
- Use the small Water Painter to watercolor the peony. Squeeze the ink pads to pool ink in the lids, or press an acrylic block into the ink pad to collect ink. Then, add a little water with your Water Painter and you’re ready to go. Paint petals with Flirty Flamingo and Petal Pink ink, leaves with Pear Pizzazz and Old Olive ink, and the center of the flower with So Saffron and Soft Suede ink.
- Take the 3″ x 5″ calendar page and use the large Water Painter to watercolor a Gray Granite wash on the top portion, underneath where the flower will sit.
- Use a small alphabet stamp set or the retired Date It stamp set to stamp the month with Stazon ink on Gray Granite Cardstock. Punch out with a Classic Label Punch.
- Assemble with Stampin’ Seal from bottom to top as follows: Center Shimmery White calendar layer over background designer series paper, add one Square Vellum Doilly, the die cut peony, and then add the September punch.
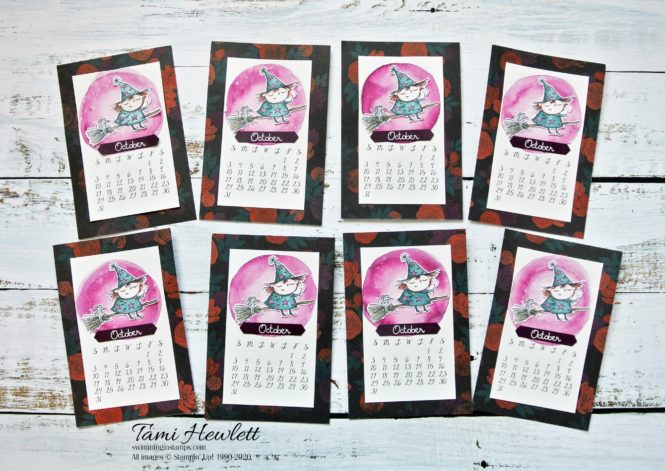
October 2021 Calendar Page
I have to admit that I rarely purchase Halloween products, but when I saw this sweet little witch in the Flight of Fancy stamp set, I couldn’t resist. Plus, this stamp set also includes images for Christmas and Valentine’s Day!
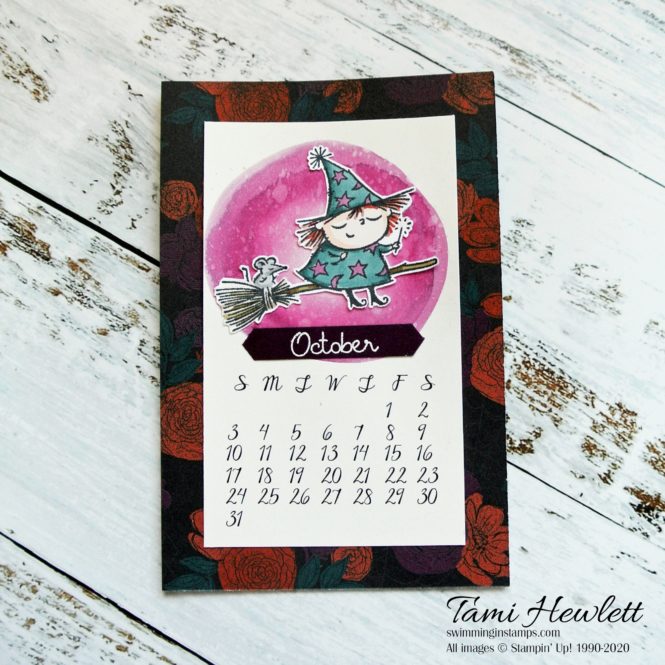
The entire stamped image is fairly large, so I had to trim off the portion behind the broom to make it fit. I was heavily inspired by the example on page 59 of the Mini Catalog, because it’s so cute! I just changed up the colors to coordinate with the Magic In This Night Designer Series Paper.

October Tutorial:
- Trim Magic In This Night Designer Series Paper to 4″ x 6″.
- Print calendars on Shimmery White Cardstock and trim to 3″ x 5″. (See download and cutting instructions below.) Each sheet makes four calendar pages.
- Use large Water Painter to watercolor a big circle with Blackberry Bliss ink. Add a big drop of clear water to the center and use a paper towel to remove a lot of the color in the center to create a “moon” effect. Let dry.
- Hold Water Painter over the watercolored circle and tap the barrel or use the cap to flick the brush to add splatters of clear water. Wait 30 seconds and mop up with a paper towel.
- Hold a Wink of Stella Glitter Brush over the background and use the brush and cap to flick splatters.
- Stamp witch with Memento ink on Whisper White Cardstock.
- Color witch with Stampin’ Blends Markers as follows: Dress and hat with Blackberry Bliss and Pretty Peacock, broom with Crumb Cake and Soft Suede, Mouse with Smoky Slate, hair with Cajun Craze, and face and hands with Petal Pink.
- Use a Wink of Stella Glitter Brush to add some sparkle to the witch’s wand.
- Cut out witch with scissors.
- Use a small alphabet stamp set or the retired Date It stamp set to stamp the month with White Craft ink or Versamark on Blackberry Bliss Cardstock and emboss in white. Punch out with a Classic Label Punch.
- Assemble with Stampin’ Seal from bottom to top as follows: Center Shimmery White calendar layer over background designer series paper, center witch over “moon”, and then add the October punch.
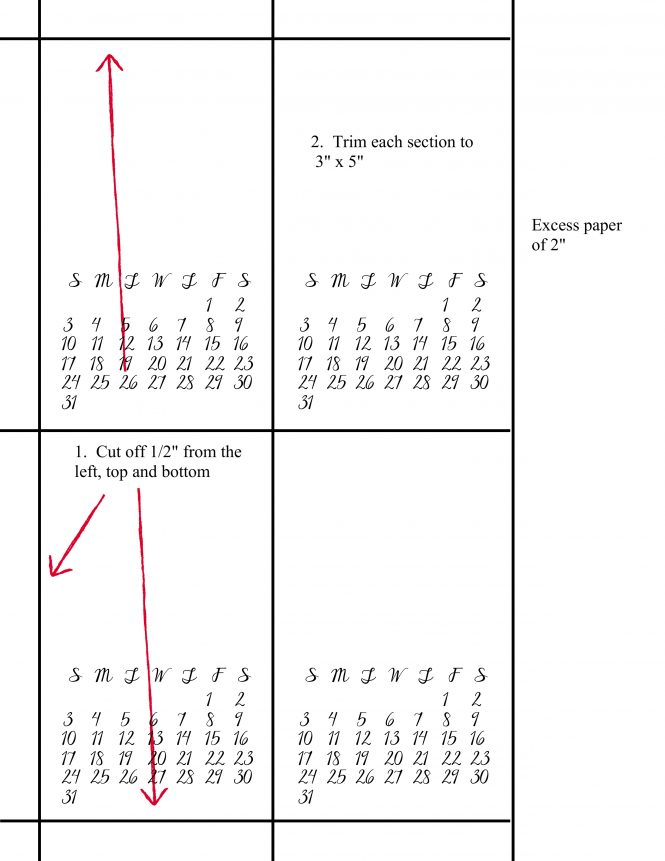
I created the calendar pages using My Memories Suite software. You can download the September calendar HERE (PDF) or HERE (JPEG) and the October calendar HERE (PDF) or HERE (JPEG.) Print both calendars on Shimmery White Cardstock with the smallest margins possible for your printer. The print is colored black on both calendar pages. I designed the pages to go all the way to the edges of a standard 8-1/2″ x 11″ sheet of cardstock. Trim as follows:
Only two more pages to go to wrap up my 2021 desktop calendars!!! WAHOO! (I’ve actually already got November done!) Stay tuned for one more post featuring November and December in the coming months, and then in another post, I’ll show how I package them up for Christmas gifts.
Have a great day!!!

Use Host Code JCGRRHUS for purchases at my online store to qualify to receive free exclusive project tutorials and a special thank you card from me. The latest PDF features 12 tutorials, including some really creative fancy folds and 3-D projects!

Reminder! Redeem your Bonus Days Coupons before the deadline on August 31, 2020!

")

")


")


