


Hello and welcome to the September Creating Kindness Blog Hop! I’m Tami Hewlett from California, USA. This is an exciting day for me, because it’s both my birthday AND I’m guest designer for Creating Kindness! Wahoo!!! What a fun coincidence!

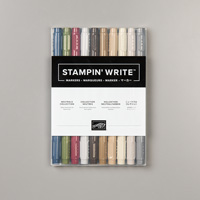
The Creating Kindness Blog Hop includes designers from around the world who come together to inspire kindness through cardmaking and paper crafting. This month, the theme of the hop is Ink Refills.

Ink Refills are great! They’re practical (to keep your ink pads nice and juicy), inexpensive, and super versatile. They can be used for numerous stamping techniques, so get ready to be inspired! I know I’m really looking forward to seeing what all these creative designers come up with.
After much thought, I decided to showcase my favorite background technique using Ink Refills, which is smooching. It’s fun and easy to do, and it makes me feel “artsy.” And, who doesn’t love feeling like an artist?
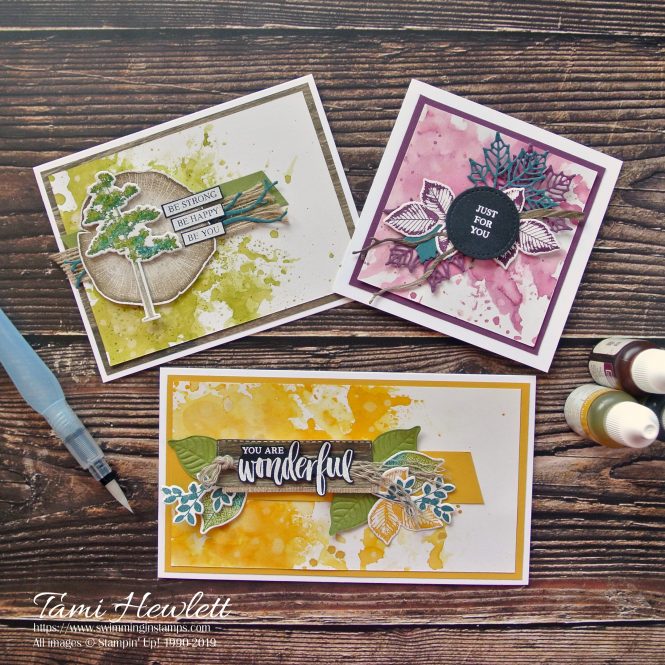
I actually created three cards in varying sizes for this blog hop. My motivation was that I REALLY needed to make some masculine cards. Seriously … my stash was down to zero, and I have numerous guy birthdays coming up this month. With that in mind, I also picked the Rooted In Nature stamp set to decorate my cards, as it provides lots of options for masculine cards.
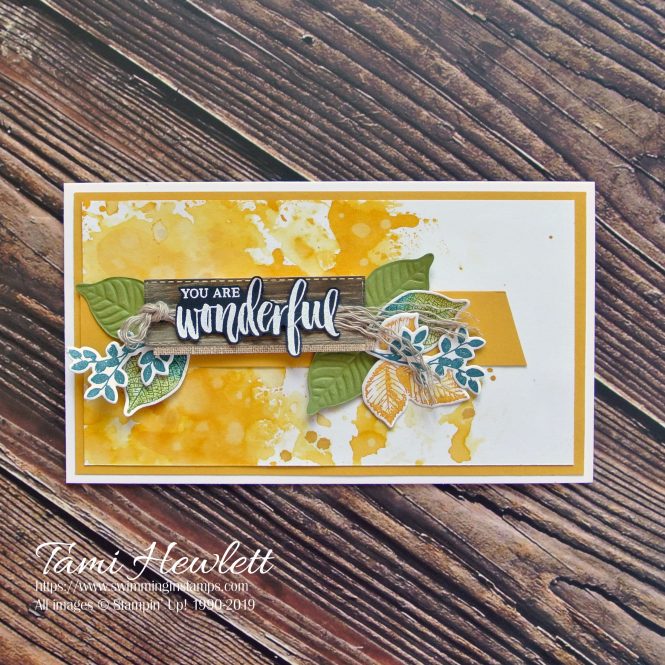
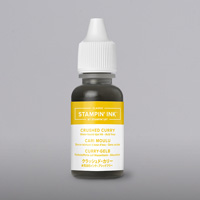
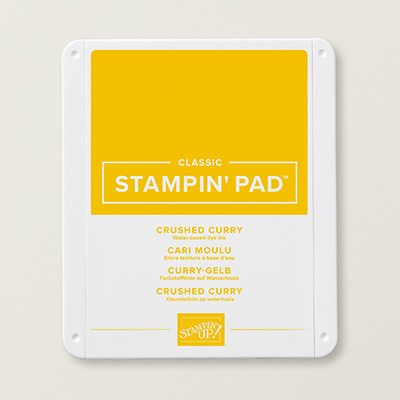
My first card is a landscape style card measuring 7″ x 4″ (or 18 x 10 cm.) Here’s how I created the smooched background using a Crushed Curry Ink Refill:
- Cut the background layer from Shimmery White Cardstock (as I did here) or Watercolor Paper.
- Place drops of ink refill on an acrylic block and use an Aqua Painter to slightly dilute with water.
- Use Aqua Painter to place 4 to 5 drops of the diluted ink in varying sizes onto a Silicone Craft Sheet.
- Lay or “smooch” background layer over Silicone Craft Sheet. Press and move layer around.
- Add new drops of diluted ink and repeat until desired effect is achieved.
- To lighten areas, use Aqua Painter to drop clear water onto background, wait 15 to 30 seconds, and then pat with a paper towel.
- Air dry or use a Heat Tool to speed the process.
After completing the smooched background, I used an Aqua Painter dipped in Crushed Curry Ink Refill to add splatters. (Hold the brush over the layer and tap the barrel.)
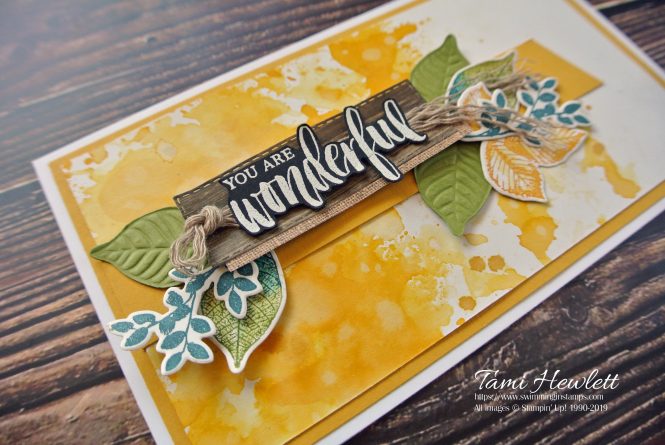
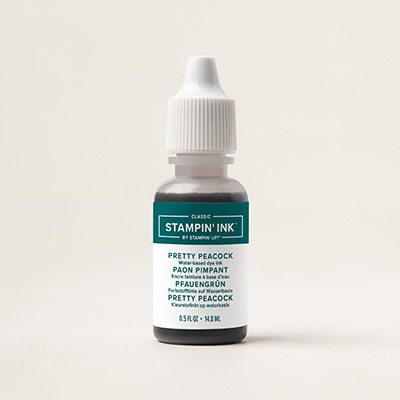
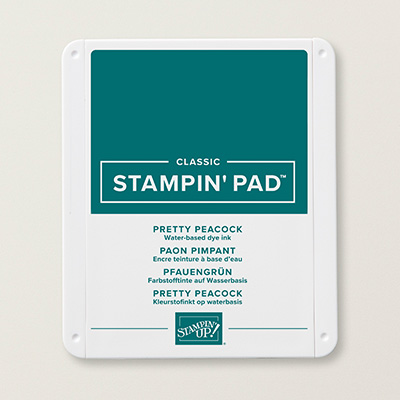
For the multi-colored leaves, I used the brush end of an Old Olive and Pretty Peacock Stampin’ Write Marker to color the red rubber stamp directly, prior to stamping. Then, I used an Aqua Painter to go over the stamped image and slightly blend the ink.
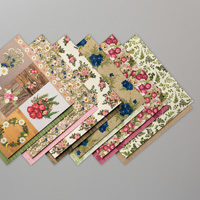
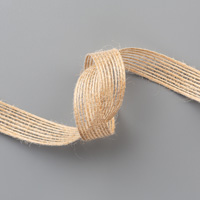
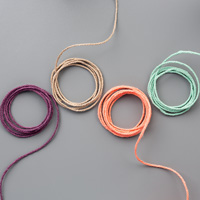
The wood and burlap designer series papers are from the Pressed Petals Specialty Designer Series Paper. (I love the fact that several of those sheets are floral on one side, but rustic on the other!) I embossed the greeting in white on Basic Black Cardstock and cut it out by hand. As a final touch, I frayed some Nature’s Twine and tied a knot with some of the pieces.

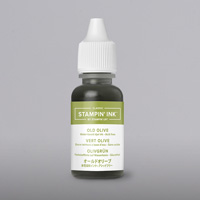
My next card is a standard A2 or 5-1/2″ x 4-1/4″. This time, I created the smooched background with an Old Olive Ink Refill. I added splatters with an Old Olive Stampin’ Write Marker. I held the cap over the layer with one hand and then used the other hand to place the brush end of the marker in the cap and flick the brush towards the paper. This method creates much finer splatters.
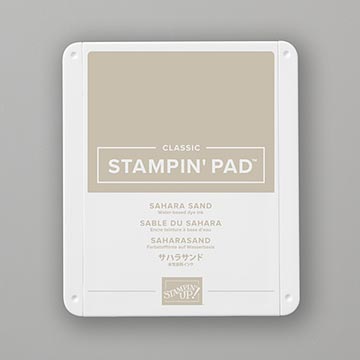
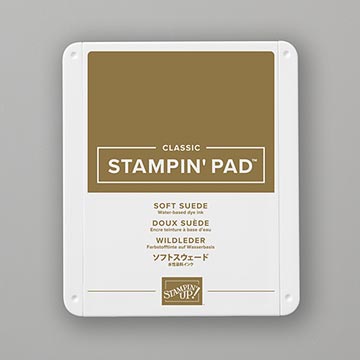
To stamp the tree, I used the brush end of an Old Olive, Pretty Peacock, and Crumb Cake Stampin’ Write Marker to color the red rubber directly, prior to stamping. Then, I used an Aqua Painter to very lightly blend the ink of the stamped image. For the circular log image, I inked up the stamp with Sahara Sand ink, stamped off once, then sponged Soft Suede ink around the edges prior to stamping.
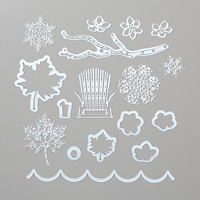
I cut the Seasonal Layers branch die from Pretty Peacock Cardstock, and embossed the greeting in white on Basic Black Cardstock.

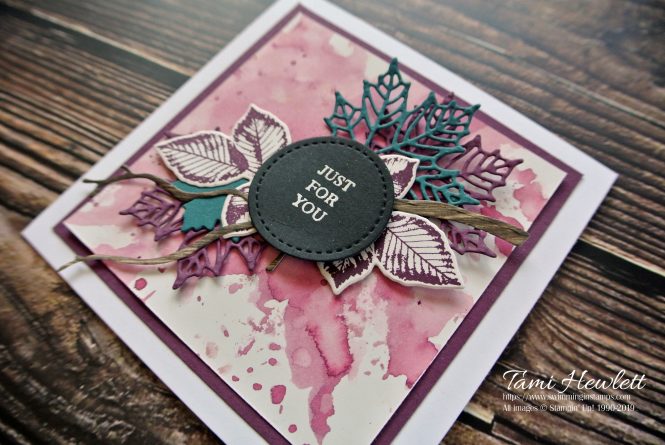
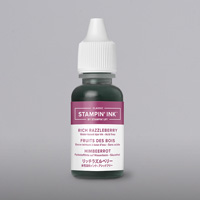
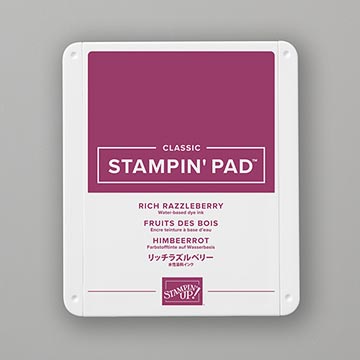
My final card measures 4-1-4″ square (approximately 11 cm square.) This time, I created the smooched background with a Rich Razzleberry Ink Refill and added splatters using an Aqua Painter.

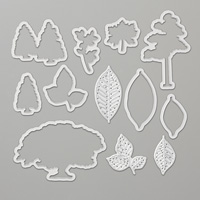
I stamped the leaves with Rich Razzleberry ink, and used both the Nature’s Roots and Seasonal Layers Dies to cut the leaves and branch from Rich Razzleberry, Pretty Peacock, and Pressed Petals Specialty Designer Series Paper.
I love creating smooched backgrounds!!!. They add a fun, artsy look to my projects.

Thanks so much for stopping by, and I hope my cards have inspired you to use this background technique.
To continue through the Creating Kindness Blog Hop, click on the next button below or use the list of participants. I can’t wait to see what the designers do with Ink Refills!

Blog Hop Participants:
- Tami Hewlett – Guest Designer – USA
- Charlet Mallett – USA
- Tanya Boser – USA
- Paula Dobson – New Zealand
- Lou Kitzelman – Australia
- Marcy Denning – Canada
- Cheryll Miller – Australia
- Jay Soriano – UK
Have a wonderful and creative day!

Use the Host Code RZEYRF24 for all purchases at my online store during September to qualify to receive free exclusive tutorials and a special thank you card from me. They are loaded with techniques and inspiration!!!

Supplies used on my card:


Gorgeous smooshed backgrounds Tami! xo Marcy
Thank you!!! 💕❤
Happy birthday for last week Tami. Hope it was a great one! Your cards are just fabulous. Your smooshed backgrounds are just divine. Such a fab backdrop for the stamped and die cut elements. So glad you could join us this month. x
Thanks so much Lou! 💕
It is always a pleasure to hop with you Tami. Happy belated Birthday too!!
I am in love with all your smooshed backgrounds. I just can’t make mine ever look that good!!
Thanks so much Paula! You’re the Blends queen in my eyes. 😍😍😍
Happy Birthday Tami … and thank you for showing us such a fabulous trio of cards! I love them all, and you are the master of “smooshing”! 🙂 xxx
Thanks so much Cheryll!!! 💕
Happy Birthday Tami!! Love your artistic cards with ink refills and thank you for joining the Creating Kindness design team this month.
Gorgeous Cards!! I have to do some smooching!!
Thanks so much Jay! 😀
Thank you Aneette!!! 💕
Absolutely delightful cards Tami! Great use of the reinkers. So glad you could join us on the hop!
Thank you Tanya!