


Hello! I’m Tami Hewlett from California, USA, and today is my first official 2022 Artisan post. Here we go, it’s going to be another amazing year!!! I’m so excited and humbled to be on the Artisan Design Team again.
Stampin’ Up! has made a few changes this year. Instead of one big Artisan Design Team Showcase towards the end of the month, the team has been divided into four groups. Each week, Stampin’ Up! will have a mini showcase on its Stampin’ Up! Facebook page featuring one bundle or suite of products. I love this change, because it means the inspiration is spread throughout the entire month.
For January, my group is showcasing the Rainbow of Happiness Bundle. Be sure to go to the Stampin’ Up! Facebook page and check out all the artisans’ projects featuring this fun bundle.
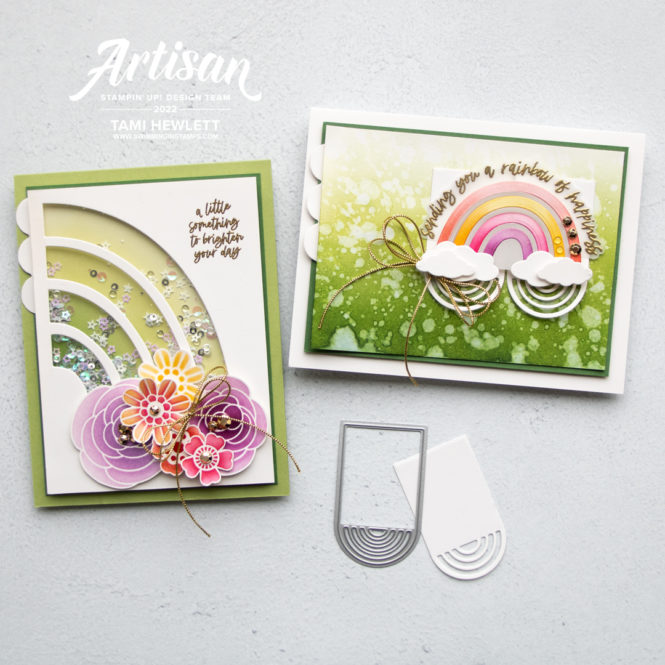
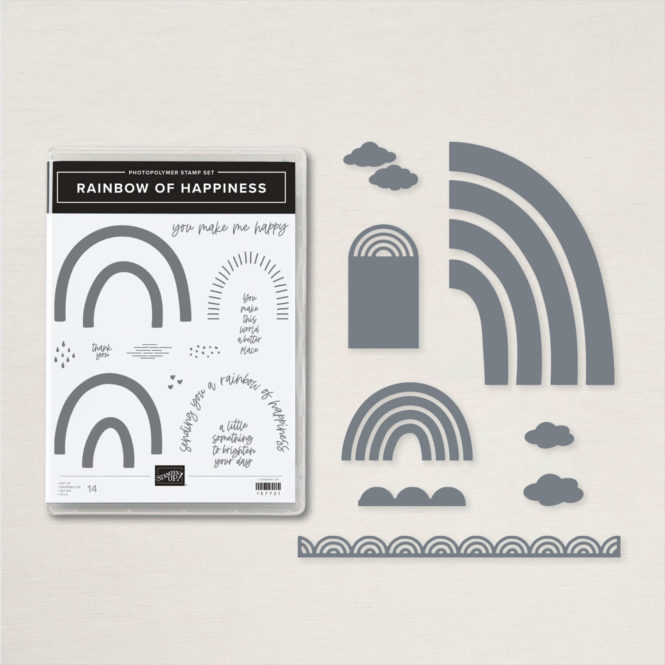
The Rainbow of Happiness Bundle includes the Rainbow of Happiness Photopolymer Stamps and Brilliant Rainbow Dies, and it’s full of great elements. I love the stamps that allow you to build and embellish rainbows in any color combination. But my favorites are the dies, especially the sweet tag and border.
A Little Something To Brighten Your Day
My first card is an ombre shaker card. I wanted to design something elegant and non-traditional. So I decided on a monotone rainbow pouring into a bunch of super bright, beautiful flowers. This card makes me think of sunshine, warmth, and brilliant Spring flowers (something I’m longing for right now!)
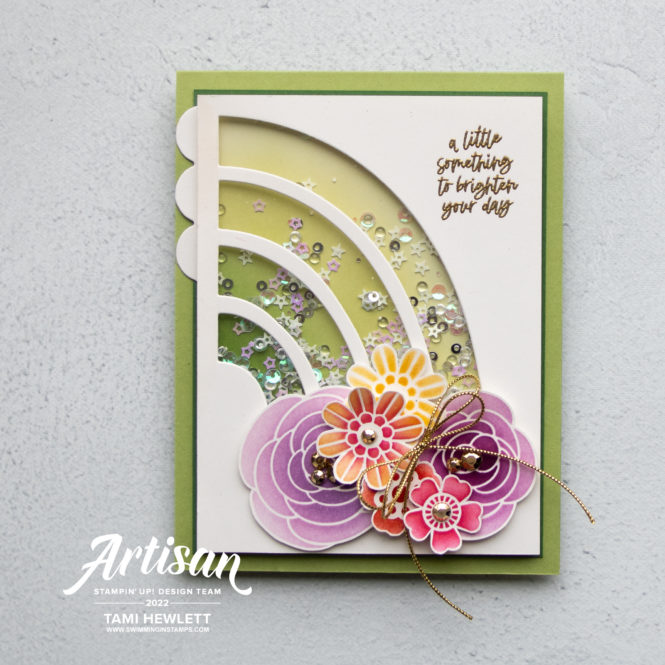
I used three shades of green (Garden Green, Pear Pizzazz, and Soft Sea Foam) to create my ombre background with Blending Brushes. Then, I filled the shaker portion with the new Sparkle & Shine Sequin Assortment and covered the top with a layer of Shimmery White Cardstock that I cut out with the large rainbow die and backed with a Window Sheet. To form the shaker portion, I used Foam Adhesive Strips to raise the top layer and capture the sequins inside.
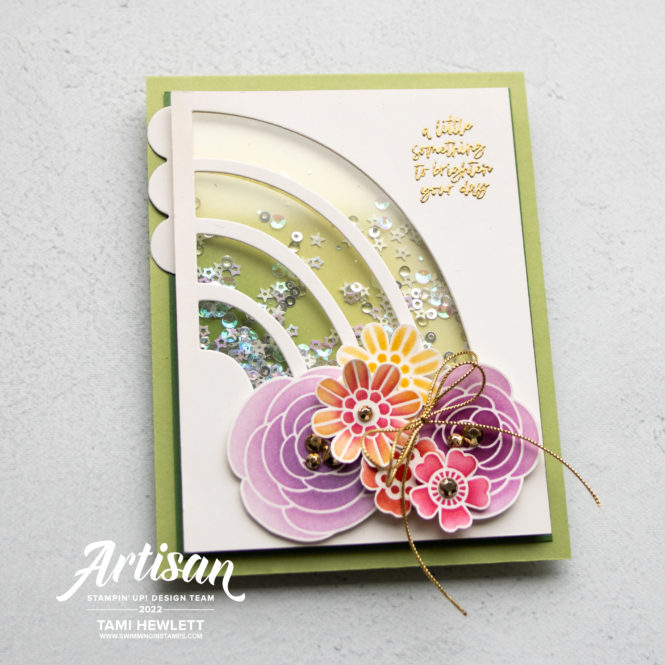
Next, I used the Butterflies and Flowers Layering Decorative Masks to create the flowers. These masks are so amazingly versatile. For this project, I simply used Blending Brushes and a variety of ink colors to create the color variations. But, you can also combine the masks for gorgeous, layered designs. I’ll need to explore that more on another project! After stenciling the flowers, I fussy cut them to add to my card.
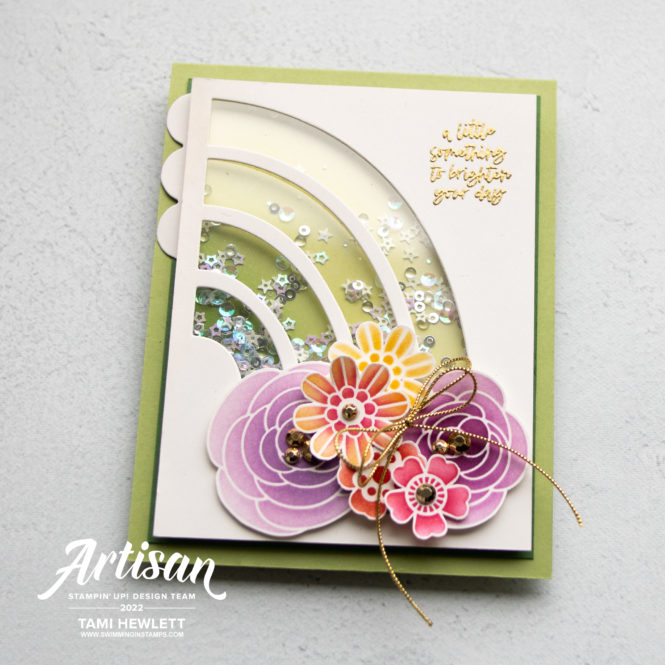
Final touches included some Gilded Gems and a pretty double bow tied with Simply Elegant Trim.
Sending You A Rainbow of Happiness
For my second card, I used a fun background technique to create the illusion of rain. I demonstrated this technique during my last online class, but I’ll try to describe the process below.
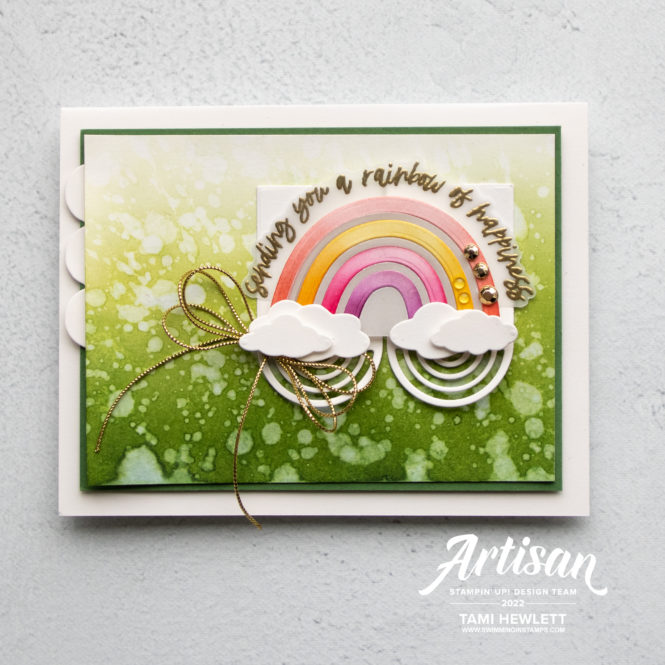
First, I’ll talk about the rainbow. I used Shimmery White Cardstock for all the “whites” on this card. After cutting out the rainbow die-cuts, I used Blending Brushes to apply multiple ink colors. Then, to easily pop-up the whole rainbow, I adhered the die-cut pieces to some Vellum Cardstock.
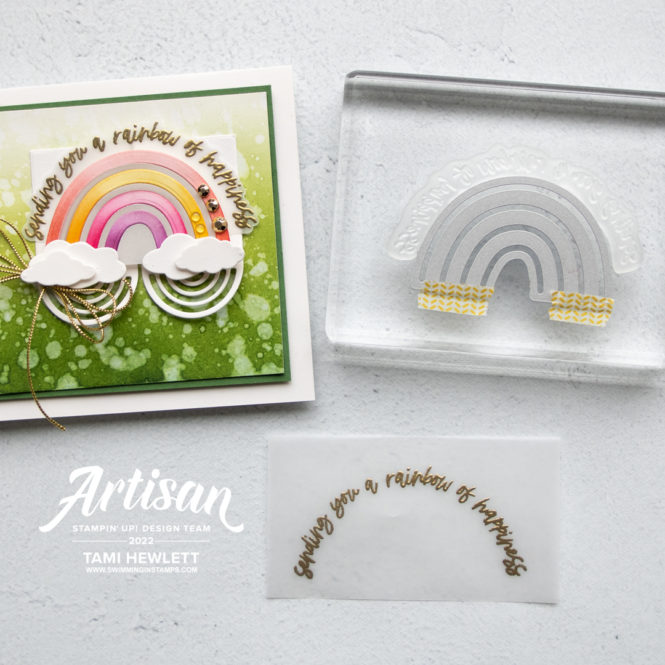
Next, I decided I wanted to place the gold embossed greeting above the rainbow die-cuts. However, the stamp wasn’t really designed to do that. It was made with a much smaller arch to stamp on top of the largest rainbow stamp. But since it’s made of photopolymer, it’s easy to stretch and reposition it! So, I used the rainbow die-cut as a guide to perfectly position the stamp on my acrylic block. Then, I embossed it in gold on Vellum Paper for my card.
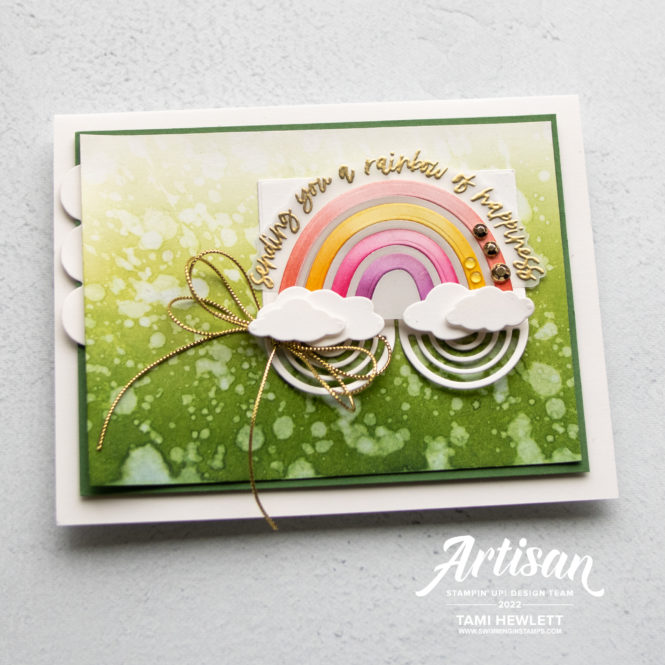
I placed the rainbow over two of the tag die-cuts and added some Gilded Gems and Clear Epoxy Essentials, as well as some cloud die-cuts.
To create the background, I used a layer of Shimmery White Cardstock. Then, I added the same three green ink colors as the first card with Blending Brushes. Afterwards, I dipped my fingers in a cup of water, sprinkled drops over the layer, waited about 15 to 30 seconds, and then patted with a paper towel. This effectively removed some of the color to create water drops. It’s a little messy, but I love getting messy, especially when the results turn out great!
One last little thing. I tucked one of the mini scallop die-cuts under the main panel of both my cards.
I hope my projects featuring the Rainbow of Happiness Bundle have inspired you! Now, click over to the Stampin’ Up! Facebook page for even more ideas.
Have a wonderful and creative day!

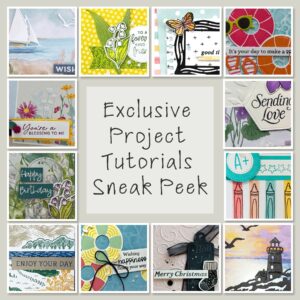
Purchase products from my online store to qualify to receive free exclusive project tutorials. This month’s PDF includes 12 creative tutorials designed by my demonstrator friends and I to inspire your paper crafting! The projects feature products from the May-August 2026 Catalog and current Online Exclusives. Enjoy!
")
")


")


Oh wow Tami! I love, love, love these two cards; they are both so gorgeous. Out of all the “rainbow” cards/creations I have seen so far, these two are TOPS! You creative mind sees no end (of the rainbow hehe). Thank you for sharing your creativity and inspiration and of course, your well-written instructions.
Oh my gosh, thank you Cami!!! Your words mean so much to me. xxx