


It’s already time to start creating my 2021 Desktop Calendars!!! Each month, I try to design a calendar page for the following year. That way, by the time Christmas comes along, I have eight sets to give away as gifts. Today, I’m playing a little catch-up and posting ideas for both the January and February 2021 calendar pages.
My January calendars feature the Mountain Air stamp set and the February calendars feature the Meant To Be stamp set. These are two of my favorites!
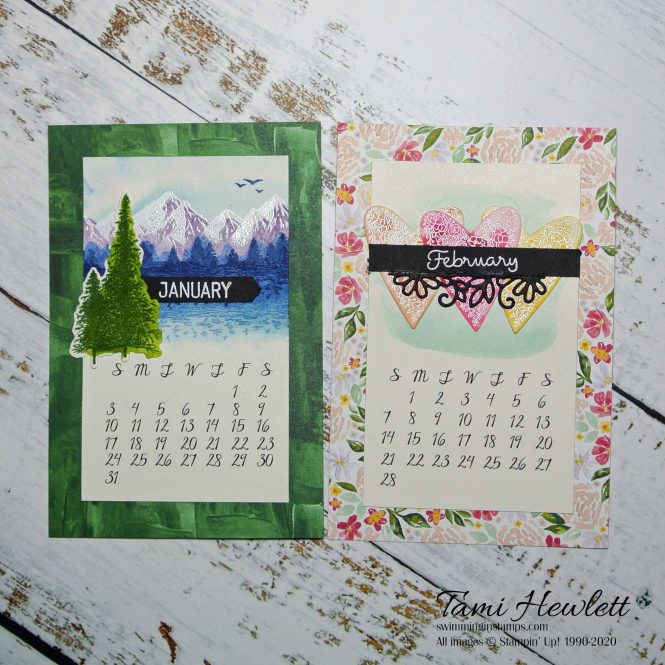
These calendars measure 4″ x 6″ and fit in a standard frame. That works perfectly with Stampin’ Up! designer series paper, because I can cut six backgrounds out of one 12″ x 12″ sheet, or one background out of a 6″ x 6″ sheet. For January, I used the Lily Impression Designer Series Paper (free during Sale-A-Bration with a $50 qualifying purchase) and for February, I used the Best Dressed 6″ x 6″ Designer Series Paper Pack. Because the 6″ x 6″ paper comes with four sheets of each design, I picked two similar designs.
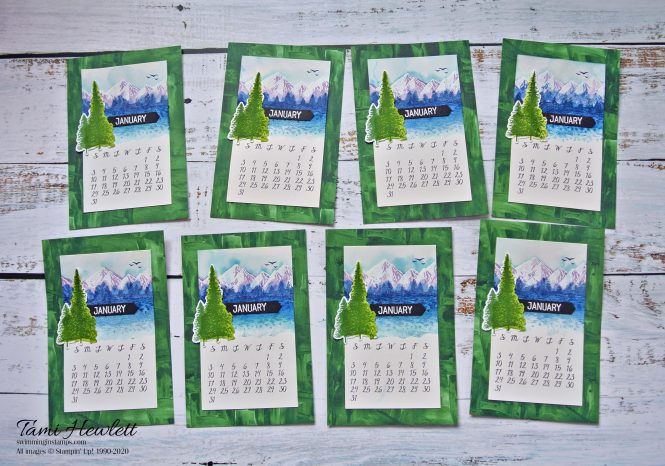
The Mountain Air stamp set is so fun, because it’s reversible. That means each stamp has two sides — a solid side and a detail side. You can use them together to color (solid) and then add details, or you can use them separately.

To create this page, I used Shimmery White Cardstock, which is great for watercoloring. (See below for instructions on printing the calendar layer.)
- Ink up the solid mountains with Highlander Heather, and then use an Aqua Painter to brush clear water over the stamp before stamping.
- Ink up the solid row of trees with Blueberry Bushel, stamp off once to lighten the color, and then use an Aqua Painter to brush clear water over the stamp before stamping. Stamp twice without re-inking, once just below the mountains, and then slightly lower. Let paper dry.
- Flip the mountain stamp over to the detail side, and rub an Embossing Buddy over the Shimmery White calendar layer. Use Whisper White Craft ink to stamp over the solid mountains. Add White Stampin’ Emboss Powder. Use a dry paint brush to remove the embossing power from the blue trees (so only the mountain tops will end up being embossed.) Heat set.
- Use Pool Party ink and an Aqua Painter to watercolor the sky and lake. Squeeze your ink pad to pool ink in the lid, and then add a little water. Watercolor the sky by adding color next to the white mountains and blending upwards. For the lake, start by slightly blending the solid blue trees and then continue downward by adding Pool Party ink to the lake. Let dry.
- Flip the tree stamp over to the detail side and stamp with Blueberry Bushel twice without re-inking. Stamp over the solid trees, and then slightly lower.
- Stamp the birds with Blueberry Bushel.
- Layer the 3″ x 5″ calendar layer over the 4″ x 6″ designer series paper.
- Ink up the solid side of the double tree stamp with Granny Apple Green ink. Use an Aqua Painter to brush clear water over the stamp before stamping on a scrap of Shimmey White cardstock. Let dry.
- Flip over the double tree stamp to the detail side. Use Garden Green ink to stamp over the solid trees, lining up the center of the large tree.
- Cut out the double tree with the coordinating die and adhere with Snail.
For the calendar month, I used the retired Date It stamp set to stamp and emboss in white on Basic Black Cardstock. (You could substitute with any small calendar or alphabet stamp set.) Then, I used the Classic Label Punch to punch it out.
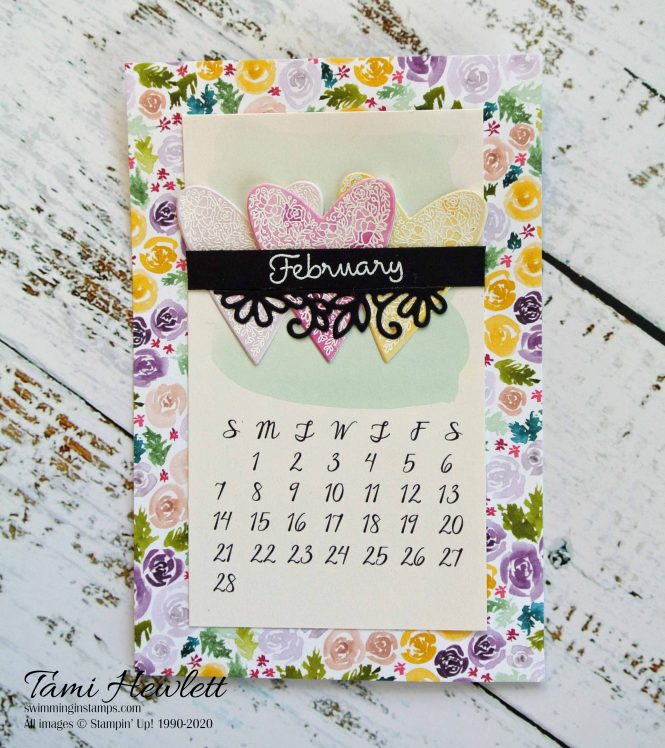
I used the same retired stamp set for the month on my February calendar. It was one of my favorites, because it has several types of fonts. I stamped and embossed the month in white on Basic Black cardstock. Then I trimmed it close and added a Stitched Be Mine die for the flourish below.
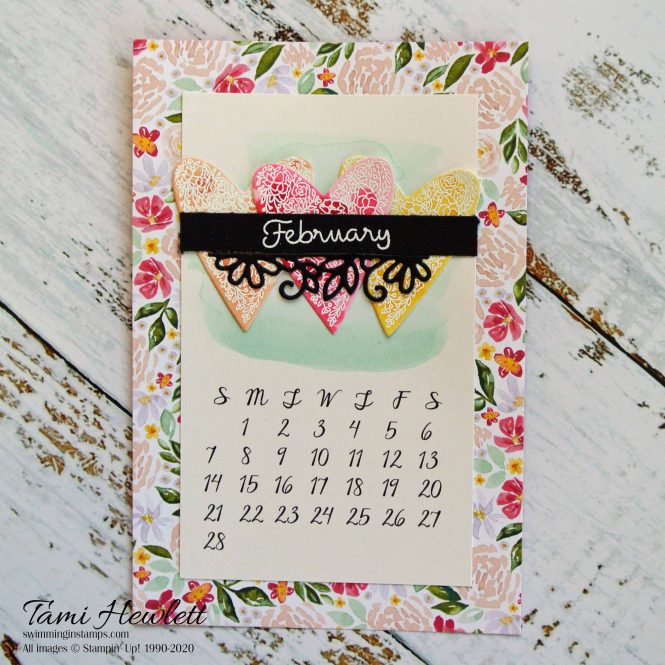
Once again, I printed the calendars on Shimmery White cardstock so I could watercolor the background. I simply painted a quick wash using Pool Party ink, and then adhered the 3″ x 5″ calendar layer over the 4″ x 6″ designer series paper layer.
Here’s how I created the hearts:
- Stamp and emboss three Meant To Be hearts in white on Shimmery White Cardstock.
- Use an Aqua Painter to watercolor the hearts as follows: Pink version: Lovely Lipstick, Petal Pink, and Daffodil Delight and Purple version: Blackberry Bliss, Purple Posy, and Daffodil Delight. Start with a light wash, then add more concentrated color for a nice variation.
- Cut out the hearts with the coordinating Stitched Be Mine die.
- Adhere hearts with Snail, and then layer the month and flourish on top. I used Multipurpose Liquid Adhesive for the flourish.

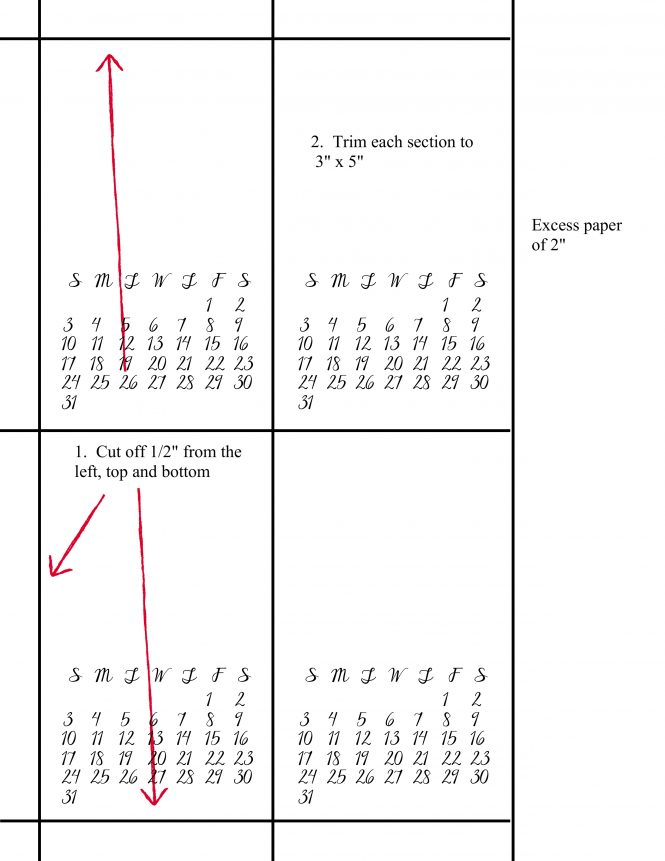
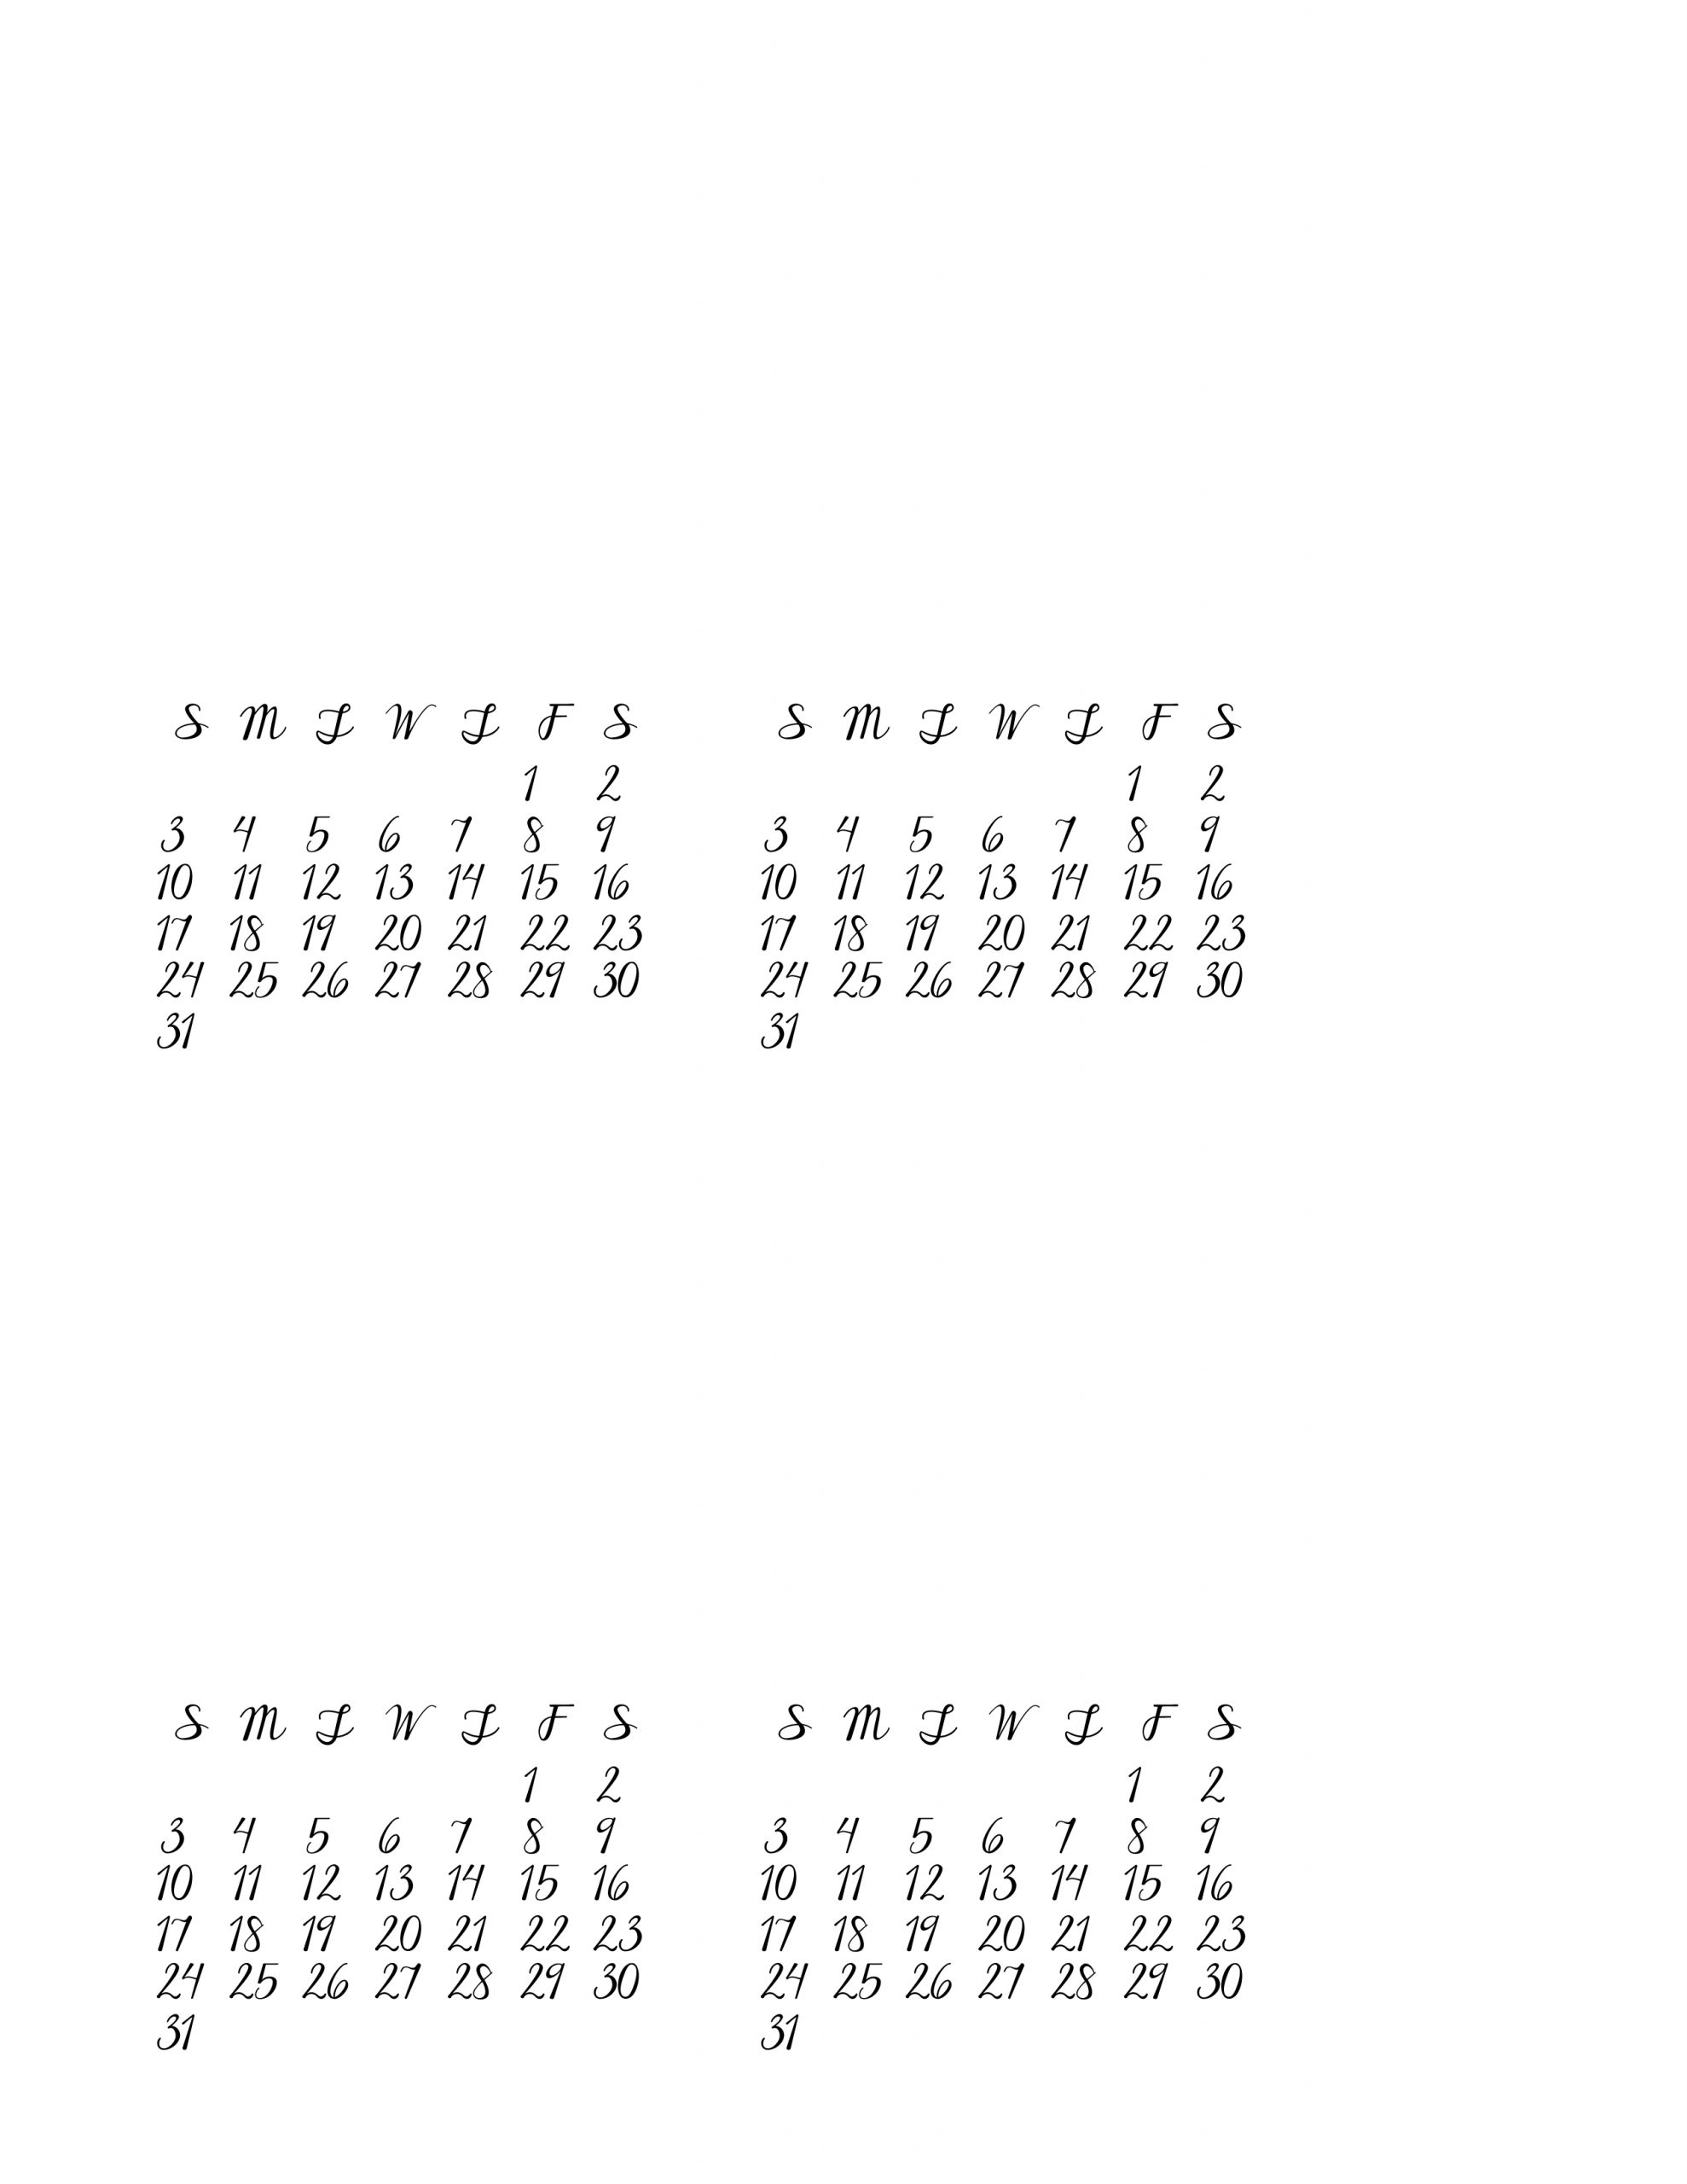
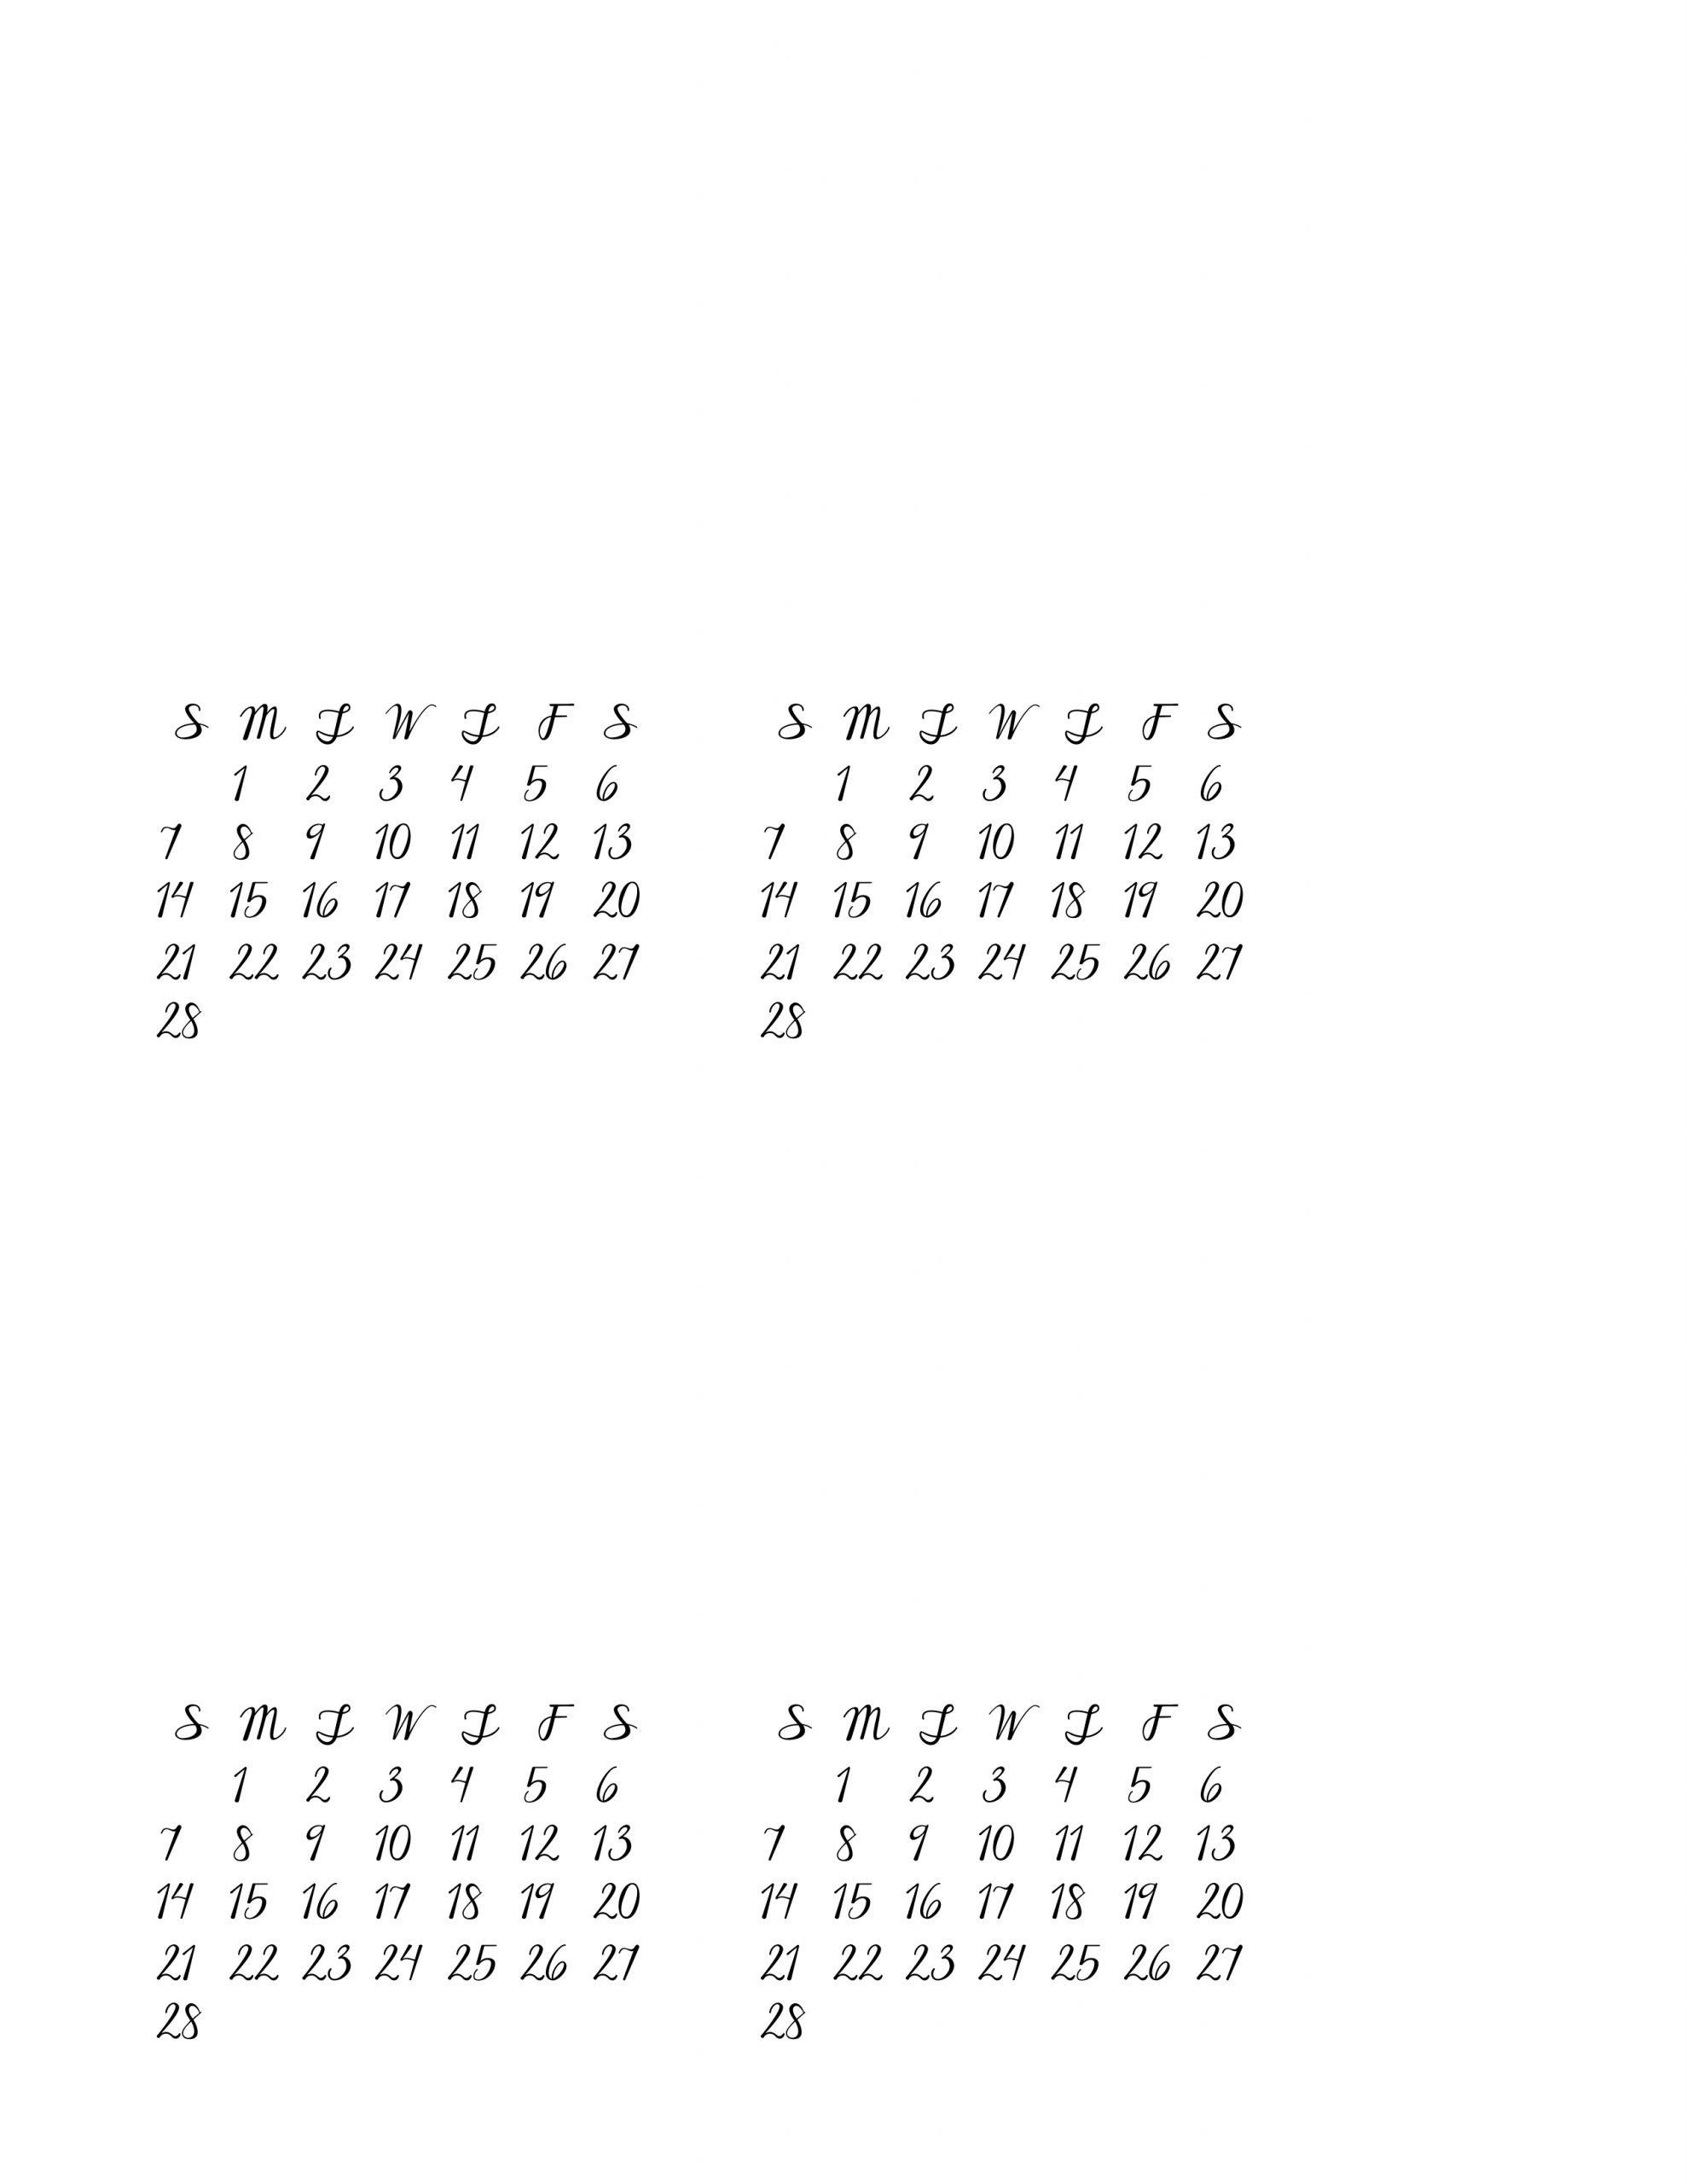
I created the calendar pages using My Memories Suite software. You can download a printable JPEG of the January calendar HERE and the February calendar HERE. (Update: For PDF versions, click HERE for January and HERE for February.) Print both calendars on Shimmery White Cardstock with the smallest margins possible for your printer. The print is colored black. I designed the pages to go all the way to the edges of a standard 8-1/2″ x 11″ sheet of cardstock. Trim as follows:
Stay tuned for more 20210 desktop calendars throughout the year! Have a great day!!!

Use Host Code 464HY472 for all purchases at my online store during February to qualify to receive free exclusive tutorials and a special thank you card from me. This month’s tutorials are AMAZING!!!

 Designer Series Paper")


