


Happy Christmas Eve and welcome to a new TGIF Challenge! This week, the team is focusing on the masking technique. I think this might be the very first stamping technique I ever learned as a beginner, so it brings back good memories:)
The concept is fairly straightforward. Stamp the item you want to show “in front.” Then stamp the image again on scratch paper (a Post It note works great) to create the mask and cut it out. Lay the mask over your original stamped image and then stamp the items in the background. The mask protects the original image and makes the other items appear behind it. I should have taken photos, but I got lazy. So sorry, but I think most of you have done this before.
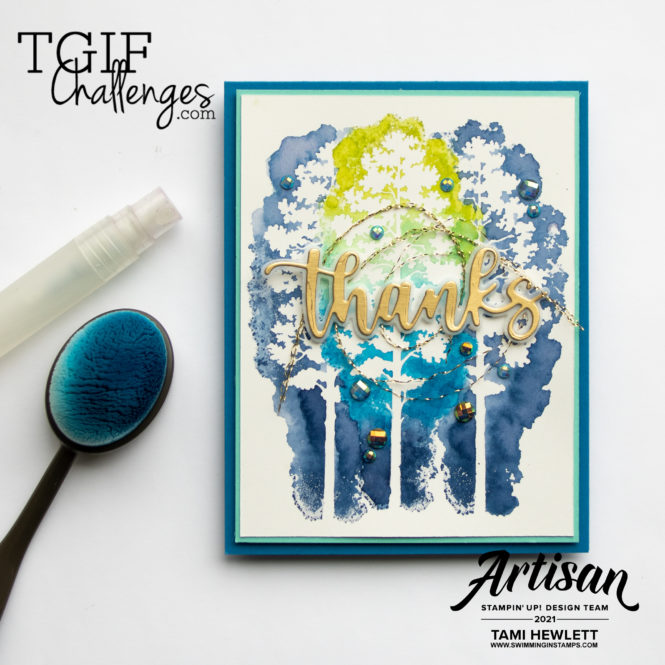
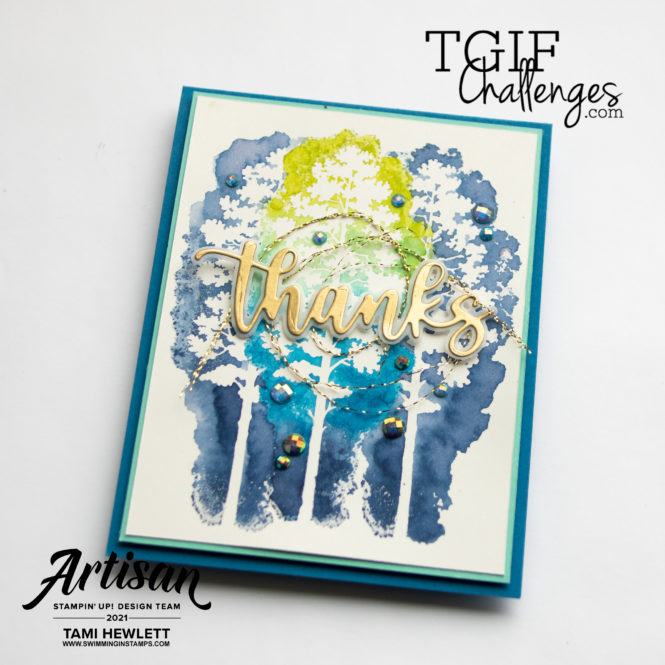
For my project, I used a new product from the January-June Mini Catalog that will go live on January 4, 2022. It’s called the Amazing Silhouettes Bundle, and it includes the Amazing Silhouette Cling Stamps and Amazing Thanks Dies. I received this stamp set during Stampin’ Up!’s virtual convention in the beginning of November, and I’ve been dying to use it!
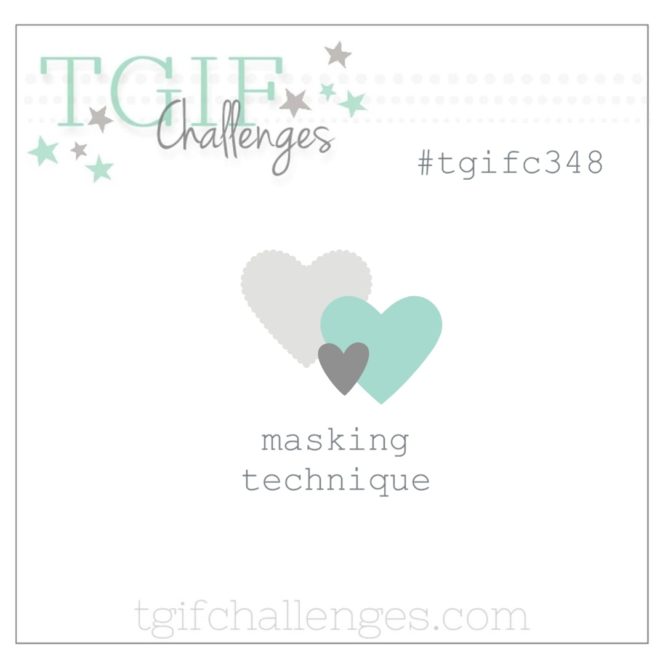
I stamped the center tree first on Shimmery White Cardstock. But of course, I didn’t just stamp it, I added four different colors of ink to the stamp with Blending Brushes, including Night of Navy, Pacific Point, Coastal Cabana, and Granny Apple Green. Then, prior to stamping, I spritzed the entire stamp with water. I love how this made the image appear watercolored!
Next, I stamped the tree image on scratch paper to create my mask and trimmed around the outside edges. I get the best results for this technique when I trim the mask a little smaller than the outside edges of the stamped image. By doing that, I avoid getting a small halo next to the original image during the next step.
After placing the mask over the original image, I inked up the stamp with Night of Navy, spritzed the stamp with water, and stamped it to the right of the original tree and then repeated that process to the left of the original image.
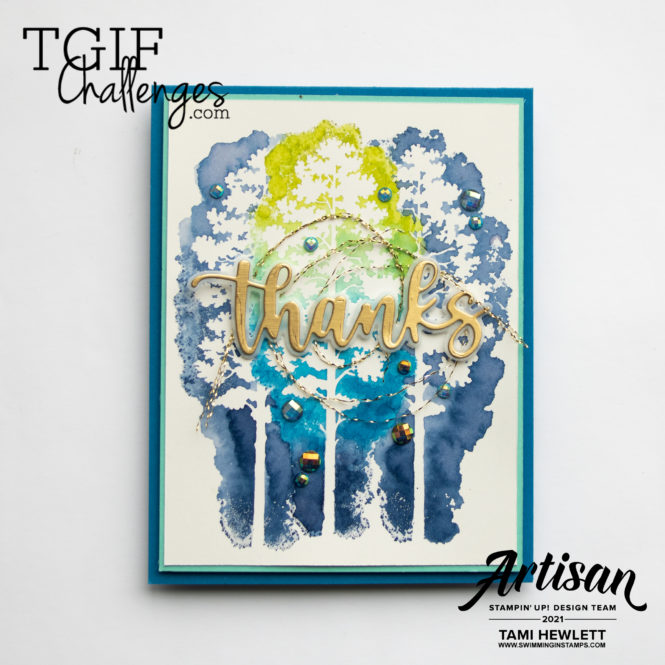
The results were not entirely perfect, so I “cleaned up” the image a little with a Water Painter as needed.
To complete the card, I die-cut the two “thanks” images using the Amazing Thanks Dies from Vellum and Brushed Metallic Cardstock and added them over some Simply Elegant Trim that I had pulled apart. The final touch was some Blue Adhesive-Backed Gems.
This isn’t the sort of stamp I would typically choose for a masking technique, but I get excited when I have new products sitting on my shelf calling to me. 🙂 I think the results are pretty cool looking.
Be sure to click over to the TGIF Challenges Blog and check out all the designers’ projects this week. Then, try this fun technique yourself and enter our challenge by using the Linky Tool at the bottom of that post.
Hope you and your family have a blessed Christmas!!!

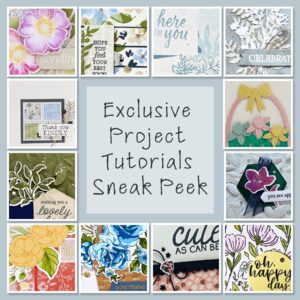
Purchase products from my online store to qualify to receive free exclusive project tutorials. This month’s PDF includes 12 tutorials designed by my demonstrator friends and I that are sure to inspire your paper crafting hobby! The projects feature products from the 2025 Annual Catalog, Online Exclusives, and January-April Mini Catalog. Enjoy!


Thanks so much Wendie!!!
A gorgeous work of art!