Hello and welcome to the Stamping Sunday Blog Hop hosted by Sara Levin. I’m Tami Hewlett from Stockton, California USA, and this month’s theme is Holiday Designer Series Paper (DSP). The August-December Mini Catalog has so many gorgeous designer series papers that it was hard for me to pick just one! I ended up choosing the Plaid Tidings 6″ x 6″ Designer Series Papers, because I LOVE the vibrant color combinations!
Please note that this designer series paper and many others are on sale for 15% off during the month of October! Click HERE for details and then visit my online store.
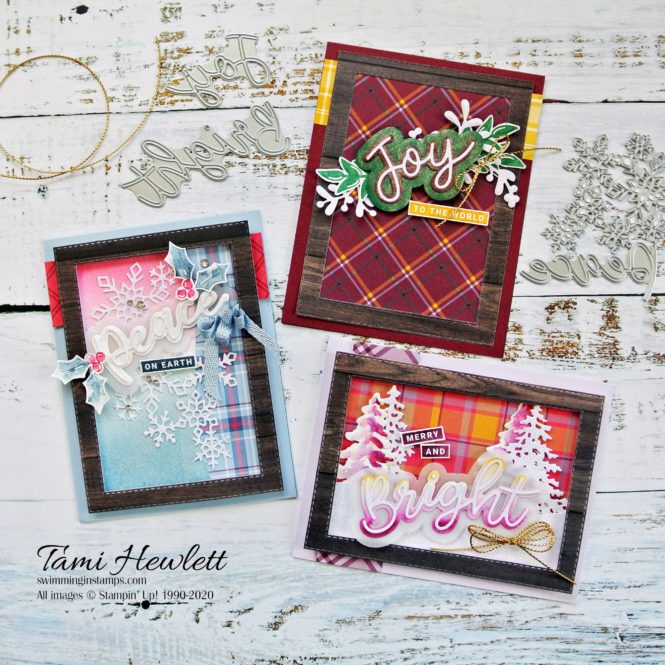
For this blog hop, the designers have a choice of designing 1) three versions of a card for beginner, casual, and avid crafters or 2) a card and a 3D project. I picked the first option, although I sort of skipped the beginner version. I admit that I worked backwards this month. I started with the avid card (because that’s what’s easiest for me, since it reflects my typical style) and then worked backwards to simplify it.
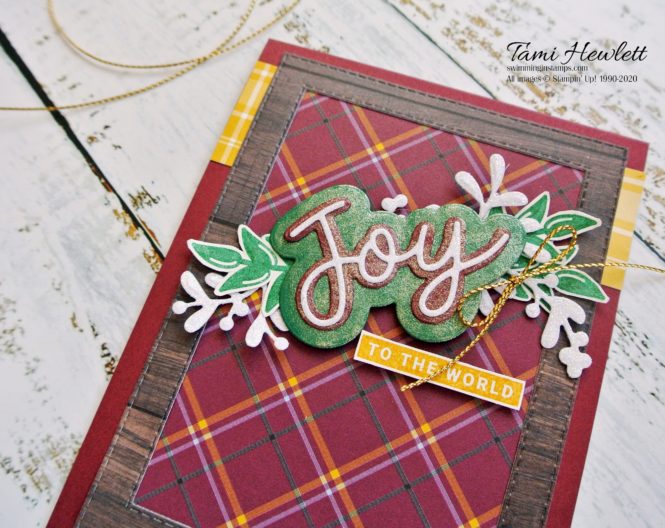
Easiest Card (aka “Beginner Crafter Card” sort of):
All my cards feature the Peace & Joy Bundle including the Peace & Joy Photopolymer Stamps and Joy Dies. I thought they were the perfect choice to really showcase that gorgeous Plaid Tidings DSP.
All three cards use two sheets of Plaid Tidings DSP and a wood frame created with In Good Taste Designer Series Paper and the Stitched Rectangle Dies. I also embellished with some Christmas Layers die cuts.
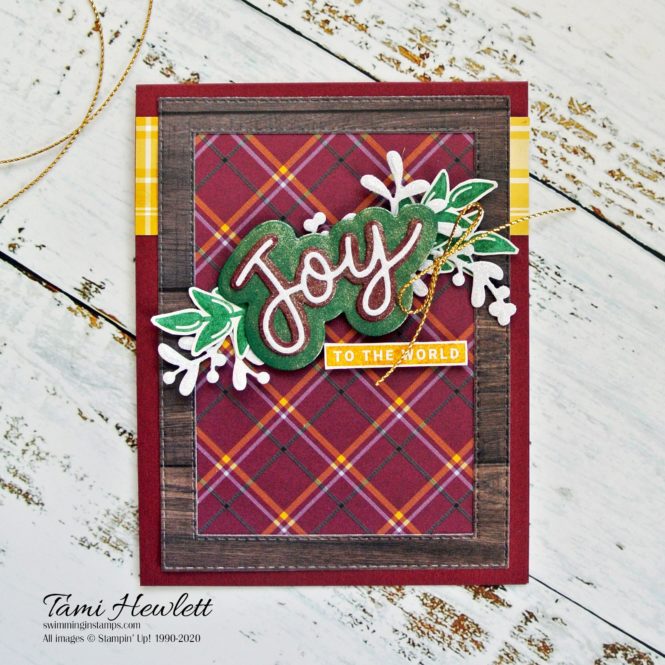
This first card is mainly comprised of die cuts, making it fairly simple to assemble. I only had to stamp the leaves (Shaded Spruce ink) and sentiment (Crushed Curry ink.)
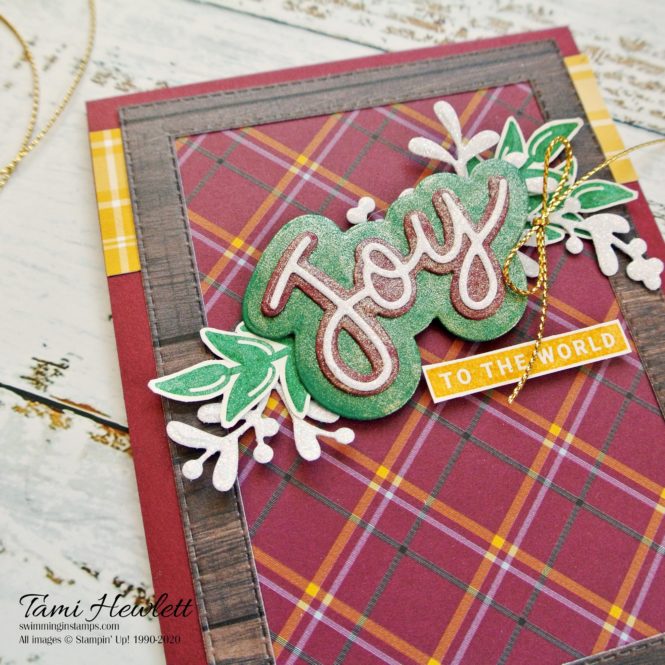
I love glimmer and bling at Christmas, so I cut the detail “Joy” die out of Dazzling Diamonds Glimmer Paper and used a Clear Wink of Stella Glitter Brush to add sparkle to the rest of the “Joy” die cuts and leaves. I also added a simple bow tied with some gold cord from the Wonder of the Season Ribbon Combo.
Casual Crafter Card:
For my Casual Crafter card, I stepped up the difficulty a little by adding watercoloring, a few more layers, and a fancier bow.
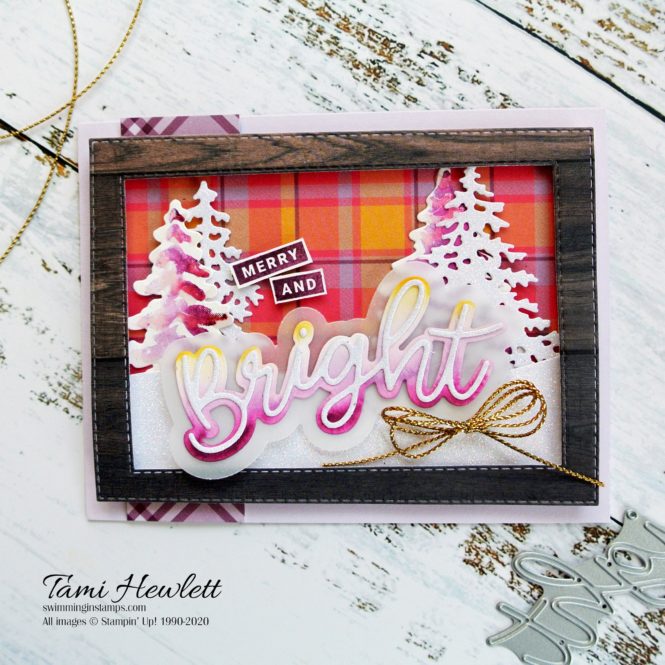
I selected my ink colors based on the Plaid Tidings DSP, so this card includes Rich Razzleberry, Highlander Heather, and Mango Melody ink. I honestly never would have thought of this combo myself, but I totally love it!
I cut the “Bright” dies out of Dazzling Diamonds Glimmer Paper, Shimmery White Cardstock (to watercolor) and Vellum. To make it easier to adhere the detail die, I attached an Adhesive Sheet to the back of the glimmer paper before cutting it out. It makes life sooo much easier!
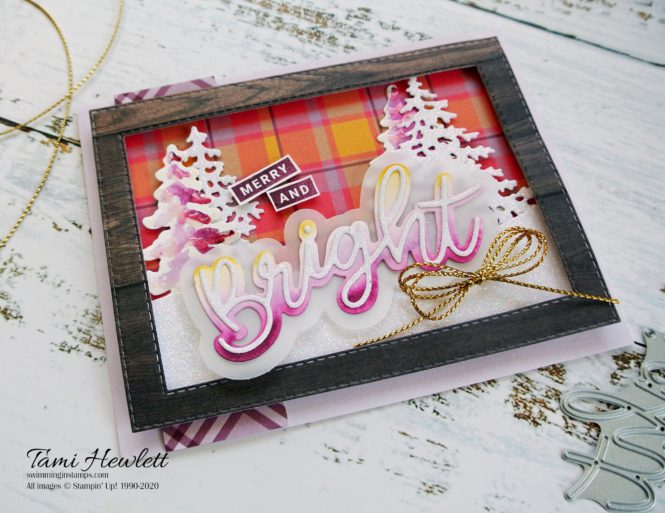
I also used the In The Pines Bundle on this card. I cut the snow and detailed trees from glimmer paper. Then, I inked up the whole trees stamps with Highlander Heather ink, added Rich Razzleberry ink to one side by only using the edge of the ink pad, and then added a little bit of water with a Water Painter before stamping on Shimmery White. After the trees dried, I added some Shimmery Crystal Effects to highlight the branches.
To tie the bow, I wrapped the gold cord around two fingers three times, twisted the center to form a figure 8, and then used a separate piece of cord to tie a tight knot around the middle. Afterwards, I simply trimmed the excess ends close to the bow.

To emphasize the frames on these last two cards, I used Foam Adhesive Strips for added dimension.
Avid Crafter Card:
For my Avid Crafter card, I stepped it up even more by adding some ink blending and an even fancier bow!
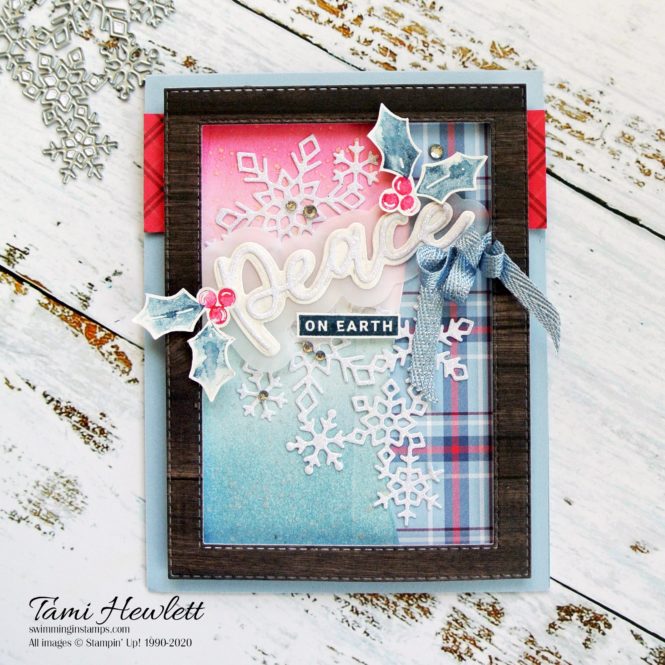
This time the Plaid Tidings DSP inspired a color combination of Melon Mambo, Seaside Spray, and Misty Moonlight. I used a Sponge Dauber to create the ink blended background on Shimmery White Cardstock, and then added lots of sparkly splatters with a Clear Wink of Stella Glitter Brush. (Simply use the cap to flick the brush towards the paper.)
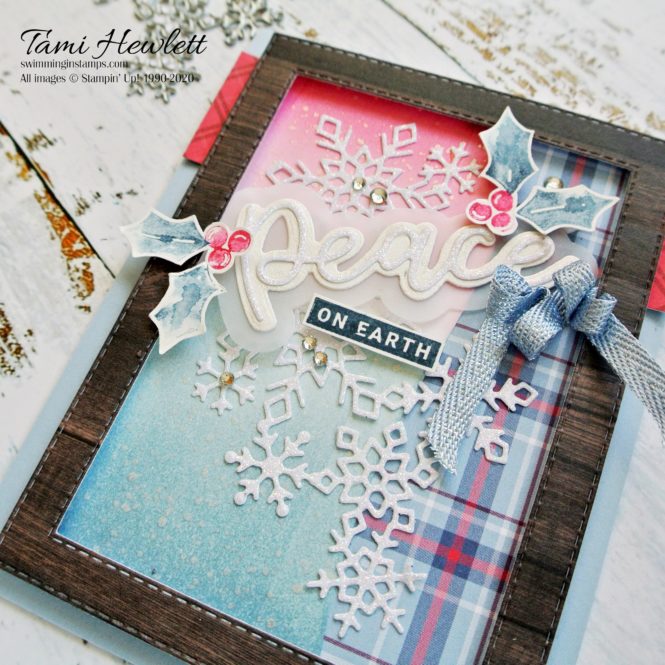
I cut the snowflakes and detailed “Peace” die cut from Dazzling Diamonds Glimmer Paper and the rest of the “Peace” dies from Shimmery White and Vellum Cardstock.
Next, I used a watercolor stamping technique to stamp the holly and berries. I inked up the leaves with Seaside Spray, added a little Misty Moonlight ink with a Sponge Dauber directly onto the stamp, and then added some water with a Water Painter before stamping on Shimmery White Cardstock. I used a similar technique for the berries with Melon Mambo ink.
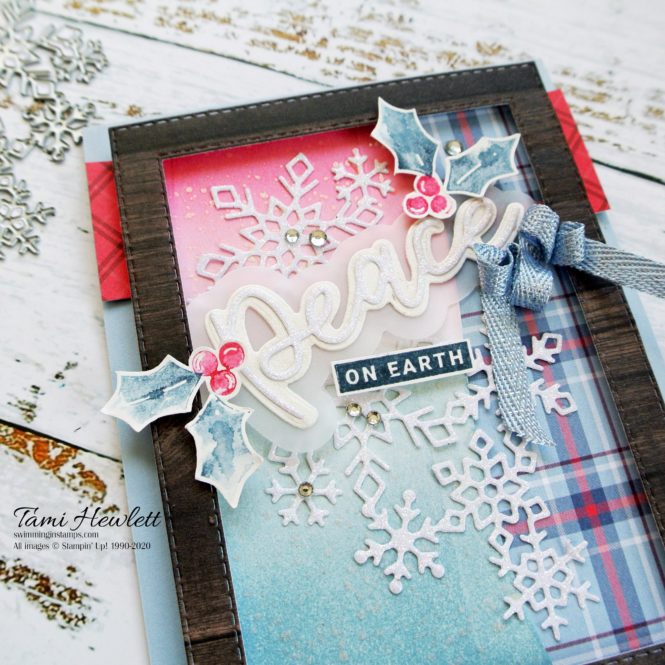
For the bow, I added a small strip of Tear & Tape and then folded, manipulated, and pressed the Seaside Spray 1/4″ Metallic Ribbon into place.
Hope you liked my projects. Be sure to continue through the Stamping Sunday Blog Hop for even more inspiration using Holiday Designer Series Papers by clicking the links below.
Have a wonderful and creative day!

Use Host Code NNXQD4NY for purchases at my online store to qualify to receive free exclusive project tutorials and a special thank you card from me. The latest PDF features 10 creative tutorials, including many Fall and holiday themed projects, that are sure to inspire you! (Please note that Host Codes are only valid for 30 days. You can always find the current Host Code on the right side bar of my blog.)


Always in awe of your projects Tami. Fabulous mix of different elements to compliment the dsp.
Thanks so much Jay!
Tami, I’m wowed as always! Absolutely gorgeous cards showcasing that pretty plaid paper. I just love all of the added details.
Thanks so much Anne! 😍
Amazing, as always, Tami! Love the wood frames!
Thanks so much Su!!! ❤
These are so past gorgeous, Tami! Love your pattern mixing with the designer paper and the details you’ve added to embrace the fun color combos in this pack of paper.
Thank you so much Sara!
Wow Tami … all wow projects. Love love love the watercoloured trees! xx
Thank you so much Cheryll!