Hello, and welcome to another Stamping Sunday Blog Hop! I’m so glad you could join us. My name is Tami Hewlett, and I’m an independent Stampin’ Up! demonstrator from the Central Valley in California. On the second Sunday of each month, I get together with some of my fellow demonstrators from around the world to design projects for this blog hop. This month, we are featuring the Flowering Desert stamp set!
For a list of all the blog hop participants, see the bottom of this post.
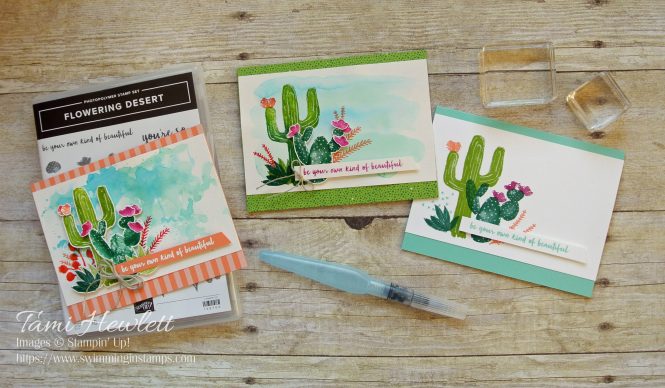
I love the concept of this Stamping Sunday Blog Hop, which is to take the featured product and create three versions of the same card: one for Beginner Stampers, one for Casual Stampers, and one for Avid Stampers. That way, we are covering all skill levels and showing a natural progression of stepping-up a single project.
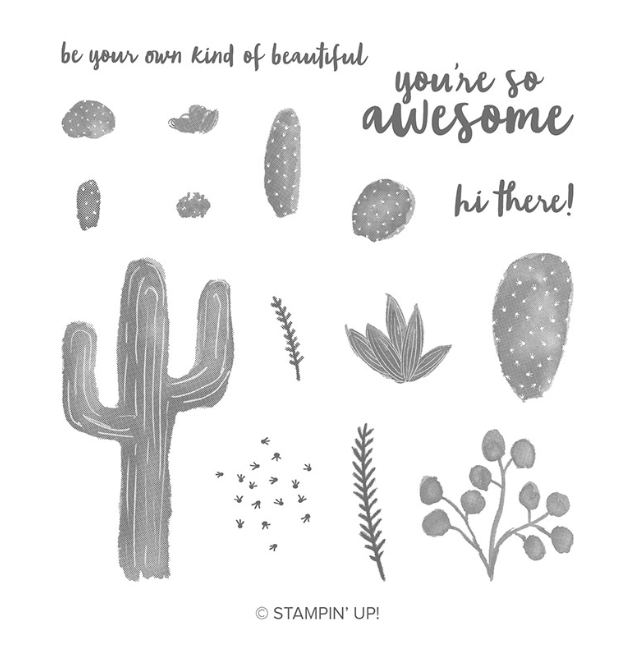
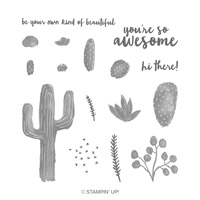
Here’s a photo of the featured Flowering Desert stamp set. I particularly love the watercolor style of this set!
Beginner Stamper:
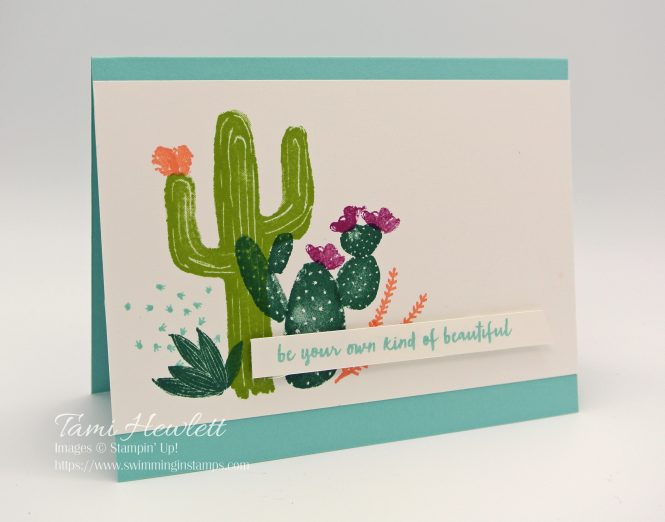
For my Beginner Stamper card, I simply used stamps, ink, and paper.
This stamp set is perfect for beginners! Because it’s photopolymer, it’s easy to see through the stamps and align the different pieces. Using different ink colors to stamp the cacti and flowers adds a lot of interest, while still keeping the skill level quite simple.
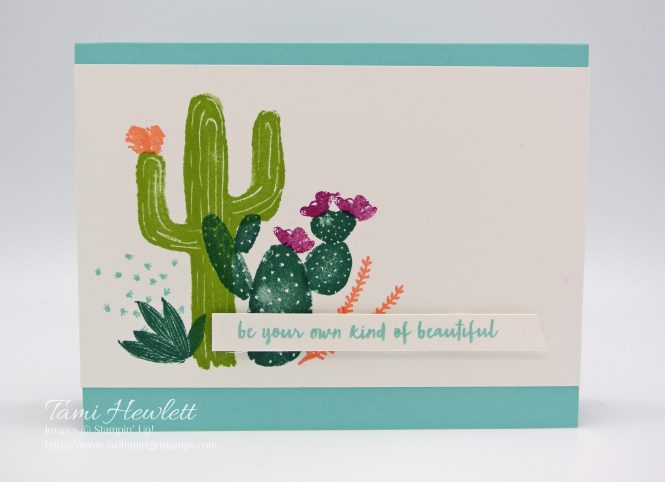
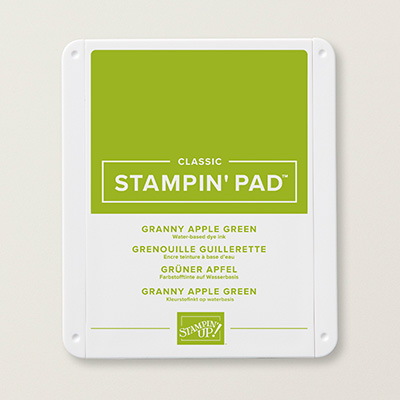
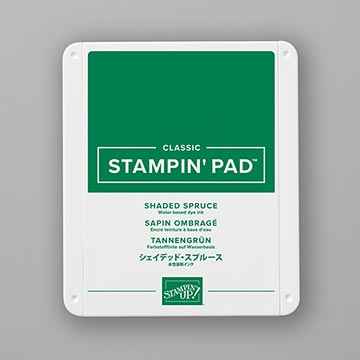
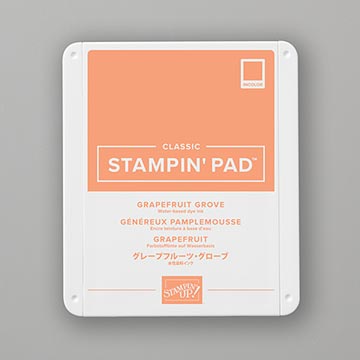
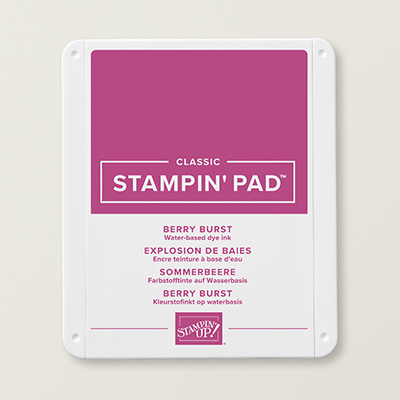
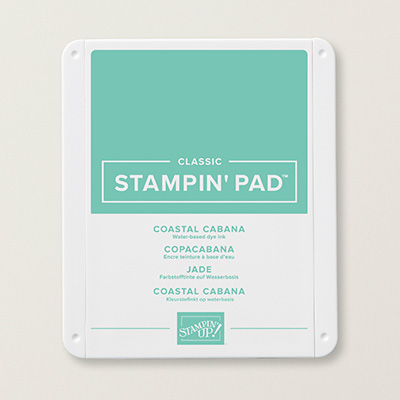
I stamped all the images on a layer of Whisper White Cardstock measuring 3-1/2″ x 5-1/2″ using Granny Apple Green, Shaded Spruce, Grapefruit Grove, Coastal Cabana, and Berry Burst ink. Start with the tall cactus, and then build around it.
I tried a few background colors, and settled with Coastal Cabana, because it made the vibrant colors of the flowers pop. (I used the same color for the sky on my other two cards.)
Finally, I stamped the sentiment with Coastal Cabana ink on Whisper White Cardstock and trimmed it close. Afterwards, I adhered the sentiment with dimensionals. (This is a great technique for beginners, because you don’t have to worry about stamping straight!)
Casual Stamper:
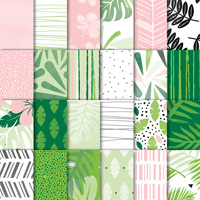
The Casual Stamper has access to a few more supplies and is confident enough to try some stamping techniques. So to step-up my card, I added a watercolor wash to the background, some pretty Tropical Escape Designer Series Paper, some stamping techniques, and a few more layers.
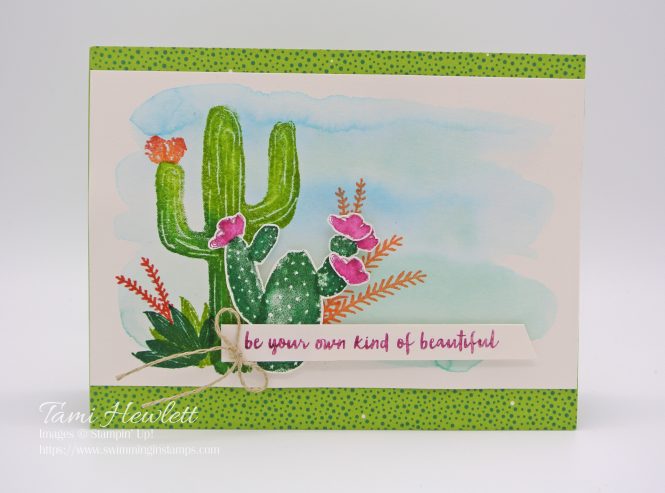
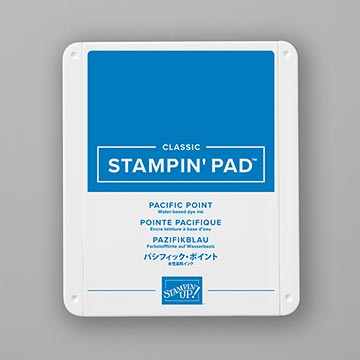
This time, I used Shimmery White Cardstock for my main layer, so I could paint a watercolor wash in the background. I painted the wash using my Aqua Painter and Coastal Cabana and Pacific Point ink.
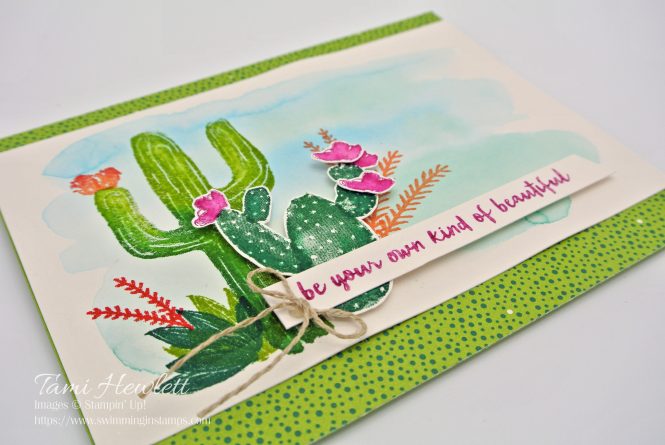
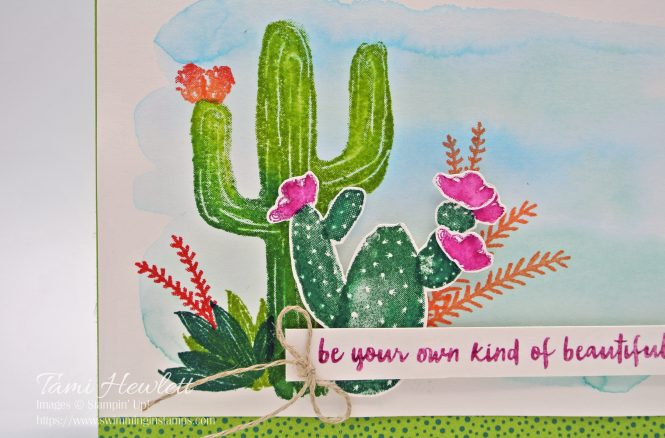
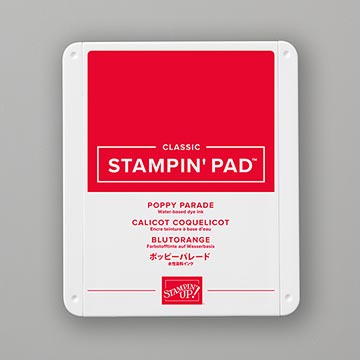
Next, I used a few stamping techniques: To stamp the tall cactus, I inked up the stamp with Granny Apple Green and then used a Sponge Dauber to add a little Shaded Spruce ink before stamping. I did the same thing with the flowers on the tall cactus; but this time I inked up the flowers with Grapefruit Grove and then sponged on Poppy Parade ink. After stamping all the images on this card, I used my Aqua Painter to very lightly paint over the stamped images with clear water to slightly blend the ink.
Finally, I added a few more layers and some fussy cutting to this card, as well as a Linen Thread bow.
Avid Stamper:
The Avid Stamper wants it all and loves using clever techniques. Therefore, for my last card, I added a smooched background, a different stamping technique, and some embossing.
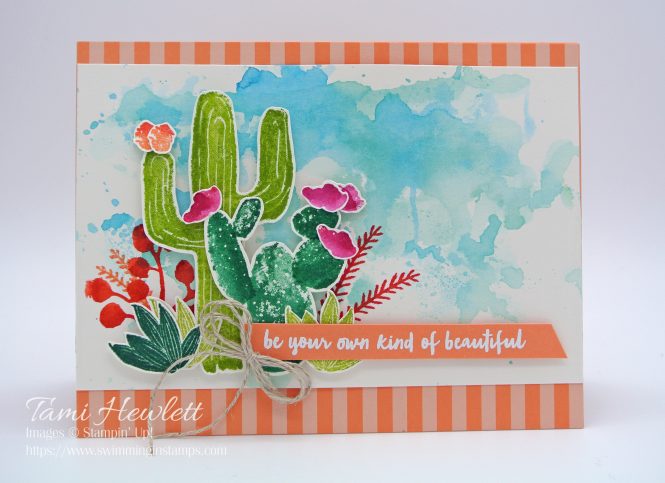
To create the smooched background, I used a Silicone Craft Sheet, an Aqua Painter, and Coastal Cabana and Pacific Point ink. I started by squeezing my ink pads to pool ink in the lids. Then, I mixed the ink with a little water and randomly placed pools of ink on a Silicone Craft Sheet. Then, I took my layer of Shimmery White Cardstock and “smooched” the paper onto the Silicone Craft Sheet, while both pressing and twisting. If you don’t get enough ink coverage the first time, just repeat the process until you’re satisfied. The results will be totally random and different every time, and that’s what makes this technique really fun!
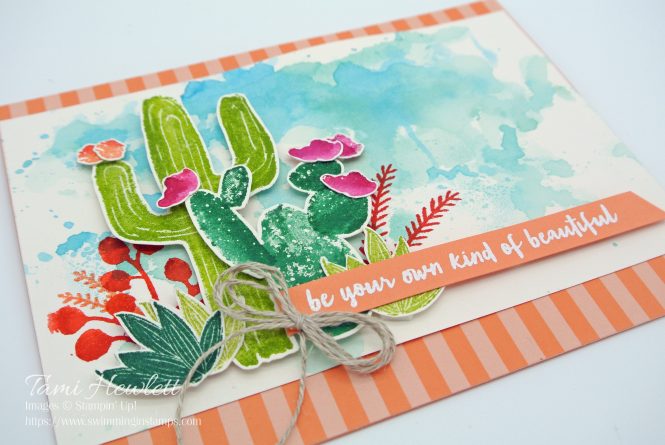
For the background, I used a sheet of 2018-2019 In Color Designer Series Paper in Grapefruit Grove.
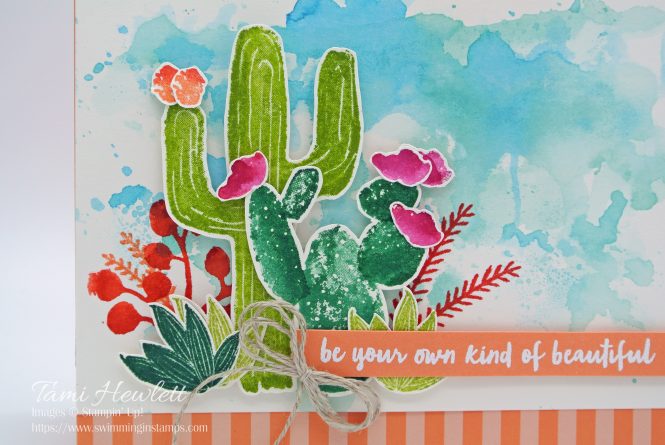
To step-up this card, I did even more layering. In addition, I used a watercolor stamping technique. After inking up my stamps, I used an Aqua Painter to brush a little water directly onto the stamp prior to stamping. I love this technique with watercolor style stamps, because the end result looks like real painting.
For the sentiment, I embossed it in white on Grapefruit Grove Cardstock. Lastly, I added a bow that’s a little more fancy. I used one strip of Linen Thread to loop around a couple fingers three times. Then, I tied another strip of Linen Thread around the center and trimmed the tails close.
Be sure to continue on through the blog hop! There are some really amazing designers involved, so I know are going to be dazzled and amazed!
Have a wonderful and creative day!

Stamping Sunday Blog Hop designers:
Use this Host Code when you make purchases at my online store in April 2019:
- For stampers who make purchases of $50 or more, I will automatically add you to my email list to receive FREE monthly tutorials for the next year! Each monthly PDF includes at least 10 exclusive projects that you won’t find on any social media site.
- When you spend $75 or more, I will send you a FREE textured impression embossing folder (TIEF) of your choice! Please be sure to provide your email upon checkout so I can contact you to make your selection. All TIEFs will be ordered and mailed after the end of the month.
- For stampers who make purchases of $150 or more, do not use the Host Code. You can be your own host and earn FREE rewards of at least $15!
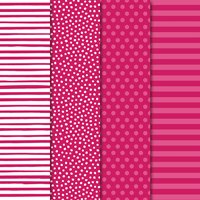
Supplies used on my cards:






Didn’t get a chance to Hop yesterday, but was so happy to see your projects today. These cards are amazing, and I love the manner you chose to go from beginner to avid crafter and each of the steps you used for each card. Thanks for the inspiration.
Thank you so much for your kind comments Linda. It means a lot to me!!! ❤
Oh Tami … these cards totally speak to me! Love them all. My hubby is sitting here looking through the hop projects with me (don’t tell him I told you) … and he loves your cards! xxxx
Cheryl, that means so much to me! Thank you!!!