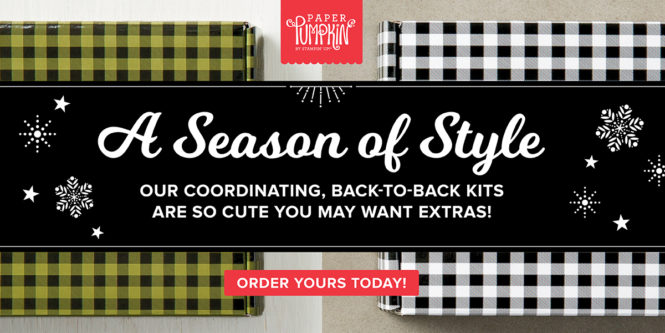
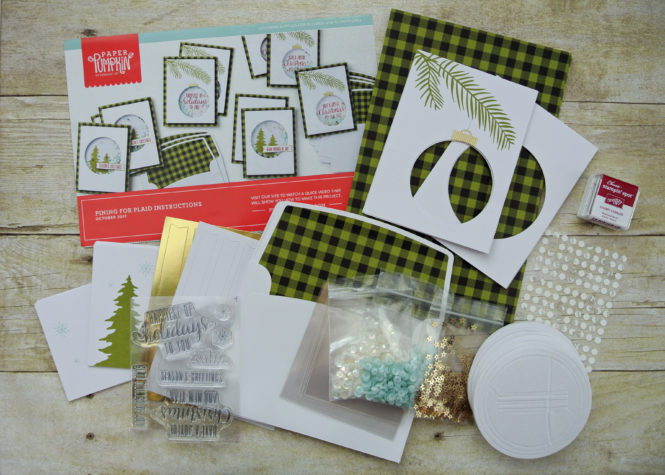
This month’s Paper Pumpkin kit is called “Pining for Plaid.” It’s the first in a series of two coordinated, back-to-back kits created for the holidays, and boy is it cute!
If you’ve never heard of Paper Pumpkin, click here to learn about this great subscription service. It’s only $20 a month. Click here to subscribe before November 10th and receive the next monthly kit.
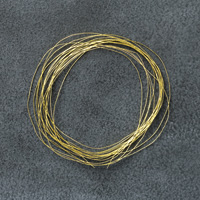
The October Paper Pumpkin kit includes all the supplies pictured below to make ten adorable shaker cards!!! The kit includes items such as darling plaid card bases, envelopes with matching liners, three types of sequins for inside of the shakers, round foam adhesive strips that fit perfectly over the openings , and gold foil accents.
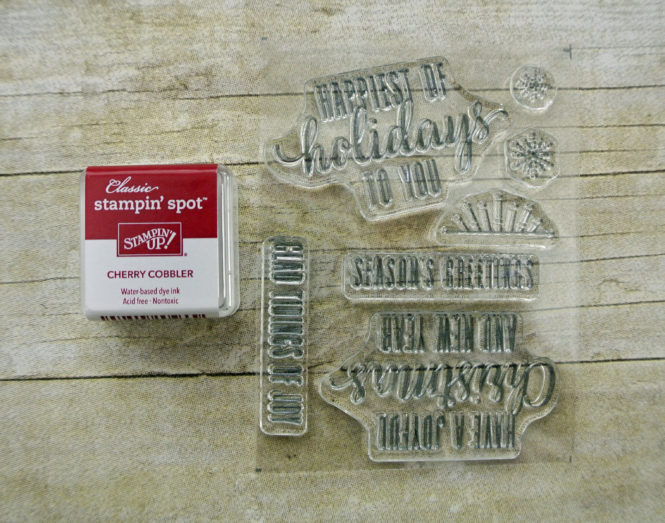
Here’s a closer look at the darling photopolymer stamps and Cherry Cobbler Stamin’ Spot ink pad also included in the kit. I love the font on the sentiments!!!
Each month, Stampin’ Up! produces a video on its YouTube Channel to show how to put the Paper Pumpkin kit together. It’s great for visual learners, like me. (I’d much rather watch a video and look at pictures than read instructions.)
I totally love these cards! They are fun and festive. I made all ten to give away at Christmas. (I’m seriously behind in my holiday card making this year, so I really needed these cards.) However, I have to be honest … because I’m a demonstrator, expectations are high for my cards. Therefore, I enhanced ALL of them this time. Just a little, but enough to personalize them, including adding some glimmer and embellishments.
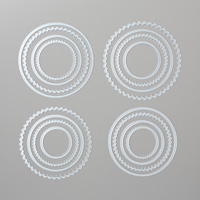
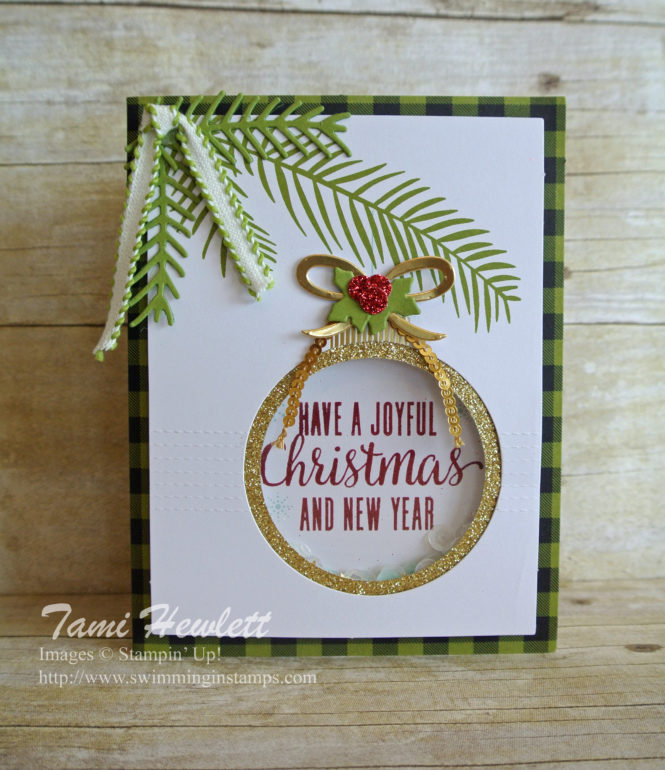
For this first one, I added an inside circle of Gold Glimmer Paper using the Layering Circles Framelits Dies. Christmas is my favorite time to use all of Stampin’ Up!’s glimmer papers. It’s just not Christmas without glitz and glimmer, right?
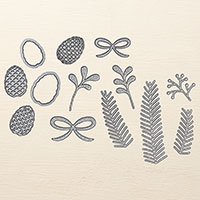
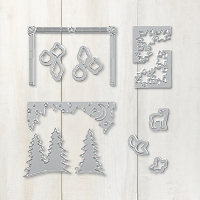
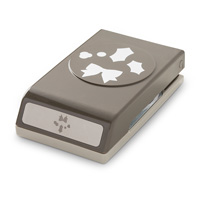
I also added some die cut leaves and a bow from the Pretty Pines Thinlits dies and some holly leaves from the Card Front Builder Thinlits. For the holly berries, I used an old 1/4″ Circle Punch. You can also use Stampin’ Up!’s Holly Berry Builder Punch listed below under supplies.
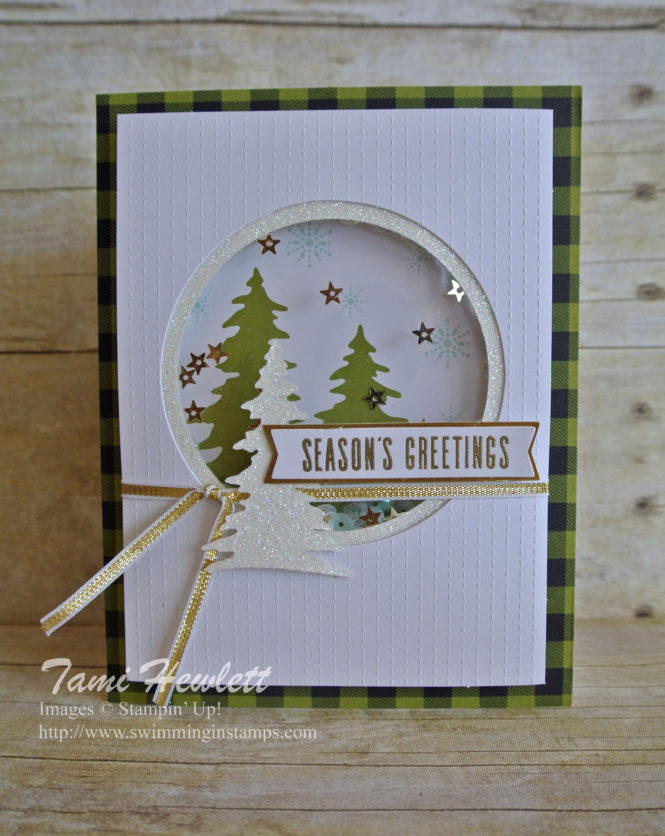
There are two styles of cards in the October kit, so here’s my next one. I did a similar thing with the shaker card adding an inside circle using Dazzling Diamonds Glimmer Paper this time. I also use the Card Builder Thinlits Dies to cut a matching tree to embellish outside the shaker card. Notice that it matches the design of the pre-printed card for the inside of the shaker perfectly. That’s one thing I really love about Stampin’ Up! and Paper Pumpkin. Frequently, the kits totally coordinate with other products from the catalogs.
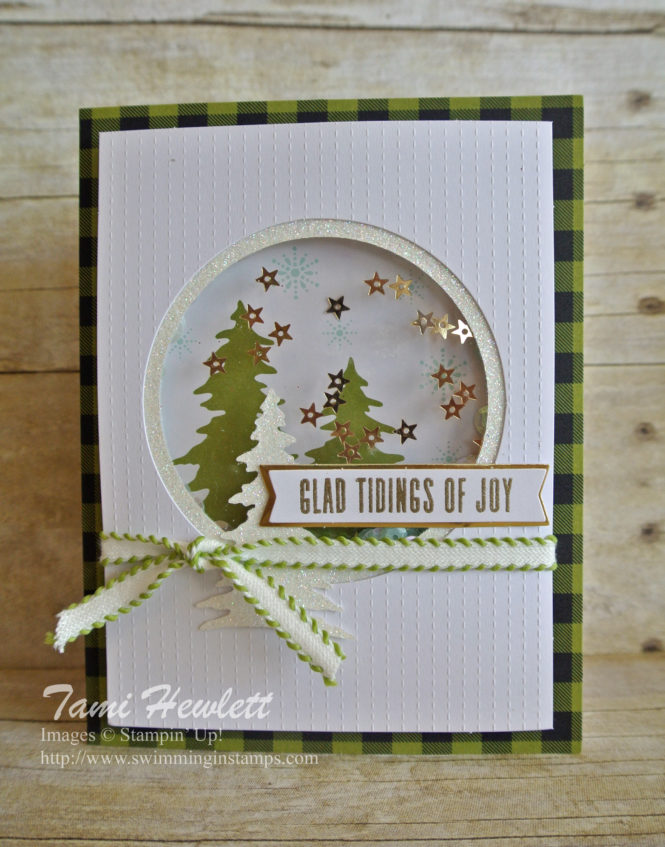
This next card is just a slight variation from the one above. This time, I stuck with gold and white colors.
Tip: When making shaker cards, don’t add layers inside the shaker itself or the sequins will get stuck. I placed the glimmer layers on the outside of my window sheets so I didn’t interfere with the sequins.
Because I used up ALL my card supplies from the kit, I only had a few leftover supplies to make additional alternative ideas including some punched out circles from the shaker cards, a few extra banners, and the stamps themselves. No problem!!!
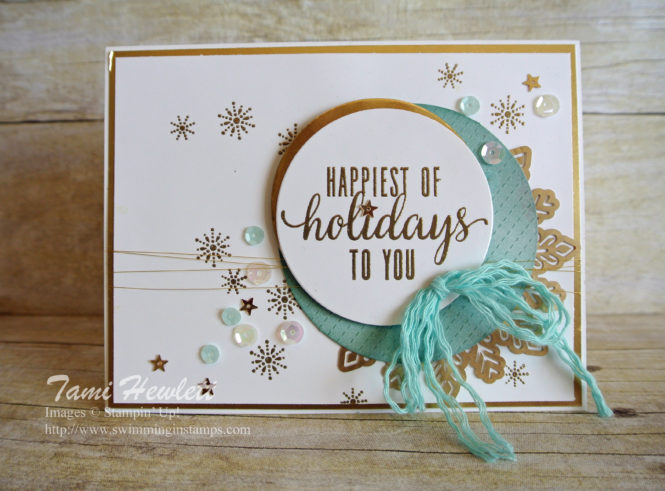
For this last card, I used the cute little snowflake stamps from the kit to create an embossed background. I also sponged one of the punched out circles and used it as a background layer. Then, I used the sequins as accents. So pretty!!!
In addition to the Paper Pumpkin kit, I used the following additional supplies on my cards:


