My nephew is turning 21 next week! That’s a big one, so I wanted to do something special for his birthday card. He is currently a Junior at U.C. Berkeley with a double major: Astrophysics and Physics!!! Yes, he’s a smart one … but on top of that he’s also one of the nicest guys ever. I was recently talking to my mom about his upcoming birthday, and she planted the idea in my head of creating a galaxy themed card.
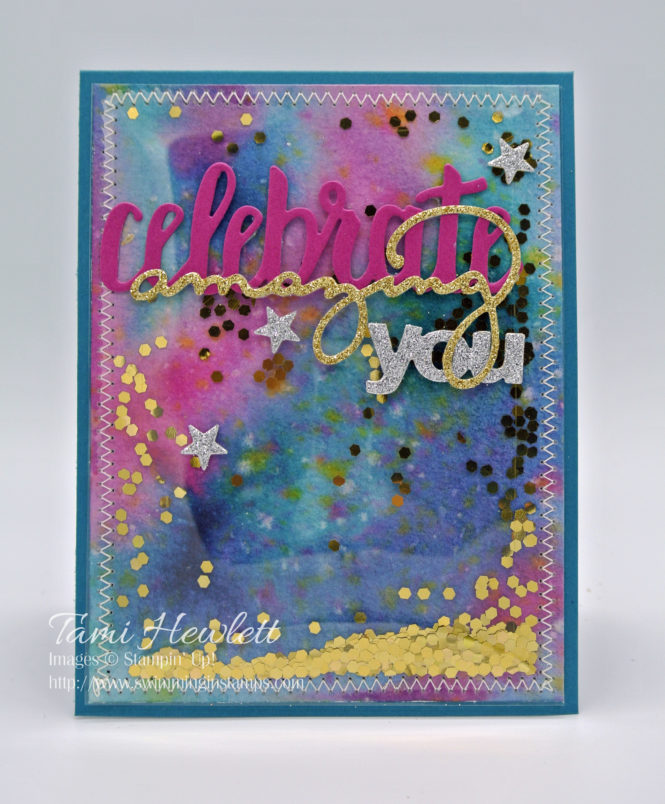
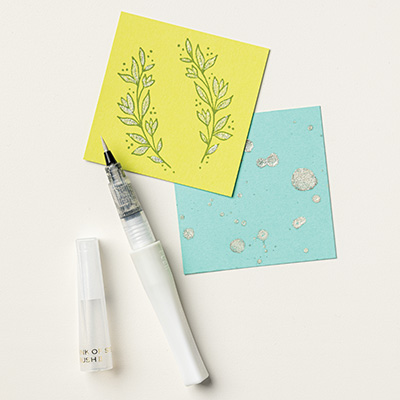
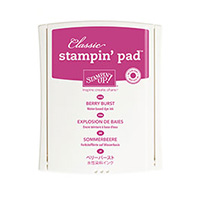
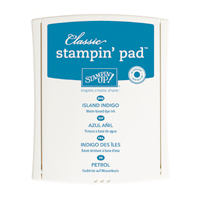
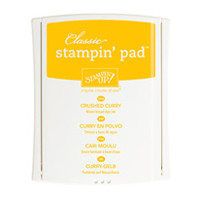
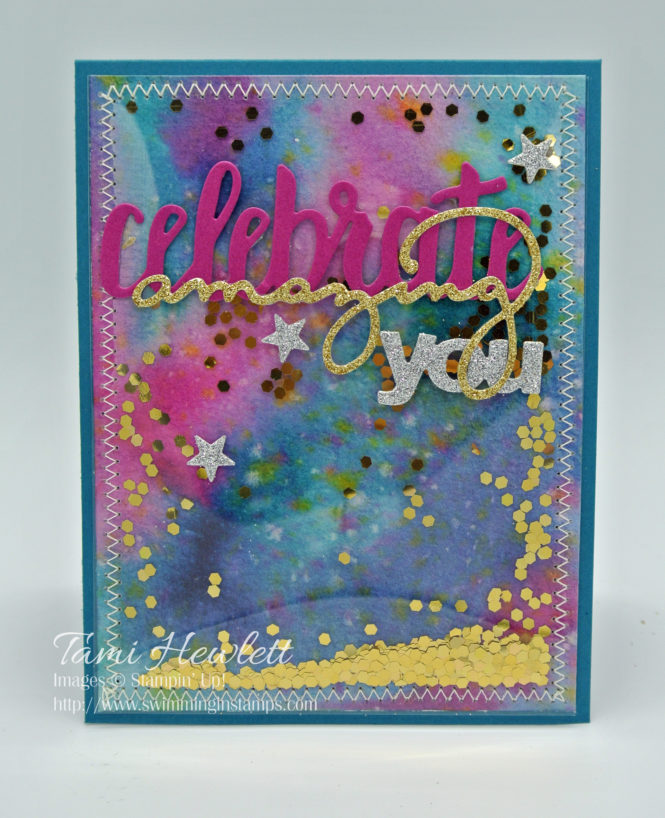
I really had a lot of fun making this card! To create the background, I used the “Galaxy” Technique on a piece of watercolor paper measuring 4″ x 5-1/4″. To prepare, I squeezed the following ink pads to pool ink in the lids: Night of Navy, Island Indigo, Berry Burst, and Crushed Curry. Then, I used an Aqua Painter to cover the paper with clear water and then add a wash of the blue and purple shades. Next, I dipped my Aqua Painter in the Crushed Curry ink, and using the lid of the Aqua Painter, I flicked the brush towards the paper. This creates flecks of yellow like stars. Do it while the paper is still damp so the flecks blend.
Next, I did the same think with my Wink of Stella Pen, creating sparkling flecks. I wish the photo showed the iridescence more, because the end result is really cool looking!
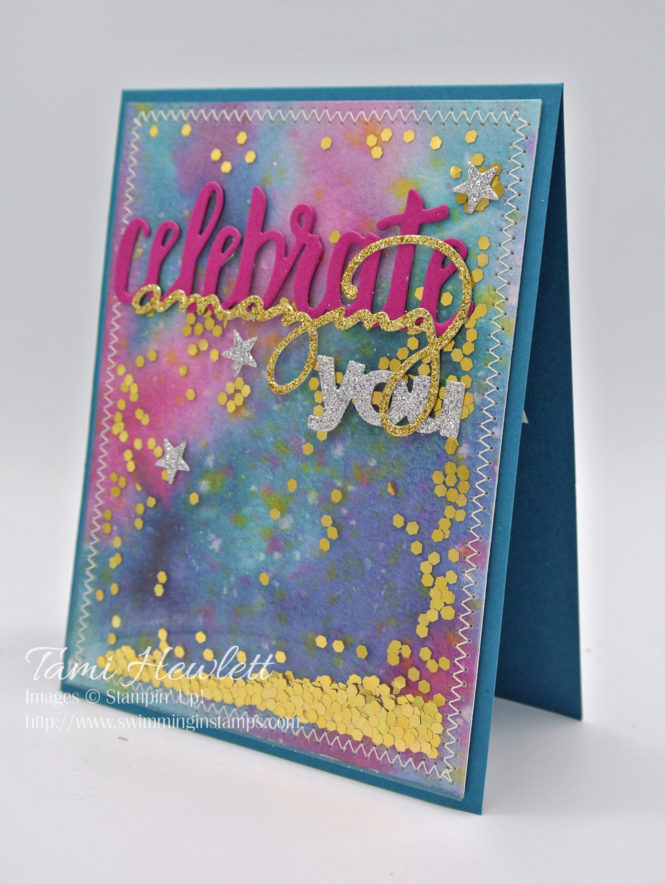
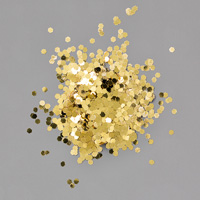
Next, I built my shaker card. I cut a window sheet the same size as the watercolor paper and sandwiched some Gold Glitter Flake “stars” inside. Then, I sewed it closed with my sewing machine.
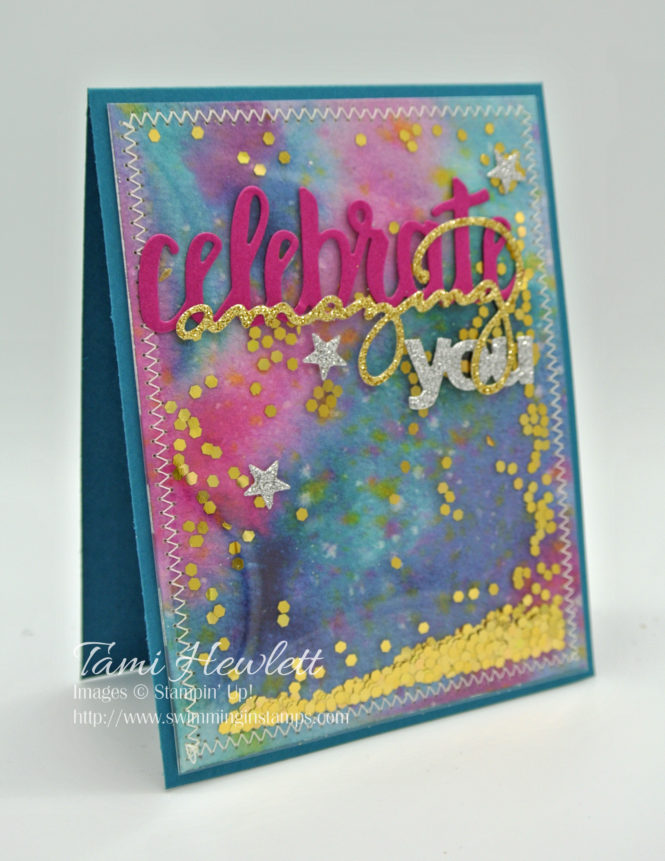
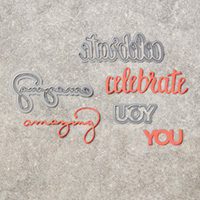
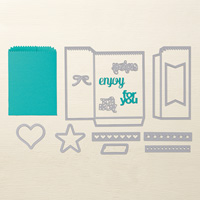
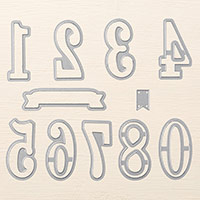
For even more “out of this world” sparkle, I used glimmer paper for the die cut words and stars. The words are from the Sale-A-Bration Celebrate You Thinlits. You can earn these thinlits dies for free during Sale-A-Bration when you place an order of $100. (Sale-A-Bration ends March 31st so don’t wait!) These thinlits dies include the word “YOU,” but I decided I wanted a slightly smaller one, so instead I used a die from the Mini Treat Bag Thinlits. (I was going to use that set anyway for the stars, and that way I wasn’t covering up too much of that pretty background:)
Tip: Before cutting out the die cut words, add a Multipurpose Adhesive Sheet to the back of your paper to make it easy to adhere to your project.
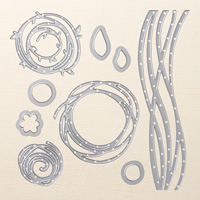
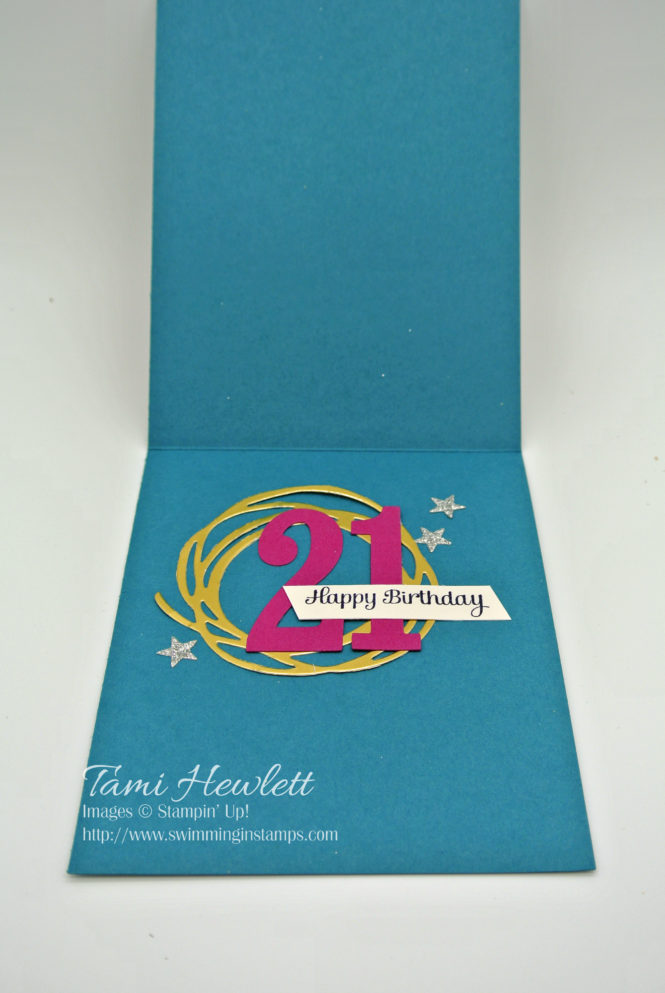
For the inside, I continued with the theme and added a spiral “galaxy” using a die cut from the Swirly Scribbles Thinlits Dies.
Supplies used on my card:
