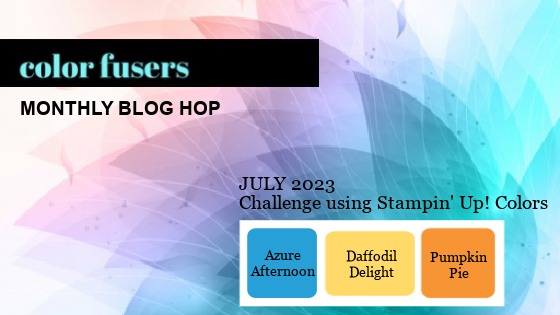
Welcome to the Color Fusers Blog Hop for July 2023. This month, we have a bright and beautiful color combination of Azure Afternoon, Daffodil Delight, and Pumpkin Pie. Why haven’t I used Azure Afternoon more before this? It’s absolutely gorgeous!
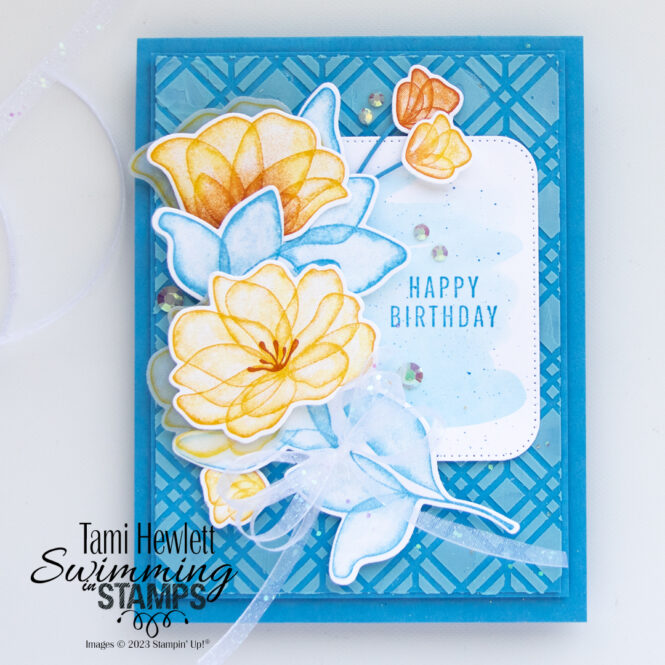
For my project, I used the (#162253) Translucent Florals Bundle. It’s a new bundle coming out in the next Mini Catalog this September. I had pre-purchased it for Stampin’ Up!’s Creativity Now online event, and I was excited to keep playing with it.
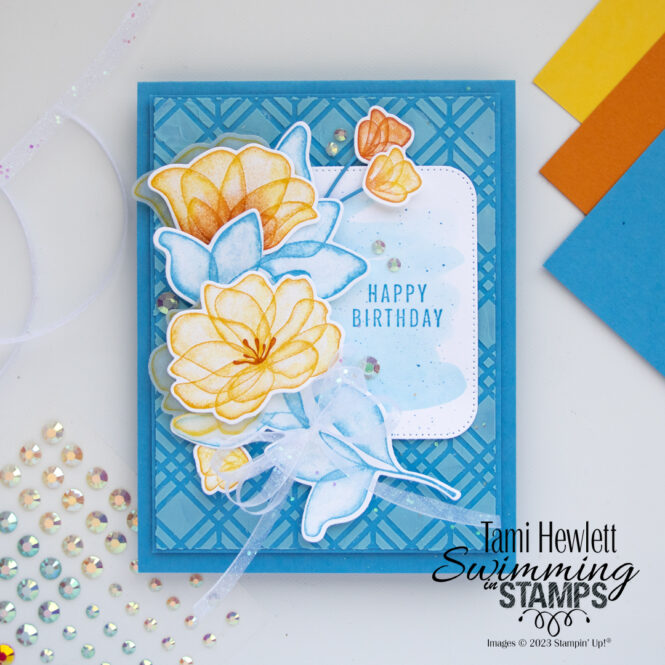
Instead of just stamping the images, I experimented with adding two colors, spritzing, and watercoloring. Here’s what I discovered. I got the best results adding a second color with a Sponge Dauber. A contributing factor may be because my Daffodil Delight and Pumpkin Pie ink pads are fairly old and on the dry side. (It’s very dry in California where I live.) Initially, I tried using a Blending Brush, but it was too light.
After playing around with several watercoloring techniques, the one that seemed to work the best was to stamp the image on Basic White and then go over it with a damp Water Painter to blend the ink. It’s subtle, but definitely makes a difference to both brighten and soften the image. I discovered that this worked best when I squeezed my Water Painter to get the brush wet and then used my fingers to squeeze out most of the water. This left the brush wet, but not too wet. Then, I simply painted over the stamped image, focusing more on the outlines areas. I had to prep my brush a few times for each flower or leaf image.
Tip: For very juicy stamp pads (such as my new Azure Afternoon stamp pad), I got the best results when I used a plastic spoon to prep the ink pad by pushing the ink out from the center to the edges of the ink pad.
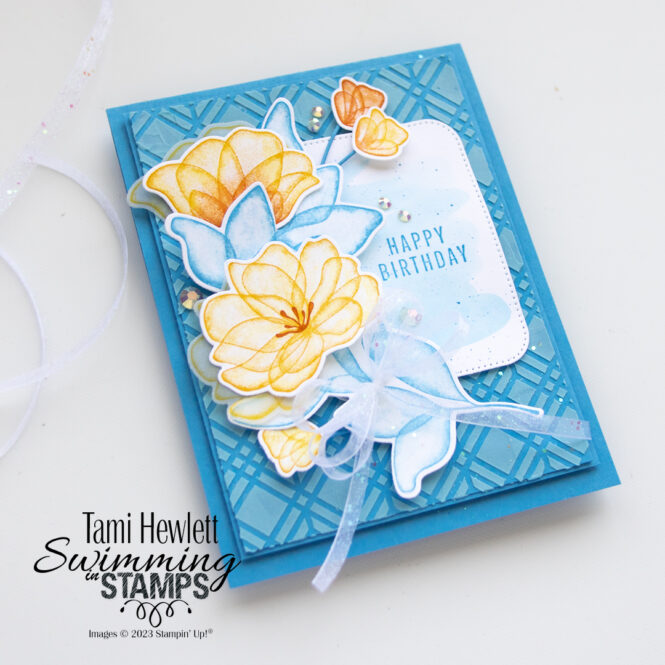
To create the background, I colored embossing paste with a couple drops of Azure Afternoon reinker and then spread it over a Foursquare Decorative Mask with a palette knife. Tip: The embossing paste dries very quickly, so keep the lid on tight, consider sealing the whole tub in a plastic baggie, and wash up your mask, silicon craft mat, and palette knife quickly.
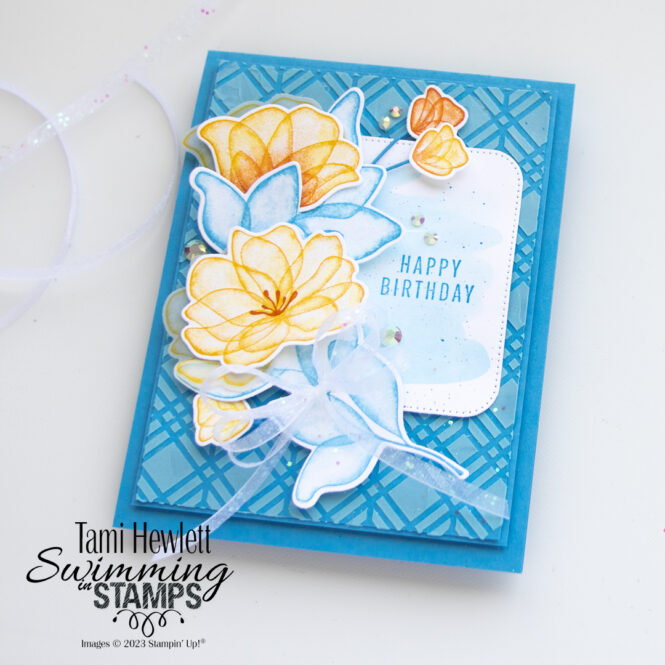
I cut the sentiment layer with a Nested Essentials Die from Basic White Cardstock and then painted a quick watercolor wash with some diluted Azure Afternoon ink. Afterwards, I added splatter with an Azure Afternoon Stampin’ Write Marker.
Final touches included layering stamped Vellum layers of a couple flowers, some clear Iridescent Pastel Gems, and a bow tied with White 3/8″ Glittered Organdy Ribbon, which I had cut in half lengthwise before tying the bow.
Be sure to continue on through the rest of the Color Fusers Blog Hop for even more inspiration using this month’s color combination. Next up is the fabulous Sue Vine:

Click below to return to Brenda Nelson:

Color Fusers Blog Hop Designers:
- Brenda Nelson
- Tami Hewlett – You are here
- Sue Vine
- Bonnie O’Neill
- Melanie Hockin
- Melissa Kerman
- Janneke Dijkstra de Jong
- Stacey Marsh

Purchase products from my online store to qualify to receive free exclusive project tutorials. This month’s PDF includes 12 creative tutorials designed by my demonstrator friends and I to inspire your paper crafting! The projects feature products from the 2025 Annual Catalog, Online Exclusives, and January-April Mini Catalog. Enjoy!


This is so beautiful ..
Thanks sweet friend!
I didn’t think I needed this floral set, but boy am I wrong! This card is so gorgeous Tami!
Awe Melanie, that’s one of the nicest complements! Thank you!
Thanks so much Stacey!!!
Really stunning card! Those flowers are so pretty!