Hello. I’m Tami Hewlett from California, USA, and today I’m thrilled to be sharing projects I created for the Stampin’ Up! Facebook page and Instagram Feed using the new Waves of the Ocean Suite Collection!
When I first saw this collection, my heart stopped! I absolutely love the stamps, dies, colors, and gorgeous designer series papers. I couldn’t wait to get my hands on it all. When I learned that the Artisan Team was going to be making samples, I literally leaped at the opportunity!
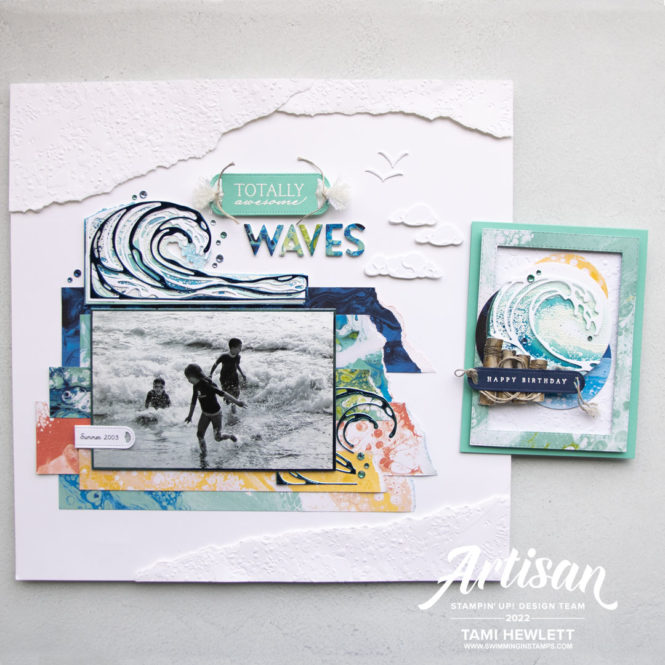
The Wave of the Ocean Collection is available to purchase at my online store from March 1 to May 2, 2022. (After that, the bundle will be available to purchase in the new 2022-2023 Annual Catalog.) The collection also includes coordinating limited-time offer products including Waves of the Ocean 12″ x 12″ Designer Series Paper, Blue Foils 12″ x 12″ Specialty Paper, and Rhinestone Waves Basic Jewels (available while supplies last.) You can purchase the entire collection with one easy item #161797 for $79.25 USD or individually.
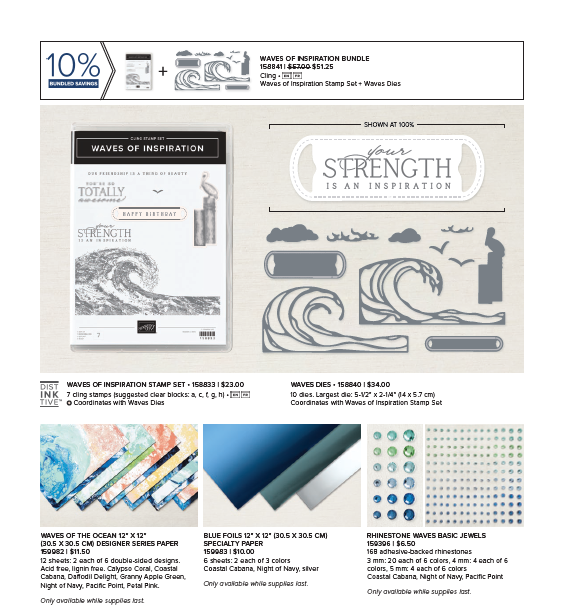
Totally Awesome Waves Scrapbook Page:
Being from California, I immediately thought this collection would make a great scrapbook page. Through the years, my family has spent numerous vacations at the beach. This photo was taken by my sister while we watched our kids playing in the waves, and it brings back such fond memories of long, happy days in the sun.
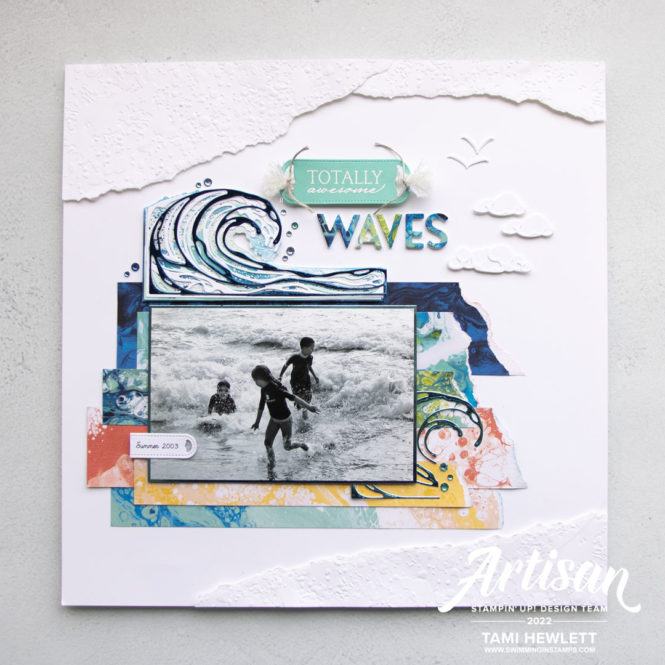
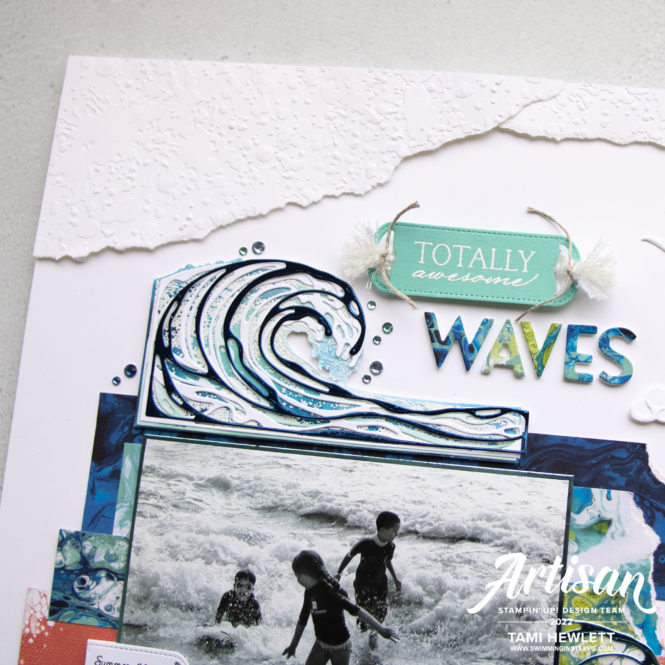
I wanted to really showcase the gorgeous Waves of the Ocean Designer Series Paper, so I focused most of the layout in the center with lots of colorful strips. I also used the paper to cut out the WAVES title with Playful Alphabet Dies. To make the letters pop, I adhered the paper to Foam Adhesive Sheets prior to running it through my die-cutting machine.
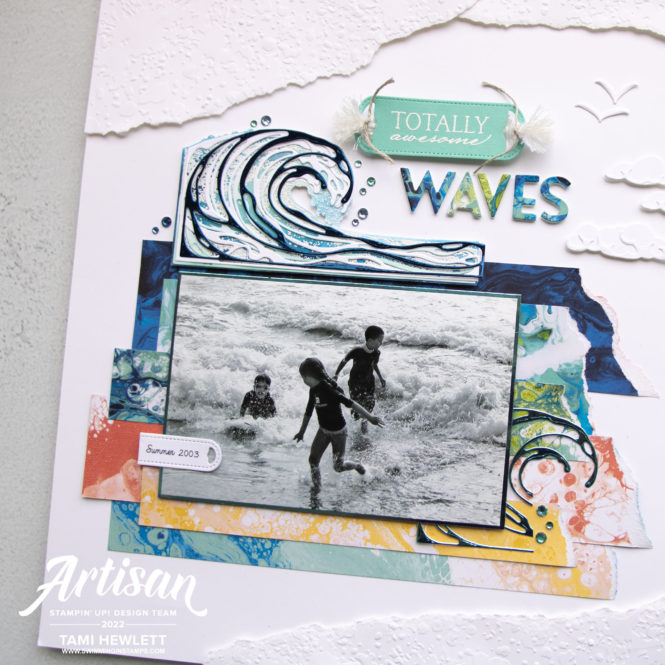
I have to be honest, I don’t make scrapbook pages often, and when I do, they are usually centered around a very special photo so I really take my time. I usually lay out all the pieces and stare at it for a few days, while I move things around. So there are a lot of little details on this page that you might not notice at first glance.
For the title, I used the stamp that says “You’re So Totally Awesome.” I masked off the words “you’re so” with washi tape when I inked up the stamp with Versamark and then pulled off the washi tape before stamping so I only got the “Totally Awesome” part. It’s a super easy way to customize the words in your stamps.
Afterwards, I cut out the title with one of the labels in the Waves Dies. There are two great labels in that set and I really love them both. I used the smaller one to document the date on my photo. (I just typed that in Word on my computer and printed it on cardstock.) Then, I threaded some White 3/4″ Frayed Ribbon through the big label, frayed the ends and tied both sides with Linen Thread.
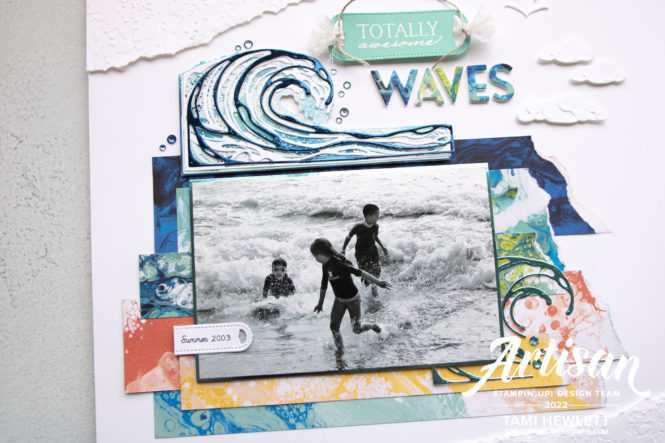
For the wave, I stamped and embossed it in white and then used Blending Brushes to add Coastal Cabana, Pacific Point, and Night of Navy ink. Then, I fussy cut it to add to my page. On top of the wave I added two wave die-cuts, one cut from Basic White and one cut from Blue Foils Paper.
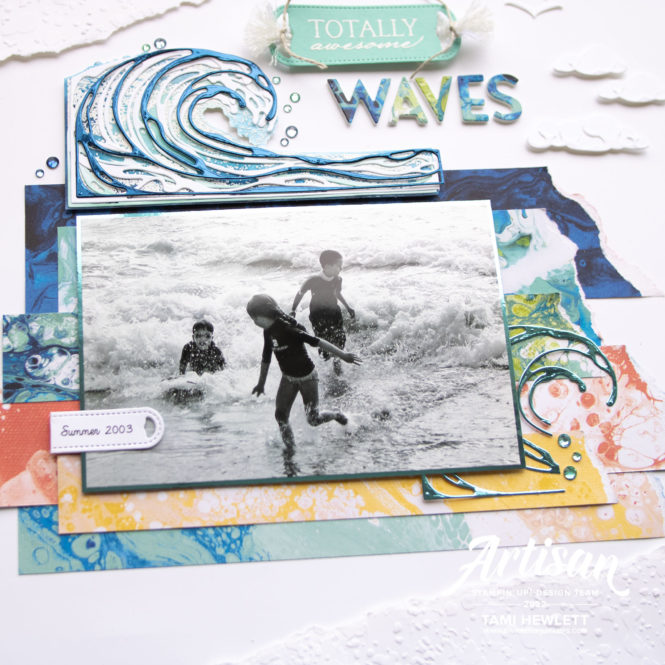
To fill in the white space on the top and bottom of the page and add a bit more interest, I used the splatters folder from the Stripes & Splatters 3D Embossing Folders to dry emboss the ripped paper. That embossing folder is a smaller one, designed for the Mini Cut & Emboss Machine, and it didn’t extend long enough to emboss the entire strips. So here’s a fun trick. I placed the paper in the embossing folder and dry embossed as much of the strip as possible. Then, I flipped the paper around and fed the opposite side into the embossing folder, but this time, I only rolled the folder about half way down my machine (enough to dry emboss the rest, but not all the way through) and then I reversed and backed it out. By not rolling it all the way through, I didn’t get the line where the folder ended!
I adhered the dry embossed pieces and clouds with Dimensionals and layered a few bird die-cuts on top of each other so the white on white sections would be more clearly defined.
Happy Birthday Card:
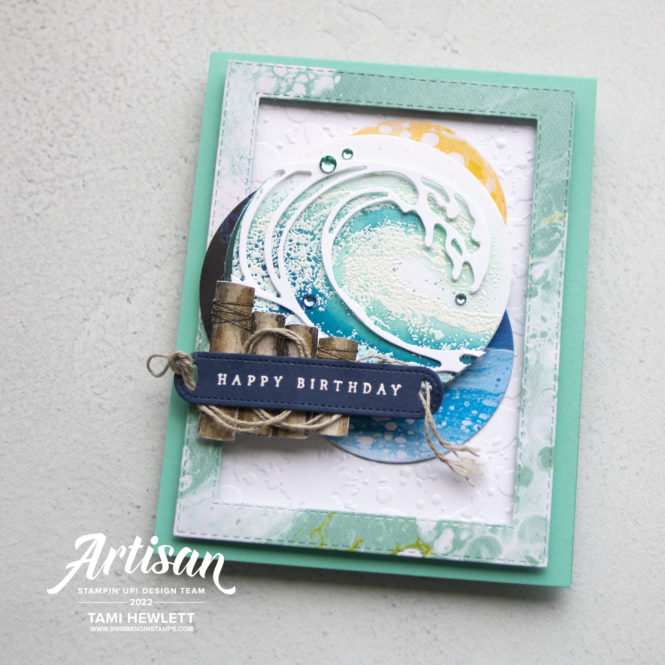
For my card, I again wanted to emphasize that beautiful Waves of the Ocean Designer Series Paper. It’s so gorgeous that I’ve already ordered a second pack!!! This time, I used my Stitched Rectangle Dies to cut a frame and Layering Circles Dies to cut the three background circles for layering.
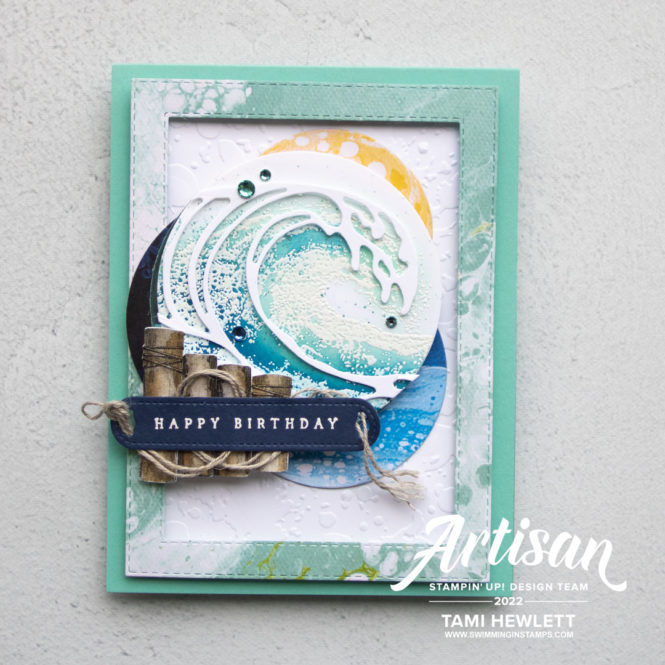
Similar to the first card, I stamped and embossed the wave in white and then added color with Blending Brushes.
Next, I wanted to add something creative to show a different way to use the stamp set. So I decided to create pylons from the pelican stamp. (I love the pelican and will use it on other projects, but the orientation just didn’t work for this card.) So, I stamped several times on Shimmery White Cardstock with Stazon Ink and then watercolored the pylons wit Crumb Cake and Gray Granite ink. Then, I cut out the individual pylons, trimmed the lengths, and used a sanding block to round the top and bottom edges. I love how this turned out! (Tip: Use a small strip of scrap cardstock underneath to glue the pylons together.)
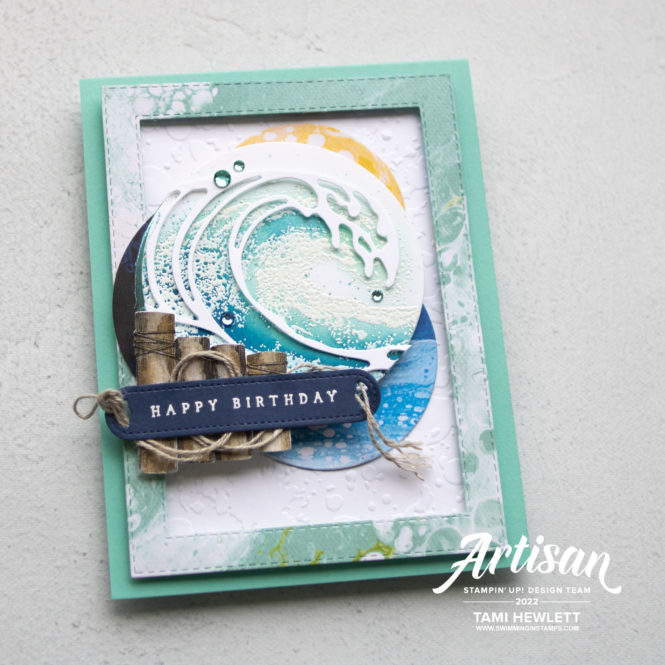
For the sentiment, I used the smaller of those great labels in the Waves Dies to cut from Night of Navy Cardstock. Then, I looped some Linen Thread underneath to look like rope.
The final touch on both projects was to add some Rhinestone Waves Basic Jewels. They’re so pretty and come in all my favorite colors of blue!
Be sure to check out the other Artisan’s projects on the Stampin’ Up! Facebook page, and there will be more later this month!!!
Have a wonderful and creative day:)

Purchase products from my online store to qualify to receive free exclusive project tutorials. This month’s PDF includes 12 creative tutorials designed by my demonstrator friends and I to inspire your paper crafting! The projects feature products from the 2025 Annual Catalog, Online Exclusives, and January-April Mini Catalog. Enjoy!


Wow Wow Wow Tami, this card is amazing! You are so very talented! Thank you for sharing your creation, your cards and projects always inspire me to look at a stamp set, dies etc. in a different way. Thank you!
Wow, thank you so very much Lesley!!!
The layout on your wave card is so stunning. 😍 The circles capture the movement of the wave perfectly.
THanks so much Tasha!!!
Your scrapbook layout is outstanding. Love your original design on the card too. Great Work!
Thanks so much Lynda! That means so much.