Hello and thanks for visiting my blog. I’m Tami Hewlett from California, USA, and today I’m sharing cards from the March Artisan Design Team Showcase featuring the Seas The Day Bundle. Be sure to go to the Stampin’ Up! Facebook page to see all the Artisans’ inspiring projects featuring this beautiful, underwater-themed bundle.
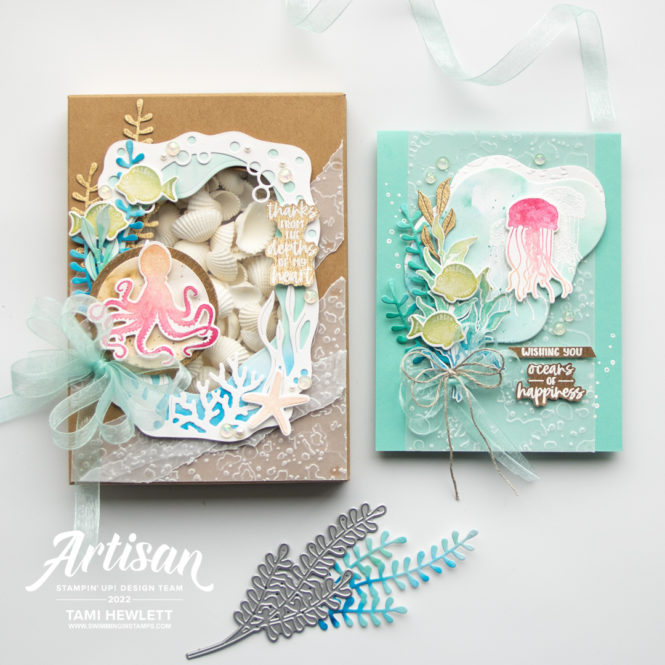
The Seas The Day Bundle is in the January-June Mini Catalog on page 38. It includes the Seas the Day Cling Stamp Set and Sea Dies. There are so many things to love about this bundle! The Seas The Day stamps are a DistINKtive style that look watercolored, and I love all the coordinating dies and large peek-a-boo die!
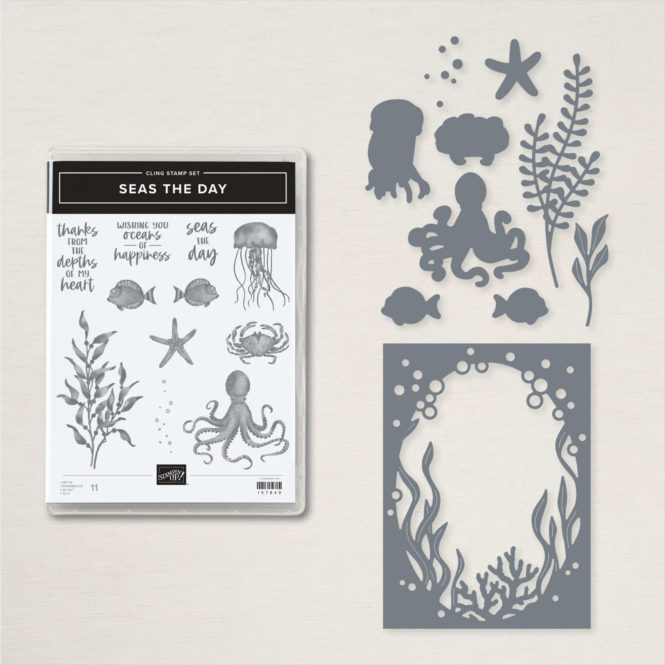
Depths of My Heart Gift Box:
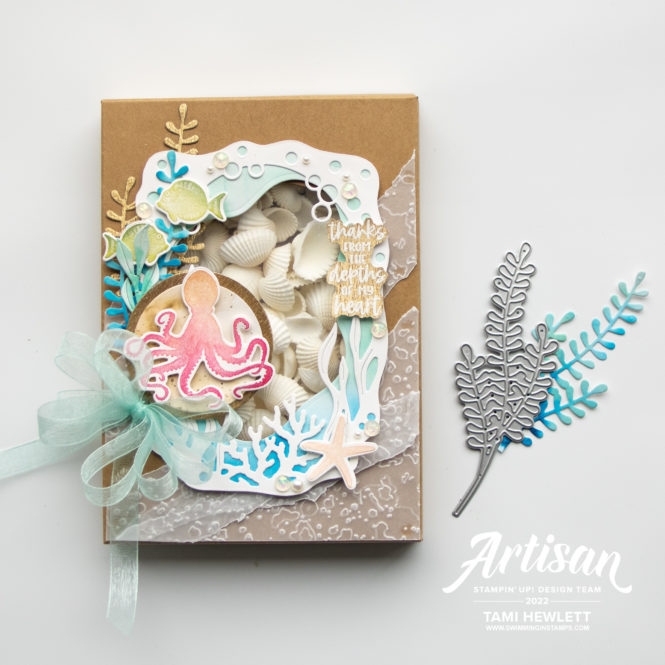
My first project is a Kraft Gift Box. Right now, it’s filled with white shells, but I think it would be perfect to hide a small sea-themed gift such as a piece of jewelry. I thought it might be fun to place the large Seas Die over the window of the box, so I had to give it a try.
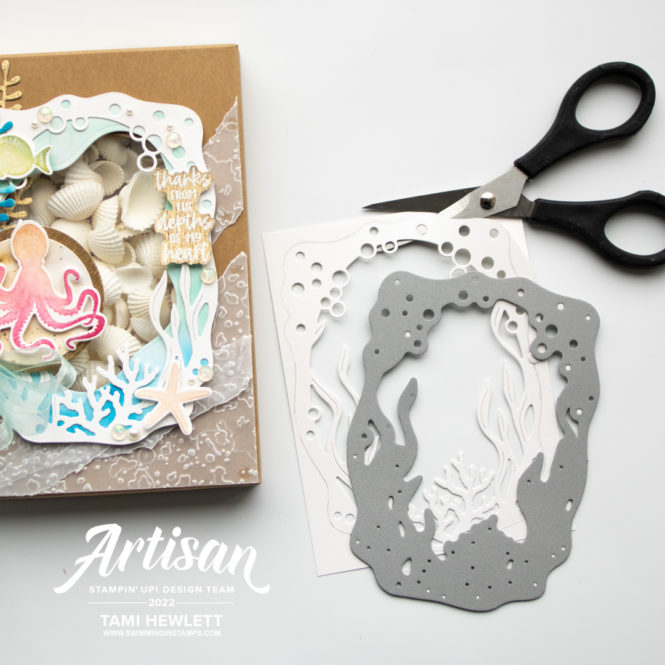
The large Sea Die cuts the inside design only, which is perfect for cards, because that gives you the option to trim the outer edges to fit your needs. But I really liked the design of the die-cut itself with its curvy edges, so I decided to trace the edges with a pencil and then fussy cut the outside.
The center cut of the die was just a little too large for the Kraft Gift Box window, so I ended up adding an extra layer underneath cut with a Layering Diorama Die. That did the trick!!! I cut both layers from Shimmery White Cardstock and watercolored the bottom layer with Pacific Point and Coastal Cabana ink.
On the box itself, I added some layers of Vellum dry embossed with the splatters embossing folder from the Stripes & Splatters 3D Embossing Folders Set . I think it looks just like sea foam washing over the sand.
For some of the layering pieces, I watercolored the Shimmery White Cardstock first and then cut out the dies, and then for others, I stamped on Shimmery White Cardstock and then used a Water Painter with a fairly dry brush to add brush strokes. To achieve a two-toned look, I used a Blending Brush to add a second color directly to the red rubber prior to stamping. This technique works great with DistINKtive stamps in order to maintain the detailed quality of the stamped image. For example, I inked up the octopus with Petal Pink ink and then applied Melon Mambo ink with a Blending Brush, and I inked up the two fish with Pear Pizzazz ink and applied Garden Green ink with a Blending Brush.
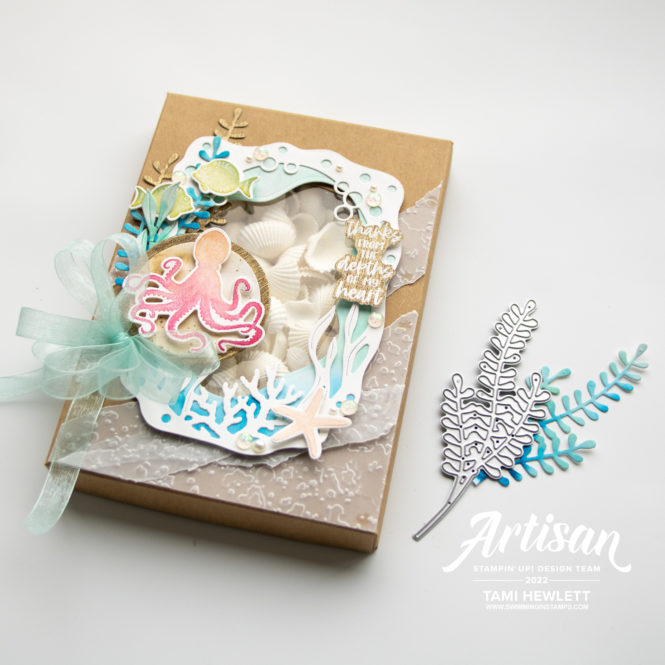
I also used some Gold Metallic Specialty Paper and Pool Party Shimmer Ribbon to decorate my box, as well as some Opal Rounds and Pearl Basic Jewels.
Oceans of Happiness Card:
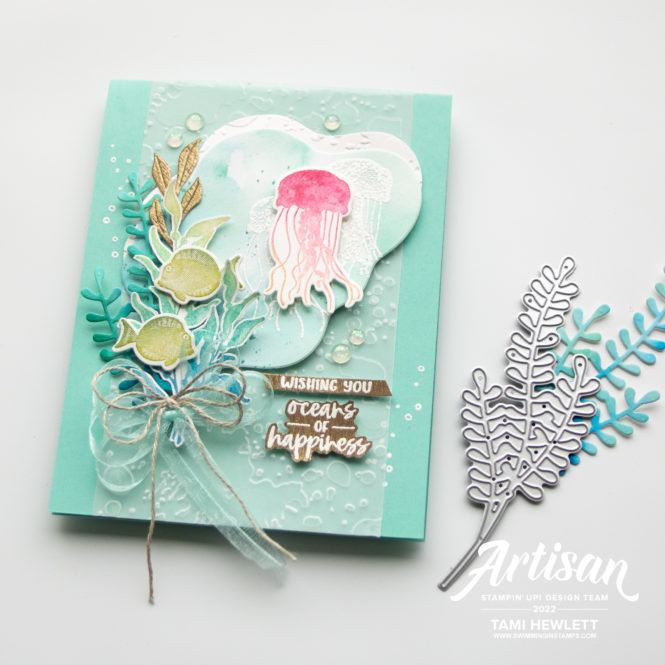
My next project is an ocean-themed card featuring some of my favorite blue tones, including Pacific Point, Bermuda Bay, and Coastal Cabana. I seriously don’t think you can do wrong with that color combination.
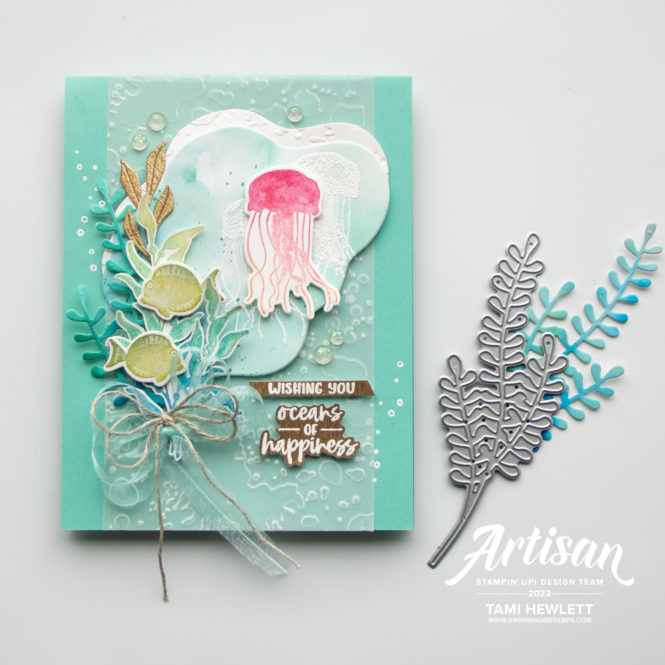
I used the cut-out from the Layering Diorama die-cut layer from my gift box above for the centerpiece of the this card. (Waste not, want not.) Then, I embossed a couple “jellies” in white and added some splatter with a Coastal Cabana Stampin’ Write Marker.
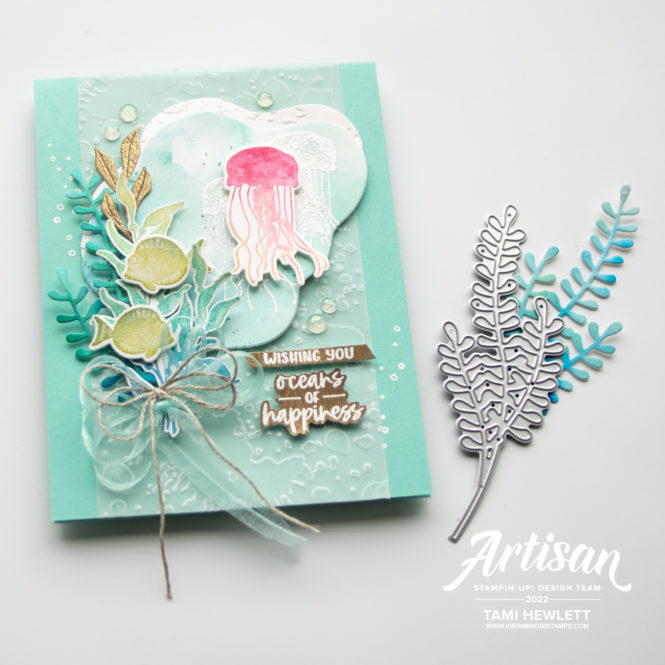
I used several of the same techniques on this card as my gift box, including dry embossing the Vellum layer, pre-watercoloring die-cuts, and stamping with multiple colors. I also added a few white embossed bubbles (so cute!)
I LOVE the sentiments in this stamp set, they’re just so perfect.
I can’t wait to play with this bundle some more. It’s definitely a favorite of mine.
Have a wonderful and creative day!

Purchase products from my online store to qualify to receive free exclusive project tutorials. This month’s PDF includes 12 creative tutorials designed by my demonstrator friends and I to inspire your paper crafting! The projects feature products from the 2025 Annual Catalog, Online Exclusives, and January-April Mini Catalog. Enjoy!
