Hello! I’m Tami Hewlett from California, USA, and today I’m sharing my December Artisan Design Team projects featuring the Celebrate With Tags Bundle. This is a fantastic bundle that’s great for lots of occasions including holidays, birthdays, Valentine’s Day, and anniversaries. It also works great for cards, tags and even scrapbooks!
Check out the Stampin’ Up! Facebook page to see all the Artisans’ amazing projects featuring this versatile bundle.
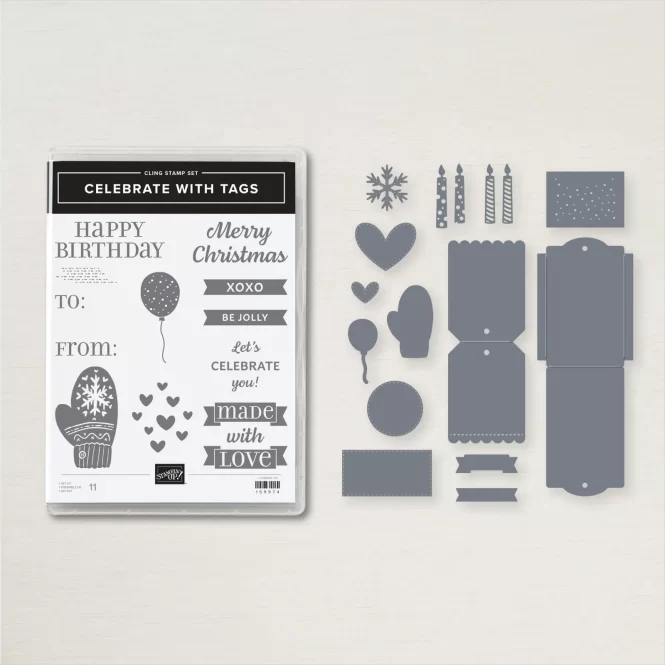
The Celebrate With Tags Bundle is on page 67 of the July-December Mini Catalog and includes the Celebrate with Tags Stamp Set and Celebrations Tag Dies. (The stamps are carrying over and will continue to be available after 1/4/23!) I love the unique tags that fold!!! They are perfect for shaker elements, hidden messages, gift tags, and more. Or, you can easily trim them to make a typical flat tag. So many cool possibilities.
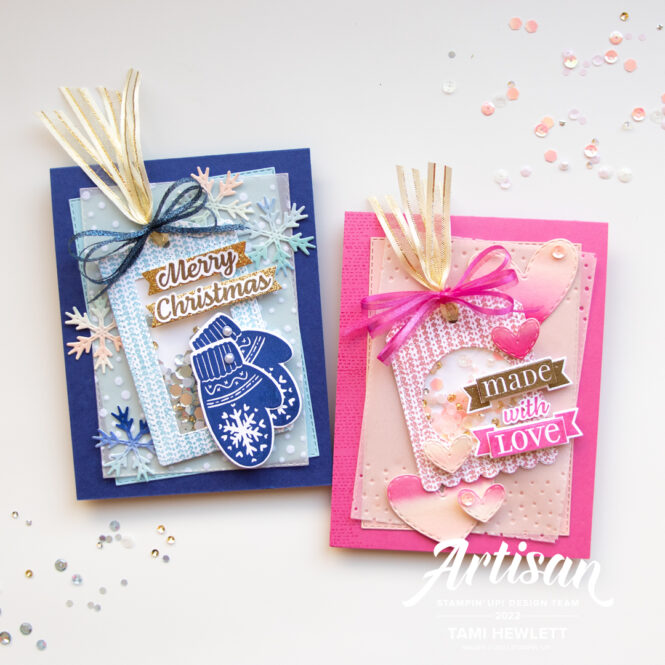
Merry Christmas Card
I decided to create two cards for this post, one for Christmas and one for Valentine’s Day. They have similar layouts, but different colors and embellishments.
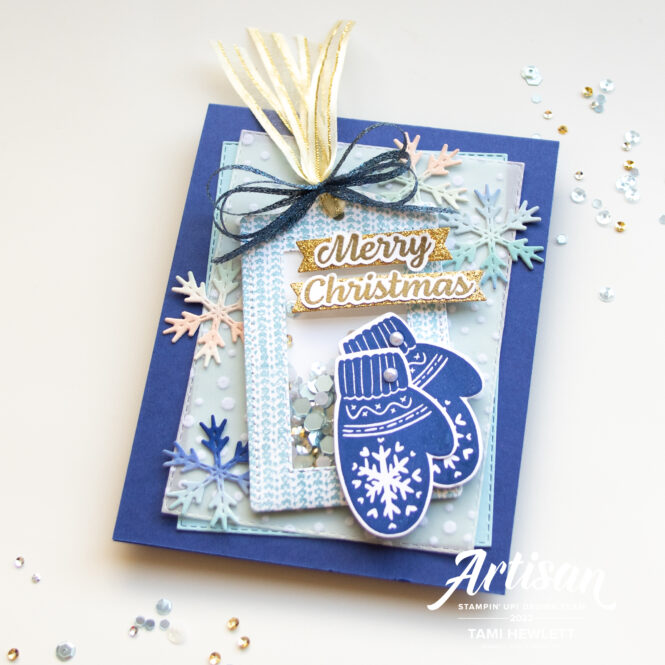
I really wanted to take advantage of the unique folding tags in this bundle, so I decided to use them to create shaker elements. I initially tried sealing them with Tear N Tape, but some of the sequins were still escaping. So in the end, I used my trusty sewing machine to stitch around the tags.
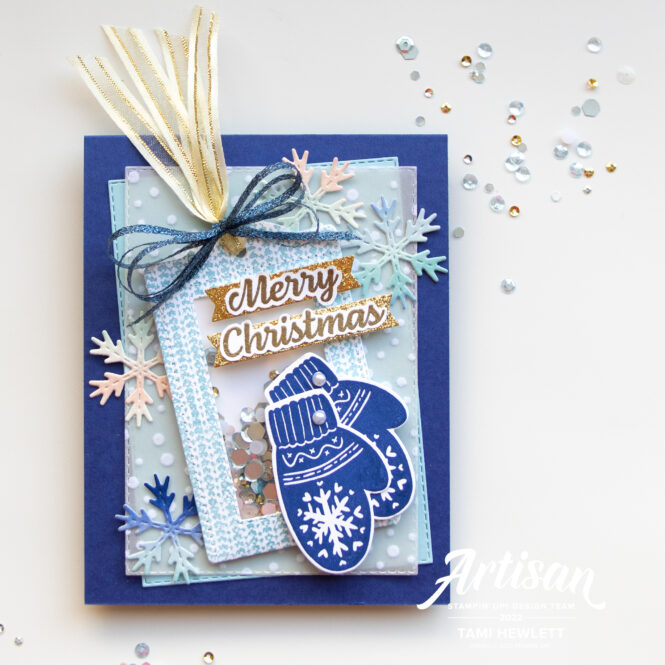
Another really cool aspect of these dies is that they include the a small rectangle and circle (used on the second card) to cut the windows of my shakers. For both tags, I used the Knit Together background stamp to stamp on Basic White Cardstock prior to cutting out the tags. Then, I backed the windows with a Window Sheet, filled the shaker with For Everything Fancy Sequins, and stitched it closed.
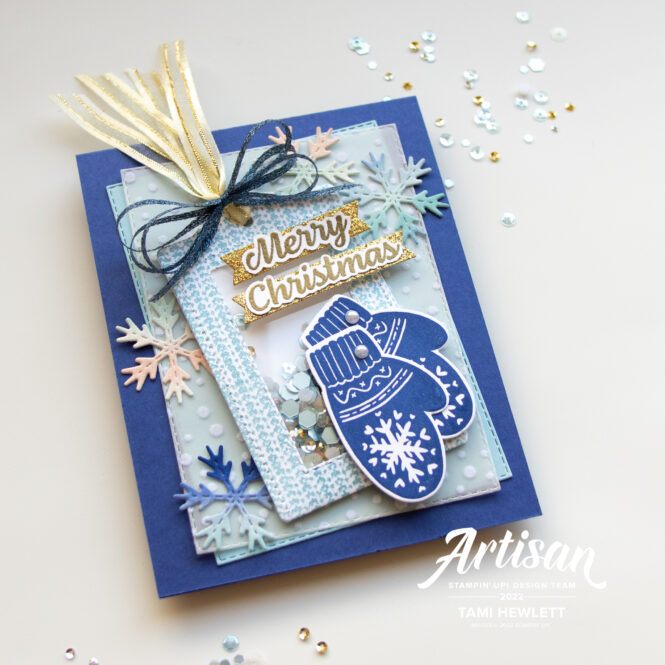
For the snowflake die-cuts, I pre-painted Fluid 100 Watercolor Paper with Starry Sky, Balmy Blue and Blushing Bride ink. I love doing this, because then I can pick the perfect areas to cut the dies.
In the background, I added some Snowflake Specialty Vellum. Then, since the sequins include some gold elements, I thought it would look pretty to add gold accents for the sentiment, banners and ribbon.
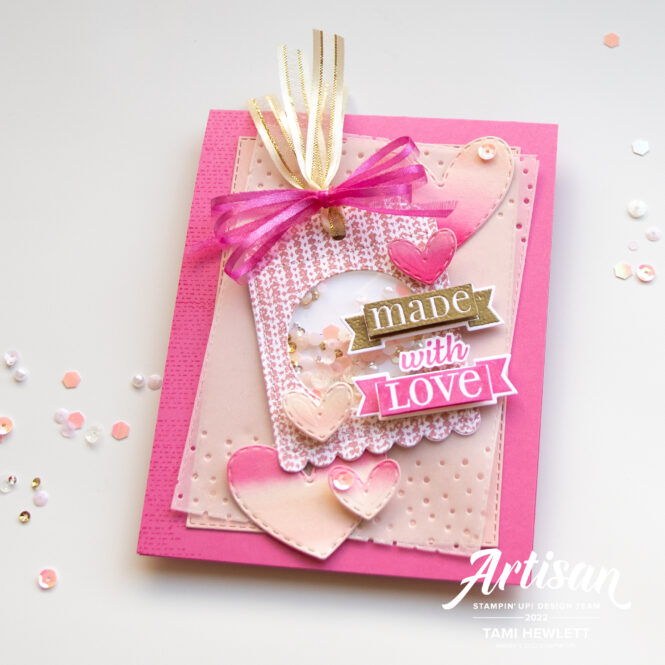
Made With Love Card
It’s not too early to start thinking of Valentine’s Day, so I used the other tag in the bundle to create a second card with pink tones.

For this card, I pre-painted Fluid 100 Watercolor Paper with Polished Pink and Blushing Bride ink to die-cut the various hearts.
Next, I stamped the sentiment multiple times with Polished Pink ink and Versamark so I could emboss it in gold. I cut out the “Made” and “Love” so I could pop them up with Dimensionals above the stamped banners.
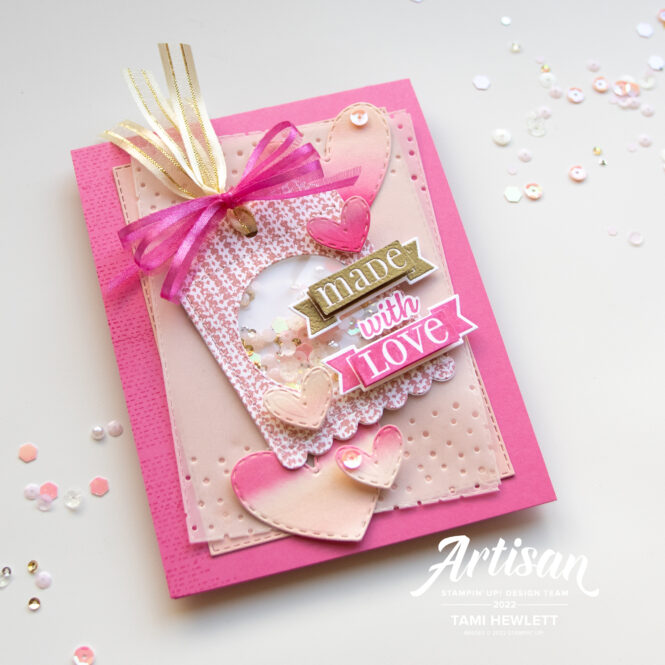
The Celebrations Tag Dies include the small dot background die that I used to cut the Vellum layer. I love adding cool texture like this to cards.
I hope my cards have inspired you to purchase this awesome bundle. To me, it’s a keeper that I’ll be hanging onto for a long time.
Have a wonderful and creative day!

Purchase products from my online store to qualify to receive free exclusive project tutorials. This month’s PDF includes 12 creative tutorials designed by my demonstrator friends and I to inspire your paper crafting! The projects feature products from the 2025 Annual Catalog, Online Exclusives, and January-April Mini Catalog. Enjoy!
