Happy Monday! It’s April 15th!!!! Wahoo! That’s cause for celebration in my family, because it means tax season is over, and we can finally see my husband again! Yay!!!
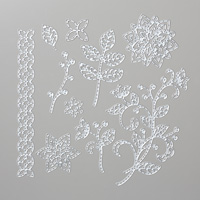
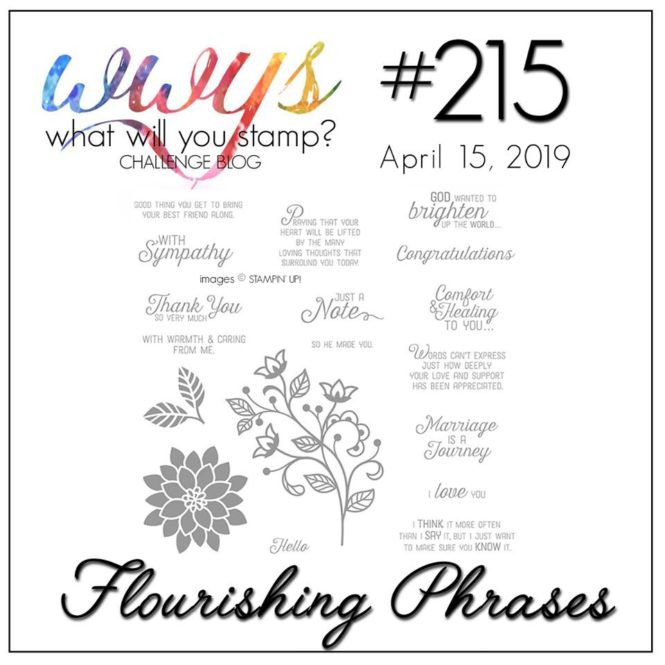
This week the What Will You Stamp? Challenge Blog is featuring the Flourishing Phrases stamp set from the Annual Catalog (p. 18). This stamp set coordinates with the Floursh Thinlits Dies (p. 217). It’s definitely one of my favorites, because of the beautiful images and versatile sentiments.
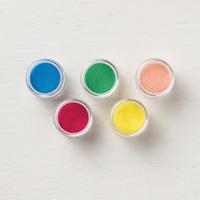
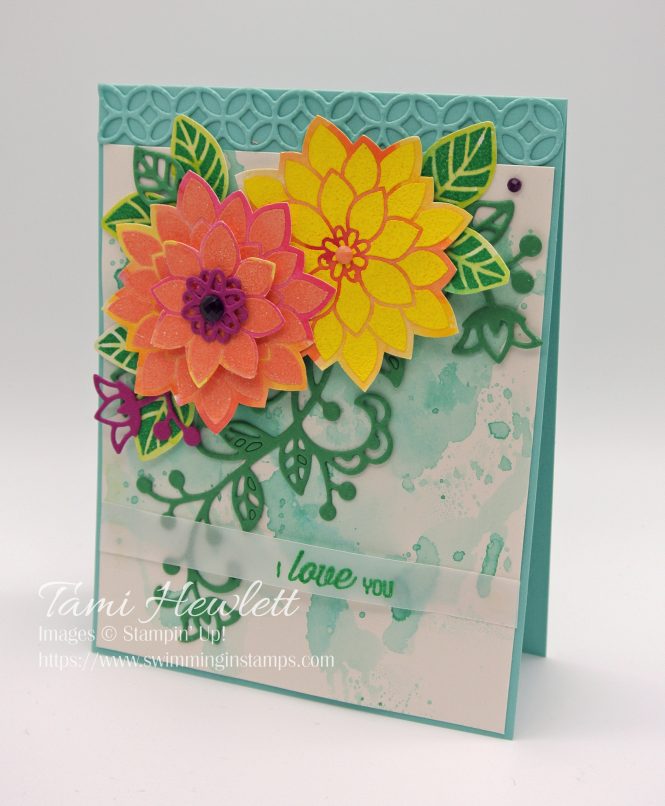
I played around with a few stamping techniques for my card, including emboss resist (flowers and leaves) and smooching (background.) I recently purchased the In Color 2018-2020 Stampin’ Emboss Powders, and I’ve been dying for an opportunity to use them! I thought the bright colors would be perfect for this project.
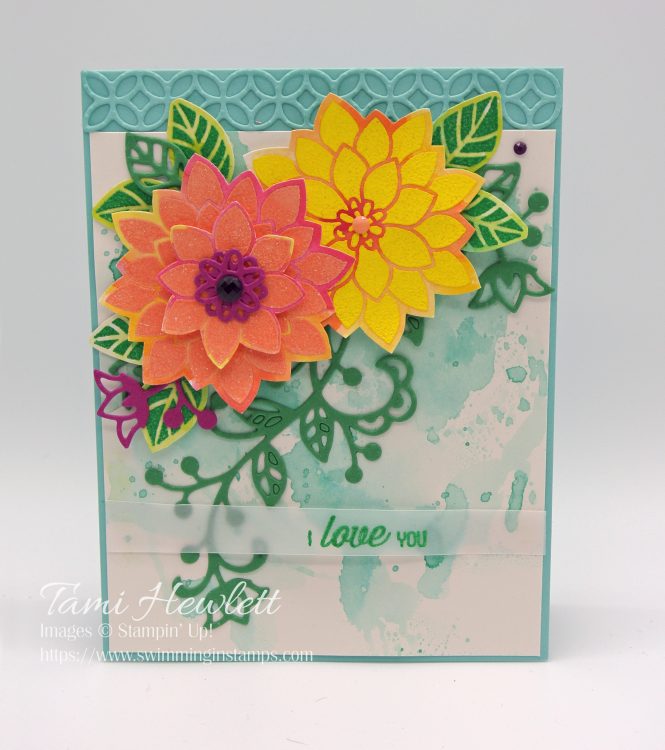
I stamped the flowers with Versamark ink on Shimmery White Cardstock, and then embossed two with Grapefruit Grove and one with Pineapple Punch Stampin’ Emboss Powder. Afterwards, I used an Aqua Painter to watercolor over the flowers with the following ink colors: Lovely Lipstick, Grapefruit Grove, Mango Melody, and Pineapple Punch. I love the resulting variegated background!!! Then, I used scissors to cut out the flowers, leaving a thick border to show off the watercoloring.
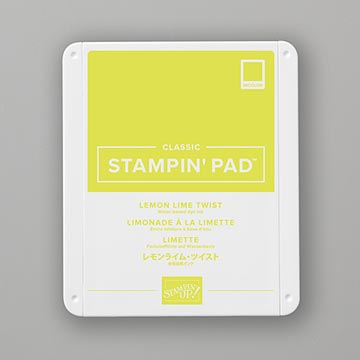
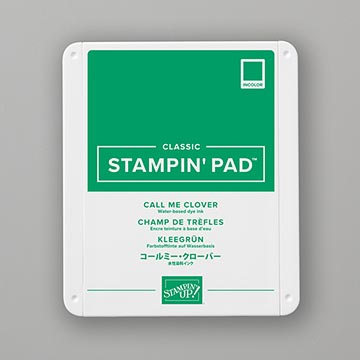
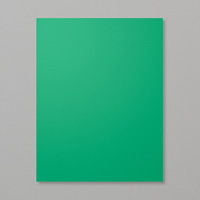
I used a similar method for the leaves, but this time, I embossed with Call Me Clover Stampin’ Emboss Powder and watercolored with Call Me Clover and Lemon Lime Twist ink.
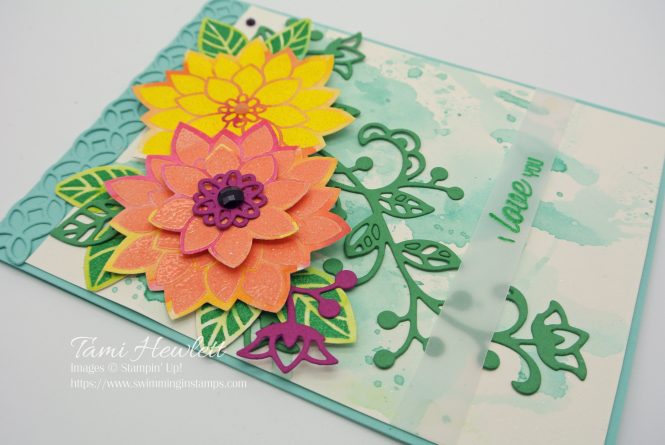
One of the best things about the Flourishing Phrases stamp set is the coordinating Flourish Thinlits Dies! The border die across the top is one of my favorites, and I love how the Call Me Clover flourish adds movement to the design of this card.
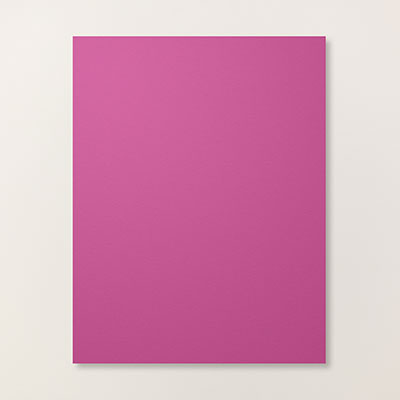
I used those same thinlits to cut a center for the main flower and add a little touch of color to the side using Berry Burst Cardstock.

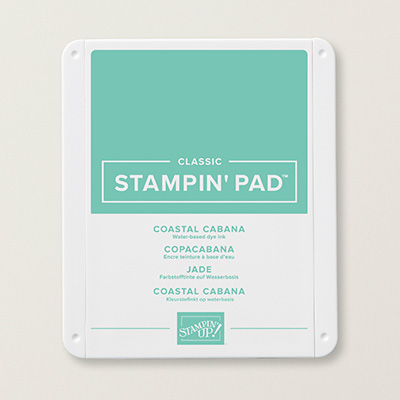
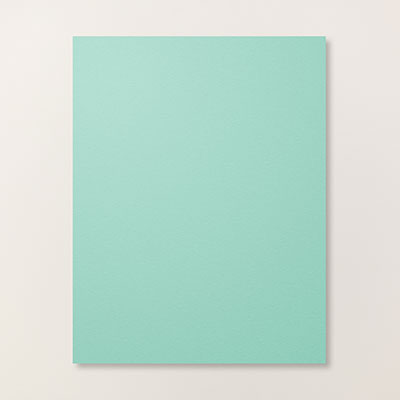
To create the background, I smooched Coastal Cabana ink on Shimmery White Cardstock. I squeezed my ink pad to pool ink in the lid, used an Aqua Painter to mix in a little water, and then randomly added pools of ink to a Silicone Craft Sheet. Then, I “smooched” the Shimmer White Layer into the ink, face down. Depending on the number and size of the pools of ink, the results will vary. I totally love this technique!
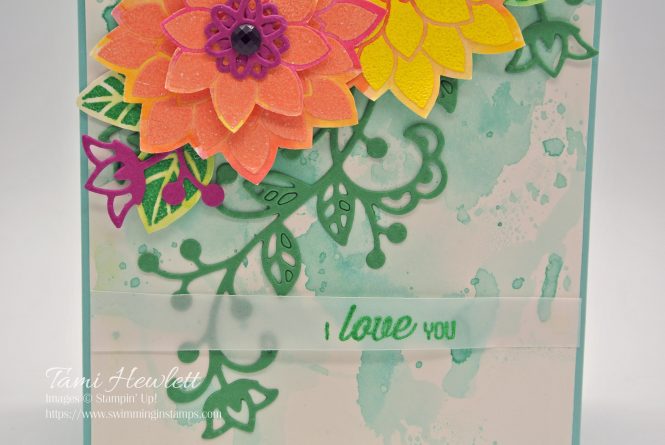
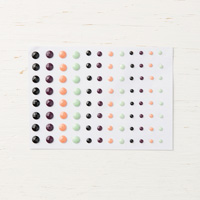
For final touches, I added some Faceted Dots and an embossed sentiment on Vellum.
Be sure to click over to the What Will You Stamp? Challenge Blog and see all the designers’ projects using this stamp set! I’m sure you’ll be inspired!!!

Have a wonderful and creative day!

Use this Host Code when you make purchases at my online store in April 2019:
- For stampers who make purchases of $50 or more, I will automatically add you to my email list to receive FREE monthly tutorials for the next year! Each monthly PDF includes at least 10 exclusive projects that you won’t find on any social media site.
- When you spend $75 or more, I will send you a FREE textured impression embossing folder (TIEF) of your choice! Please be sure to provide your email upon checkout so I can contact you to make your selection. All TIEFs will be ordered and mailed after the end of the month.
- For stampers who make purchases of $150 or more, do not use the Host Code. You can be your own host and earn FREE rewards of at least $15!
Supplies used on my card: