Hello and welcome to the Stamping Sunday Blog Hop for April! This month, our theme is “Last Dance,” which means we are focusing on retiring products. If you’re already following along, then you just came from Vicki Boucher’s blog. Be sure to continue on by clicking the link at the bottom of this post.
In a little over three weeks, the new 2021-2022 Stampin’ Up! Annual Catalog will be going live, which means we’ll have lots of amazing new products to inspire our paper crafting, but it also means we have to say good-bye to some oldies but goodies. I have to admit that several of my “go to” basic favorites are retiring, including sentiment stamps, die-cuts, and embossing folders. I had a hard time picking just one. Also, I had some seriously important cards to make on my “to do” list. So, I decided to kill two birds with one stone and design two “artfully avid” cards including lots of my retiring favorites.
Rooted In Nature Sympathy:
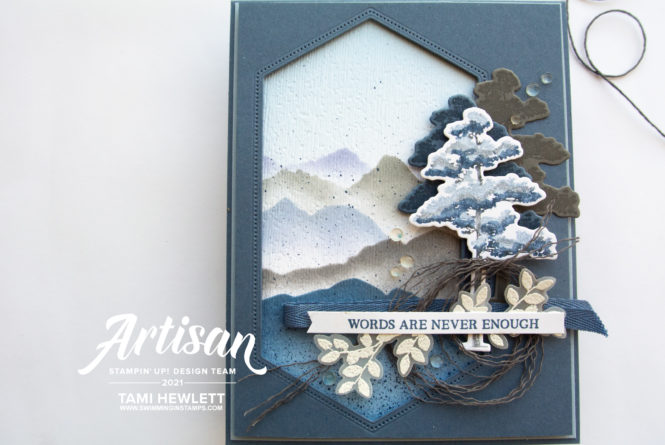
My first card features the Rooted In Nature stamps and coordinating Nature’s Roots Dies, as well as the Stitched Nested Labels Dies. All three are retiring favorites. You’ll also notice that I used a stencil from the March Paper Pumpkin Kit on this card.
This is a really special card for my dear, dear friend who just lost her husband. We have been friends for almost 27 years, since we met in Lamaze when we were both pregnant with our sons. My heart is just broken for her and I NEEDED to pour my heart into this card.
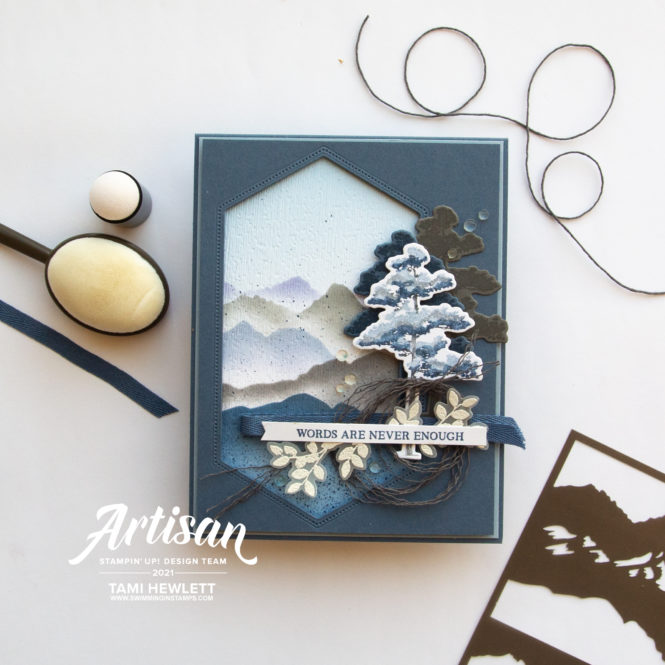
The Rooted in Nature stamp set is a distINKtive stamp set with amazing detail. That means the stamps have realistic, picture quality effects. To stamp the multi-colored tree, I used a Stamparatus, so I could use Stampin’ Write Markers to add one color at a time directly onto the red rubber stamp. The Stamparatus allowed me to keep adding color and stamping over and over the same image until I was totally satisfied.
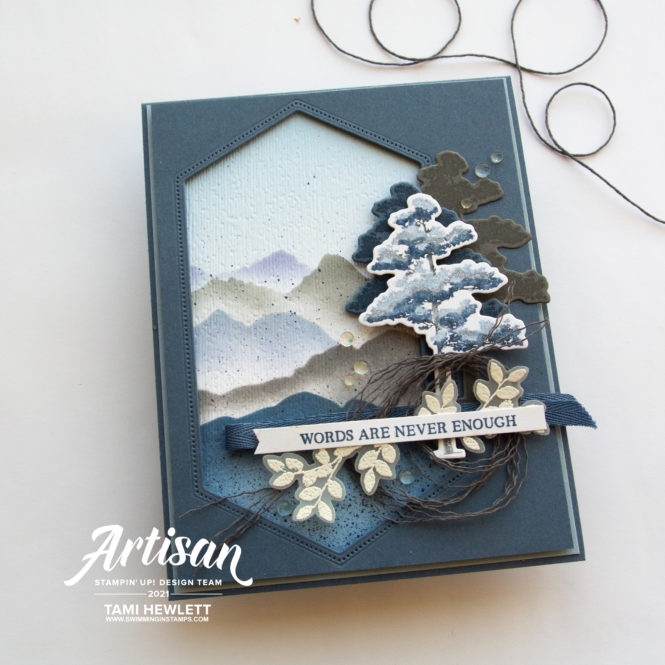
Next, I used the March Paper Pumpkin stencils to sponge the mountains with Misty Moonlight, Basic Gray, Seaside Spray, and Smoky Slate ink. After sponging the entire layer, I embossed it with the Subtle 3D Embossing Folder giving it an Oriental “rice paper-like” quality. Finally, I added some splatter with a Misty Moonlight Stampin’ Write Marker.
I used the largest Stitched Nested Labels to create a reverse cut-out for the mountain layer. Then, I unraveled some Basic Gray Well Suited Twine to place under the sentiment.
To decorate the inside of the card, I stamped the leaves with Seaside Spray and Misty Moonlight ink and the tree rings with Smoky Slate and Misty Moonlight. I inked up the stamps and applied the darker color ink directly onto the stamp with a Sponge Dauber.
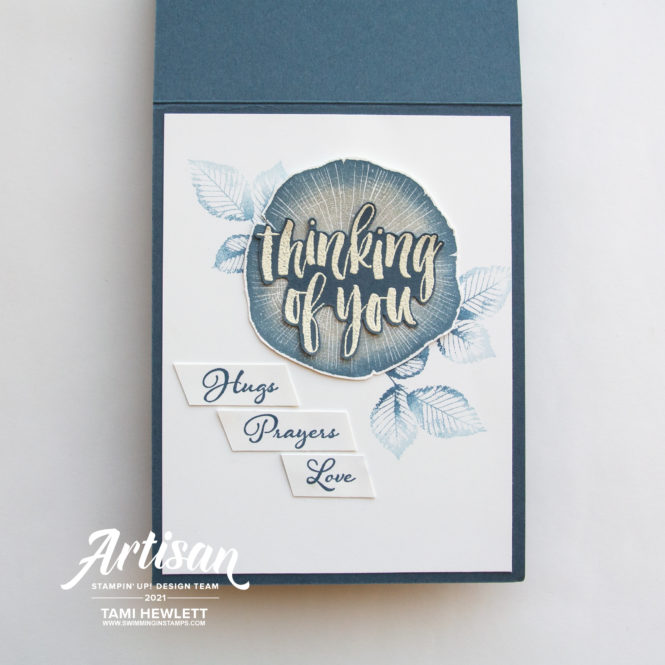
The additional Hugs, Prayers, Love sentiment is from the Positive Thoughts stamp set. My friend, who already received this card, said she loved it and was very touched.
Floral Essence Birthday:
My next card features the Floral Essence Photopolymer Stamp Set, Magnolia Memory Dies, and Artistry Blooms Designer Series Paper. All three are retiring. I created this card for my sweet daughter, whose birthday was yesterday.
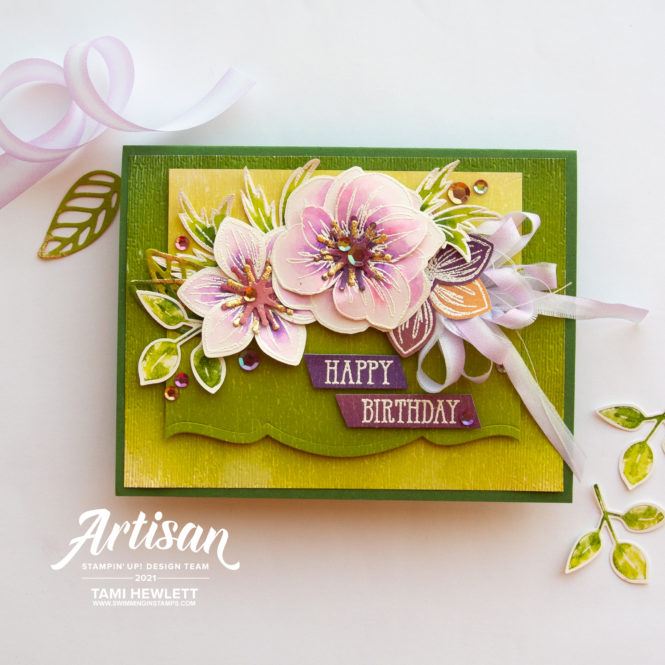
The flowers in this stamp set are so gorgeous and perfect for watercoloring. I stamped and embossed them in white on Shimmery White Cardstock, and then watercolored them with Gorgeous Grape and Melon Mambo ink using lots of water for some pretty effects.
I also used a similar technique to watercolor the pointy leaves with Garden Green and Granny Apple Green. Then, I used a watercolor stamping technique for the punched out leaves.
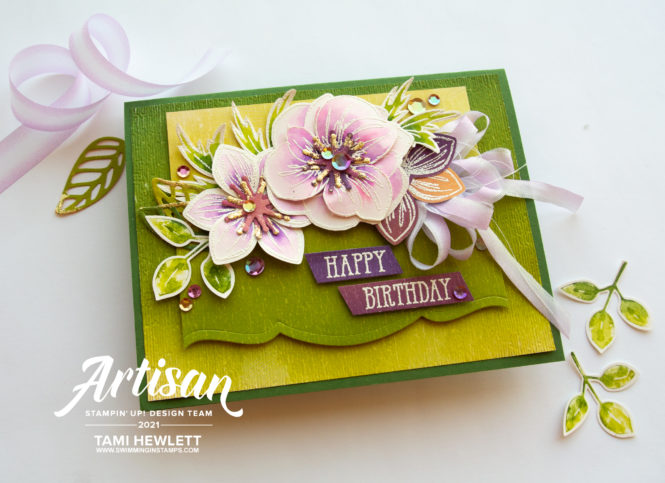
The Artistry Blooms Designer Series Paper is SO incredibly gorgeous. I love how pretty it looks when layered and flipped. I also used it for the sentiment strips and to stamp, emboss and punch out the flower on the far right.
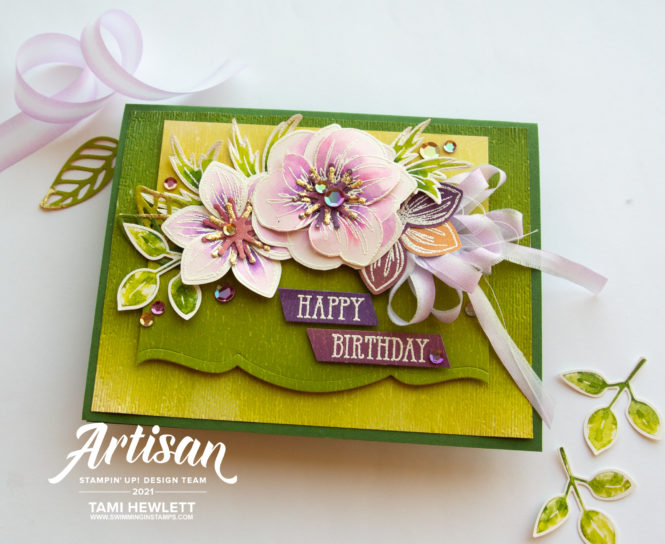
I dry embossed the bottom layer of designer series paper with the Subtle 3D Embossing Folder. How am I going to live without that embossing folder???? I use it all the time; it is truly one of my all-time favorites. I know I’m being dramatic, but I will truly miss using it.
Next, I used the Magnolia Memories Dies to cut the flower centers, detail leaves, and bottom border of the background layer. Then, I added some glitz, because every birthday girl needs some glitz, by using a Sponge Dauber to add a little Versamark ink, covering it with Heat & Stick Powder, and then adding Gilded Leafing Embellishment. (That will carry-over to the new Annual Catalog.)
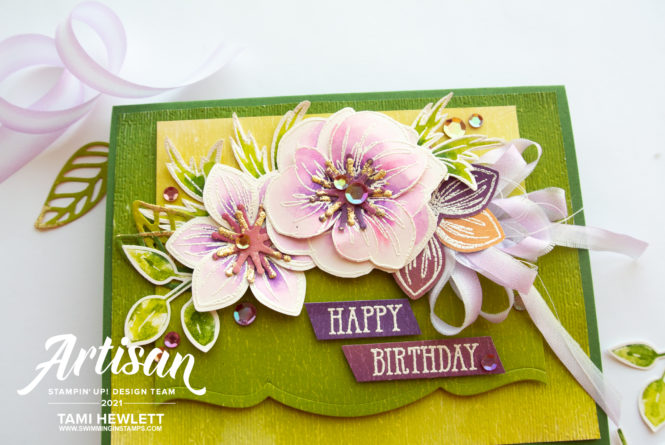
As a final touch, I added some Artistry Blooms Sequins (carrying-over) and Playing With Patterns Ribbon. I cut the ribbon in half, frayed it, and looped it around my fingers to create this fun bow.
Hope these projects inspired you. Next up in the blog hop is the fabulous Cheryll Miller at Sense of Whimsy. She always dreams up the most amazing projects!!! Wishing you a wonderful Sunday and Happy Stamping!

Use Host Code VPKBXPD7 for purchases at my online store to qualify to receive free exclusive project tutorials and a special thank you card from me. This month’s PDF features 13 AMAZING tutorials from a group of super talented demonstrators. You are going to love them!!! (Please note that Host Codes are only valid for 30 days. You can always find the current Host Code on the right side bar of my blog.)


I absolutely love the sympathy card — it is incredible and although I don’t know you (but read a lot of your posts) you really did pour your heart into it. I hope your friends heart is healing, and your’s too. Blessings…Mary
Thank you Mary! Your comments mean so much.
Two absolutely beautiful cards Tami! The first one is so serene and I just love the background on the second one – I CASEd it for a card on my own blog today and gave you a shoutout. Thank you for the wonderful inspiration!
Absolutely breath taking card! You did pour your heart into it–it shows.
Amazing!
Thank you so much Peggy! 💕
“Ah-mazing” card. Truly talented!
Awe thank you Cindi!!! ❤
Truly stunning cards.
Thanks so much Petra! 😍
Your projects are always amazing, Tami! I’m so sorry for your friend’s loss, as well as yours. Your daughter’s birthday card is fabulous!
Thank you Su! 💕
Both absolutely stunning works of art Tami! Thank you so much for the inspiration! xxx
Thank you so muh Cheryll!