Welcome to the September Stamping Sunday Blog Hop! This month, the theme of the blog hop is the new Mercury Glass Designer Acetate, which can be found in the Holiday Catalog on page 33. This fun new acetate has a faux mercury glass finish. It comes in a pack of 4 sheets measuring 12″ x 12″ including 2 each of 2 designs.
For lots of inspiration using this unique new product, be sure to continue through the blog hop by using the list of designer links below.
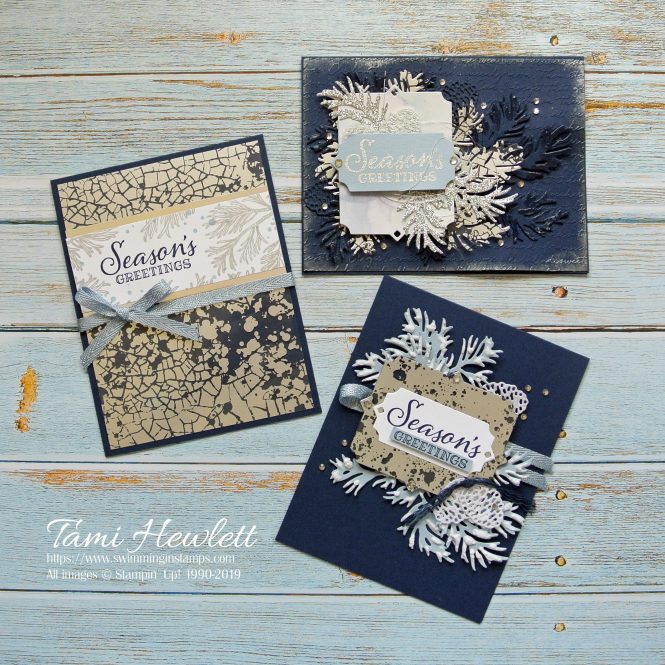
For this blog hop, the designers mission is to create three projects geared towards stampers with varying skill levels including the Beginner, Casual, and Avid Crafter. That way, there’s something for everyone!
Beginner Crafter:
For my first card, I used the Mercury Glass Designer Acetate as a background layer. Simply trim down a sheet to measure 4″ x 5-1/4″ and fit on top of a standard card base.
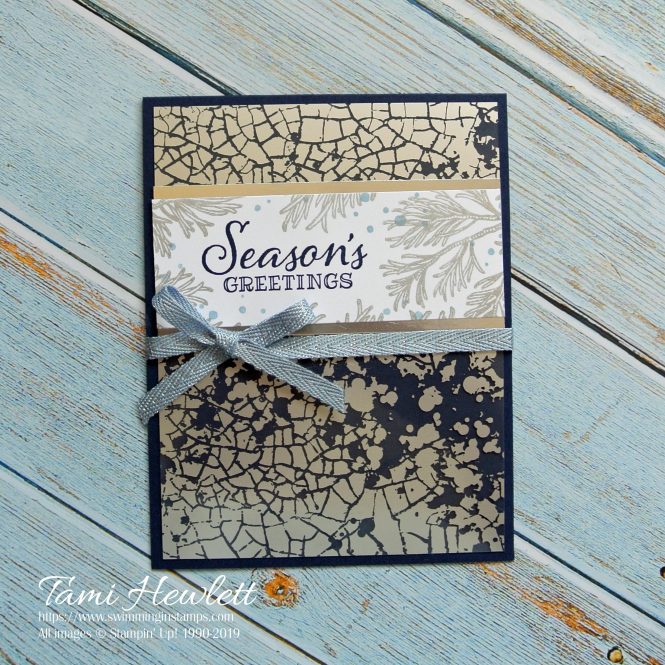
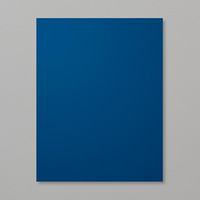
The Mercury Glass is metallic silver. (It’s a little difficult to photograph due to the reflection.) It’s quite stunning in real life and looks beautiful against the dark Night of Navy card base.
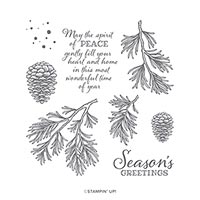
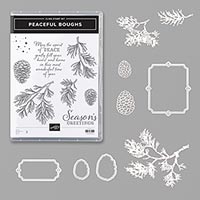
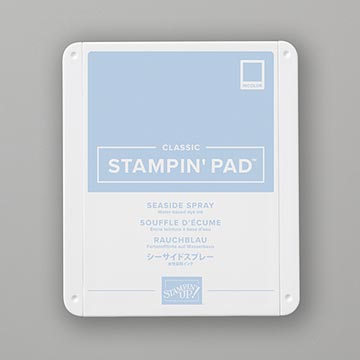
To decorate my card, I used the Peaceful Boughs stamp set to stamp a strip of Whisper White Cardstock. I stamped the branches with Silvery Shimmer Delicata Metallic ink, the sentiment with Night of Navy ink, and the splatters with Seaside Spray ink.
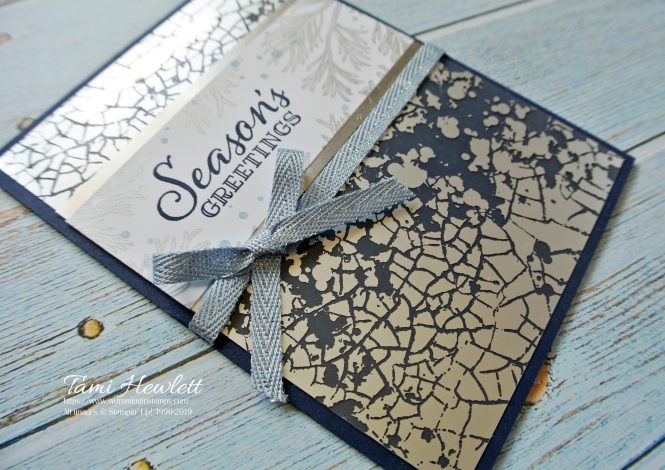
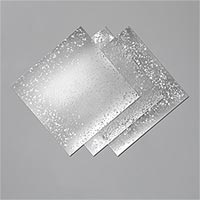
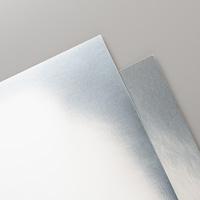
Afterwards, I layered the strip over some Silver Foil and added a bow using some Seaside Spray 1/4″ Metallic Ribbon.
Casual Crafter:
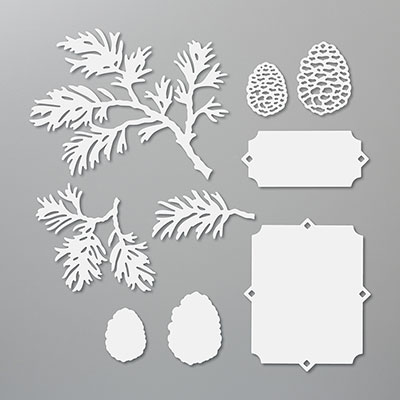
To step up the card, I used the coordinating Beautiful Boughs Dies to cut the Mercury Glass with the large label. Tip: The Mercury Glass Designer Acetate has a protective sheet of plastic on one side. Be sure to remove it before die cutting. I forgot the first time, and my die did not cut all the way through!
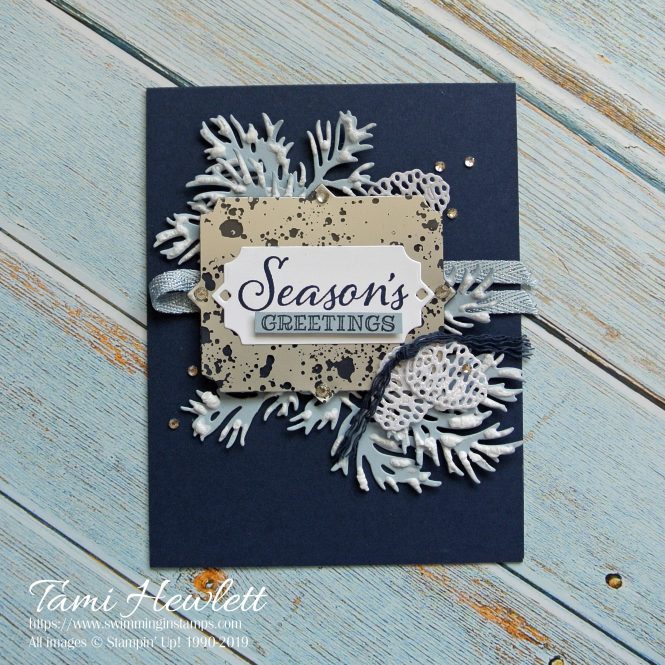
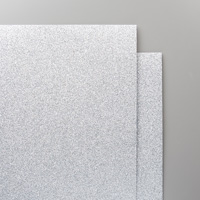
I also used the Beautiful Boughs Dies to cut the branches out of Seaside Spray Cardstock, the pinecones out of Sparkle Glimmer Paper, and the label out of Whisper White Cardstock.
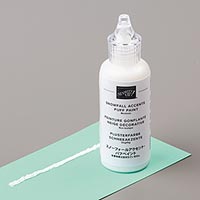
Afterwards, I used the new Snowfall Accents Puff Paint to add “snow” to the branches. Simply shake the bottle, draw thin lines with the tip, and then heat with a Heat Tool, and watch the magic!!! Tip: The paint seemed very runny at first, so I really had to shake it hard several times. Afterwards, it thickened up and was much easier to manage
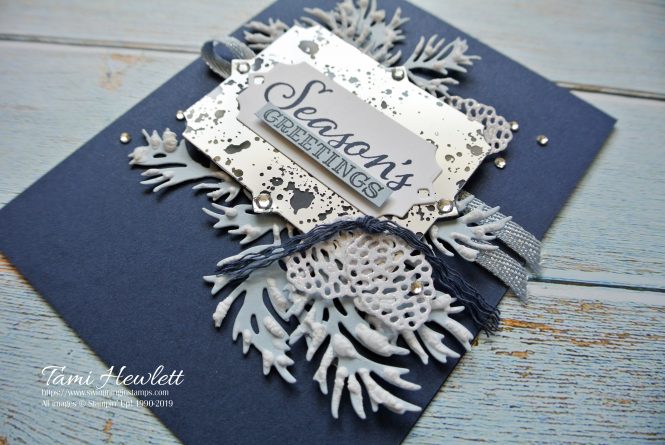
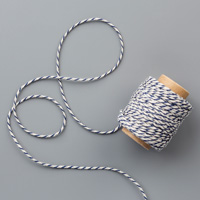
My casual card also includes some simple embellishments and a few more layers. To make the bow, I separated out the strands from some Night of Navy/Sahara Sand Baker’s Twine.
Avid Crafter:
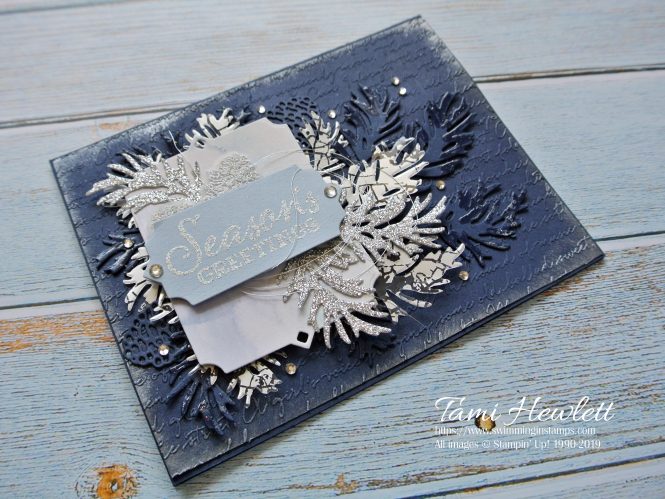
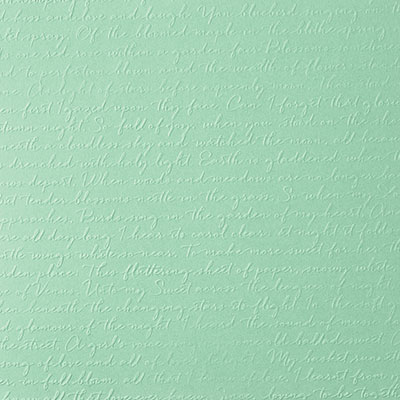
To step up the difficulty even further, I cut the branches out of Mercury Glass Acetate. Then, I added even more layers, including an embossed background using the Scripty 3-D Embossing Folder. To enhance the embossing, I sponged a little Silvery Shimmer Delicata Metallic Ink around the edges.
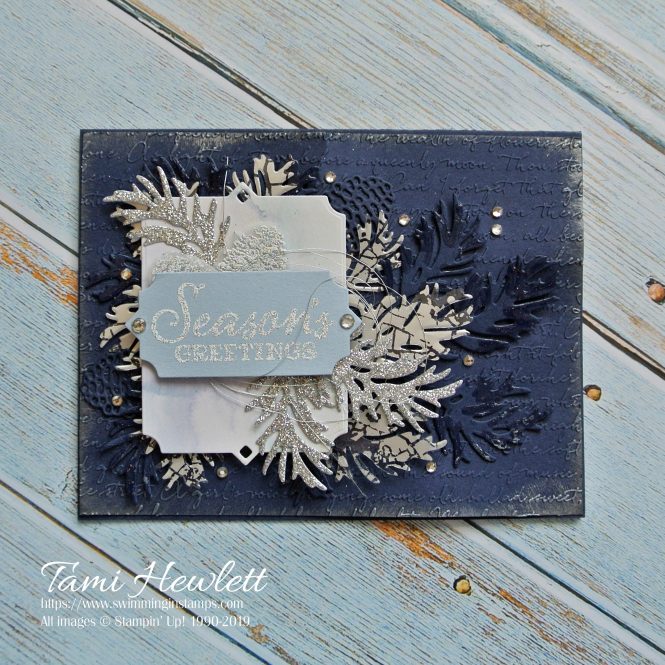
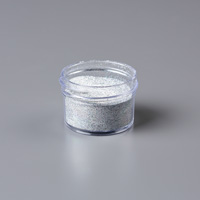
I also added a few more stamping techniques. I embossed the greeting with Shimmery White Stampin’ Emboss Powder and I watercolored the large label with Seaside Spray ink.
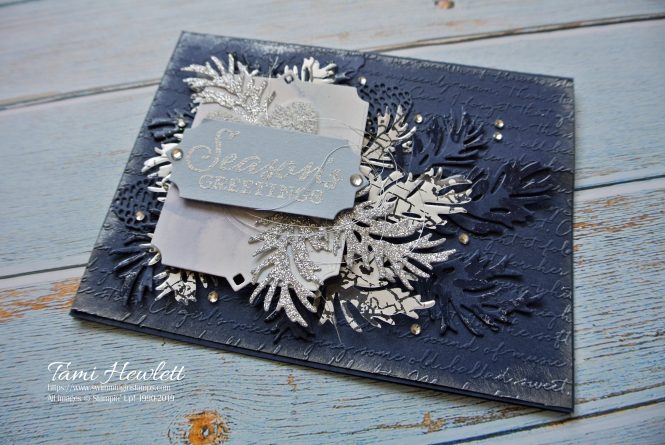
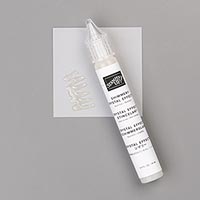
Then, I added some subtle Night of Navy branches to the background that I painted with Shimmery Crystal Effects. This card has LOTS of glimmer and sparkle, making it perfect for the holidays!!!
I hope you enjoyed my three cards. To continue through the blog hop, please see the list of designers after my signature below.
Have a wonderful and creative day!

Stamping Sunday Blog Hop Participants:
Buy 3, Get 1 Free Designer Series Paper Sale! See details HERE.

Use the Host Code RZEYRF24 for all purchases at my online store during September to qualify to receive free exclusive tutorials and a special thank you card from me. They are loaded with techniques and inspiration!!!
Supplies used on my projects:




These cards are absolutely stunning! Thank you so much for sharing them. 🙂💙💙💙
Thank you Gina! 💕
I hate to ask this, but have no other ideas. Are the Beautiful Boughs Dies, the pine cones, How do they compare with Pretty Pines Dies? I can’t afford everything, so If something has a depliacte, I don’t buy it! But, I have to buy this one for the frames. Was just wondering?
The pincone dies in the two sets are very similar, although the Beautiful Boughs Dies has a much larger one. I totally get not being able to afford everything, but I honestly have to admit that the other dies in Beautiful Boughs really won me over. The labels and leaf dies are gorgeous. Always feel free to ask!
I will be casing these for my next two workshops! I have a variety of levels of expertise in my group so these are perfect! Thanks so much for sharing these stunning cards! Do you have a tip on how to remove the protective layer? I can’t even figure out which side is protected….lol Thanks again for sharing! It’s creative minds like yours that make me look like a professional to my group. 😎
Kim, thanks so much for your sweet comments. I haveca hard time figuring out which side too. I think it’s the smoother side, and I use a picker tool on the edge.
These cards are stunning. Thanks for explaining how you made them. I have not seen the mercury glass paper in action before. It’s really lovely.
Thank you Tonilea! I think you’ll love this fun new product. Enjoy!!! 💕
Oh my Tami! Your cards are so elegant and luxurious. The silver is amazing against the navy. And I am so glad you used the crackle design!! xx
Thanks so much Cheryll! 💕