Welcome to the January Stamping Sunday Blog Hop and Happy New Year! I’m Tami Hewlett from California.
The Stamping Sunday designers are starting the year out with a bang, by showcasing our favorite Sale-A-Bration products! This is Stampin’ Up!’s biggest sale of the year, when you can earn FREE Sale-A-Bration products every time you place a qualifying order of $50 or more from now until March 31, 2020!
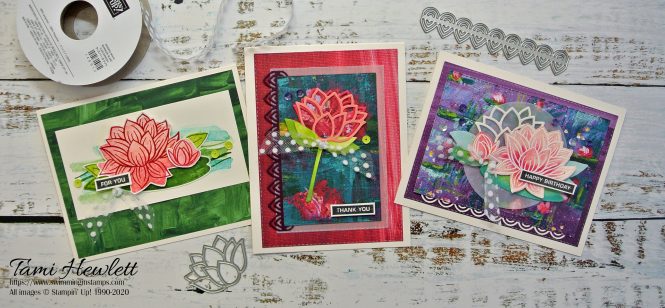
During this blog hop, you’ll find projects designed to inspire Beginner, Casual, and Avid Crafters. That way, there’s a little something for everyone:)
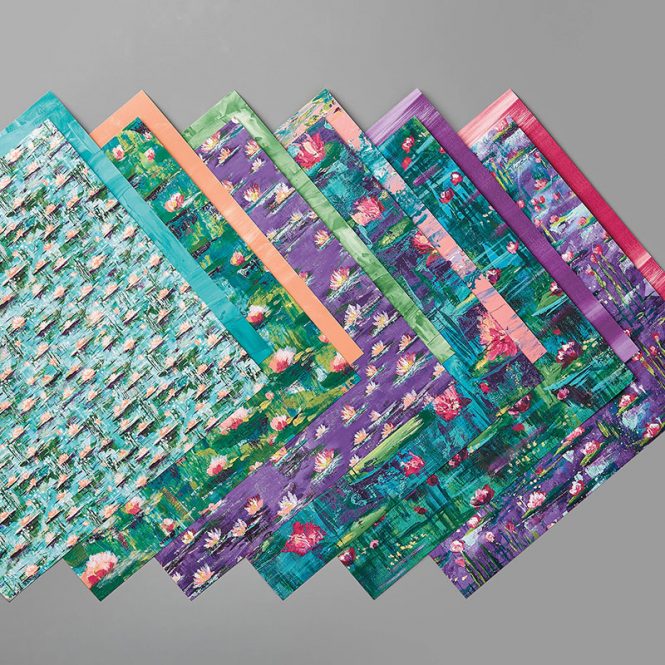
I have to admit that it was hard to choose a favorite, but there are several coordinating Sale-A-Bration products that really speak to me. They include the Lovely Lily Pad Stamp Set (free with a $50 purchase), Lily Pad Dies (free with a $100 purchase), and Lily Impressions Designer Series Paper (free with a $50 purchase.)
Beginner Crafter
For my beginner card, I just used the stamps and designer series paper (not the dies.) I focused on a couple simple stamping techniques and just cutting out the images.
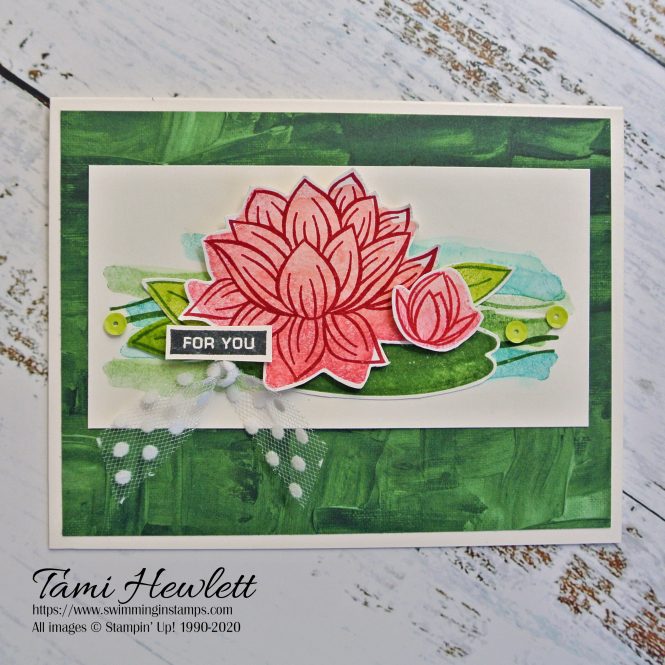
For all my projects, I used Shimmery White Cardstock and a background including at least one sheet of the Lily Impressions Designer Series Paper. Shimmery White Cardstock is my favorite paper, because I love to watercolor. While Beginner Crafters typically may think watercoloring is difficult, there are certain techniques that are SUPER simple with guaranteed success!
Lovely Lily Pad Photopolymer Stamps:
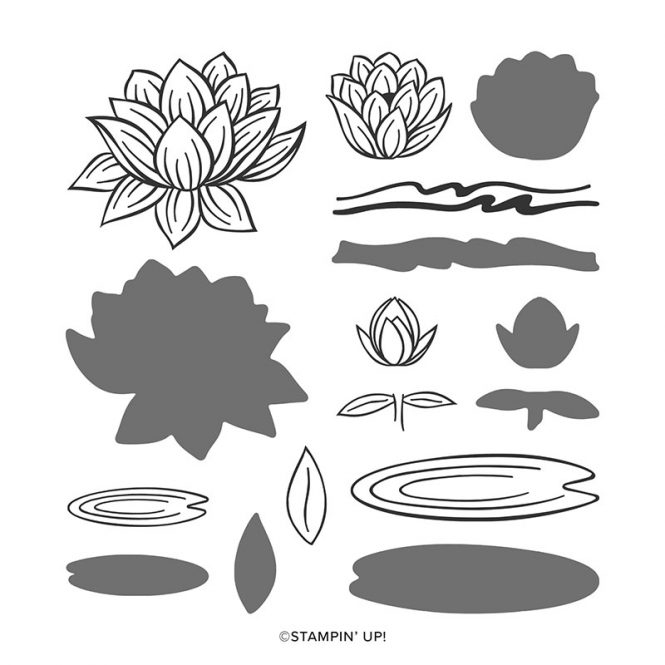
The Lovely Lily Pad stamps are all reversible! That means you can stamp each one on both sides (solid on one side and details on the other.) I stamped the solid water several times on the background with Bermuda Bay and Garden Green ink, stamping off one, two, and three times to lighten the images. Then, I simply used an Aqua Painter to lightly brush over the stamped images with clear water to blend the ink and make it look like watercoloring. When it dried, I flipped the stamp over and stamped the detail side.
Lily Impressions Designer Series Paper:
I used a similar technique for the lily pad and leaves. Stamp the solid side and then brush with clear water to blend the ink. For the flower, I inked up the solid side of the stamp with Flirty Flamingo ink, stamped off once, and then used a sponge to add a little Melon Mambo ink to the bottom portion of the stamp before stamping. Then, I blended the ink with an Aqua Painter, flipped the stamp over, and stamped the detail with Lovely Lipstick.
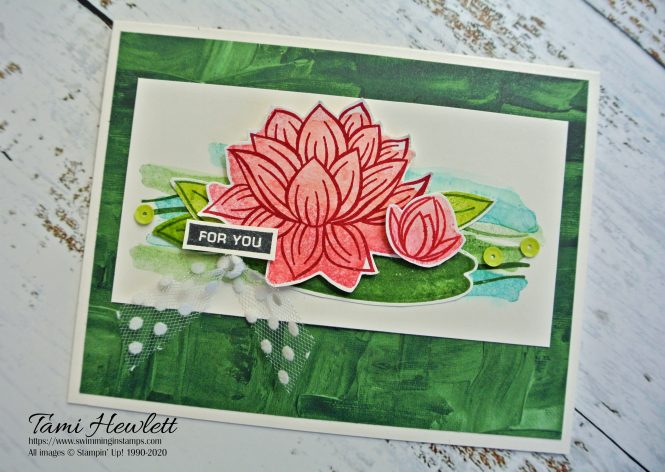
The sentiment is from Label Me Bold stamped with Tuxedo Black Memento ink and trimmed by hand. Final touches include some Gingham Gala Adhesive-Backed Sequins and Whisper White 5/8″ Polka Dot Tulle Ribbon.
Casual Crafter
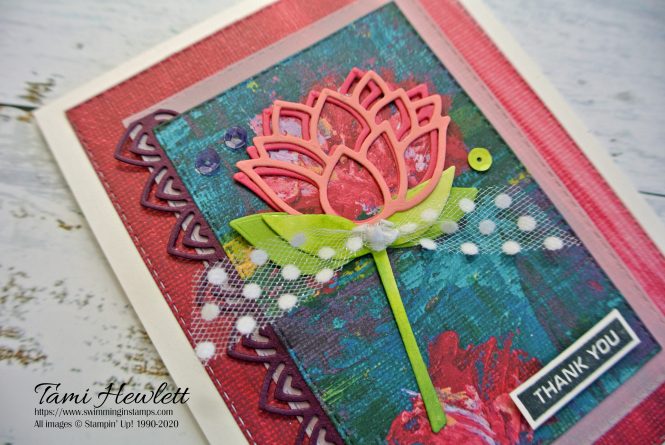
For my next two projects, I used the stamps, designer series paper, and die cuts. This first card is simpler because it’s basically just using the dies to showcase the gorgeous Lily Impressions Designer Series Paper.
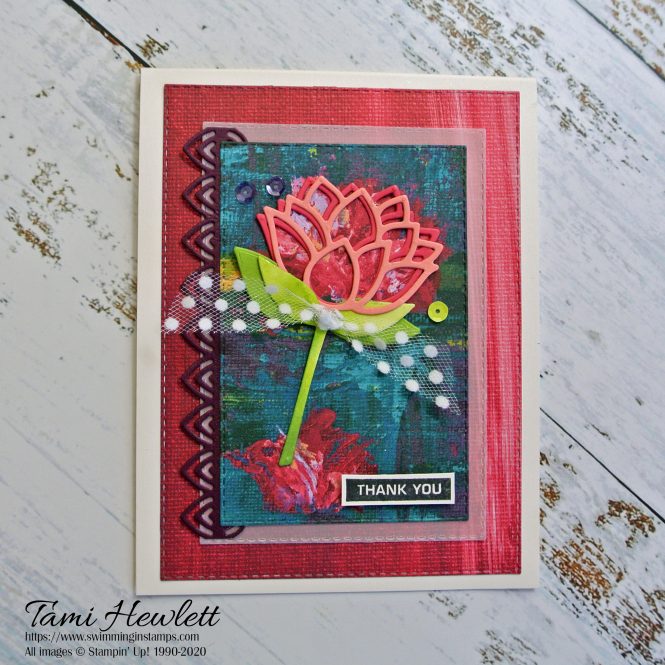
I used the Stitched Rectangles Dies to frame out one of the large printed flowers on the Lily Impressions Designer Series Paper. Then, I simply layered it over additional rectangle dies of Vellum and another sheet of the designer series paper pack.
Lily Pad Dies:
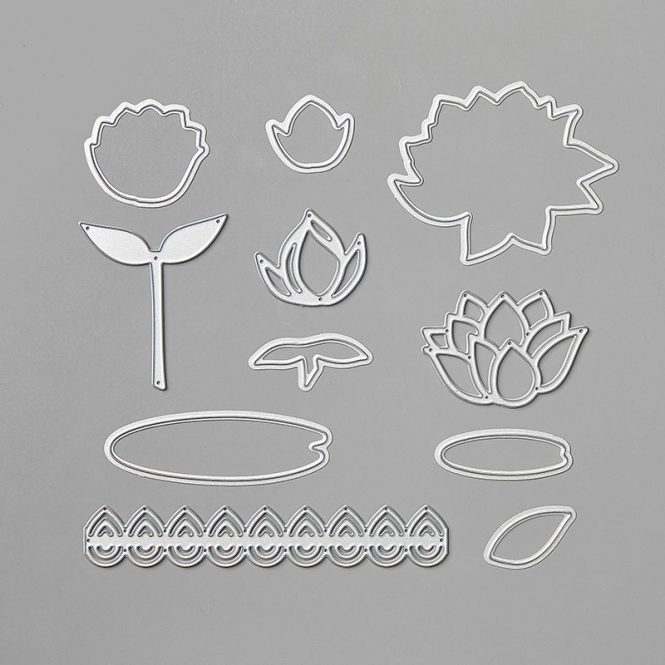
The Lily Pad Dies are so pretty! I cut detailed flowers from Flirty Flamingo and Melon Mambo Cardstock and layered them to emphasize the printed flower. Next, I cut leaves from Granny Apple Green Cardstock and the stem from Shimmery White, which I watercolored with Granny Apple Green and Garden Green.
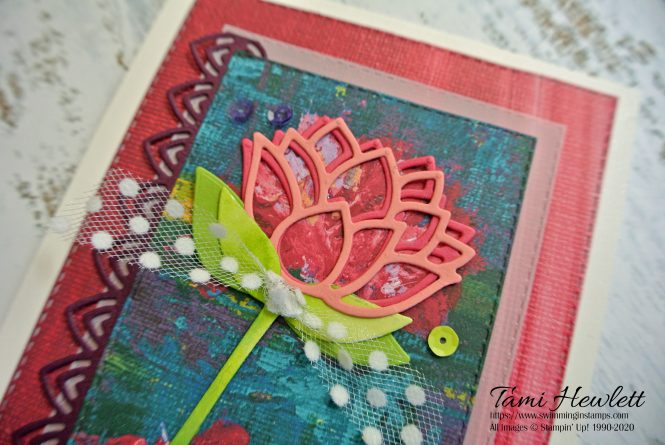
I particularly adore the detailed border die in this set! (Die cut from Blackberry Bliss Cardstock.) It adds such a lovely effect.
Avid Crafter
For my last project, I added some embossing and more advanced watercoloring techniques.
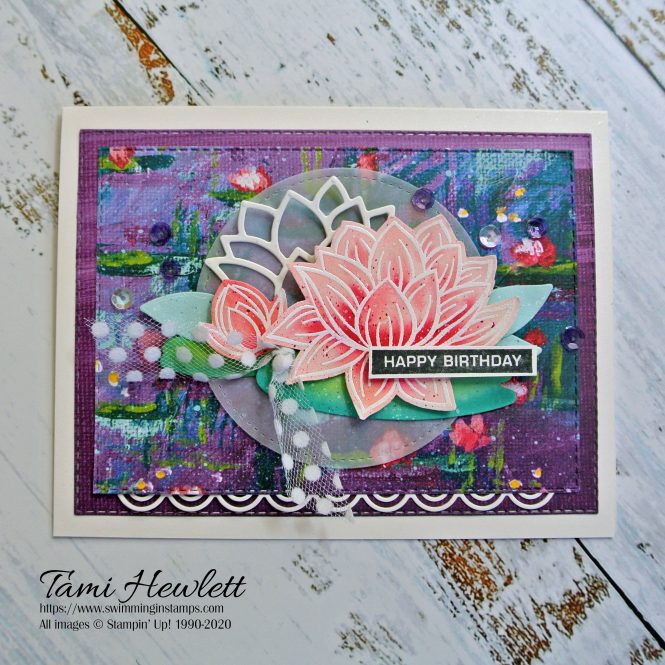
To create the flowers, I embossed them in white on Shimmery White Cardstock. Then, I used an Aqua Painter to first cover the flowers with clear water and then add Flirty Flamingo, Melon Mambo, and Blackberry Bliss ink. Because the paper was wet, the colors blended well.
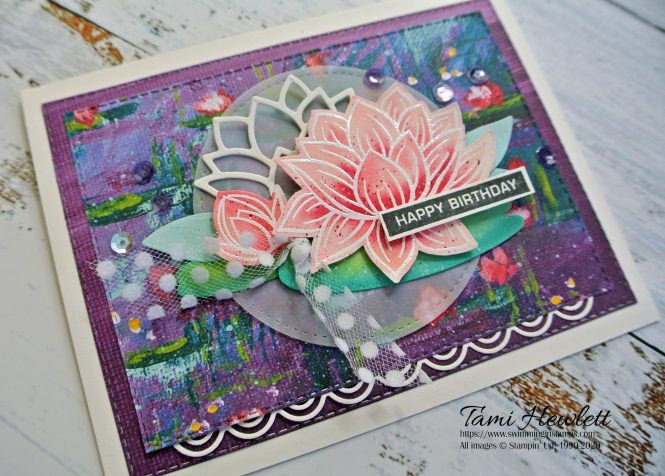
Next, I cut out the two lily pads from Shimmery White Cardstock and watercolored them with Granny Apple Green, Garden Green, and Bermuda Bay ink
Then, before assembling the pieces, I added splatters of Whisper White Craft, Blackberry Bliss, and Bermuda Bay to several of my die cuts.
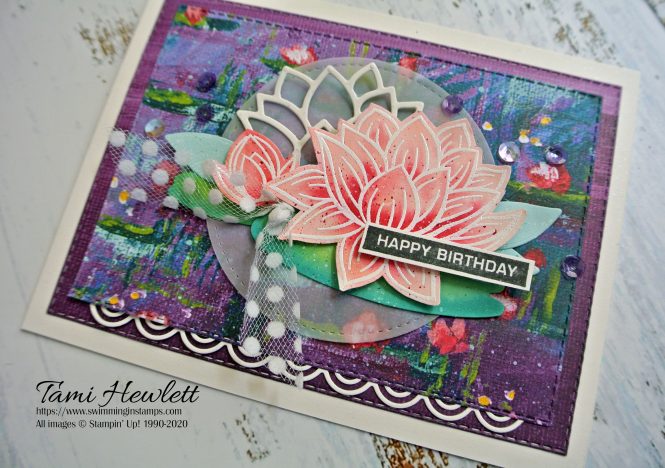
Hope these cards inspired you to give these products a try! They are so much fun. Have a wonderful and create day!

For more amazing Sale-A-Bration inspiration, please continue through the Stamping Sunday Blog Hop by following the links below. Next up, is the amazingly talented Mikaela Titheridge!
Use Host Code ENE42UJW for all purchases at my online store during January to qualify to receive free exclusive tutorials and a special thank you card from me. This month’s tutorials use lots of products from the January to June Mini and Sale-A-Bration Catalogs to inspire you!!!


Thank you for the great explanation. Beautiful cards!
You are welcome! Thanks so much!!! ❤❤❤
Each project is just as beautiful as the previous. Love them all Tami x
Thank you so much Mikaela!!!
What a great cards ;O)
Lovely colors ..
Thank you so much Janneke!
Tami, what a good idea to create so colorful cards!
Thank you Cornelia!
Tami, I love your design style, and find so much inspiration on your blog, these water lily cards are just lovely, thank you for sharing.
What a lovely thing to say! Thank you!!!
Tami, I love your choice of bold color with the lilies! Stunning with that designer paper.
Thanks so much Sara!
Love love love these cards Tami! They make me feel so happy! That Designer Series Paper is so joyous! Thanks for sharing! xxx
Thanks so much Cheryll!