
For this month’s Stampin’ Fancy Friday, our theme is to CASE a fancy friend. CASE means to Copy And Share Everything. So in other words, we are finding a project created by another Stampin’ Fancy Friday Design Team member that inspires us, and then creating our own version. This is a great way to get inspiration! The important thing is to switch up some things to make it your own and give the person you CASED credit.
You can see all the Stampin’ Fancy Friday CASES this month on Facebook and Instagram. Then, get some inspiration yourself and try a CASE. When you post it, add the hash tag #stampinfancyfriday so we can see!
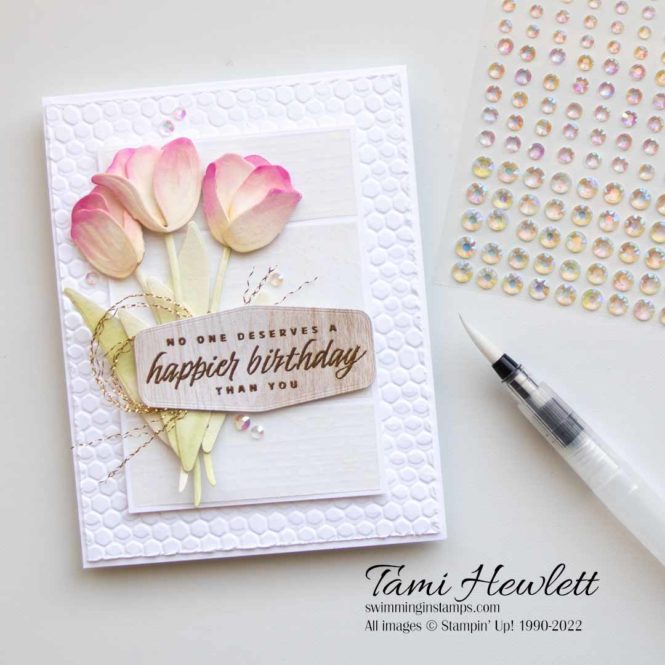
I decided to CASE my talented fancy friend, Tammy Wilson. She designed the beautiful card below for the Stampin’ Fancy Friday Floral Challenge last Summer. I absolutely love the soft colors, watercoloring, layout, and use of In Good Taste Designer Series Paper.
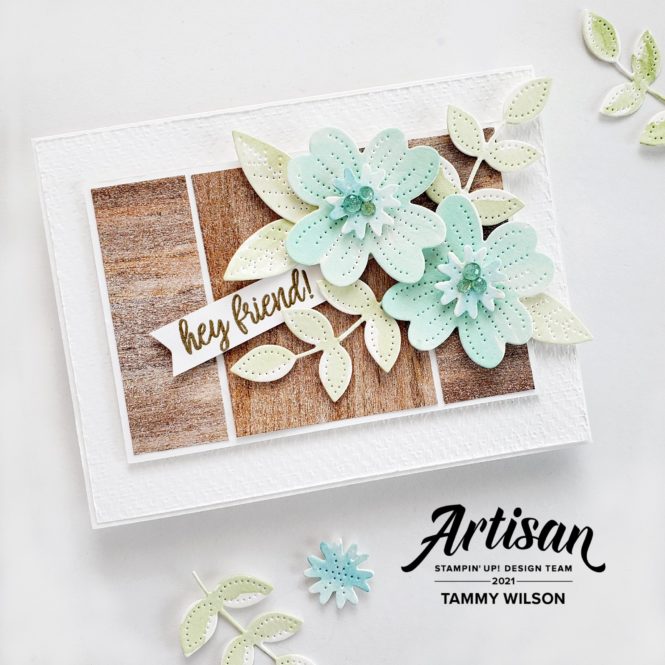
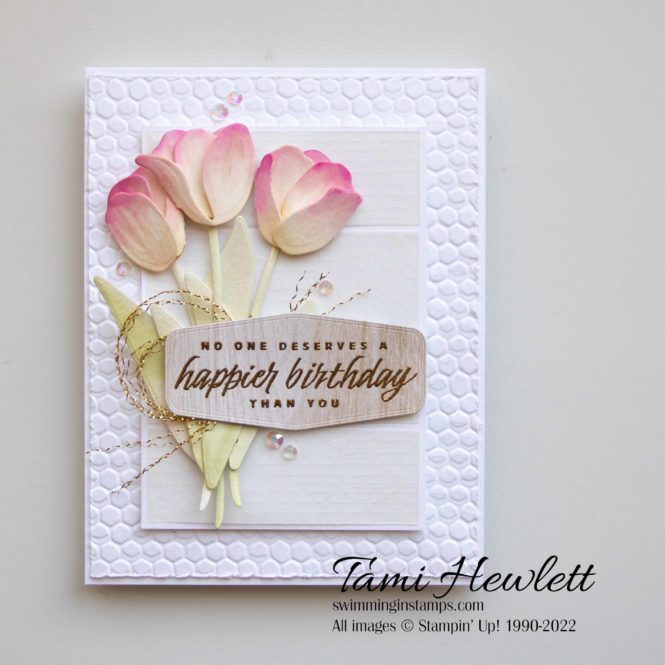
For my CASE, I decided to use the Flowering Tulips Bundle to create a birthday card for my sister! I changed the die-cuts and orientation of the card. Then, I used the In Good Taste Designer Series Paper for the sentiment (versus the background) and added some Vellum Layering Designs for the rectangles behind the flowers. Finally, I changed the dry embossed background to the Hive 3D Embossing Folder.
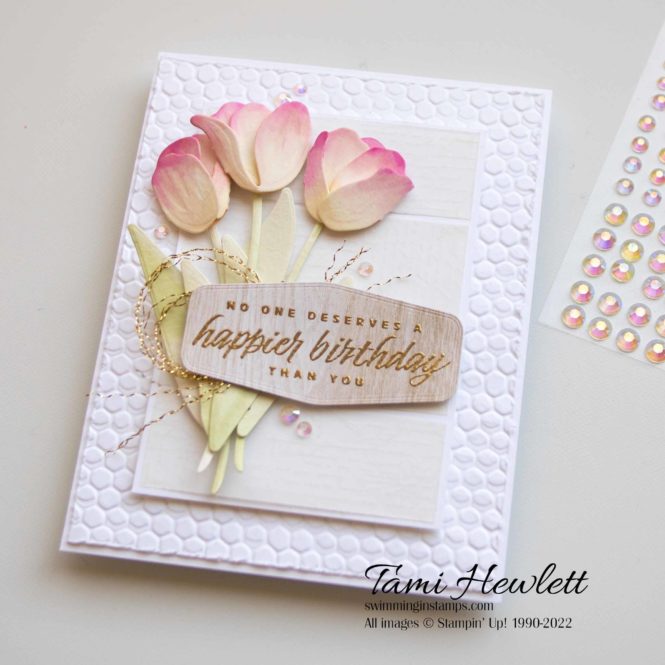
Since I loved the soft colors and general layout of Tammy’s card, I kept those the same. I simply chose colors that worked for tulips including Soft Sea Foam, So Saffron, Blushing Bride, and a little bit of Melon Mambo.
This was the first time I had used the Flowering Tulips Bundle! I loved it immediately when I first saw the January-June Mini Catalog, but for some reason, I was a little intimidated to use it. There’s a lot of little pieces to assemble. Well, all I can say is that was silly, because the flowers are actually super easy to put together and take very little thought.
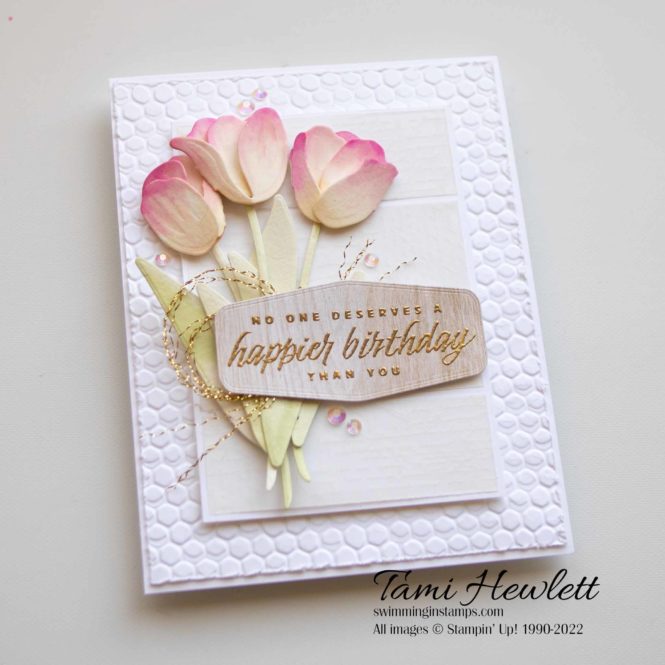
I cut the flowers, stems and leaf dies from Fluid 100 Watercolor Paper. Since the pieces fold, I ended up watercoloring both the inside and outside so there weren’t any unfinished sections showing. One tip is to be very careful with the die for the center flower. I ended up accidentally ripping it when it was wet and had to start over.
The Tulip Dies include the folded pieces for the three flowers shown above, as well as several individual petals. I ended up using lots of the individual petals to enhance and build my flowers, so another tip is be generous with those.
When watercoloring, I like to cover the entire die-cut with clear water first to promote nice, even blending. Then, for this project, I used the medium Water Painter to add color and blend. There are several ways to gather ink from your ink pads to watercolor. You can squeeze the pads to pool ink in the lids, add a drop of ink refill to the lids, or press an acrylic block into the ink pads to gather ink. All three methods work great.
Here’s one more tip: To adhere the Vellum Layering Designs to the background, I used a very small dab of liquid glue on all the corners.
To finish my card, I unraveled some gold Simply Elegant Trim to loop behind the sentiment label and added a few Iridescent Rhinestone Basic Jewels.
Hope you liked my CASE. (I still think I like Tammy’s better, but she’s a hard act to follow!!!) I’m sure my sister will love her card though:)
Have a wonderful and creative day.

Purchase products from my online store to qualify to receive free exclusive project tutorials. This month’s PDF includes 12 creative tutorials designed by my demonstrator friends and I to inspire your paper crafting! The projects feature products from the 2025 Annual Catalog, Online Exclusives, and January-April Mini Catalog. Enjoy!


Gorgeous card. Love the soft color used for the tulips and the lovely background. TFS
Thanks so much JoAnn!
Wow Sue, what a lovely compliment! Thank you so much.
Wow! You did it again! Made me “have to get” the tulip bundle! I follow Tammy as well. You both are amazing! Thanks for all you share. You’re such an inspiration!
Sue