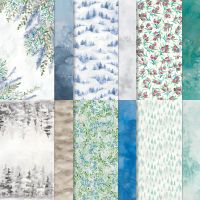
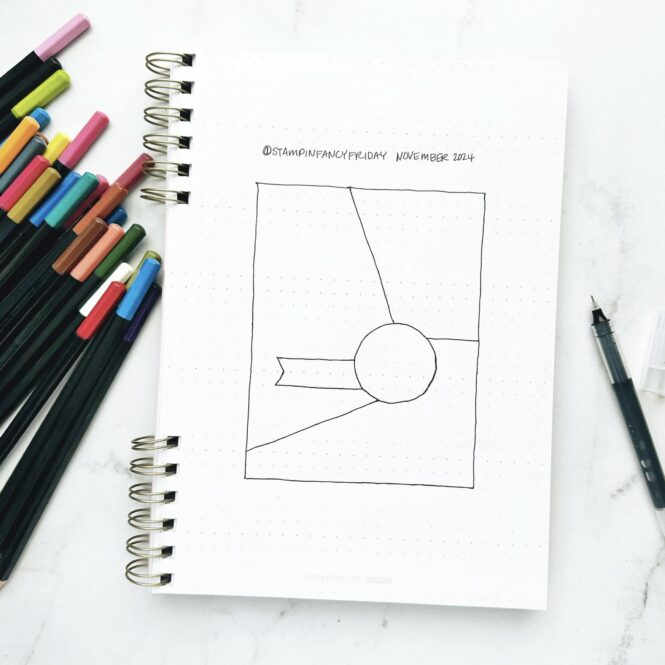
This month, we have a sketch challenge for our Stampin’ Fancy Friday theme (see photo below.) It’s really different, one I never would have thought up myself, so that’s super fun! To get all the angles, I ended up layering three pieces of Winter Meadow Designer Series Paper. That helped a lot, so I didn’t have to match anything.
To see all the designers’ projects, keep an eye on the Stampin’ Fancy Friday Facebook and Instagram pages throughout the month. We’d also love to see any of your projects using our theme! Be sure to tag them with @stampinfancyfriday so we can find and admire them!
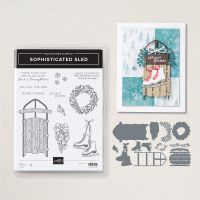
I used the Sophisticated Sled Bundle for my card. It’s an Online Exclusive with great options!!! I particularly love that I can choose to either stamp the images or build my own from die-cuts (which is what I did here.) And, there are super cute smaller elements for decorating.

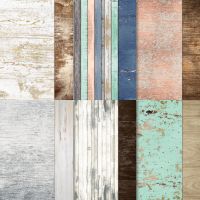
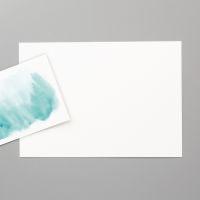
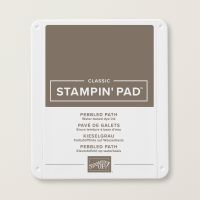
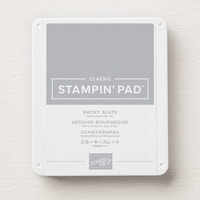
To create my sled, I started by pre-painting Fluid 100 Watercolor Paper — one for the sled and one for the wreath. I used Pebbled Path and Smoky Slate for the sled and Garden Green, Shaded Spruce, and a little Moody Mauve for the wreath. Then, I selected interesting areas and die-cut the pieces. Next, I layered the top pieces of the sled over the rails, which I cut from the darkest print of Country Woods Designer Series Paper.
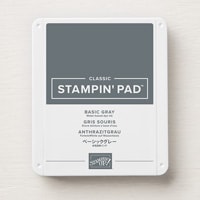
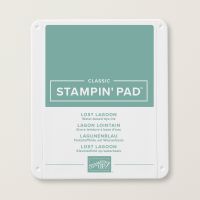
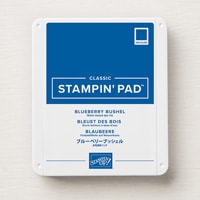
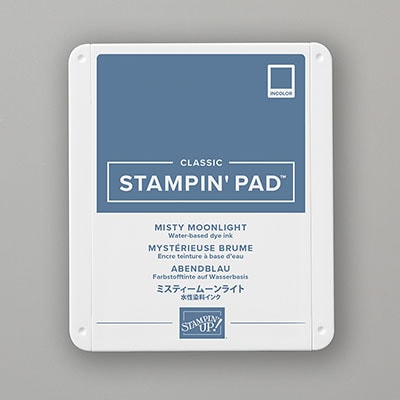
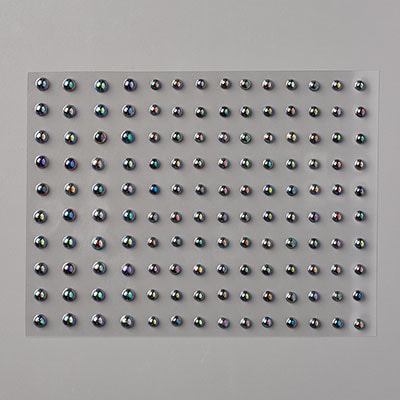
I stamped the wreath with Basic Gray ink on Basic White Cardstock and watercolored it with Garden Green, Shaded Spruce, Moody Mauve, Lost Lagoon, Blueberry Bushel. and Misty Moonlight ink. For this part, I used a very dry brush so I wouldn’t make the Basic Gray ink bleed. While watercolor paper would have worked better, I like the Basic White, because it coordinates with the Winter Meadow DSP in the background. The wreath is decorated with a Linen Thread bow and a few Iridescent Pearls.
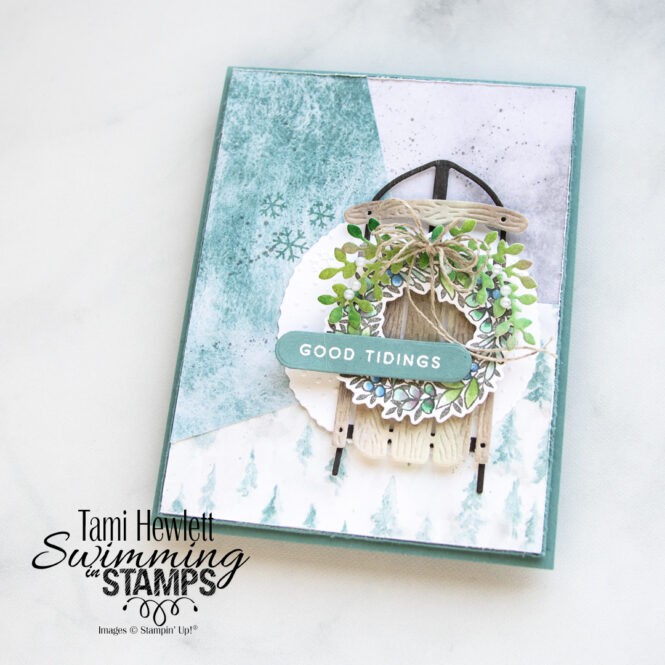
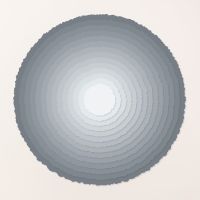
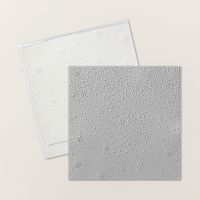
Behind the sled, I used a Deckled Circle die-cut to break up the busy pattern of the background and draw more focus to the centerpiece. It’s dry embossed with the Snowflake Sky 3D Embossing Folder for some added texture.
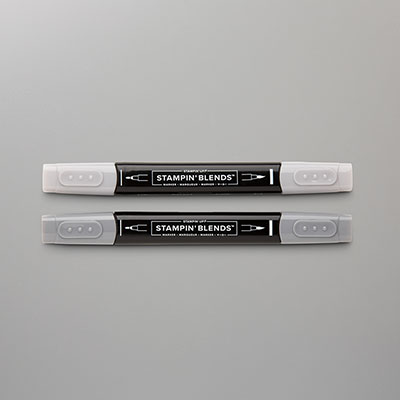
For some subtle details, I added a few stamped snowflakes on one background panel and some Smoky Slate splatter with a Stampin’ Blends Marker.
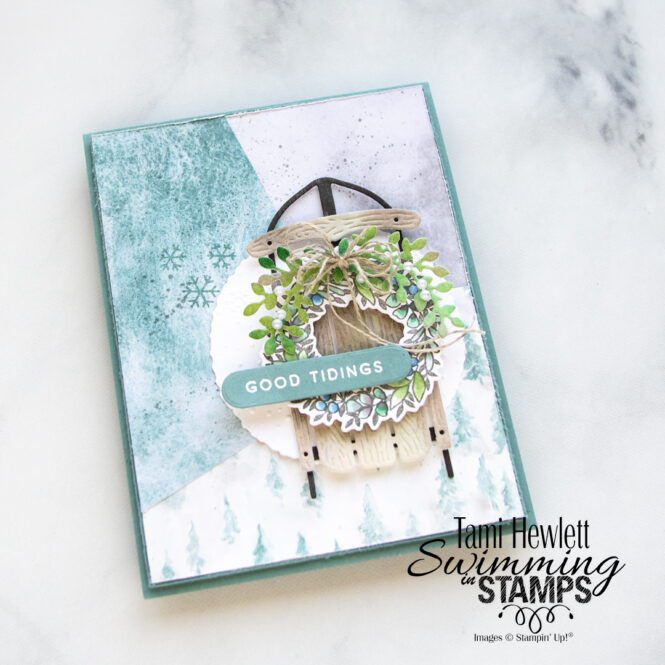
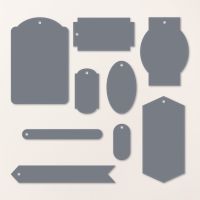
The Sophisticated Stamp Set has some great sentiments that I used on both the front and inside of the card. After heat embossing the sentiment for the card front, I used the Greetings of the Season Dies and a partial die-cutting method to shrink the die-cut shape.
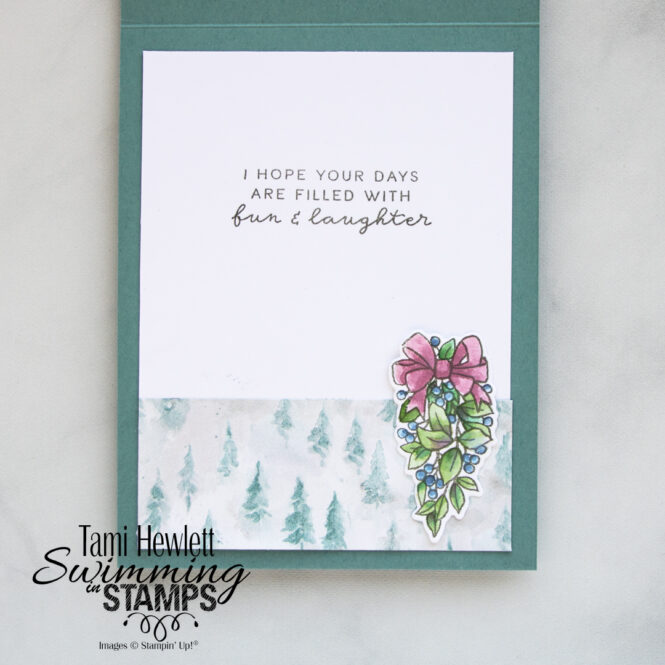
On the inside, I included one more stamped image from the Sophisticated Sled Stamp Set, watercolored with similar ink colors.
Have a wonderful and creative day!

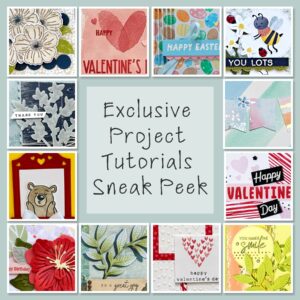
Purchase products from my online store to qualify to receive free exclusive project tutorials. This month’s PDF includes 12 creative tutorials designed by my demonstrator friends and I to inspire your paper crafting! The projects feature products from the 2025 Annual Catalog, Online Exclusives, and January-April Mini Catalog. Enjoy!
