


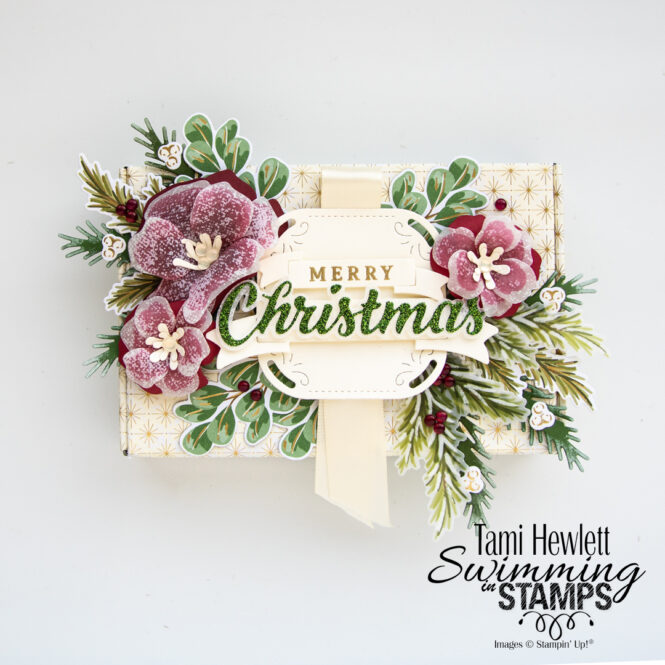
This month, our theme for Stampin’ Fancy Friday is “Not a Card.” Since the holidays are right around the corner, I decided to make a Christmas gift box. I love wrapping gifts in beautiful boxes for special friends and family. So I decided to get a jump start on my preparations for this year!
To see all the designers’ projects, keep an eye on the Stampin’ Fancy Friday Facebook and Instagram pages throughout the month. We’d also love to see any of your projects using our theme! Be sure to tag them with @stampinfancyfriday so we can find and admire them!

For what I had in mind, I needed a fairly large box, so I dug out one of my retired Mini Paper Pumpkin Boxes. I love these, because there’s lots of room for decorations. My box features Seasons of Green & Gold Suite Collection (an Online Exclusive) including the Seasons of Green & Gold Specialty Designer Series Paper, Graceful Greenery Vellum Specialty Designer Series Paper, Golden Greenery Dies, and Cherry Cobbler & Pearl Adhesive Backed Berries. I also used the Translucent Florals Dies to create the flowers. There’s very little stamping on this project, only the sentiment. For that, I used the Peaceful Seasons Bundle and Festive Glimmer Paper.
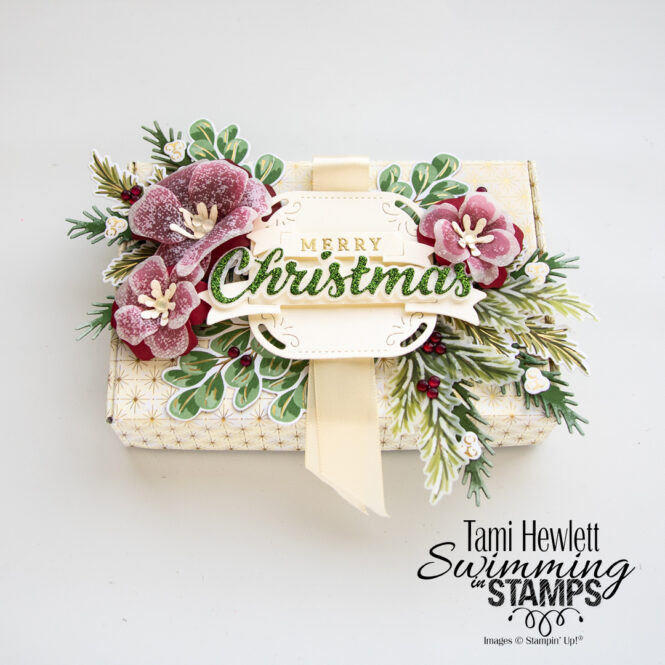
For all the printed greenery and berries, I simply used the Golden Greenery Dies to cut out designs from Seasons of Green & Gold SDSP and Graceful Greenery Vellum. Both paper packs are absolutely GORGEOUS and make it so easy. Just rough cut around the printed designs and then use the coordinating dies for fine cutting. The paper has gold foil highlights and the vellum has white highlights.
For contrast, I also cut some extra pine die-cuts from Garden Green Cardstock. Then, I added Mossy Meadow ink to the bottom portions with a Blending Brush and white “snow” to the tips with a Sponge Dauber and Craft White ink.
For the flowers, I used the Translucent Florals Dies to cut one layer from Graceful Greenery Vellum (white speckled pattern) and another layer from either Cherry Cobbler or Real Red Cardstock. Then, I colored the vellum layers with Cherry Cobbler and Real Red Stampin’ Blends Markers and curled all the layers with a Bone Folder. Lastly, I cut out the centers from Very Vanilla Cardstock and adhered them all together with liquid glue.
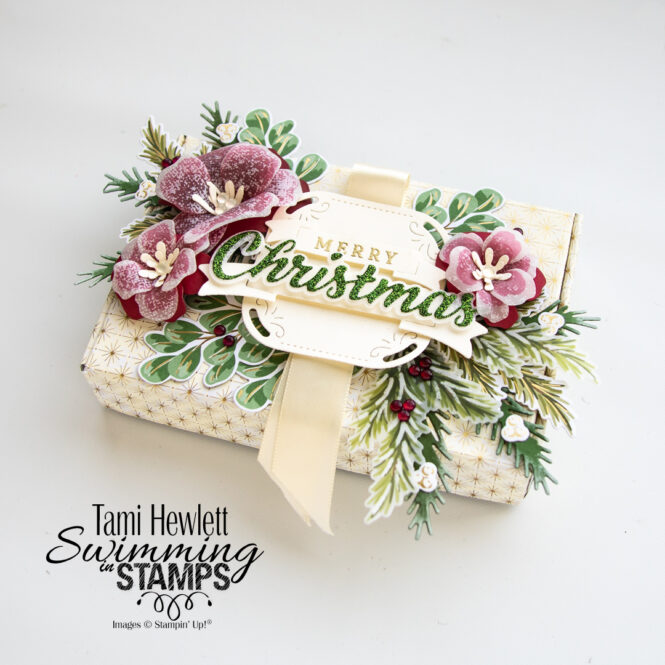
To create the sentiment, I embossed the “merry” in gold on Very Vanilla Cardstock and cut it out with the Peaceful Seasons Dies. I used those same dies to cut “Christmas” from Festive Glimmer Paper (Garden Green). I suggest backing the glimmer paper with an adhesive sheet before die-cutting to make it easier to adhere it to the background die-cut, which I cut from the white speckled vellum.
The final touch was to add some beautiful Very Vanilla 3/4″ Satin Ribbon and Cherry Cobbler & Pearl Adhesive-Backed Berries.
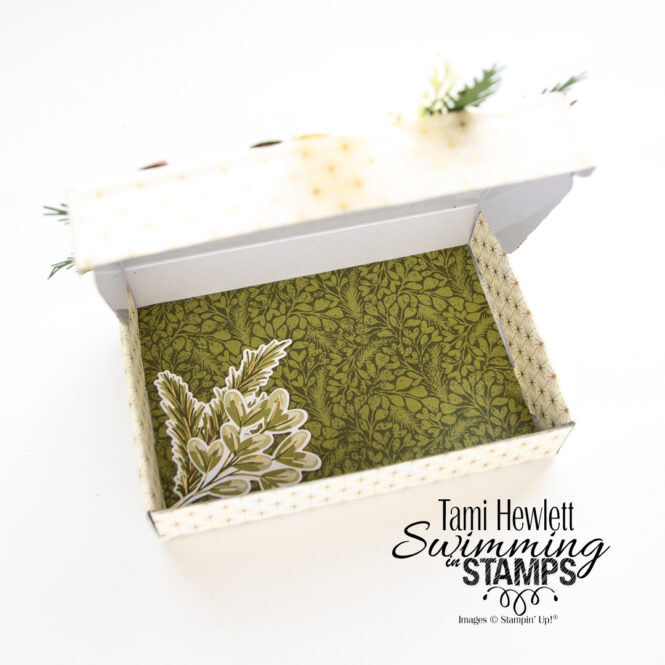
I covered the Mini Paper Pumpkin Box with a sheet of Season of Green & Gold SDSP. Tips: I used liquid glue because it allows for some movement, and I folded the box as I adhered the sections. The folds add a little to the measurements, so start adhering in the center and work outwards, folding as you go. When finished, trim the edges of the SDSP even with the box.
On the inside, I added another design from the same SDSP pack and a few leftover die-cuts.
I hope this project has inspired you to create a holiday gift box of your own. There are lots of current choices, including the darling Book Treat Boxes in the new SD Mini Catalog.
Have a wonderful and creative day!

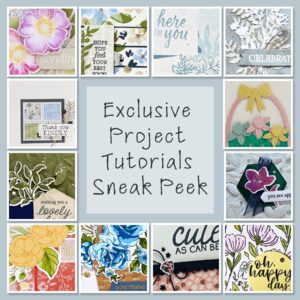
Purchase products from my online store to qualify to receive free exclusive project tutorials. This month’s PDF includes 12 tutorials designed by my demonstrator friends and I that are sure to inspire your paper crafting hobby! The projects feature products from the 2025 Annual Catalog, Online Exclusives, and January-April Mini Catalog. Enjoy!

 Specialty Designer Series Paper")
 Specialty Designer Series Paper")
 Glimmer Paper")

")


")


 Satin Ribbon")


Thanks so much my friend!
This is stunning Tami xxx