Our theme for Stampin’ Fancy Friday this month is “Boys To Men.” We are celebrating all the great guys in our lives! Perfect timing, because I have LOTS of guy birthdays to celebrate this month, including my wonderful husband.
To see all the designers’ “Boys to Men” projects, go the Stampin’ Fancy Friday Facebook and Instagram pages. We’d also love to see your creative projects! Be sure to tag them with @stampinfancyfriday so we can find and admire them!
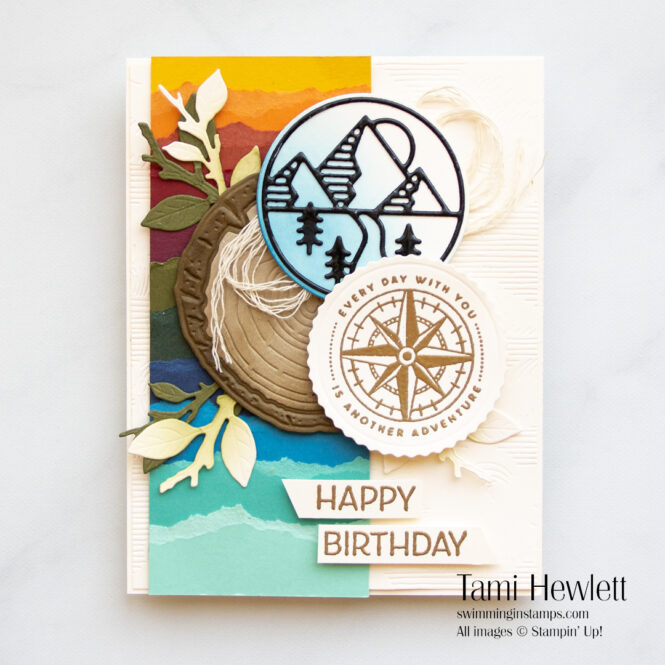
My husband loves the mountains and hiking, so I searched my stash and found a mash up of products including the He’s All That stamp set, Rugged Icons Dies, and Tree Rings Hybrid Embossing Folder. I also used a fun paper tearing technique inspired by Cindy Schuster during last month’s free Crafty Carrot Collective tutorials.
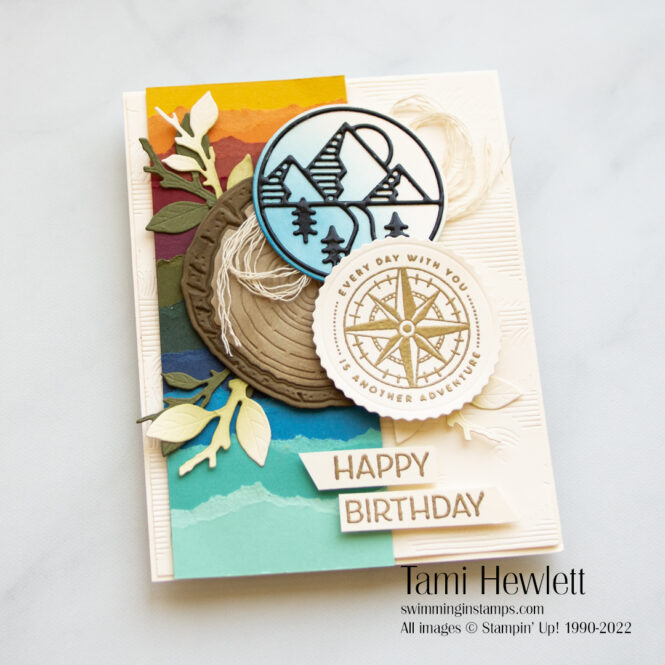
I just got the Tree Rings Hybrid Embossing Folder and was super excited to try it out. This product both cuts and embosses tree rings in several sizes and has lots of great embellishments, such as the branches on this card. I cut the center ring out of Crumb Cake Cardstock and the outer ring from Soft Suede Cardstock. You can cut and emboss the outer ring all together by placing the die inside the embossing folder. However, for the center ring, you need to cut it first and then emboss it. Afterwards, I used a Blending Brush to add Soft Suede ink to both die-cuts. Then, I cut the branches from Very Vanilla and Mossy Meadow Cardstock and used a Blending Brush to lightly color with Mossy Meadow ink.
The Rugged Icon Die includes the mountain image at the top of my card. I cut it out of Basic Black Cardstock and then pressed the entire die-cut into Versamark ink so I could emboss it in clear. That gave it a cool 3D look. Then, I layered it over a Layering Circle die-cut from Very Vanilla Cardstock that I had colored with a Blending Brush and Pacific Point ink.
Lastly, I stamped the compass from He’s All That stamp set with Versamark and embossed it in gold and used the coordinating All That Dies to cut it out
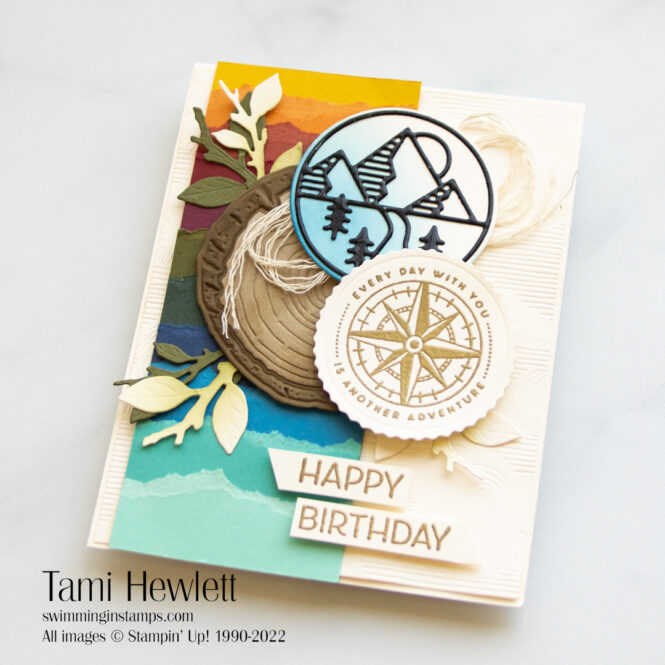
In the background, I used the In The Clouds Embossing Folder and the ripped papers. I played around with colors until I found just the right combination. Then, I attached all the ripped strips to a scrap piece of cardstock and straightened the two sides. I totally LOVE this look!!!
I borrowed the sentiment from the Artistically Inked Stamp Set (one of my favs!)
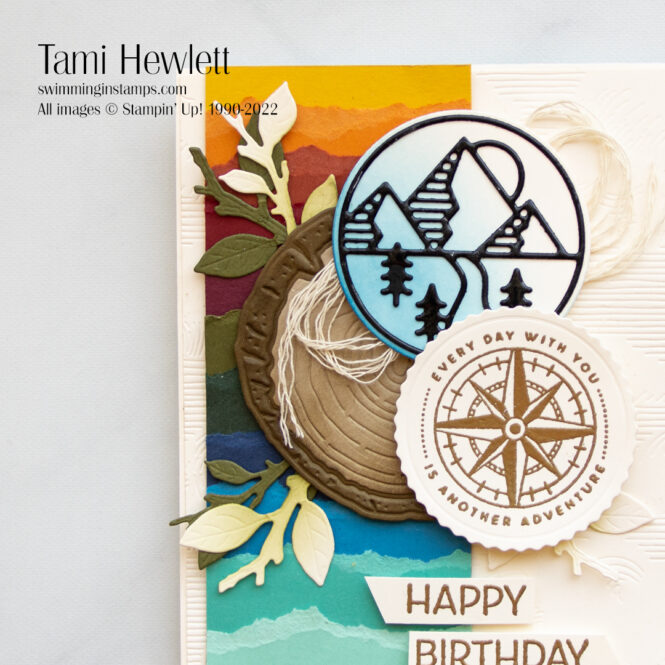
This is what I call a very personalized card. I think my husband will love it.
Have a great day!

Purchase products from my online store to qualify to receive free exclusive project tutorials. This month’s PDF includes 12 creative tutorials designed by my demonstrator friends and I to inspire your paper crafting! The projects feature products from the 2025 Annual Catalog, Online Exclusives, and January-April Mini Catalog. Enjoy!
